In this lesson we’ll walk through replacing a single power supply for the Epilog Mini or Helix.
Remove Old Power Supply
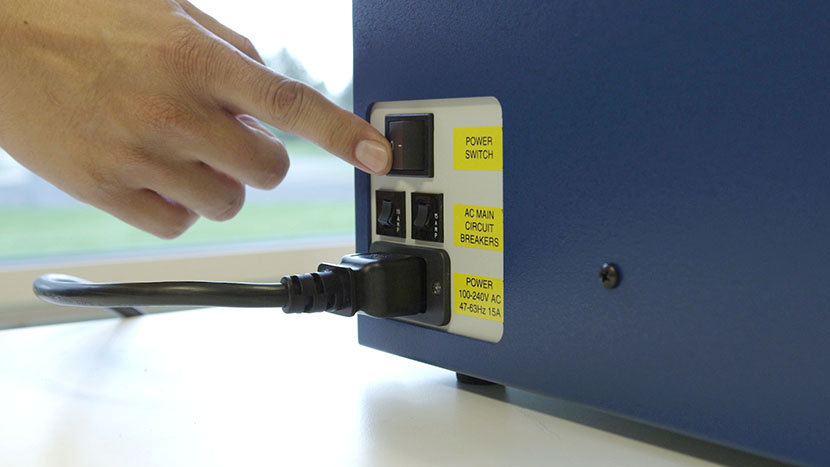
Shut off the laser and remove the power cord from the machine.
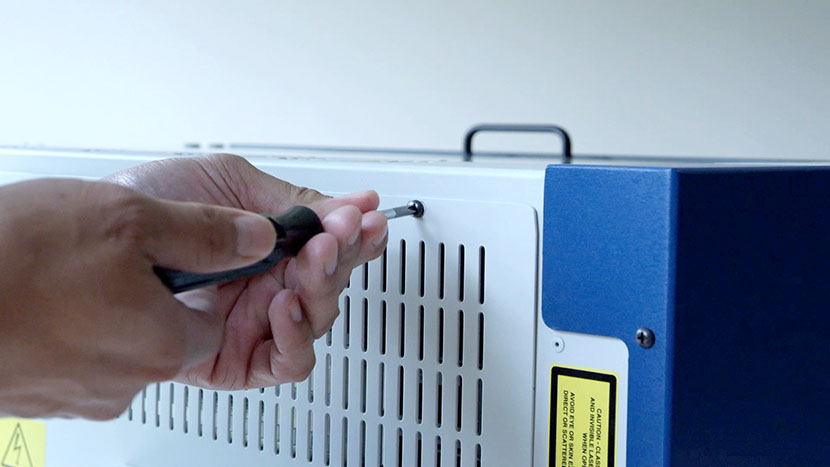
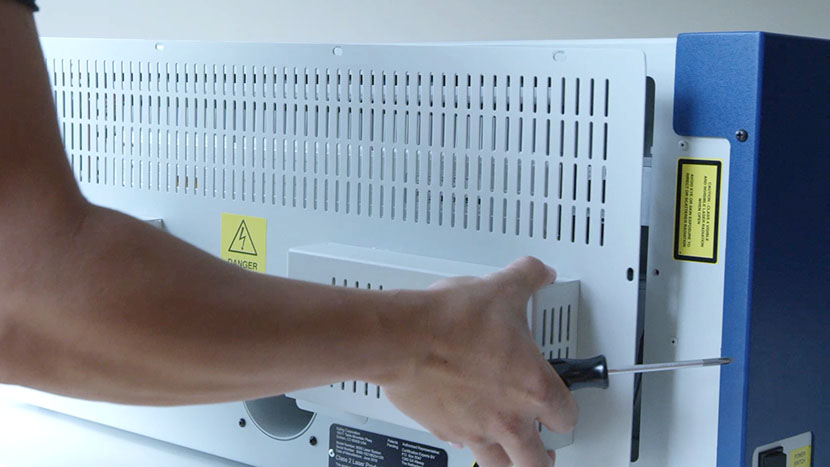
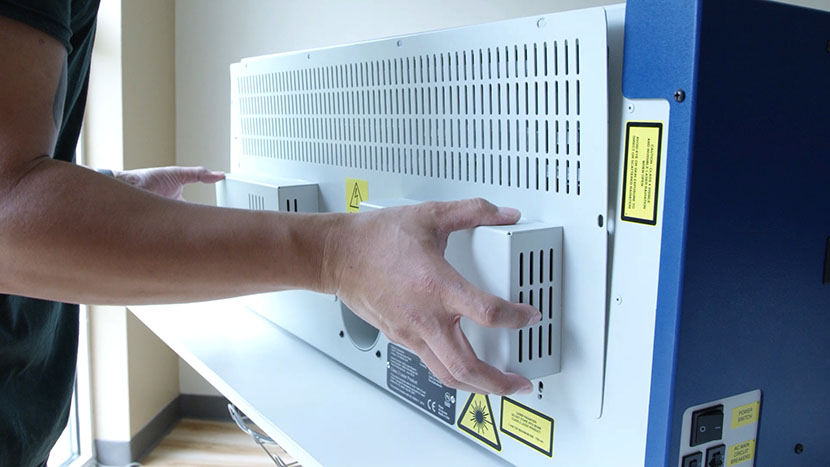
Loosen the 8 screws on the back of the machine and remove the back service panel.
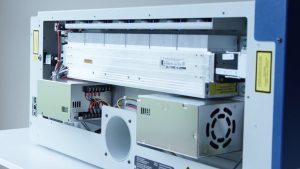
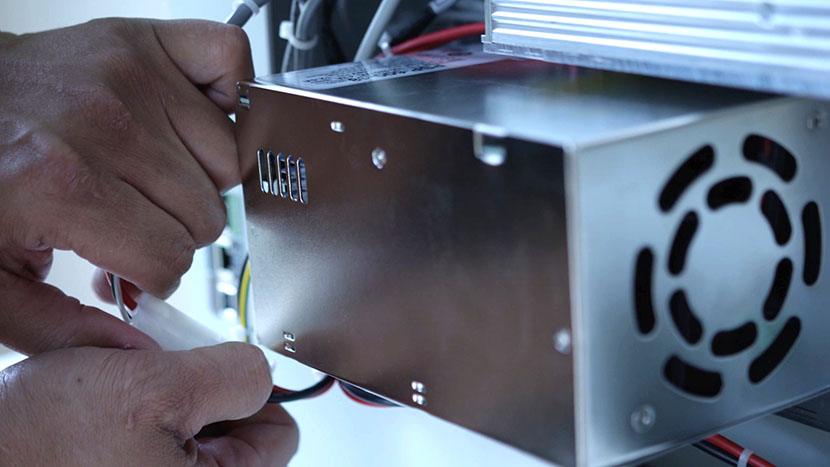
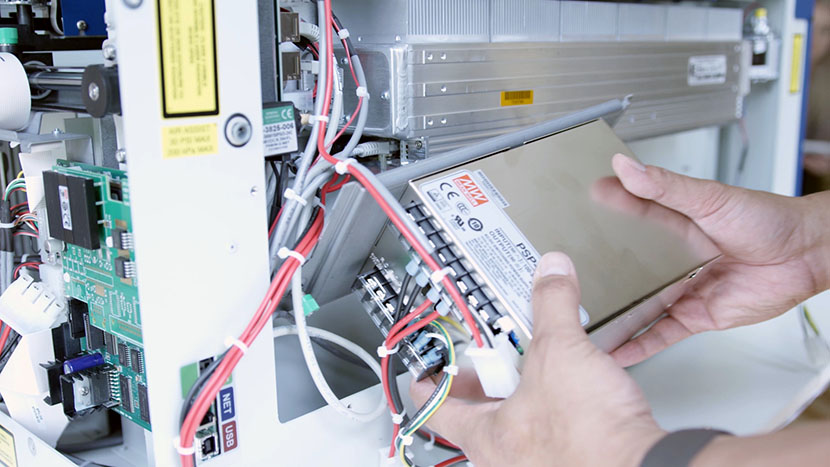
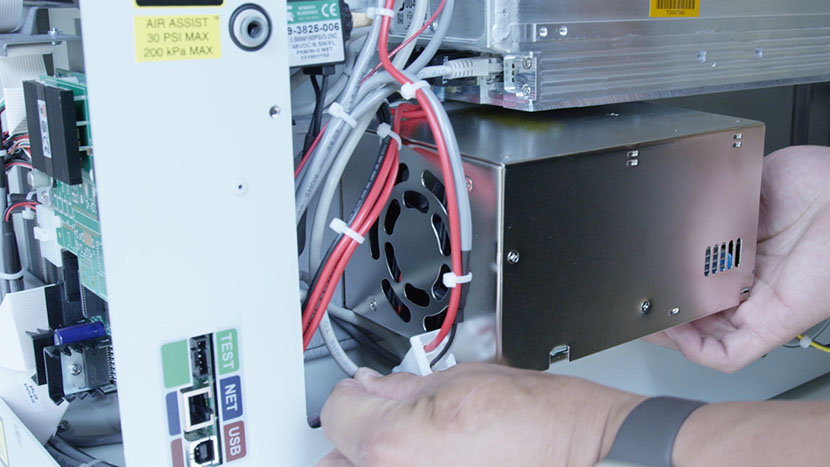
Locate the power supply on the left hand side of the machine.
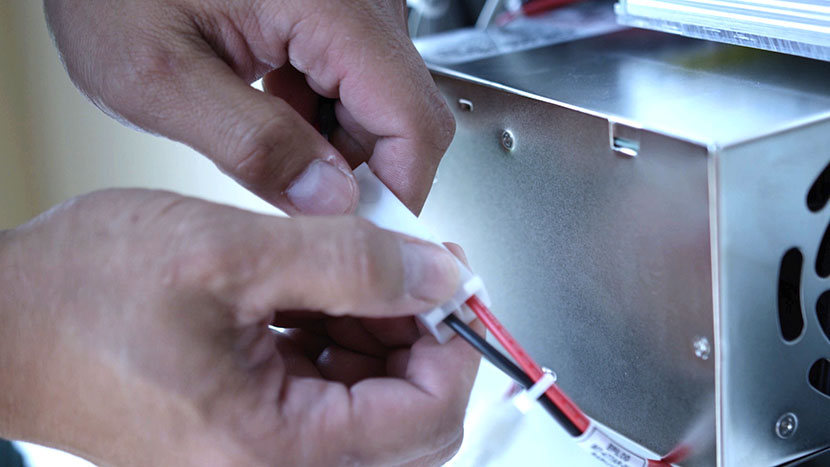
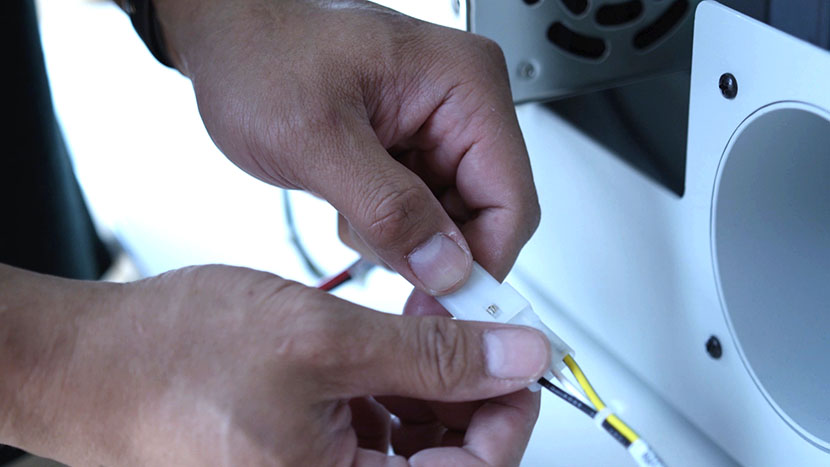
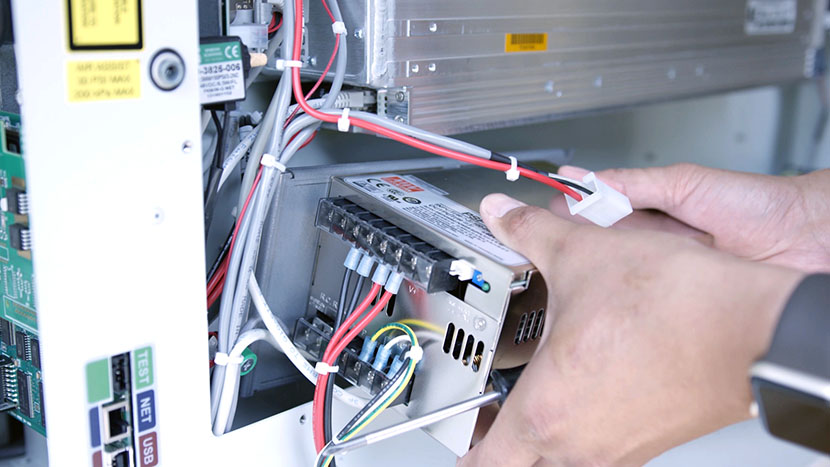
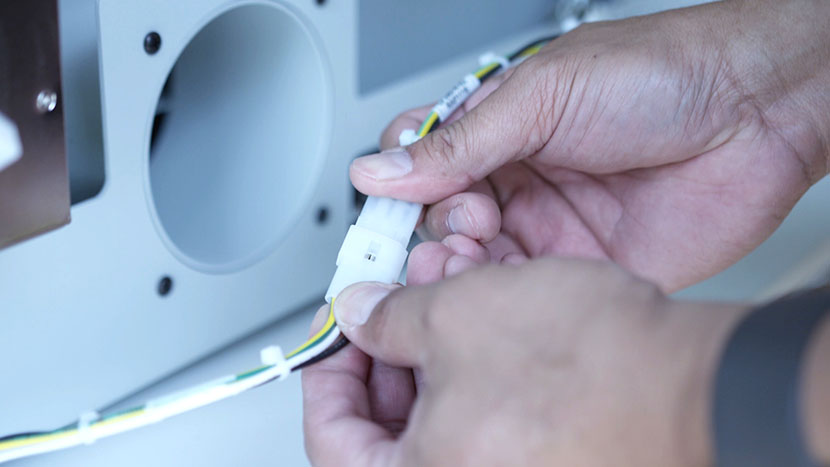
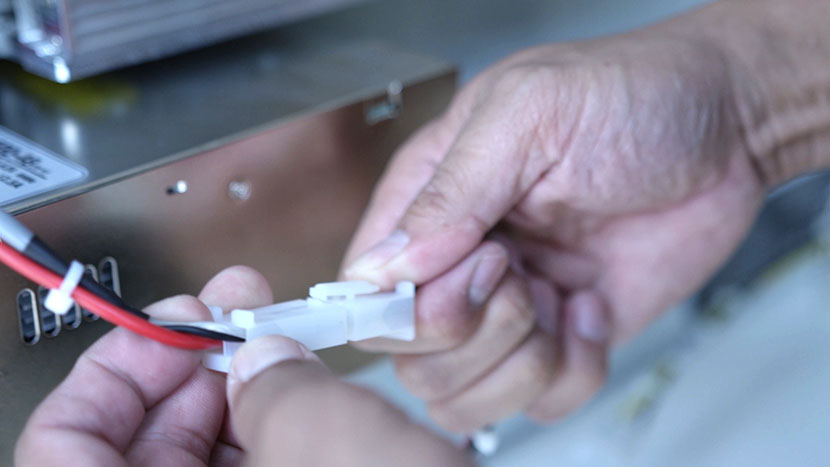
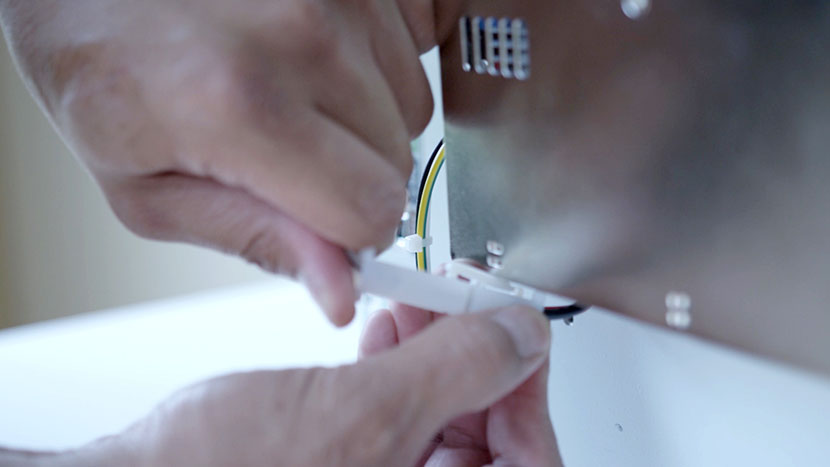
Disconnect the three electrical leads.
With a Philips head screwdriver, unscrew the green screws located on each side of the power supply.
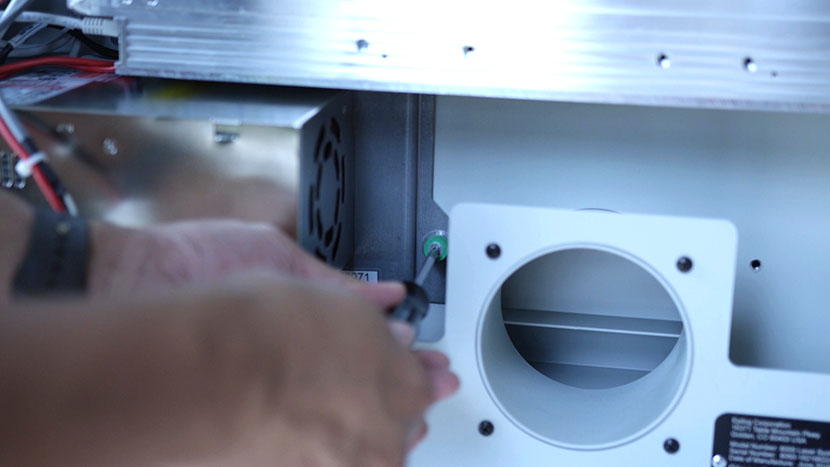
Remove the power supply from the machine.
Install New Power Supply
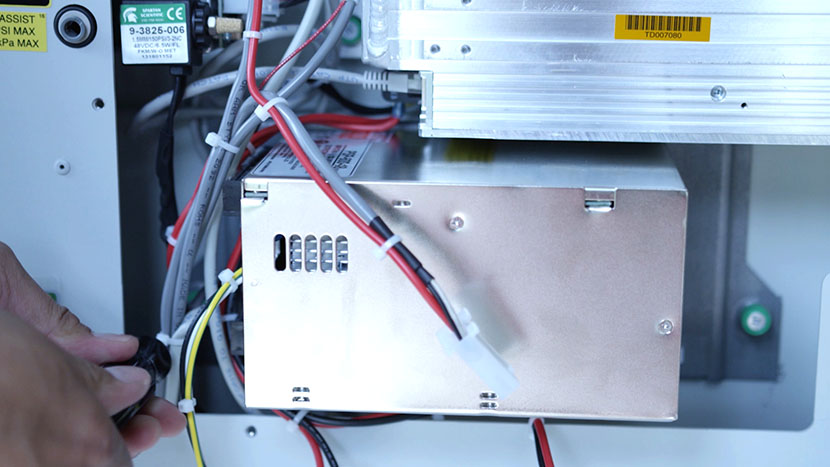
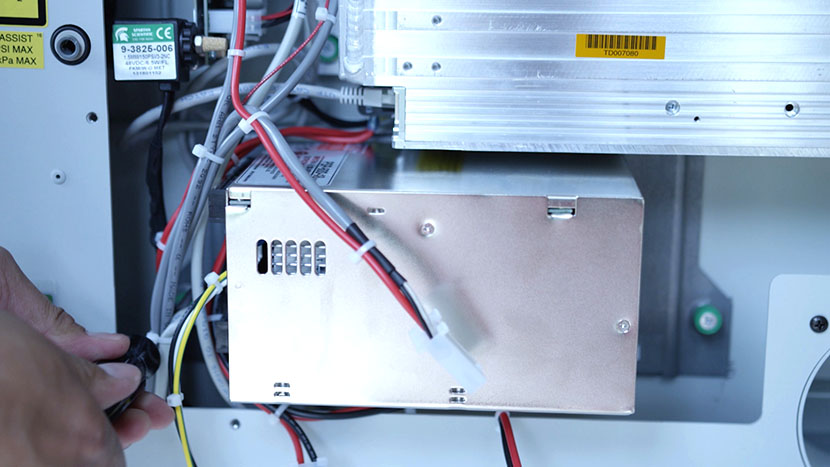
Replace the old power supply with the new one. Position the power supply in the machine with the green captive screws on the bottom.
Tighten the green captive screws.

Reconnect the three electrical leads. Reconnect the green with yellow stripe lead to the longer of the two leads coming from the power switch.
Tuck in the wires under the power supply.
Replace the back service panel and tighten all 8 screws.

Plug the machine in and turn it on.