
This guide covers replacing the table (Z-axis) motor on the Fusion and Fusion M2.
Parts Required
- Table (Z-Axis) Motor
Tools / Materials Required
- Allen Wrench Set
- Pencil or other marking tool
Safety First: Ensure the engraver is completely powered off and the power cord is disconnected before removing any panels or touching internal components.
Motor Removal
Power Off Engraver
Turn off the engraver.
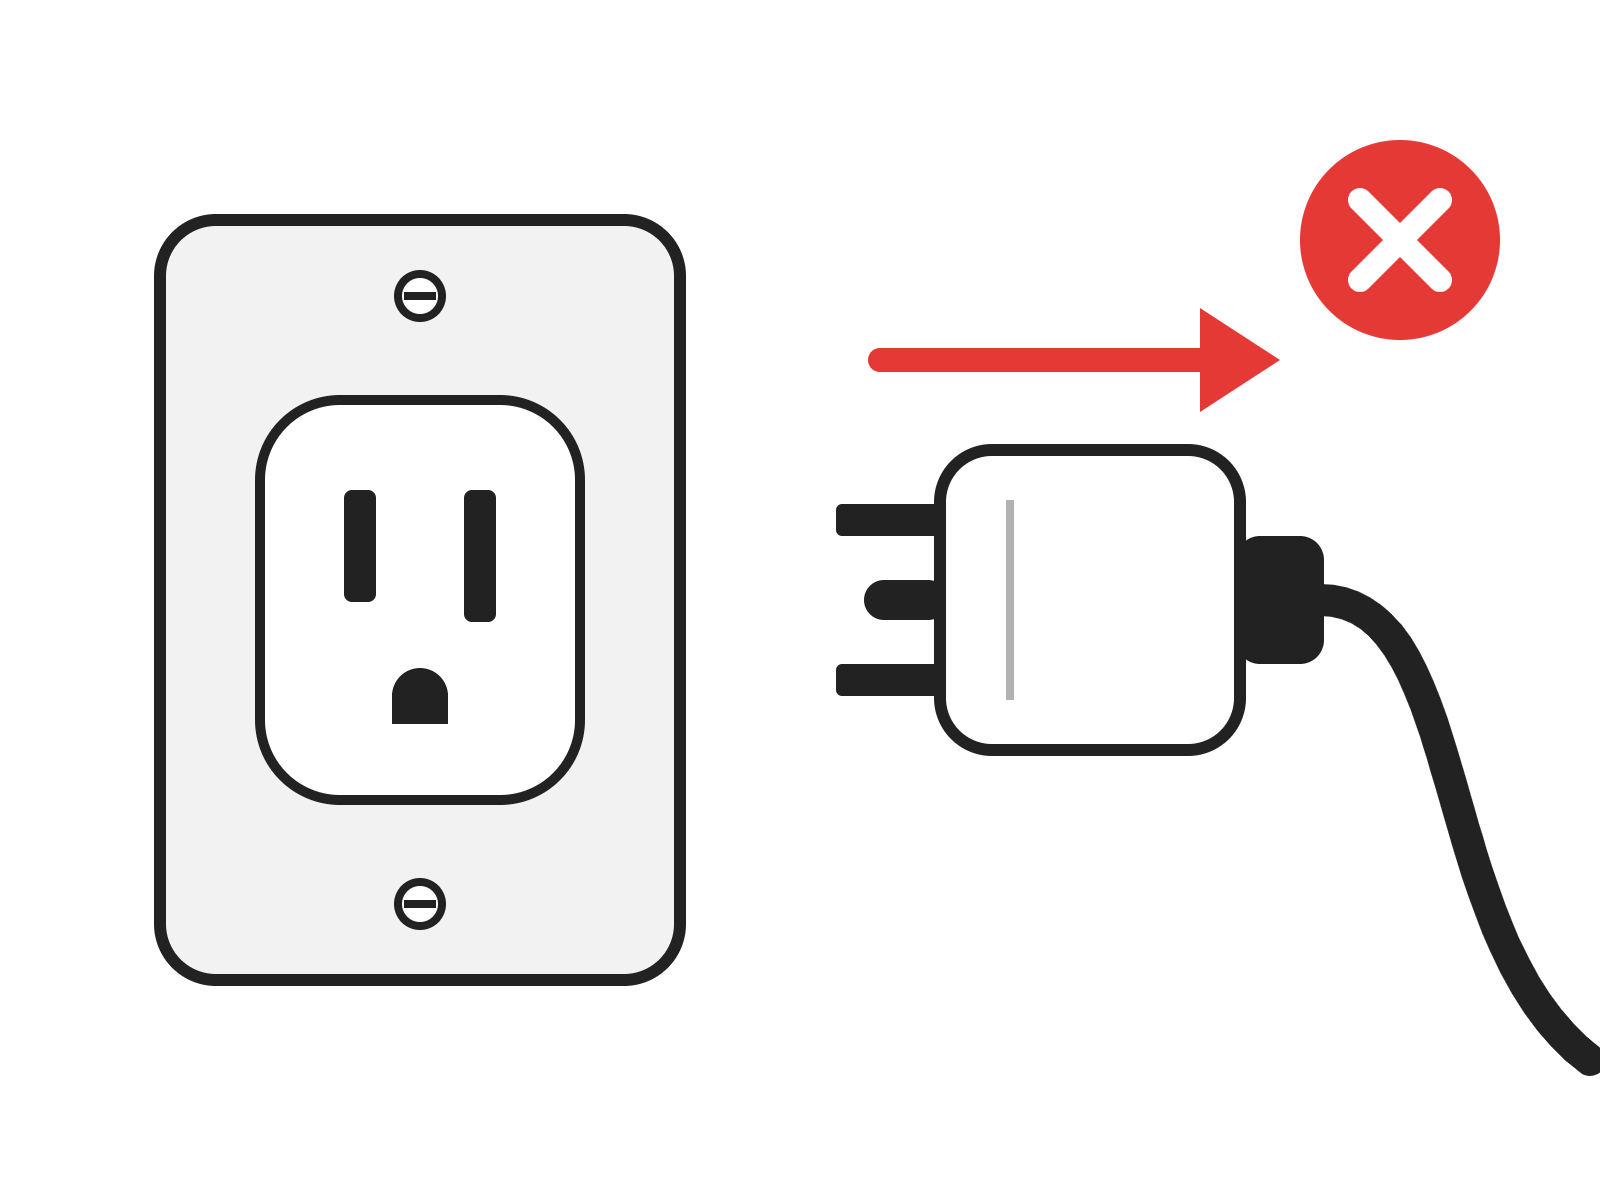
Disconnect From Power
Unplug the power cord from the engraver.
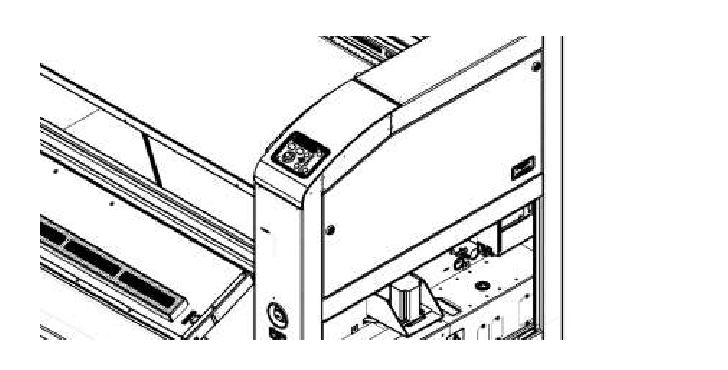
Remove the Right Lower Panel
Remove the right lower side panel to expose the table (Z-axis) motor.
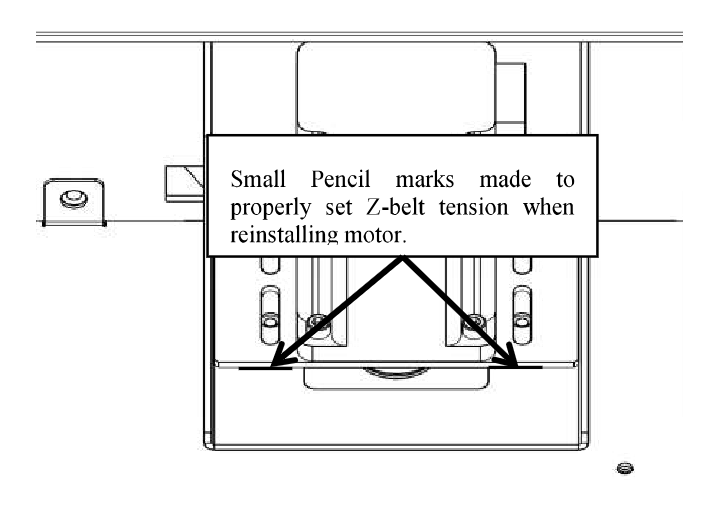
Mark the Bracket Position
With a pencil, make a small mark at the leading edge of the motor mounting bracket. You will use this mark to set the belt tension when you install the new motor.
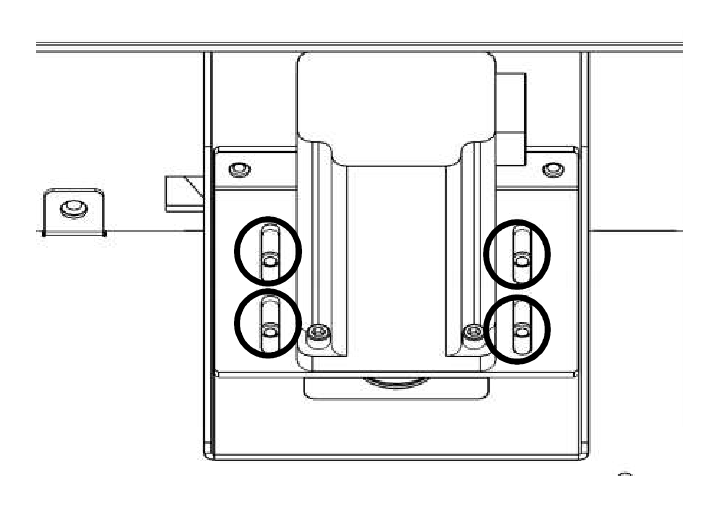
Loosen the Bracket Screws
Loosen the four screws around the motor mounting bracket (circled). Do not remove them.
Release the Belt Tension
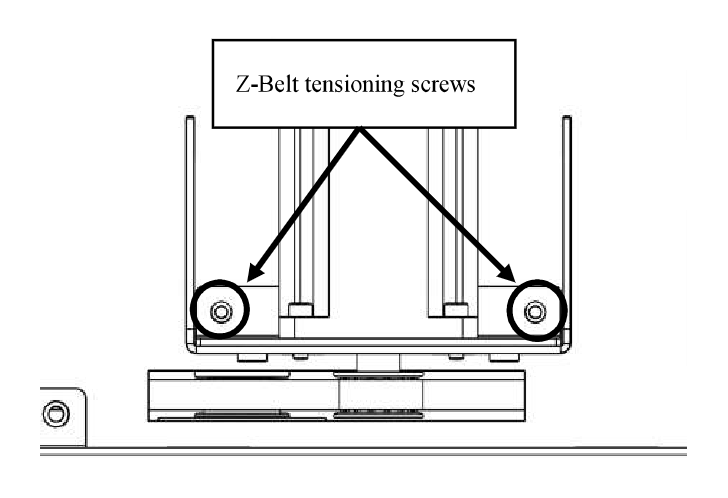
Loosen the two belt tensioning screws on either side of the motor to take the tension off the table belt.
Disconnect the Motor
Follow the motor harness back to its closest connector and disconnect it there.
Remove the Motor
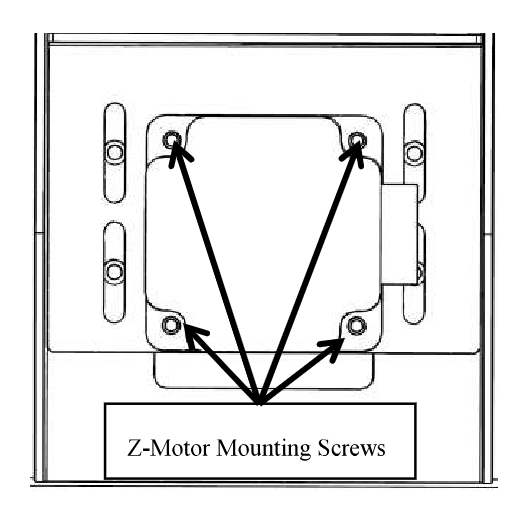
Remove the four screws holding the motor to the adjustment bracket, then remove the motor.
Motor Installation
Install the New Motor
Place the new motor in the mounting bracket with the belt fitted on the motor pulley. Install the four motor mounting screws and tighten them.
Reconnect the Motor
Reconnect the motor harness at the connector you unplugged earlier.
Set the Belt Tension
Tighten the two belt tensioning screws until the slack is out of the belt and the front of the motor mounting bracket lines up with your pencil marks.
Note: The pencil marks are a starting point. The belt may need a little more tension.
Tighten the Bracket Screws
Tighten the four screws that secure the motor mounting bracket to the chassis.
Replace the Lower Panel
Reinstall the right lower side panel.
Reconnect Power and Test
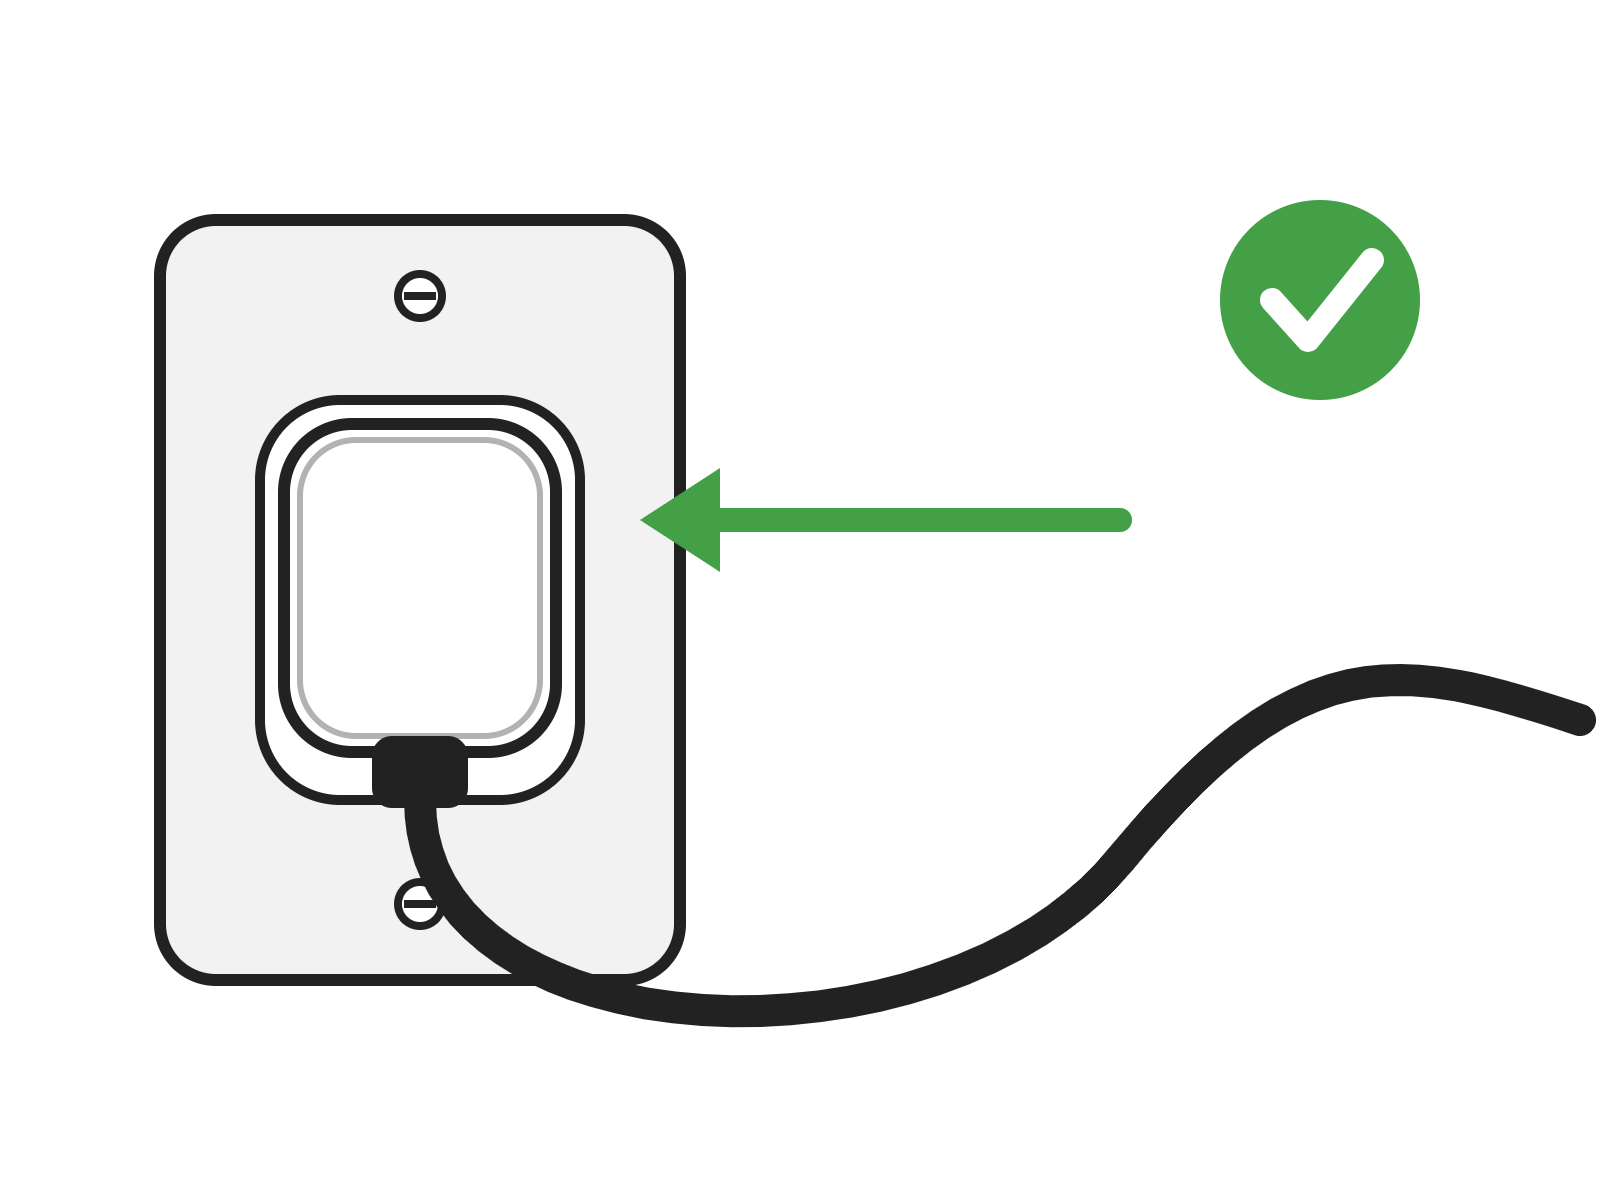
Plug the power cord back in, turn on the engraver and check that the table moves up and down correctly.
