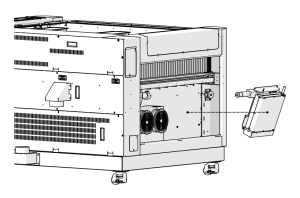
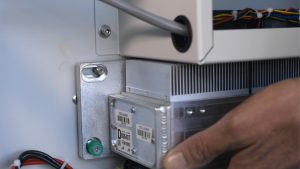
This guide covers replacing the front door interlock on the Fusion Pro 32 and 48. The interlock is mounted in the front drop-down door.
Parts Required
- FT1030 – Assy, Interlock, Fusion
Tools Required
- Phillips Screwdriver
Safety First: Ensure the engraver is completely powered off and the power cord is disconnected before working on the interlock.
Front Door Interlock Removal
Turn Off Engraver
Turn off the engraver.
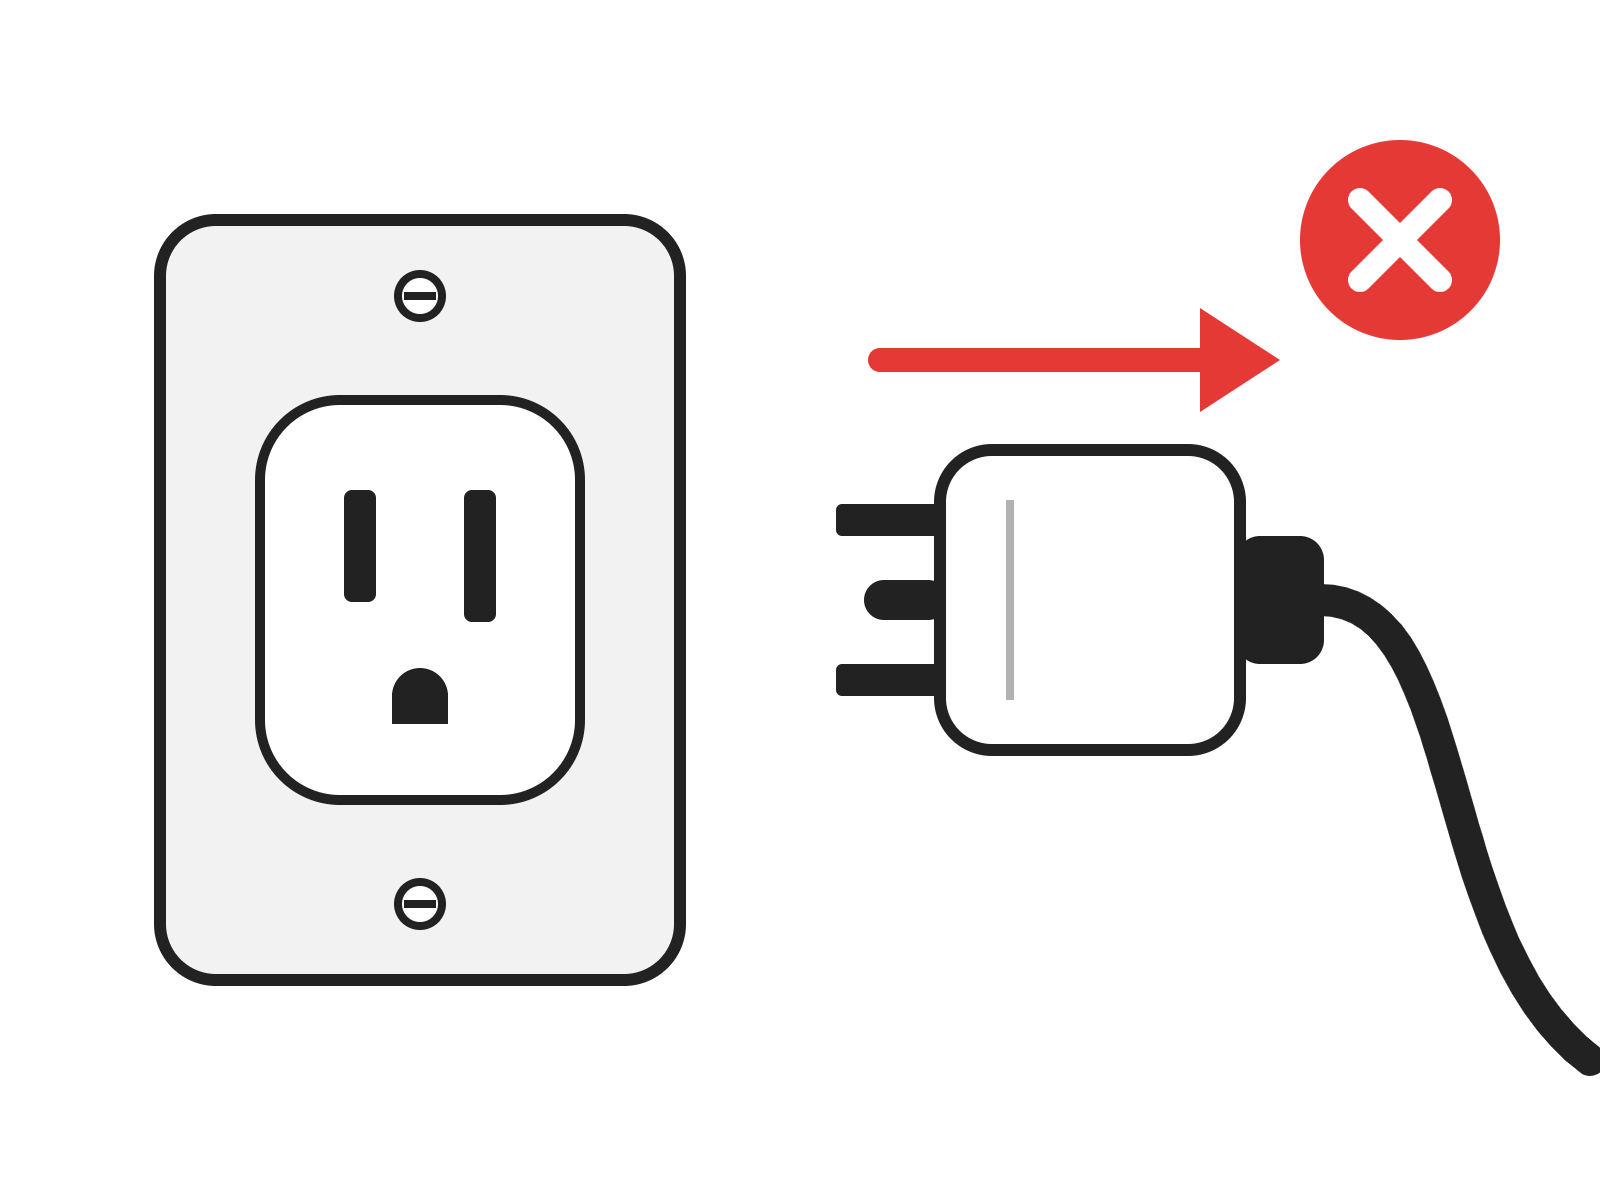
Disconnect from Power
Unplug the engraver from its power source.
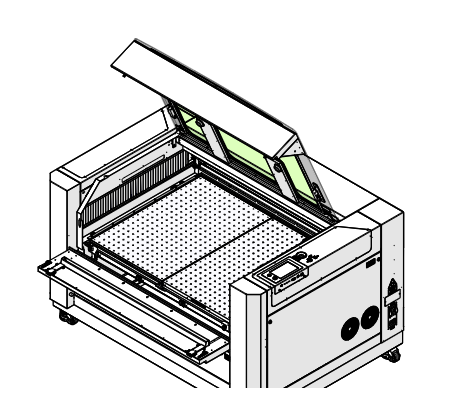
Open Top and Front Doors
Open the top door and the front drop-down door of the engraver.
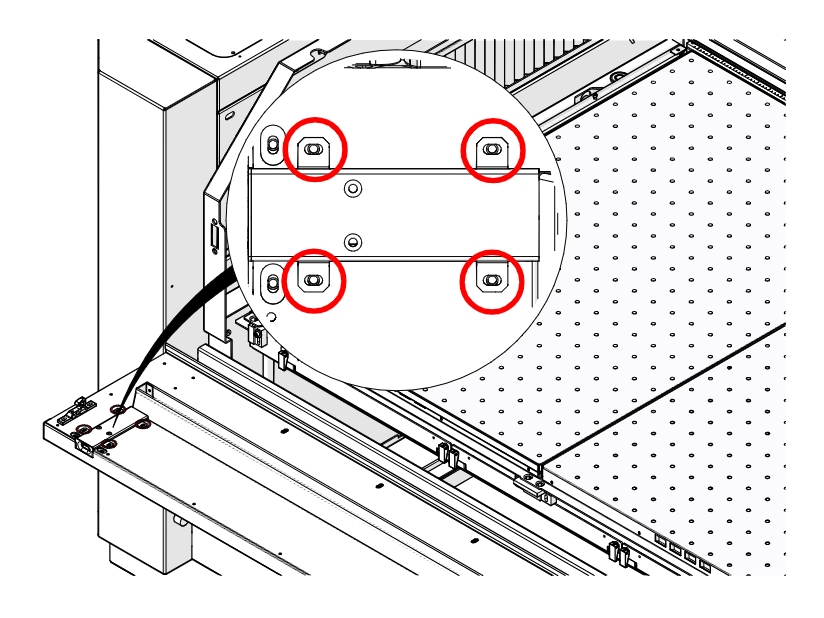
Remove Interlock Assembly Screws
Loosen and remove the four Phillips screws on the interlock assembly (circled in red).
Disconnect Interlock Harness
Gently lift the interlock assembly from the drop-down door and disconnect its electrical harness.
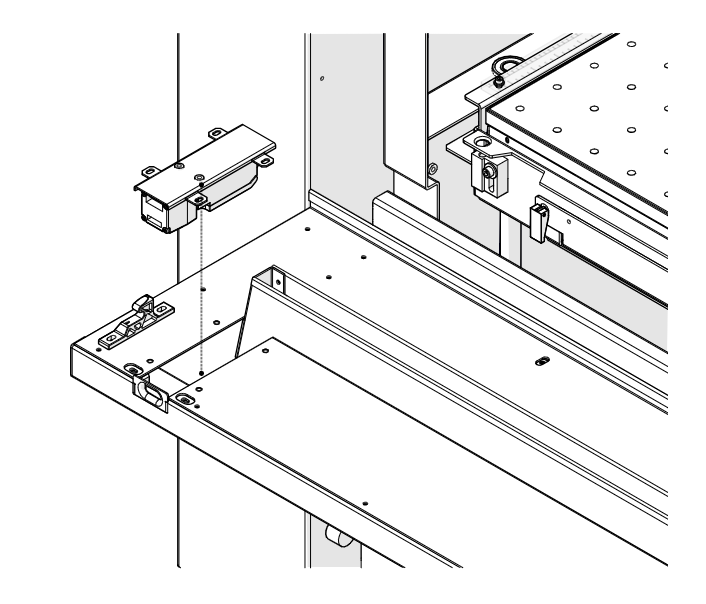
Remove Interlock Assembly
Remove the interlock assembly from the front drop-down door.
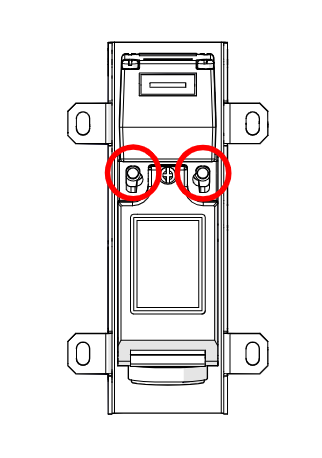
Remove Interlock Box Screws
Loosen and remove the two Phillips screws that secure the interlock box to the interlock mounting plate (circled in red).
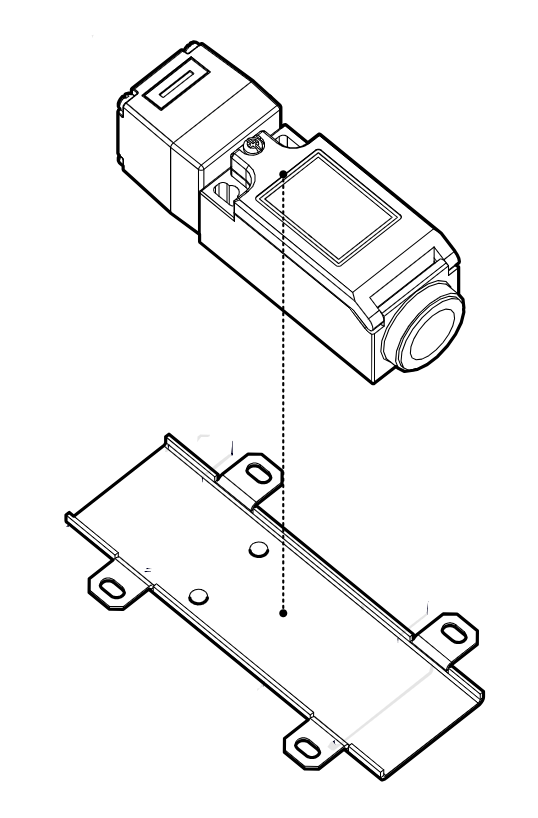
Separate Interlock Box
Separate the interlock box from the interlock mounting plate.
Front Door Interlock Installation
Place Interlock Box
Place the new FT1030 interlock box on the interlock mounting plate.
Install Interlock Box Screws
Install and tighten the two Phillips screws that secure the interlock box to the mounting plate.
Connect Interlock Harness
Set the interlock assembly on the front drop-down door and connect its electrical harness.
Install Interlock Assembly
Install the interlock assembly in the front drop-down door.
Install Interlock Assembly Screws
Install and tighten the four Phillips screws on the interlock assembly.
Close Front Door
Close the front drop-down door.
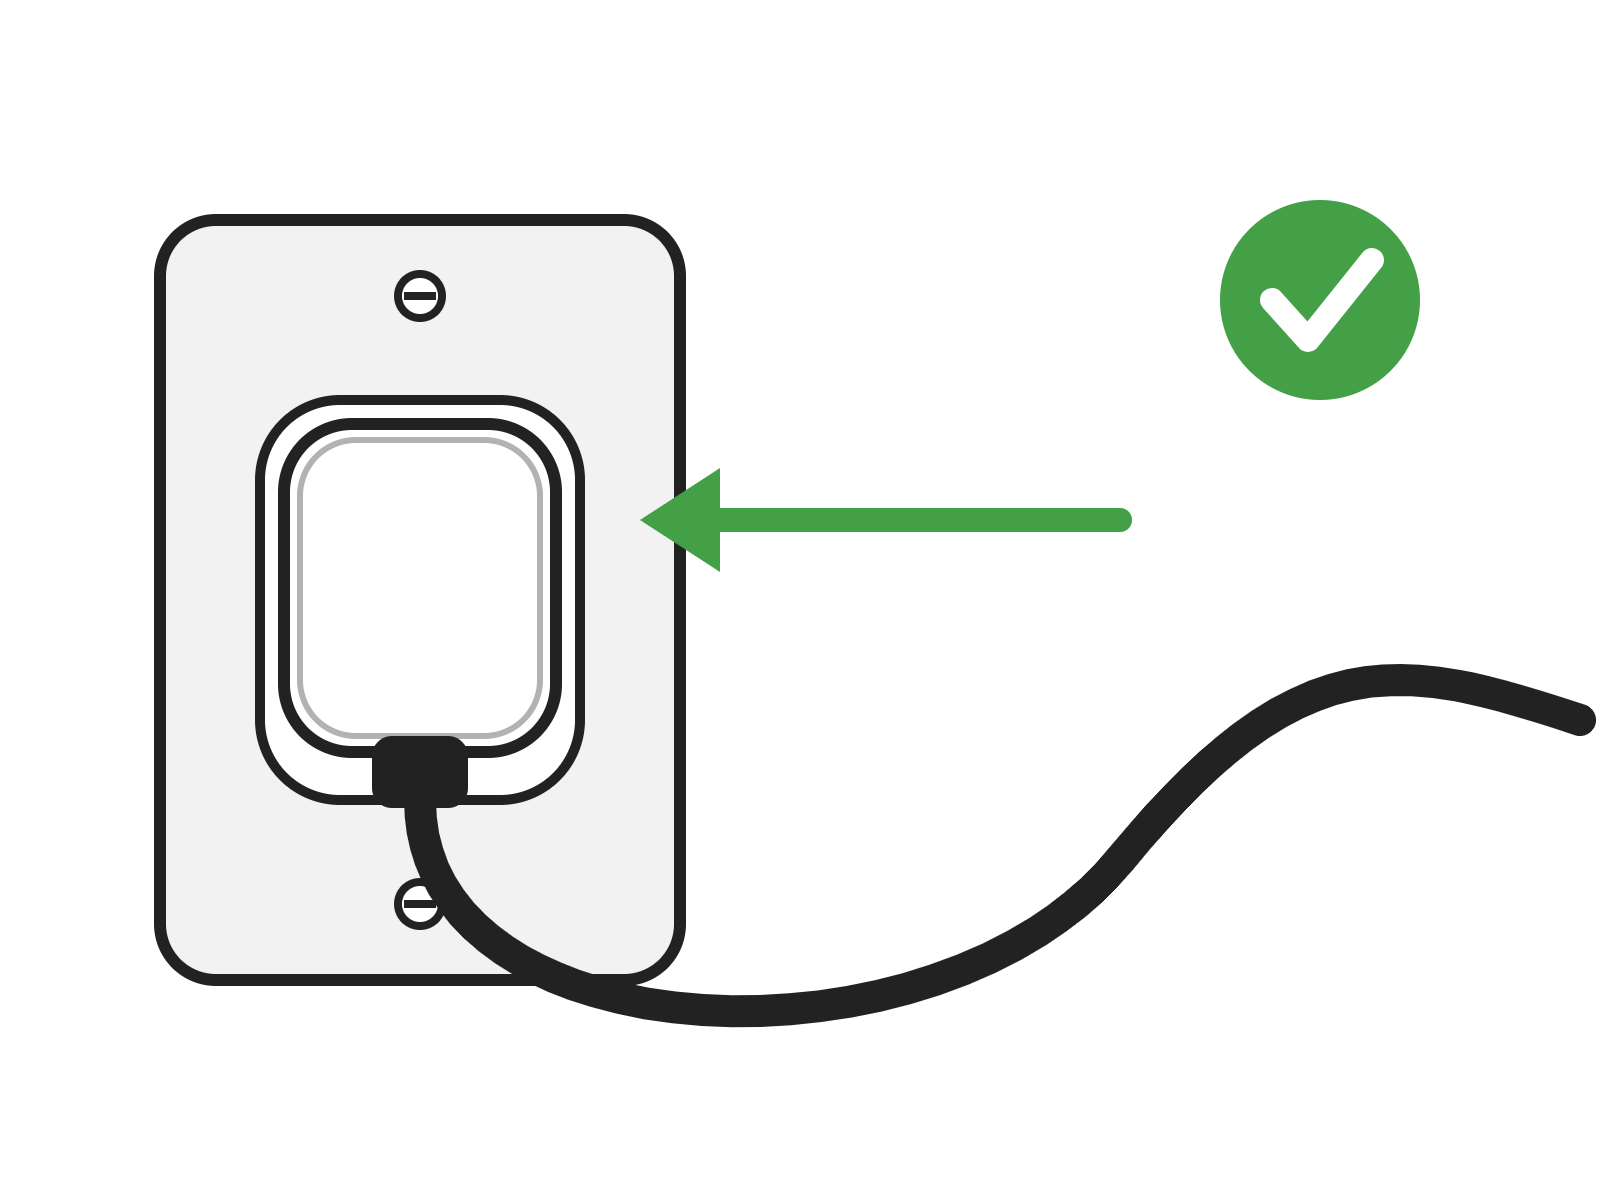
Power On
Reconnect the engraver to power and turn it on.
Check Door Movement
Open and close the top door to make sure it moves properly.