Estimated time: 30–45 minutes • Skill: Intermediate
This guide outlines the procedure for replacing the overhead camera on the Epilog Fusion Pro 32 and 48 laser systems. Following these steps will ensure the camera is removed, installed, and updated correctly.
For this procedure, you will need the required part: CS0834 – Assy, Camera Overhead. You will also need the following tools: a 5/16″ Nut Driver or an Adjustable Wrench, a Phillips Head Screwdriver, and an Anti-Static Strap.
Camera Removal
- Power down and disconnect the machine.
Turn off the engraver and then disconnect the machine from its power source.
- Remove the camera cover.
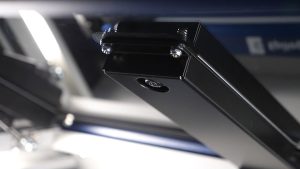
Open the top door of the engraver. Loosen and remove the six (6) Phillips screws that secure the camera cover. Remove the cover to expose the camera assembly.
- Disconnect the camera.
Place the anti-static strap around your wrist and attach the clamp to a bare metal surface on the engraver. After grounding yourself, disconnect the camera’s USB cable.
- Remove the camera assembly.
Loosen and remove the four (4) 5/16″ nuts that secure the camera assembly to the top door. Once the nuts are removed, take the camera assembly out of the engraver.
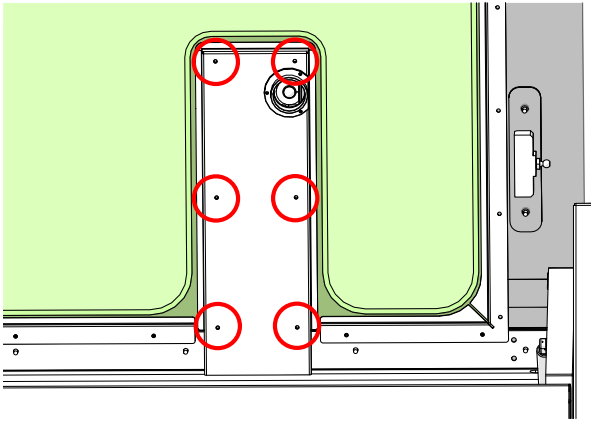
Image 1: Location of screws on the camera cover.
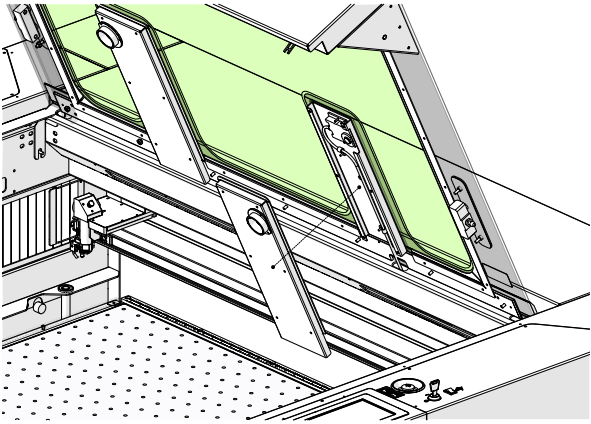
Image 2: Exposed camera assembly.
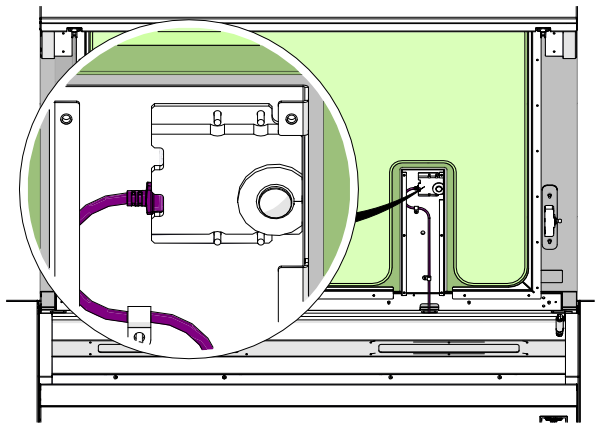
Image 3: USB cable connection.
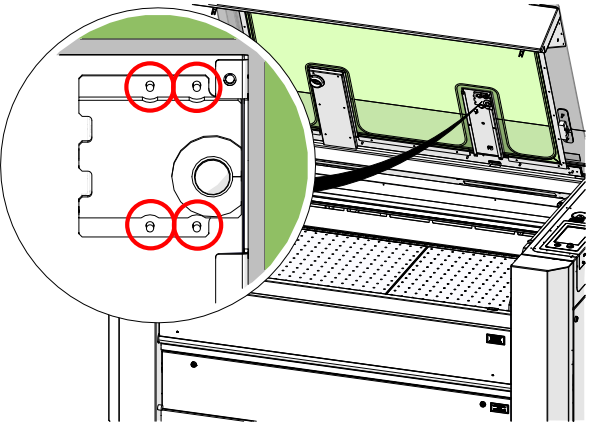
Image 4: Removing the nuts.
Camera Installation
- Mount the new camera assembly.
With the anti-static strap still in place, position the new camera assembly over the camera mounting studs on the top door. Install and tighten the four nuts to secure the assembly.
- Reconnect the camera and cover.
Connect the new camera’s USB cable. Reinstall the camera cover and secure it by tightening the six (6) Phillips screws.
- Power on the machine.
Reconnect the engraver to its power source and turn the machine on.
Image 5: Reconnecting the USB cable.
Image 6: Reinstalling the camera cover.
Firmware Version Check and Calibration
-
Check your firmware version.
On the display panel, press the gear icon in the upper-right corner to open the Settings menu. The current firmware version is shown at the bottom of the screen.
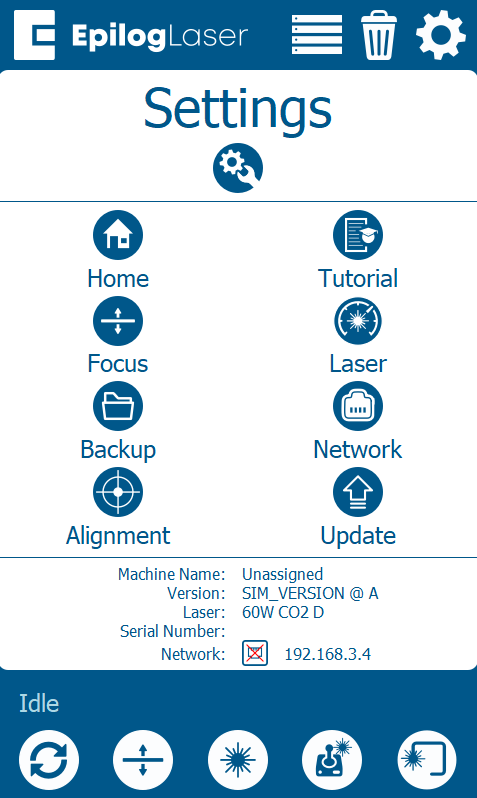
Image 7: Settings menu showing firmware version.
If your firmware version is 1.1.2.8 or later, you can skip directly to the Camera Calibration section below. If it’s earlier than 1.1.2.8, follow the steps below to update the cameras first.
-
Firmware is older than 1.1.2.8 — Update Cameras
-
Access Advanced Settings.
In the Settings screen, press and hold the word “Settings” at the top of the display to enter the Advanced Settings menu.
-
Update the cameras.
In the Advanced Settings menu, navigate to Diagnostics > Camera and press “Test & Update” then “Update”. Allow the update process to complete.
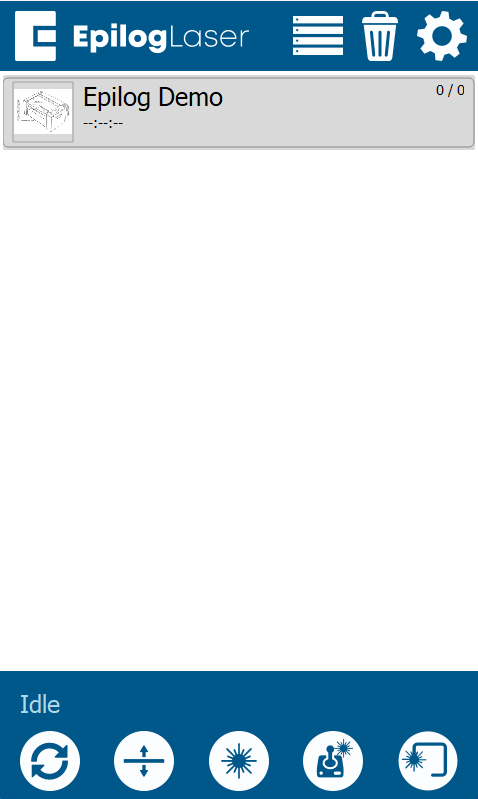
Image 8: Accessing Advanced Settings.
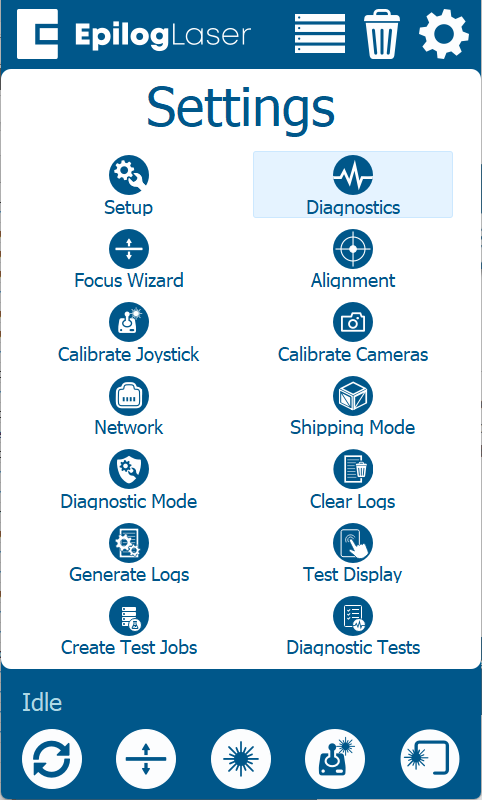
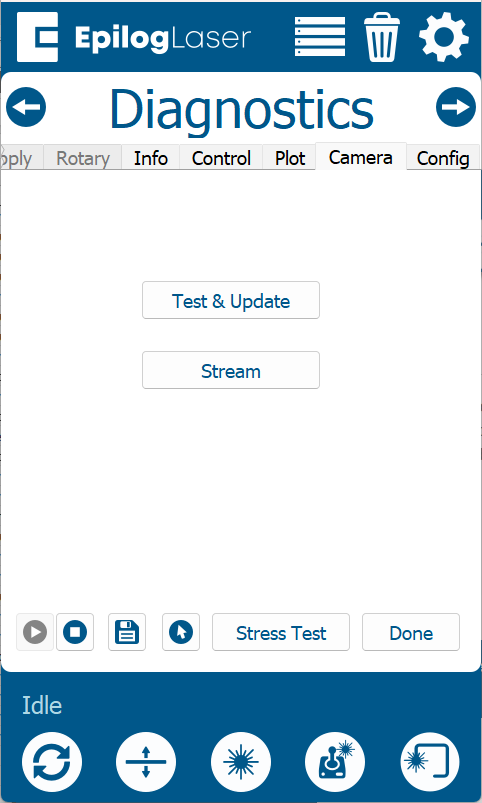
Image 9: Diagnostics screen showing update.
-
Access Advanced Settings.
Important: Regardless of firmware version, you must complete the Camera Calibration after replacing the camera. The calibration procedure is linked in the panel on the right.