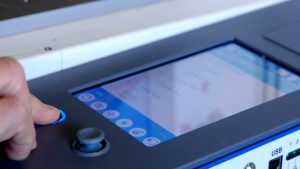
This guide covers replacing the fiber controller PCB on the Fusion Galvo G100. The PCB is reached through the bottom of the engraver.
Parts Required
- LC0808 – PCBA, Fiber Controller
Tools Required
- T30 and T10 Torx Drivers
Safety First: Ensure the engraver is completely powered off and the power cord is disconnected before removing any panels or touching internal electronics. This procedure requires laying the engraver on its back, so have a second person available to help.
Fiber PCB Removal
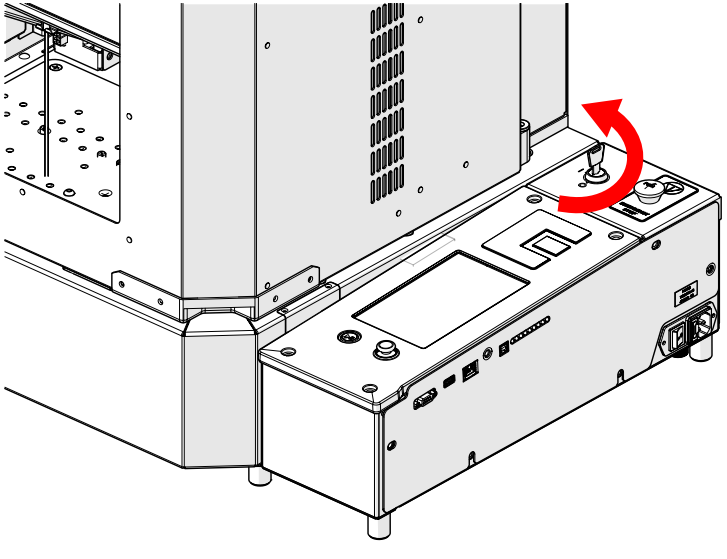
Turn Off Engraver
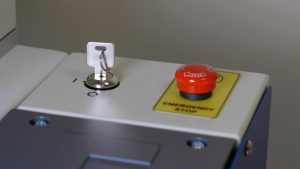
Turn the key switch to the off position to power down the engraver.

Disconnect from Power
Unplug the power cord from the engraver.
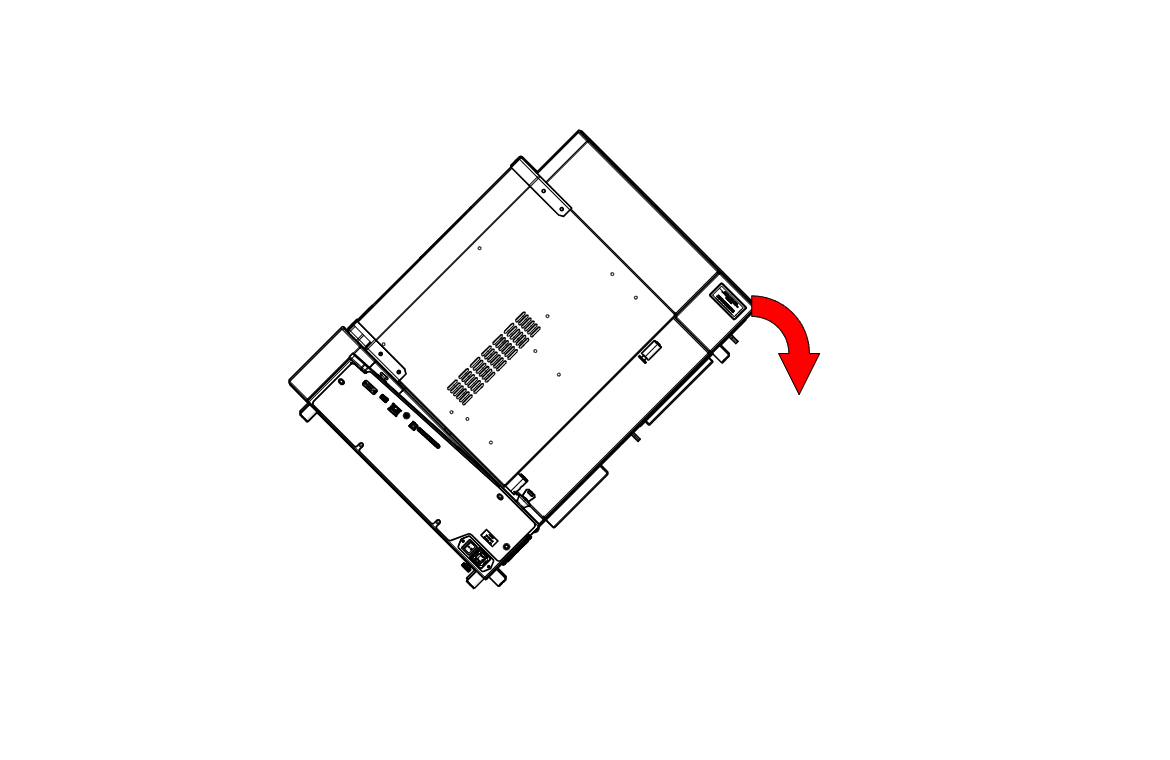
Tilt Engraver
Carefully tilt the engraver backward.
Note: The engraver is heavy. Use two people to tilt it and lower it onto its back.
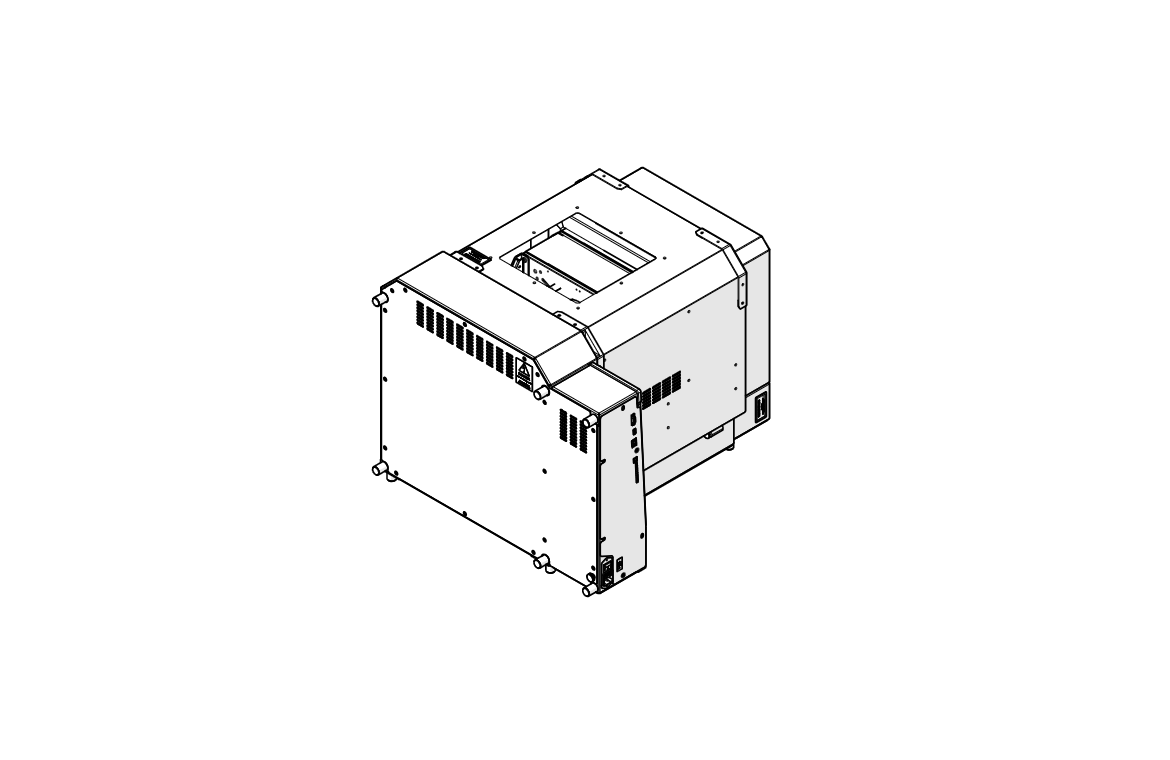
Lay Engraver on Its Back
Lower the engraver until it rests on its back, giving access to the bottom panel.
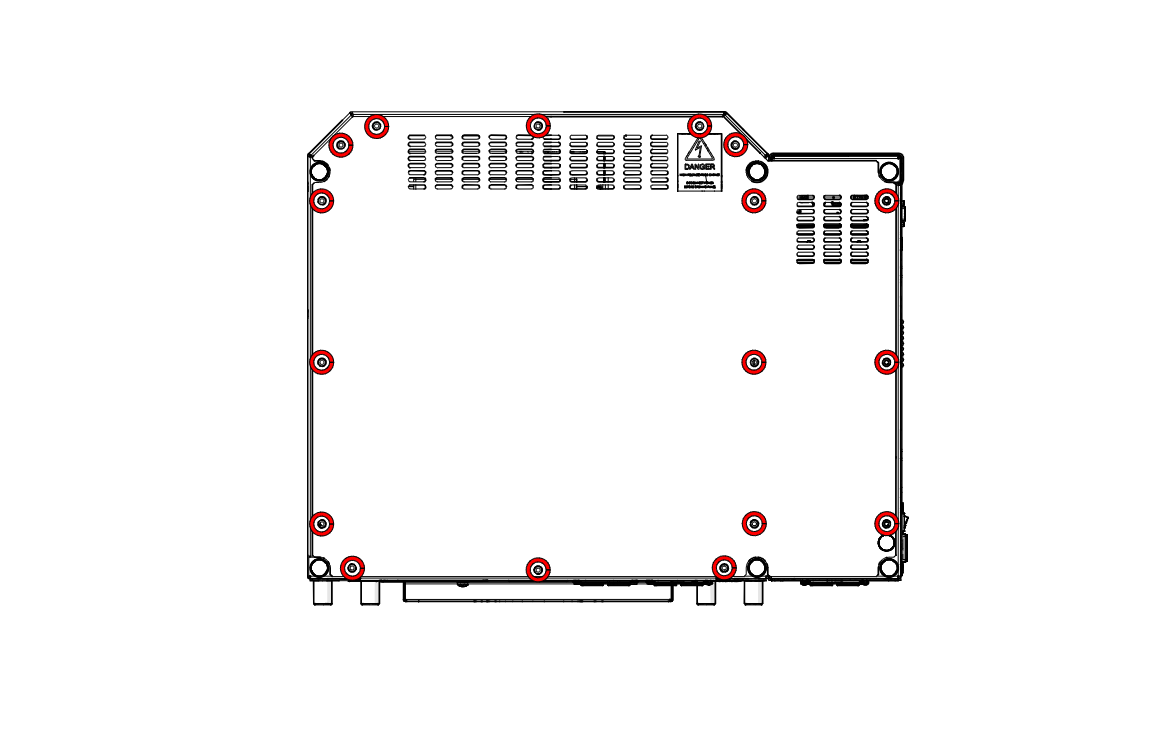
Remove Bottom Panel Screws
Loosen and remove the screws around the bottom panel (highlighted in red).
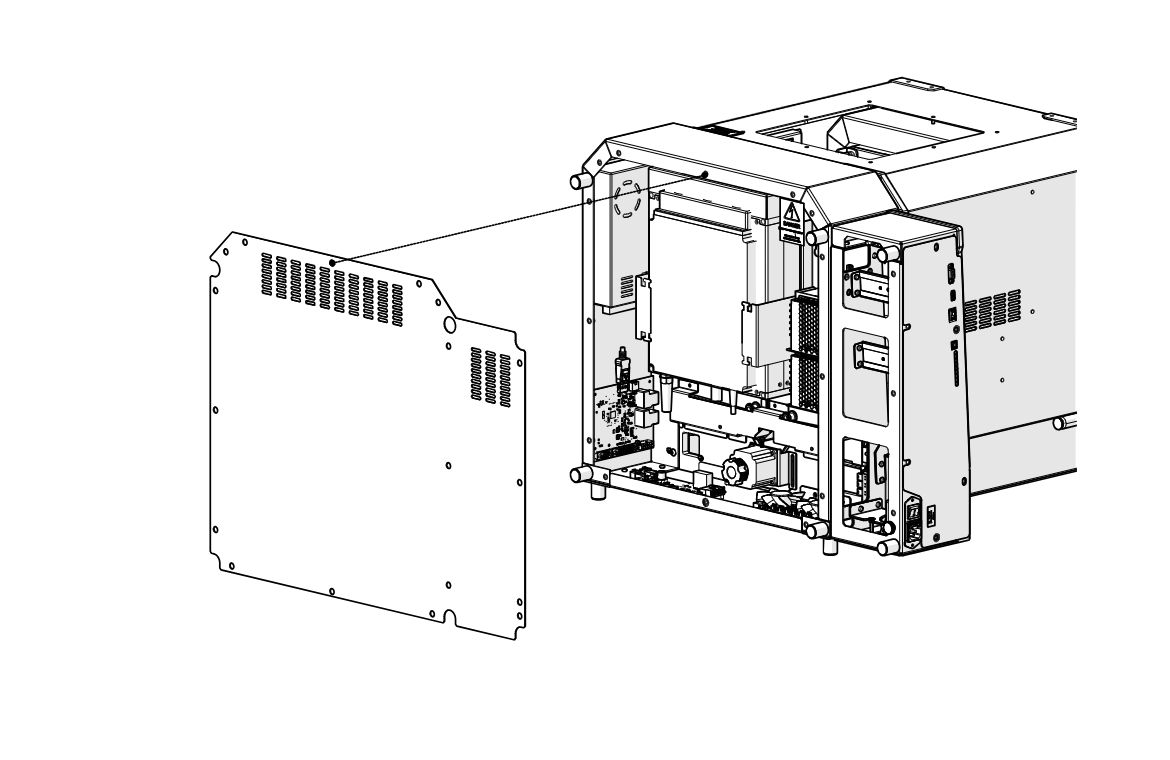
Remove Bottom Panel
Lift the bottom panel off the engraver and set it aside.
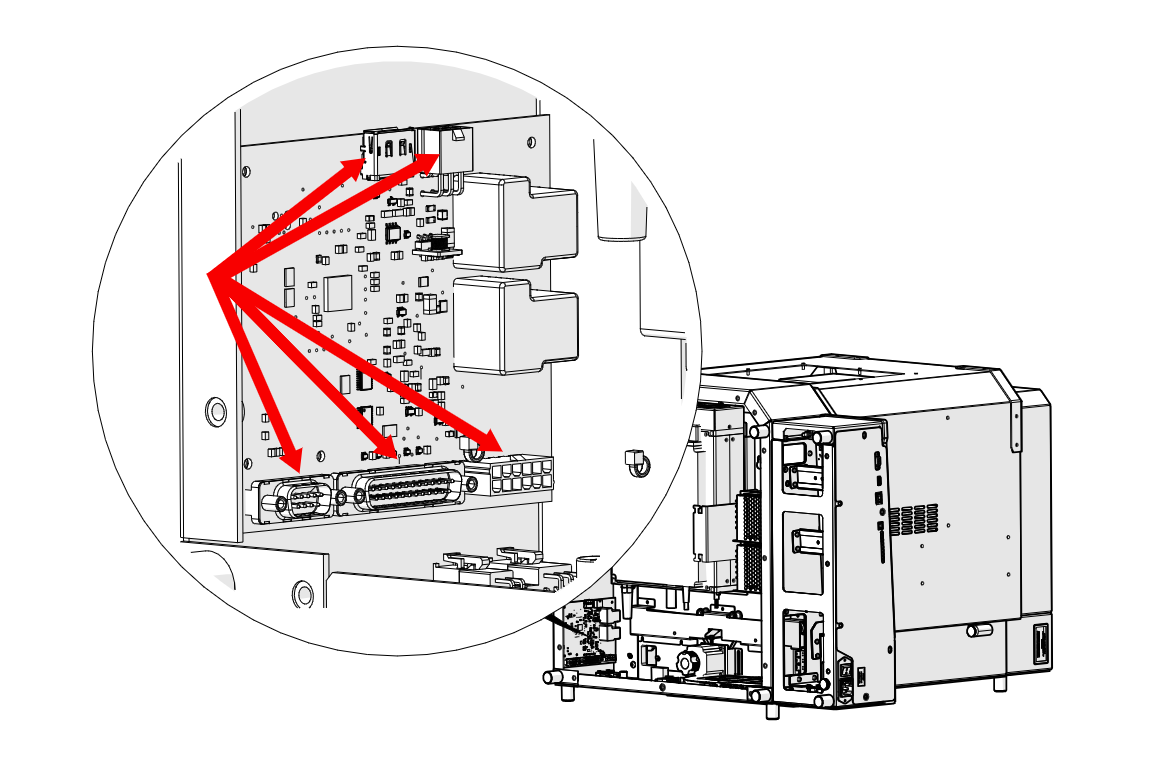
Disconnect Harnesses
Follow each harness to the fiber PCB and disconnect it at the connectors shown by the arrows.
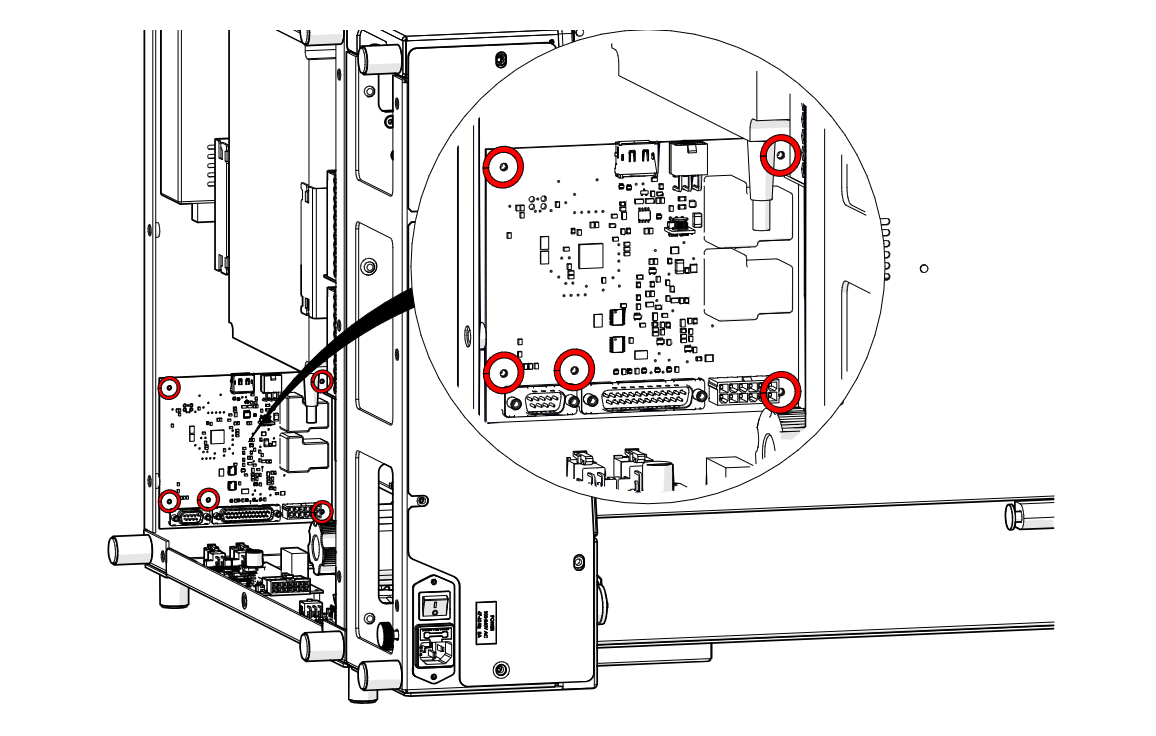
Remove PCB Screws
Loosen and remove the five screws securing the PCB (highlighted in red).
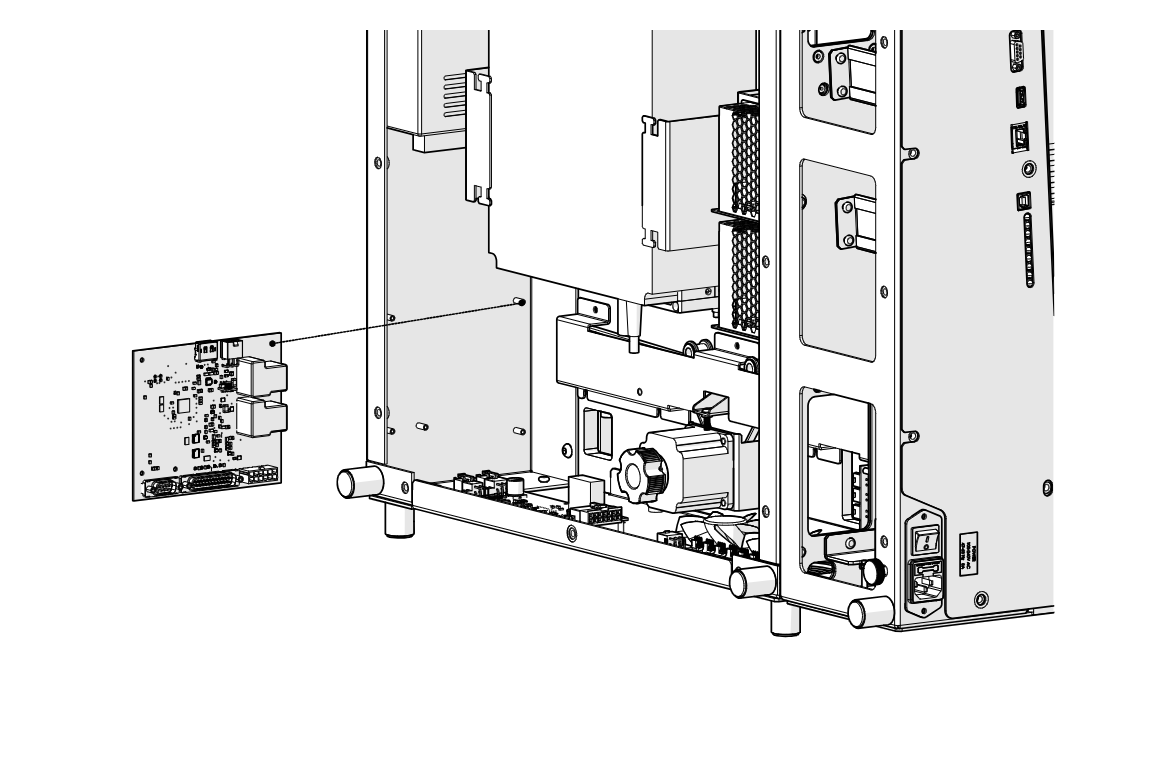
Remove PCB
Remove the PCB from the engraver.
Fiber PCB Installation
Install PCB
Place the new LC0808 fiber controller PCB into position.
Install PCB Screws
Install and tighten the five PCB screws (highlighted in red).
Connect Harnesses
Reconnect each harness to the connectors shown by the arrows.
Install Bottom Panel
Set the bottom panel back on the engraver.
Install Bottom Panel Screws
Install and tighten the screws around the bottom panel.
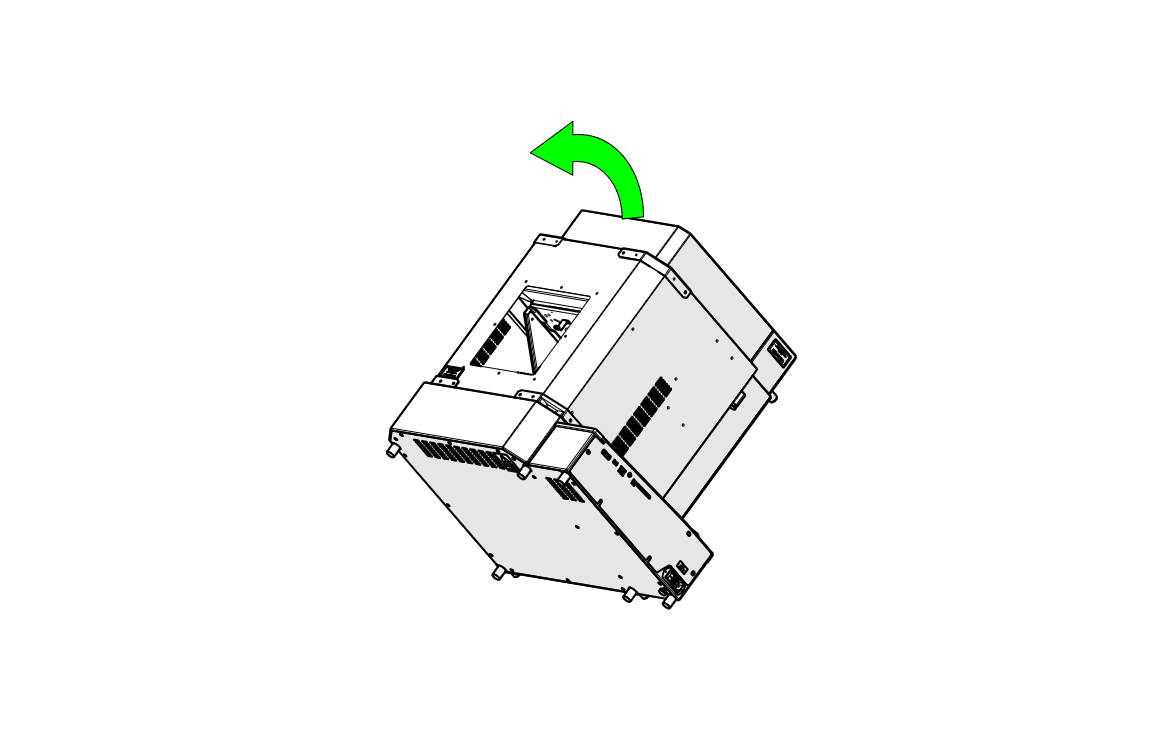
Tilt Engraver Upright
With a second person, tilt the engraver back toward its upright position.
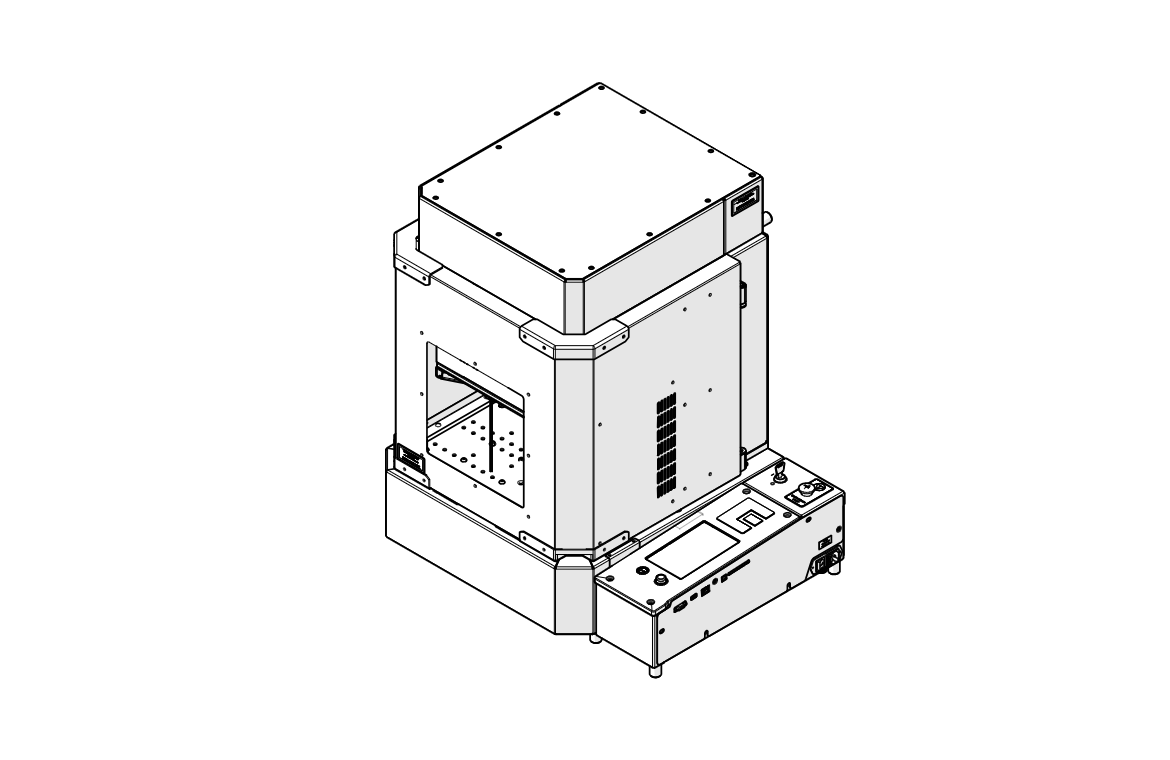
Return Engraver Upright
Set the engraver down in its upright position.

Connect to Power
Plug the power cord back into the engraver.