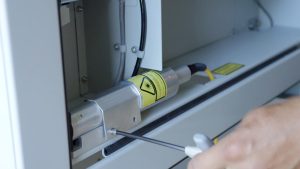
Esta guía describe cómo extraer el láser IPG del Fusion M2 y cómo instalar posteriormente el láser JPT.
La seguridad es lo primero: asegúrate de que la máquina esté completamente apagada y desconectada del cable de alimentación antes de empezar.
Advertencia sobre la manipulación de la fibra óptica: Ten mucho cuidado al manipular el cable de fibra óptica amarillo. No lo retuerzas ni lo dobles en exceso, ya que esto provocaría daños permanentes.
Extracción del IPG del Fusion M2
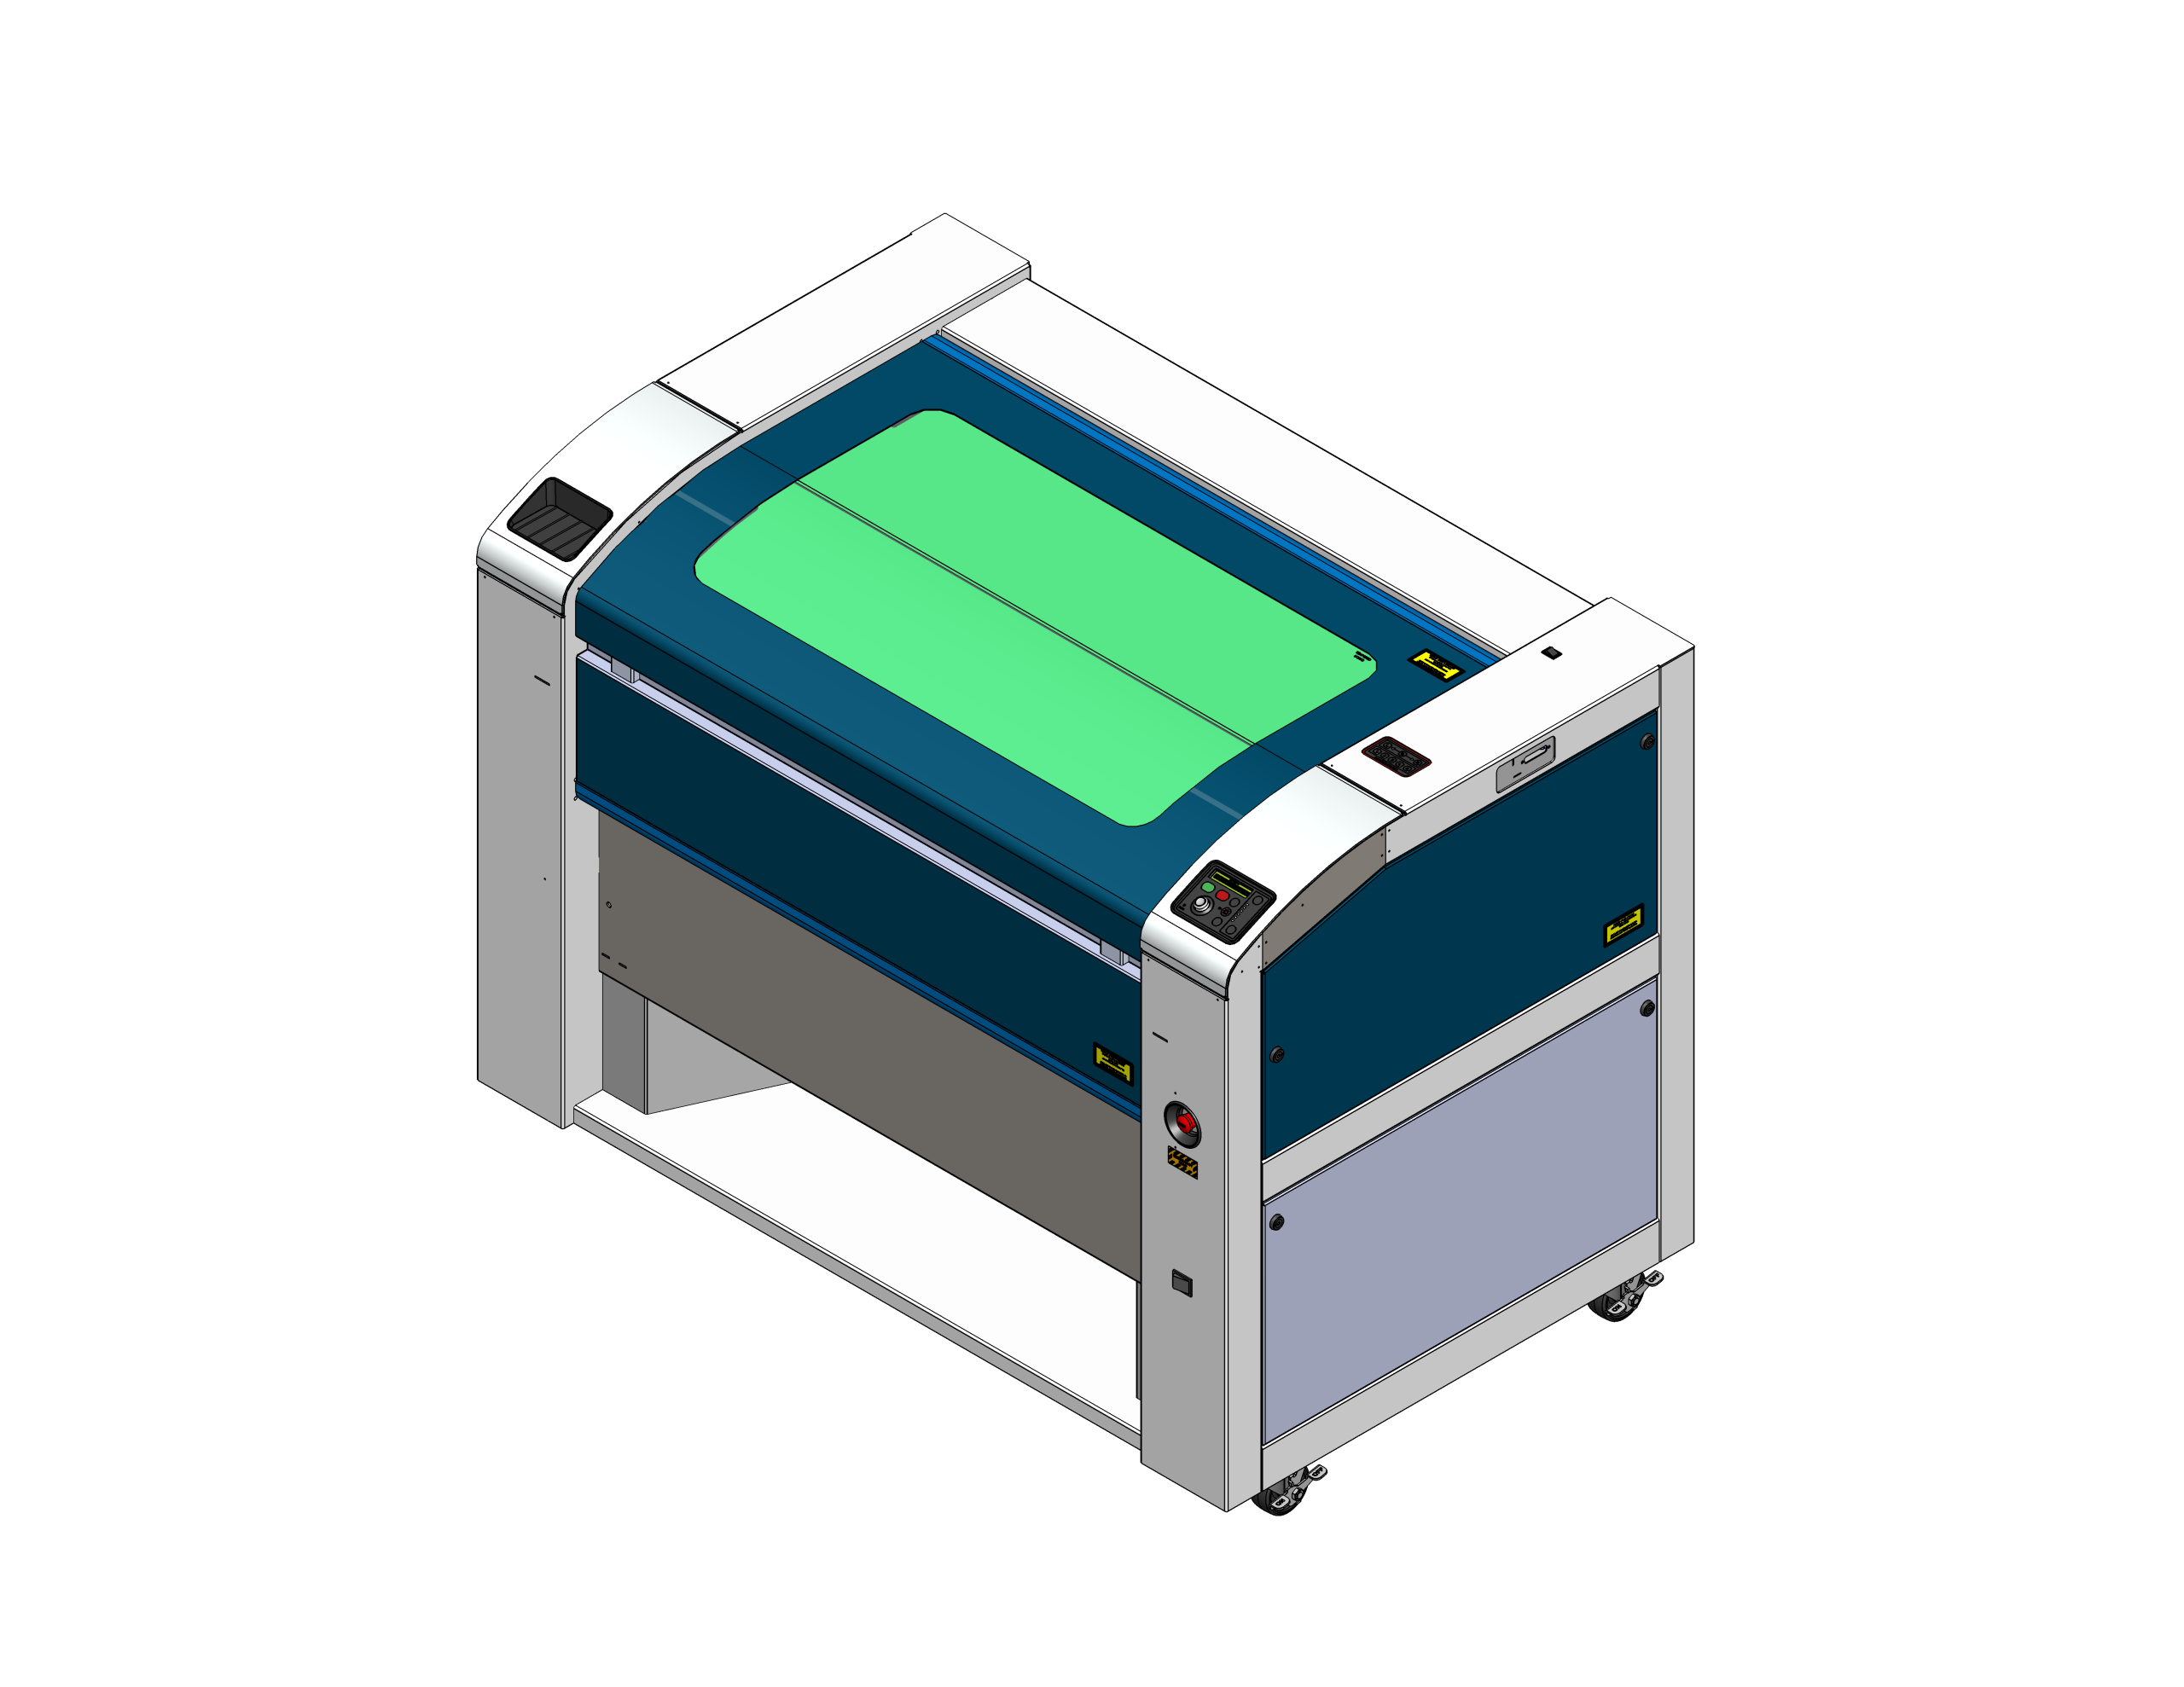
Apagar la máquina
Apague la máquina y desconecte el cable de alimentación.
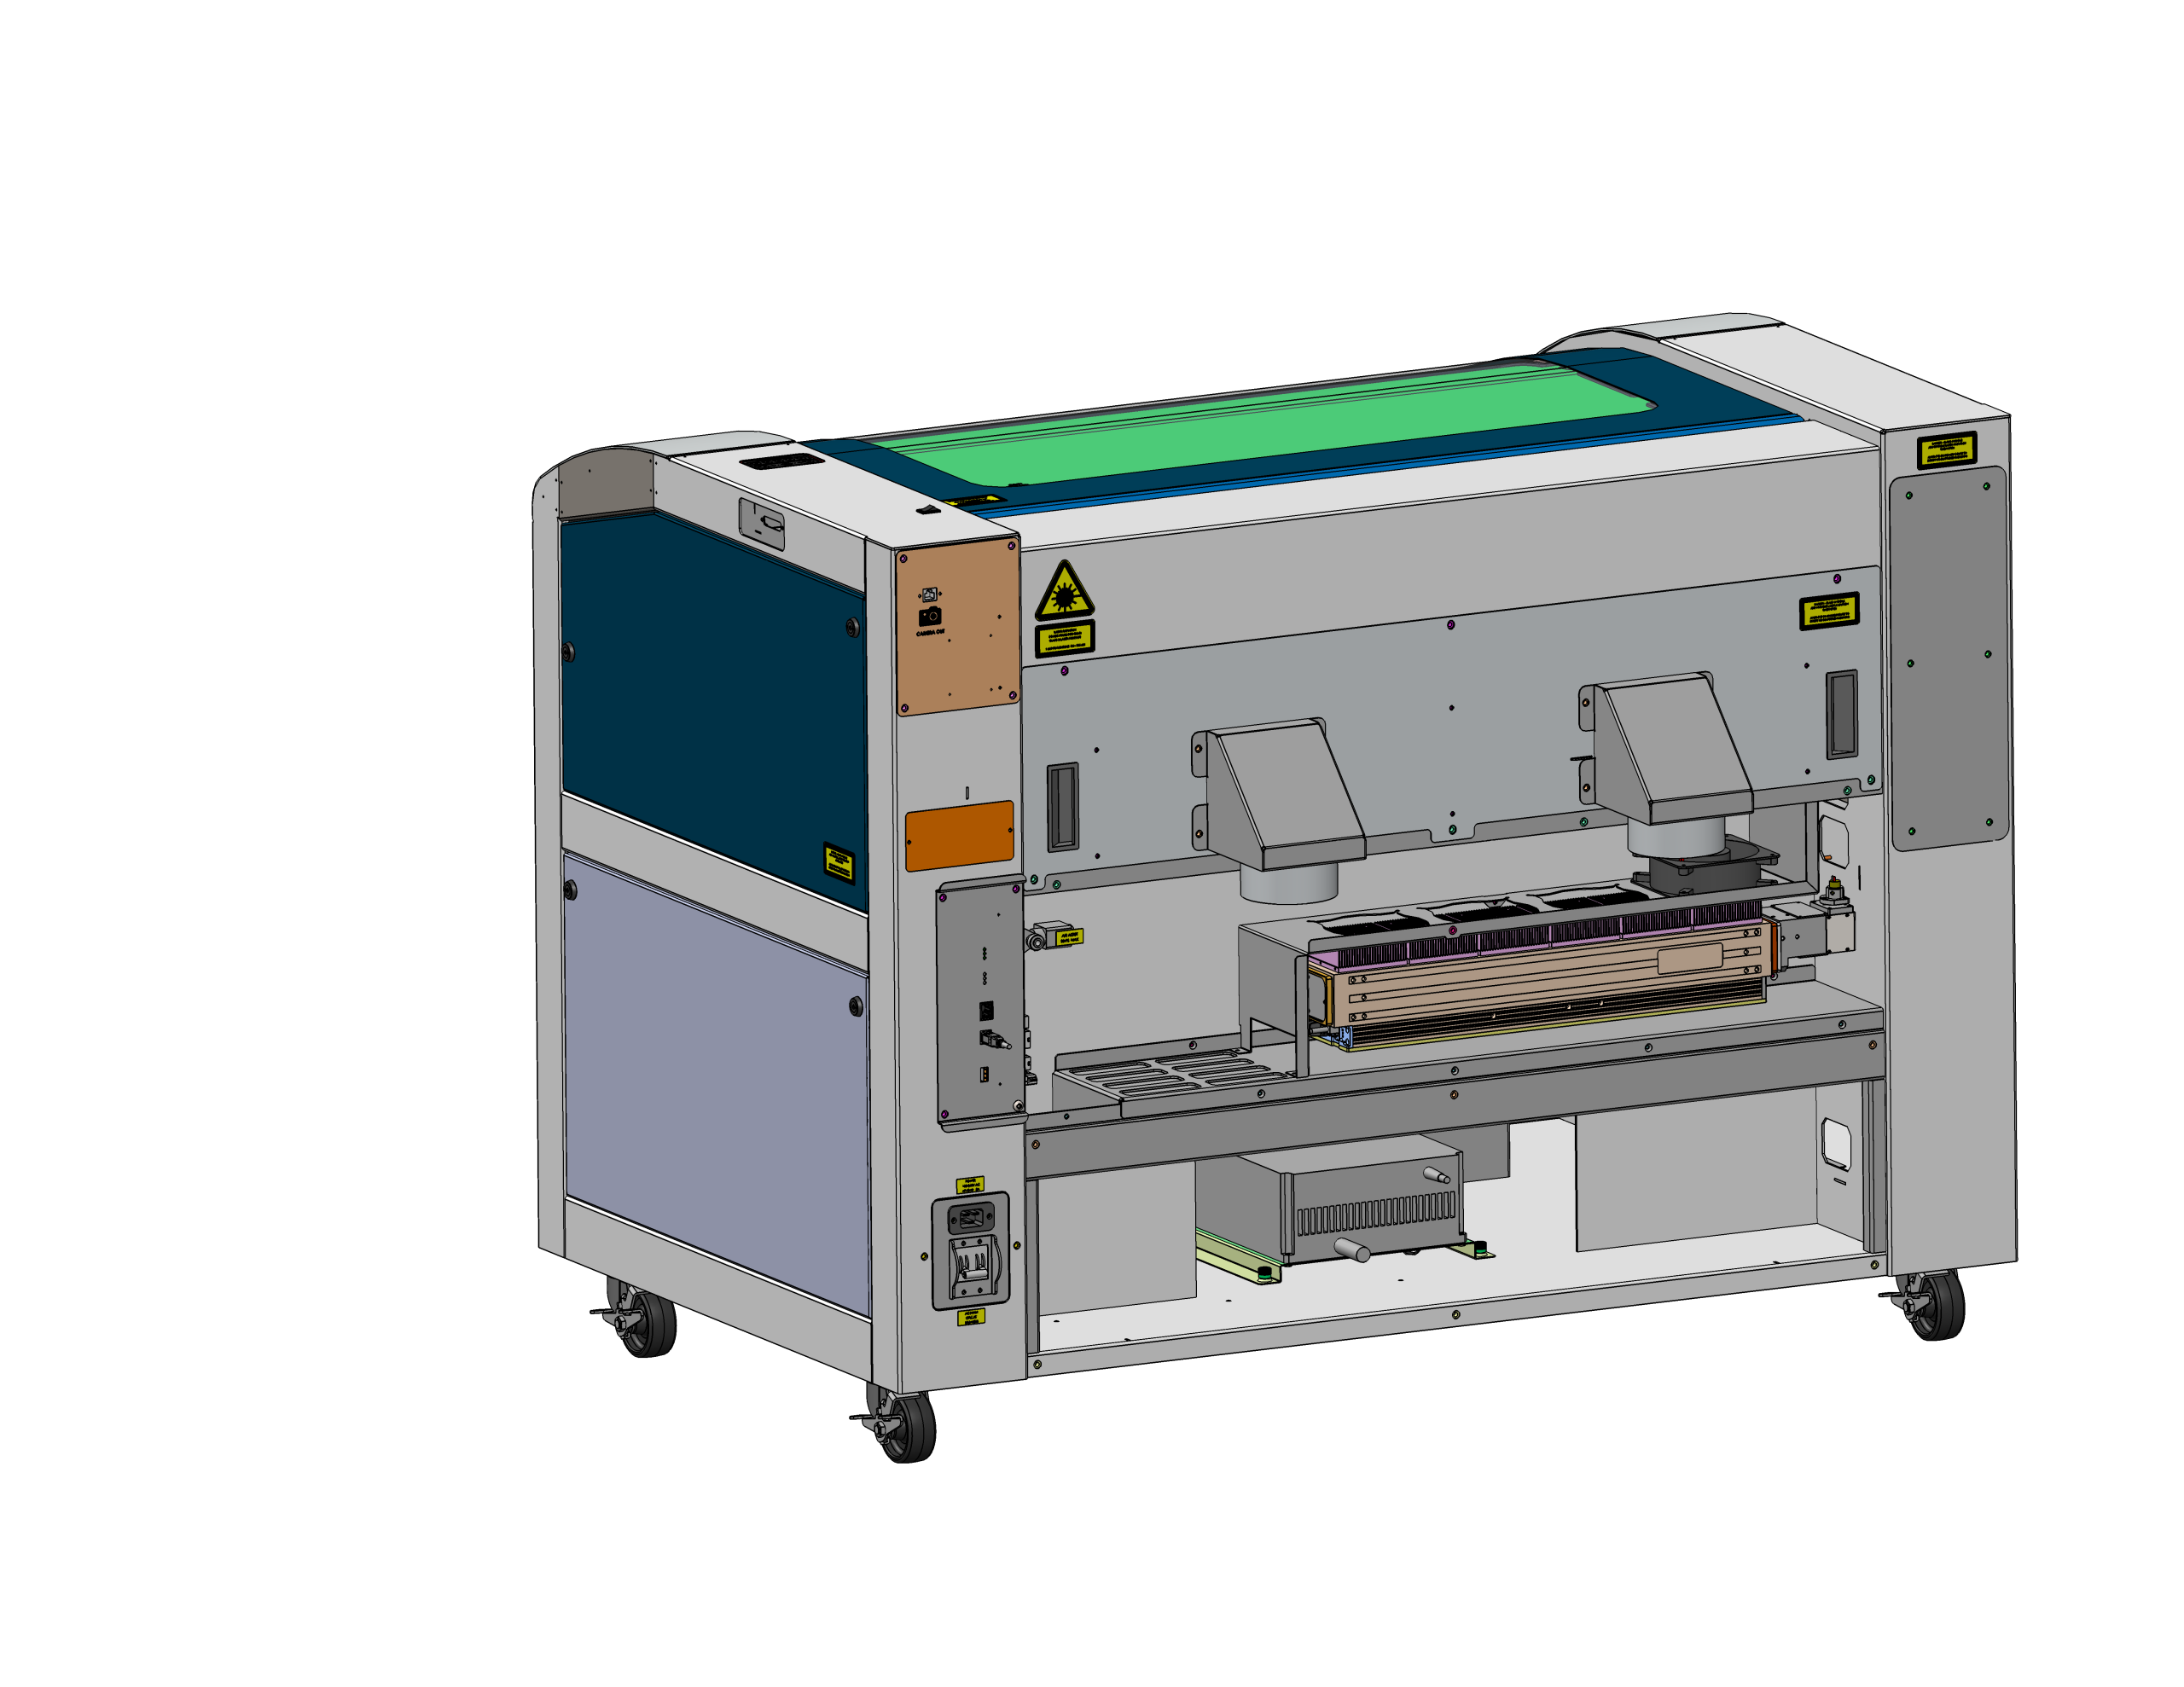
Retirar el panel trasero
Retira el panel trasero inferior.
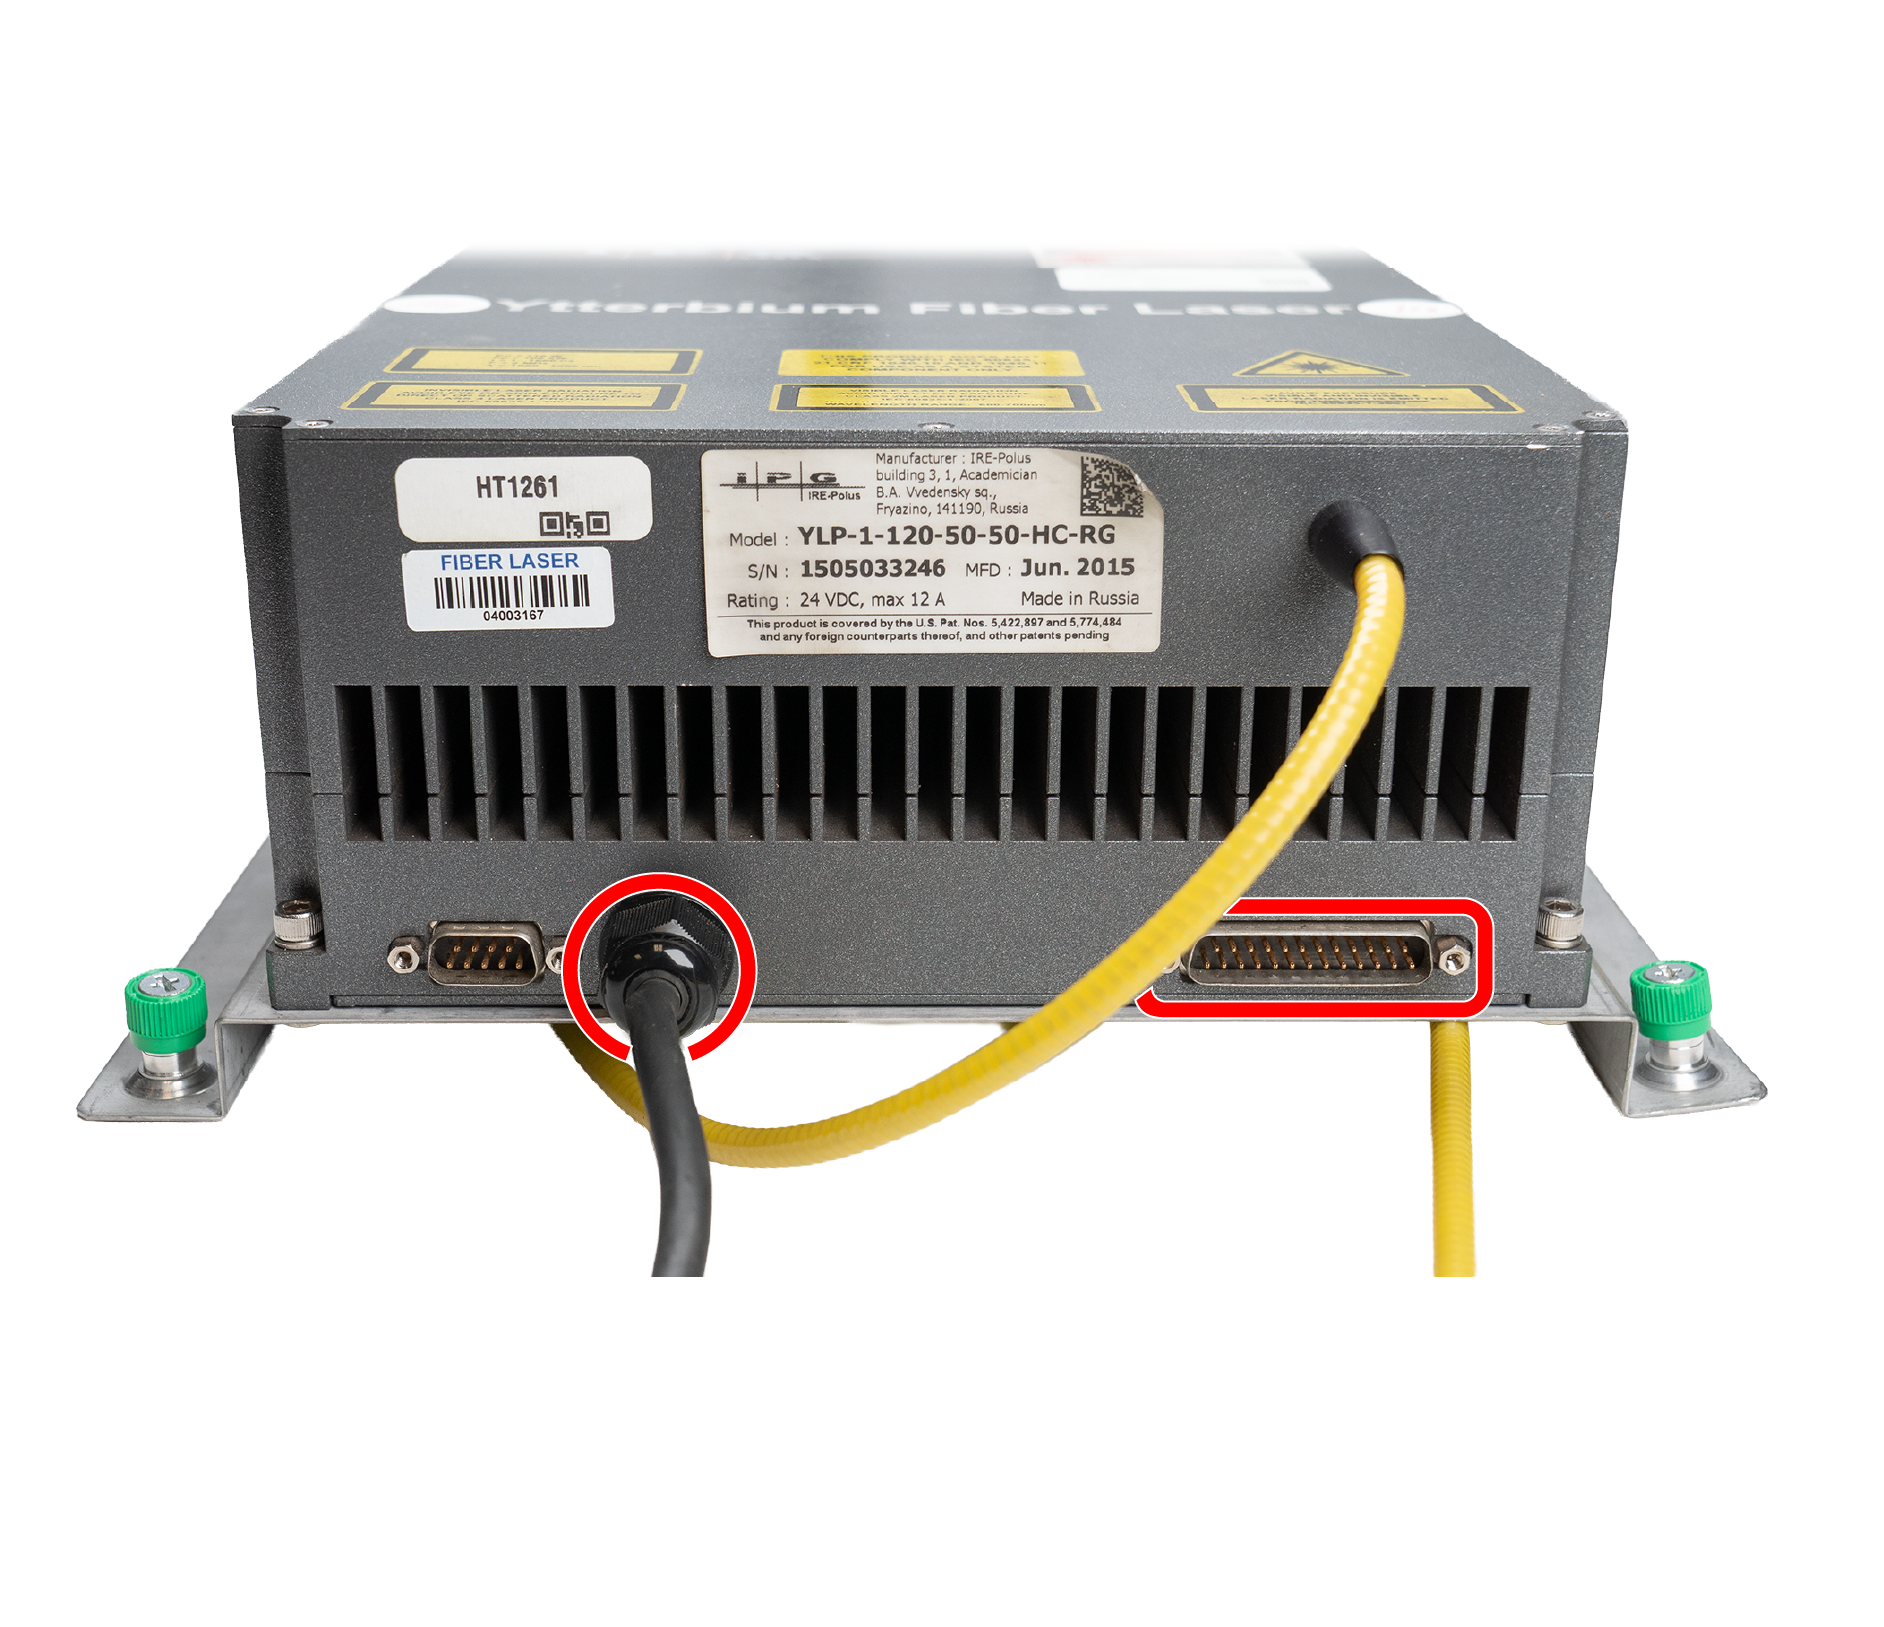
Desconectar la alimentación y la señal
Desconecta el cable de alimentación y de señal de fibra óptica.
Nota: El cable de señal de la derecha se desenrosca de la fuente de fibra. Hay que seguir el cable de alimentación de la izquierda hasta su punto de conexión y desconectarlo allí.
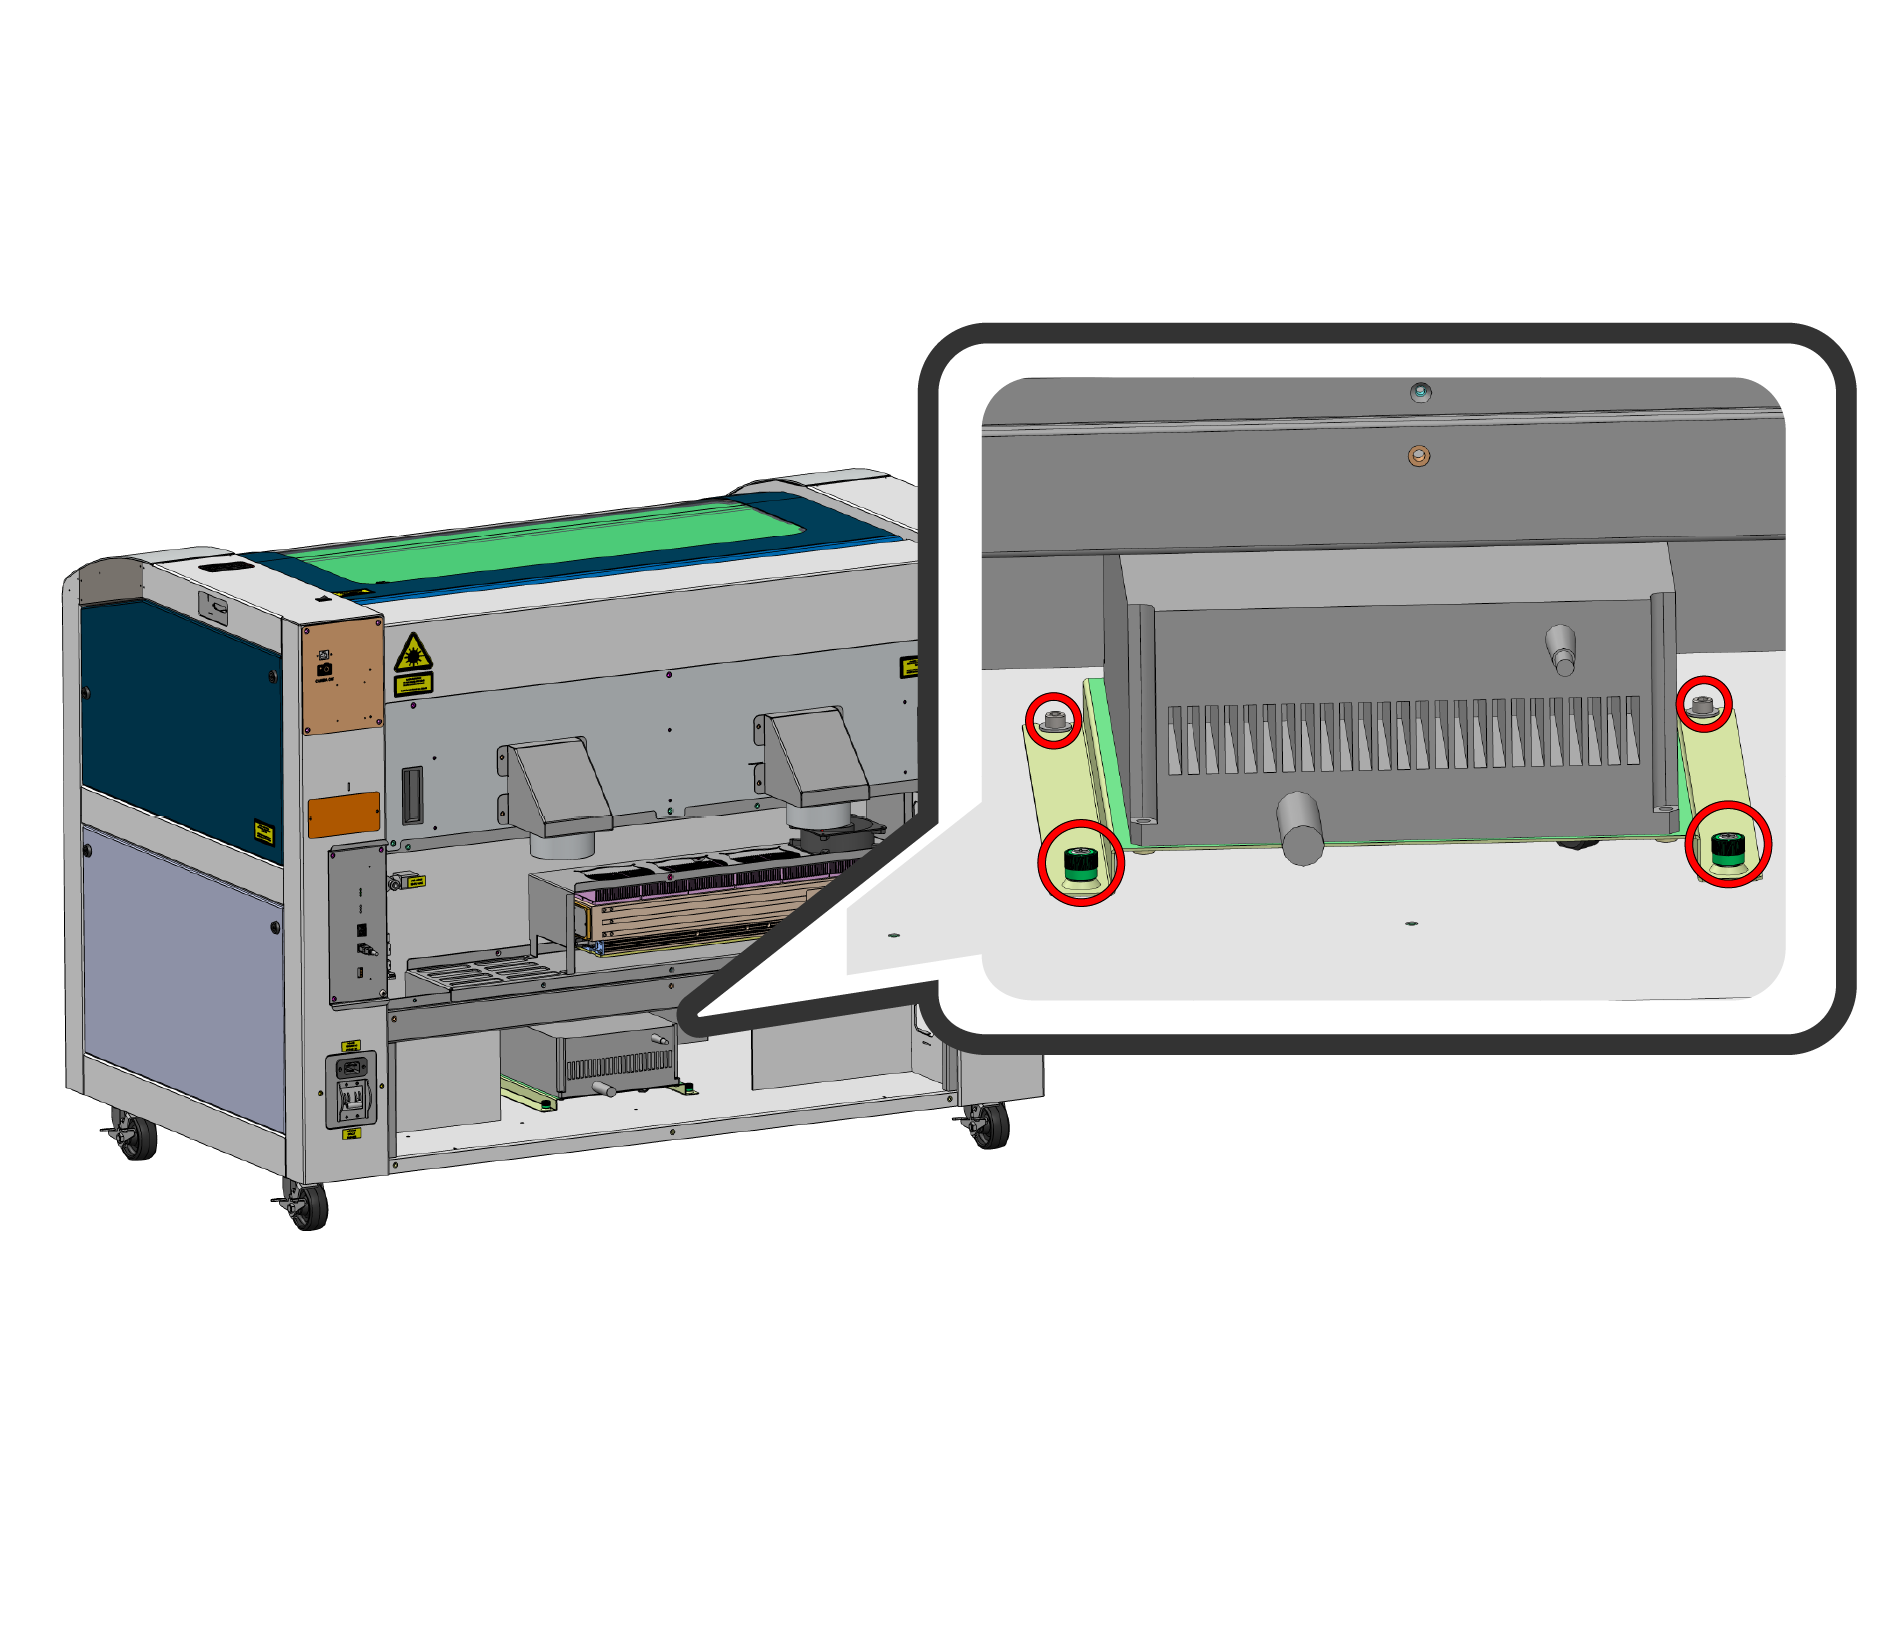
Quitar los tornillos del láser
Retira los cuatro tornillos que sujetan el láser. Hay dos tornillos Phillips verdes imperdibles y dos tornillos hexagonales.
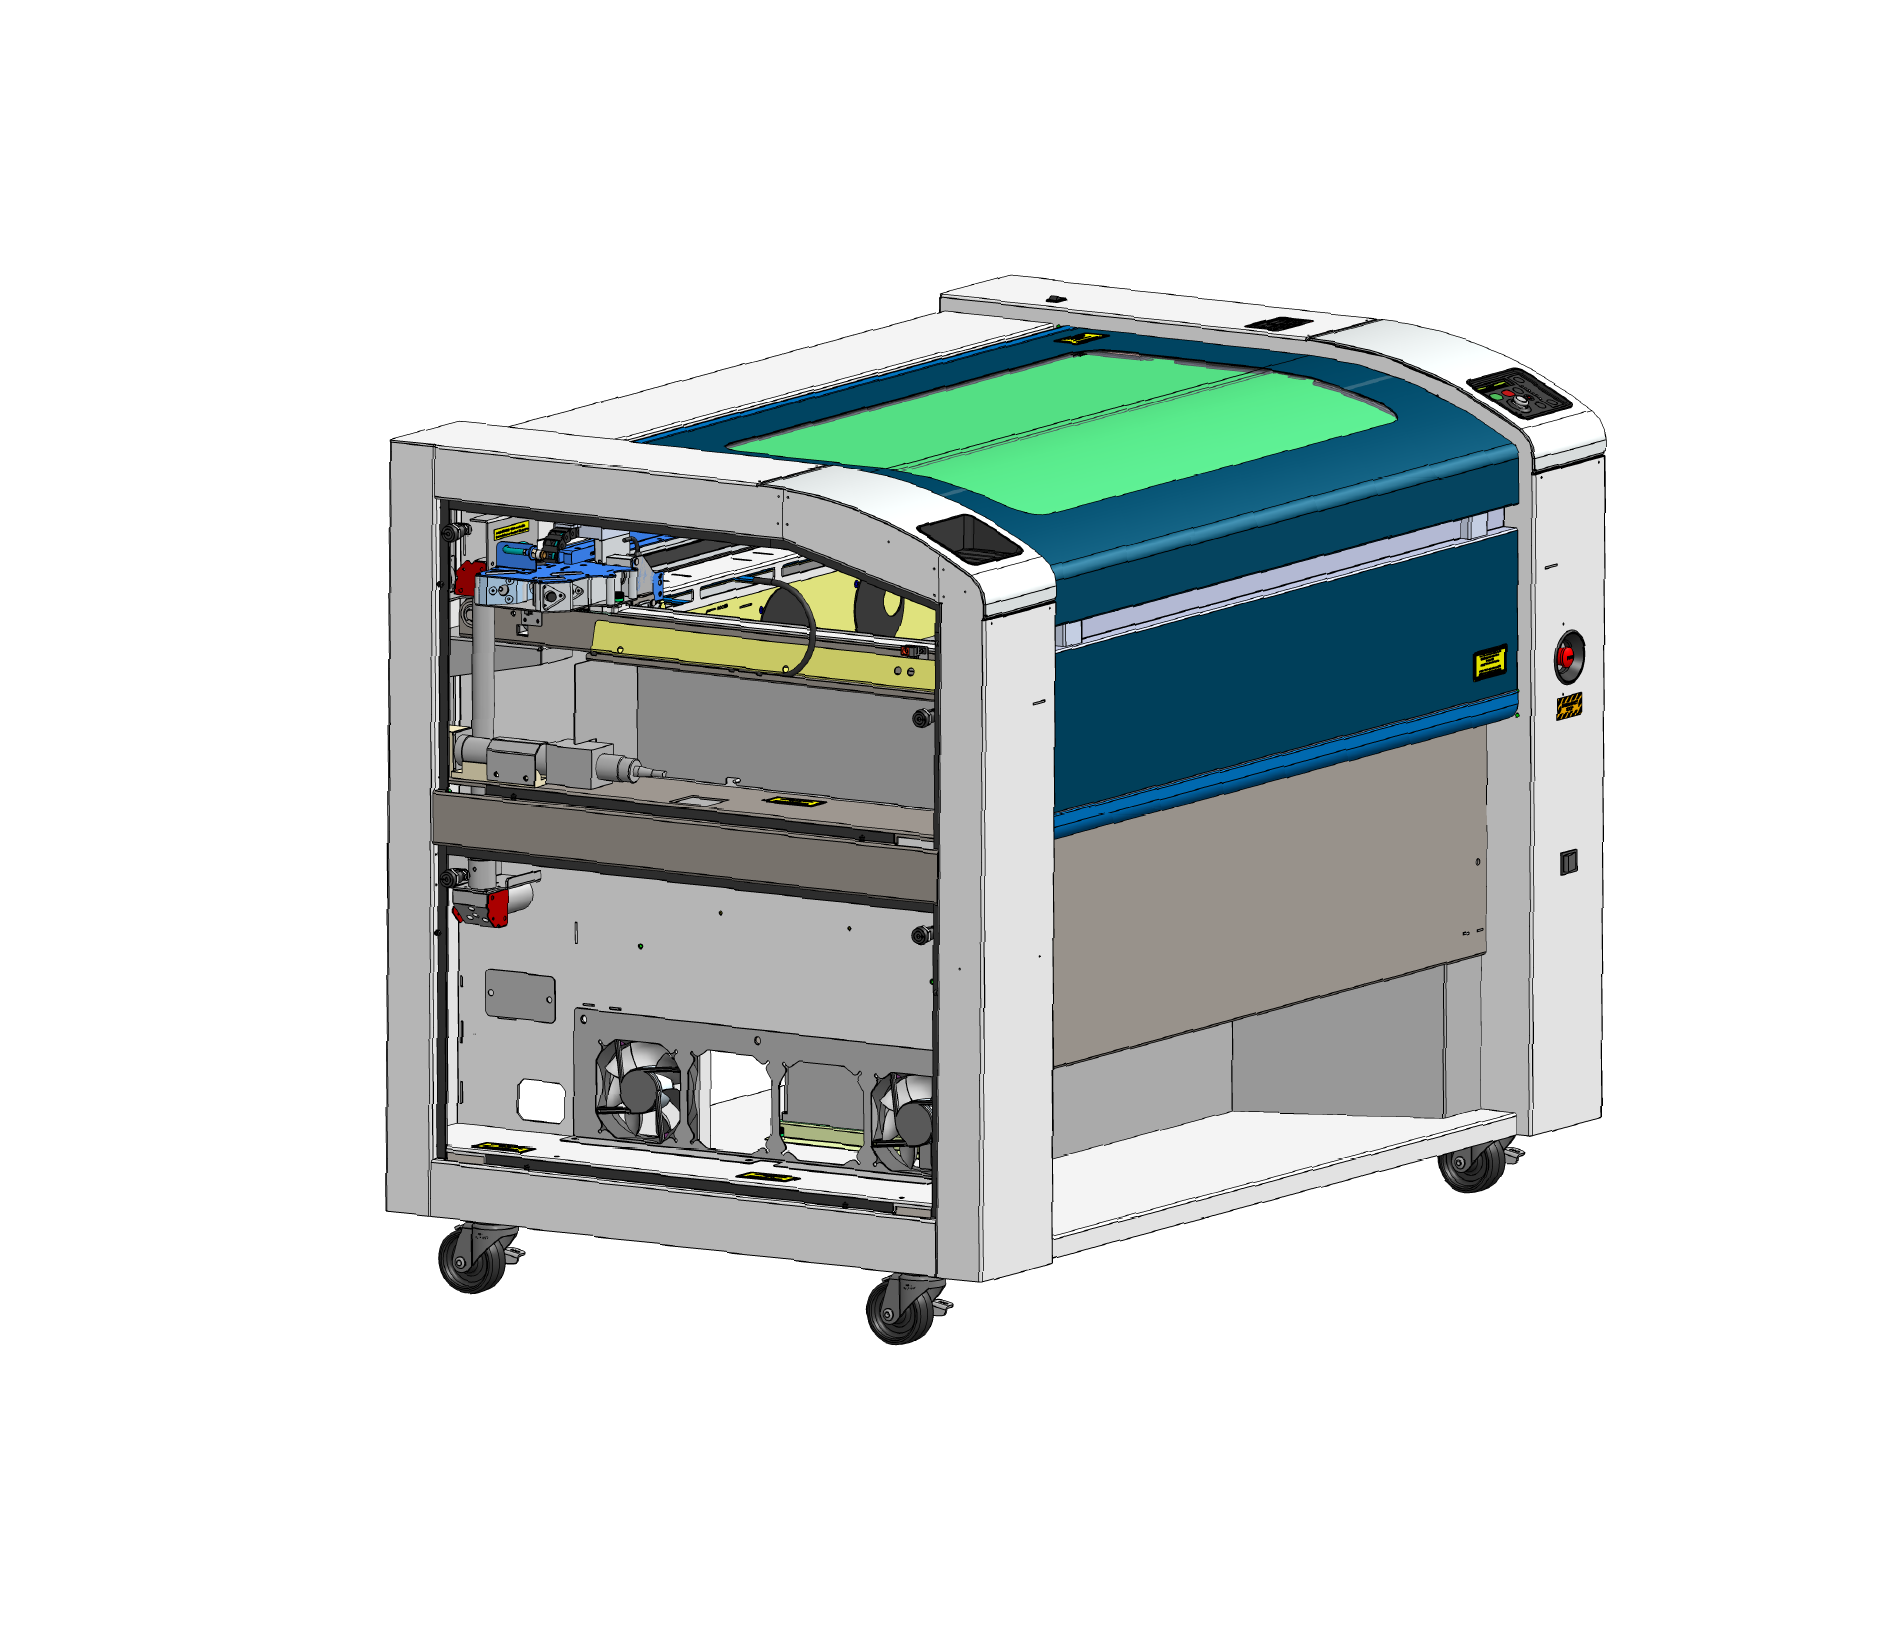
Retirar los paneles laterales izquierdos
Retira los paneles superiores e inferiores del lado izquierdo.
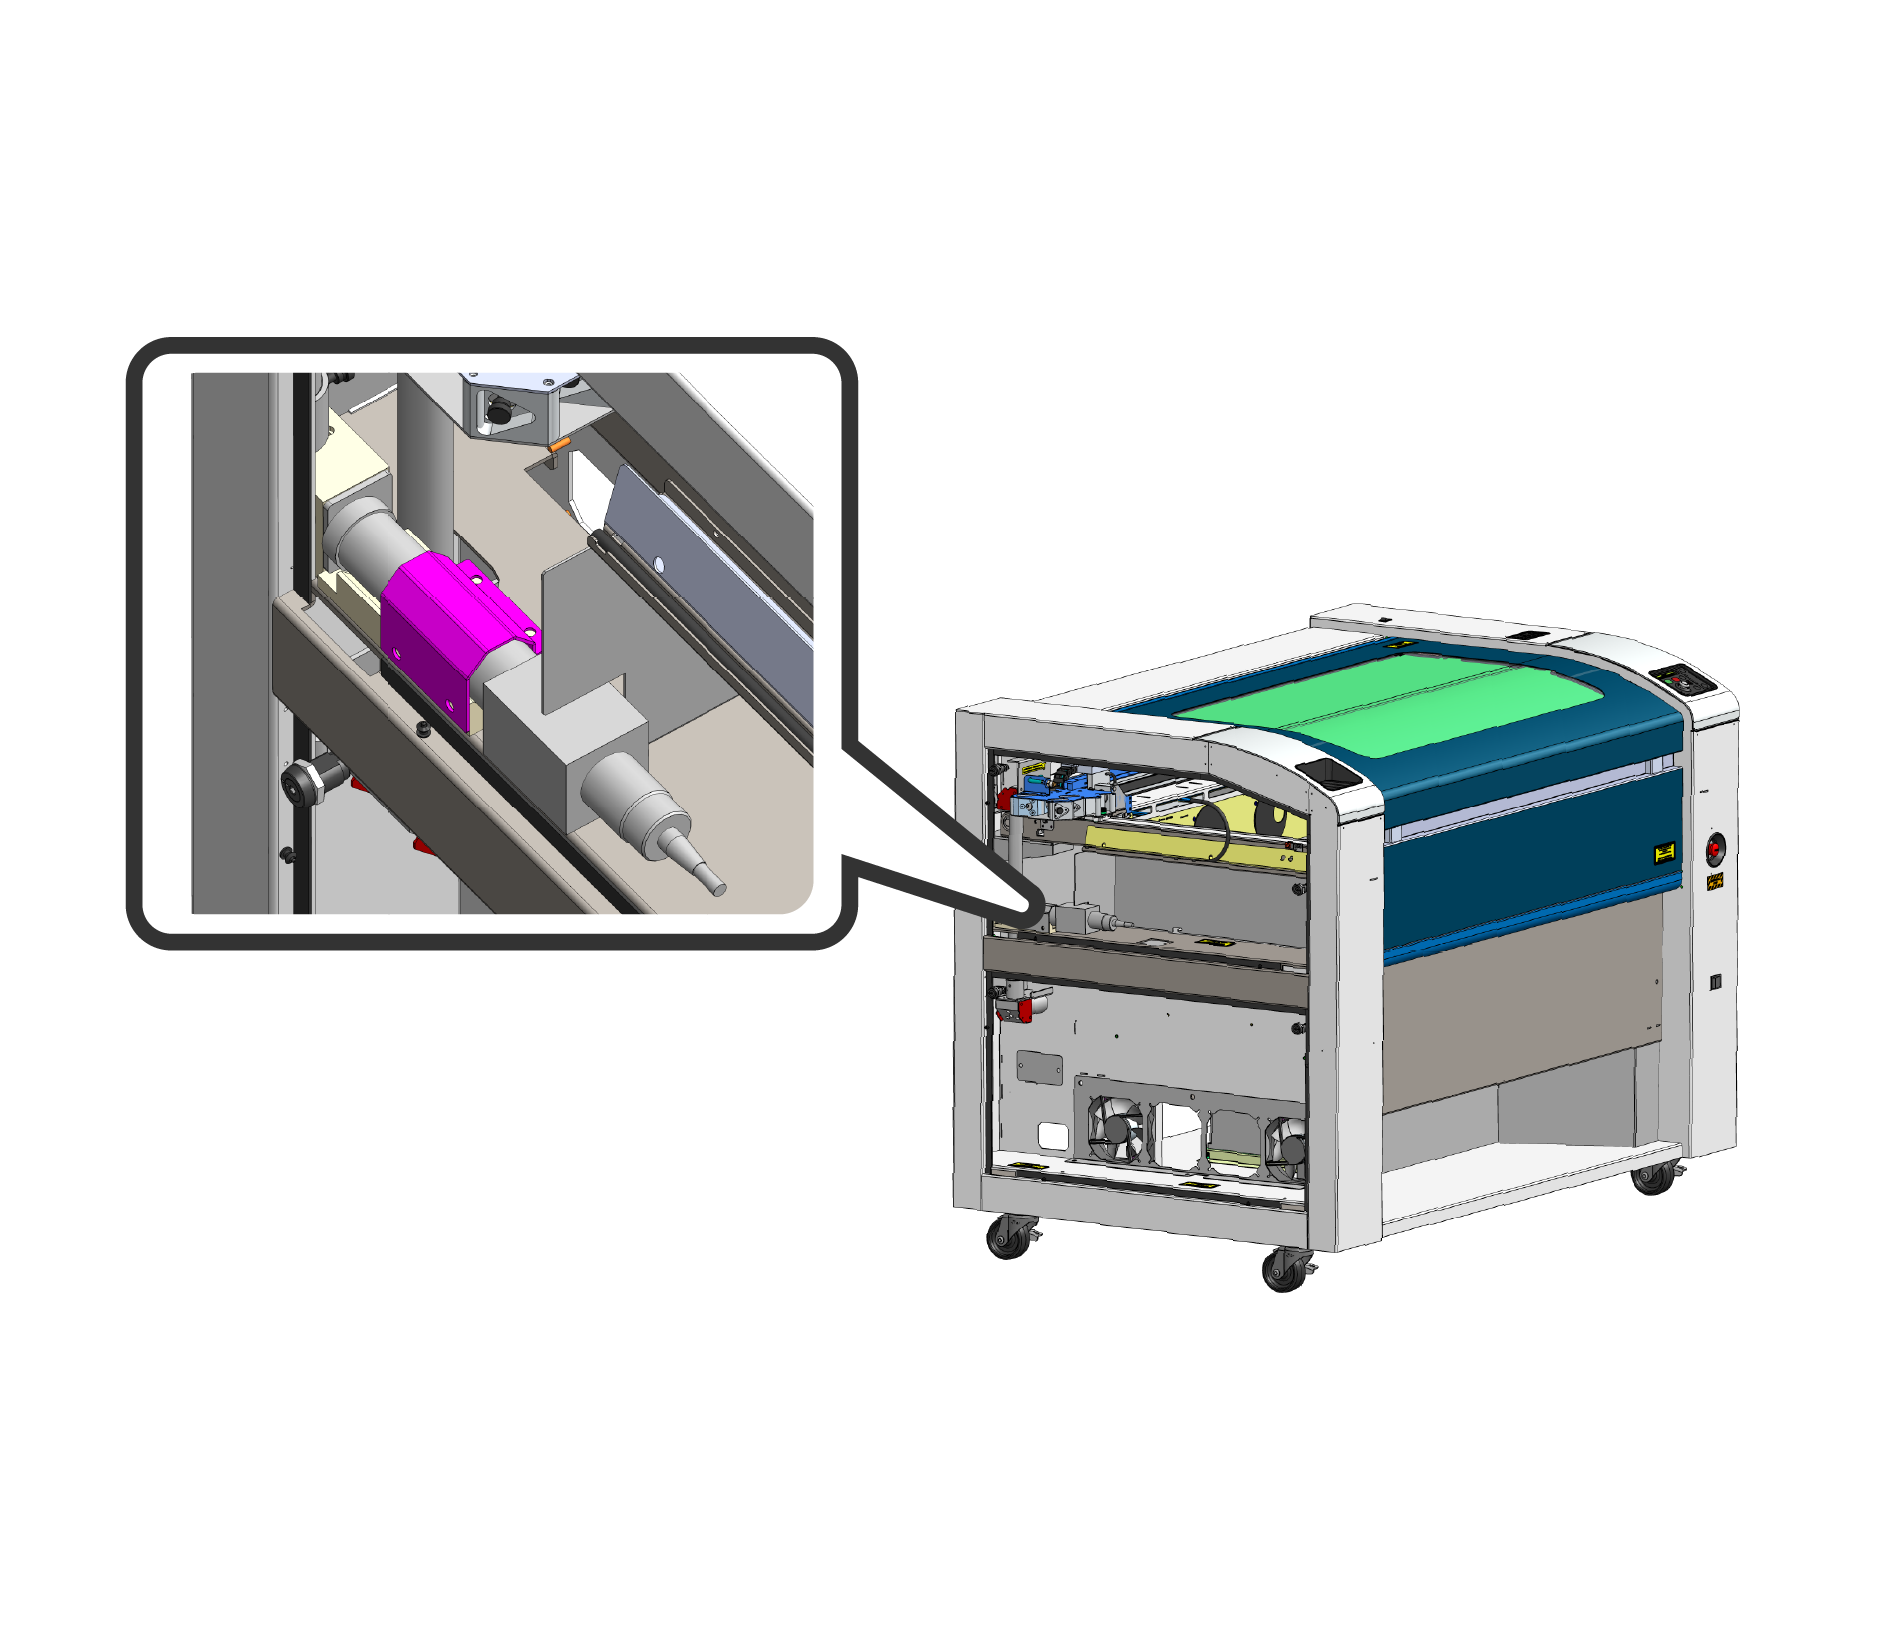
Afloja los tornillos del soporte
Afloja los cuatro tornillos que sujetan el soporte del cabezal de fibra.
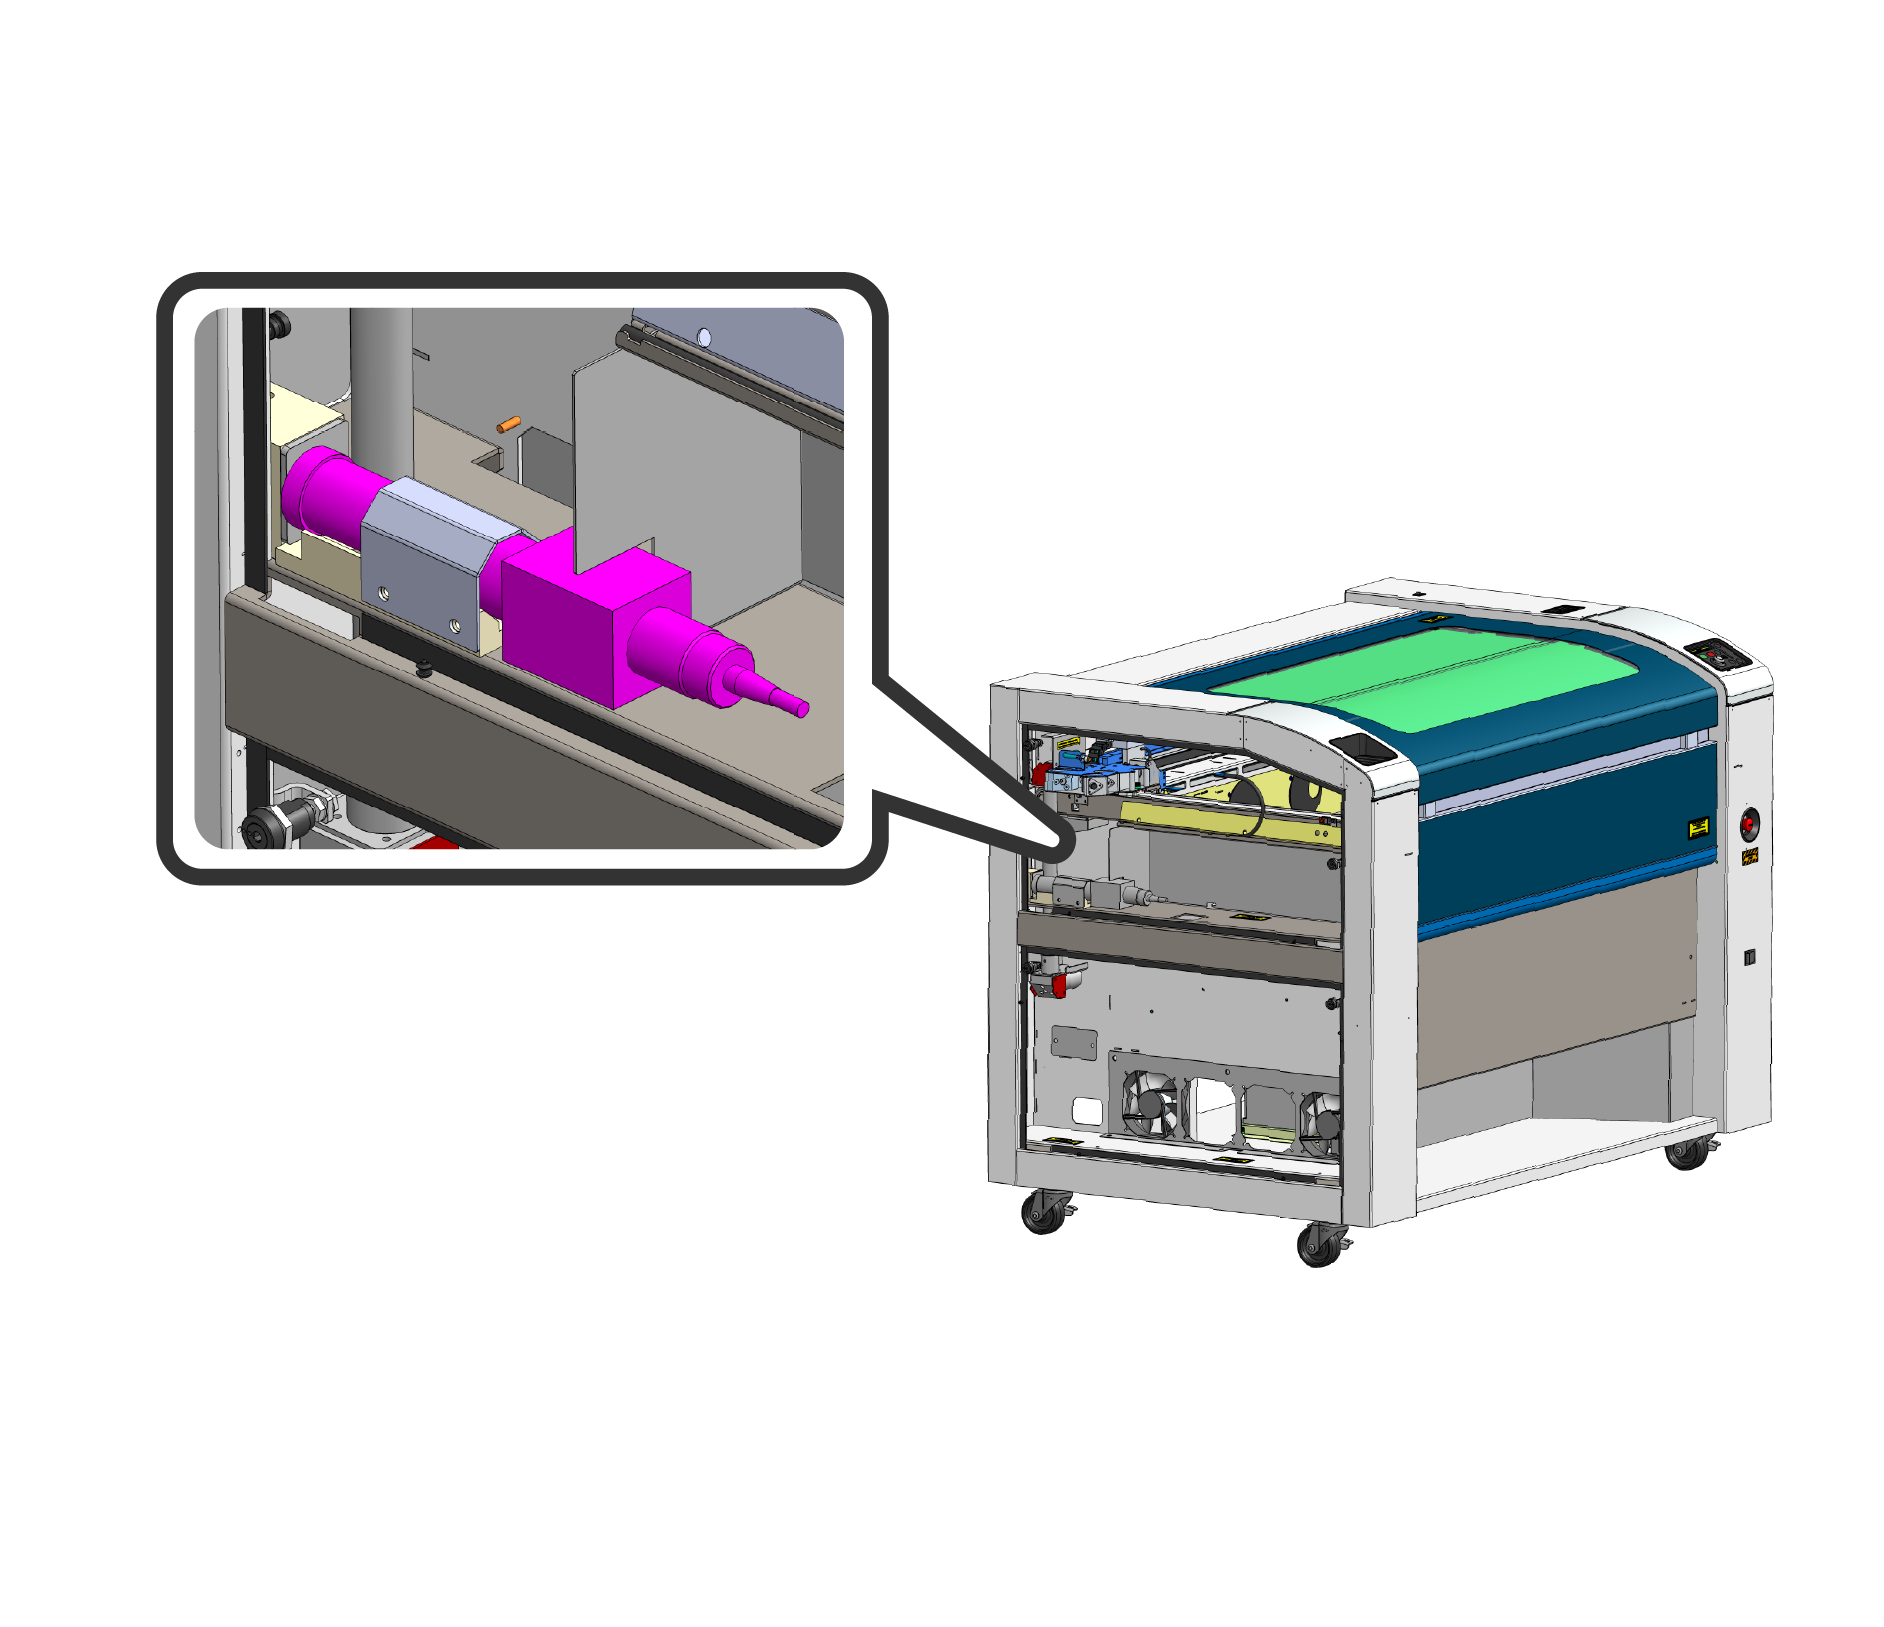
Retirar el cabezal de fibra
Pasa el extremo del cable de fibra que sale de la máquina a través de los orificios del chasis. Ten cuidado de no retorcer ni doblar el cable de fibra.
Instalación de JPT
Ahora que se ha retirado el IPG, proceda a la instalación del láser JPT.
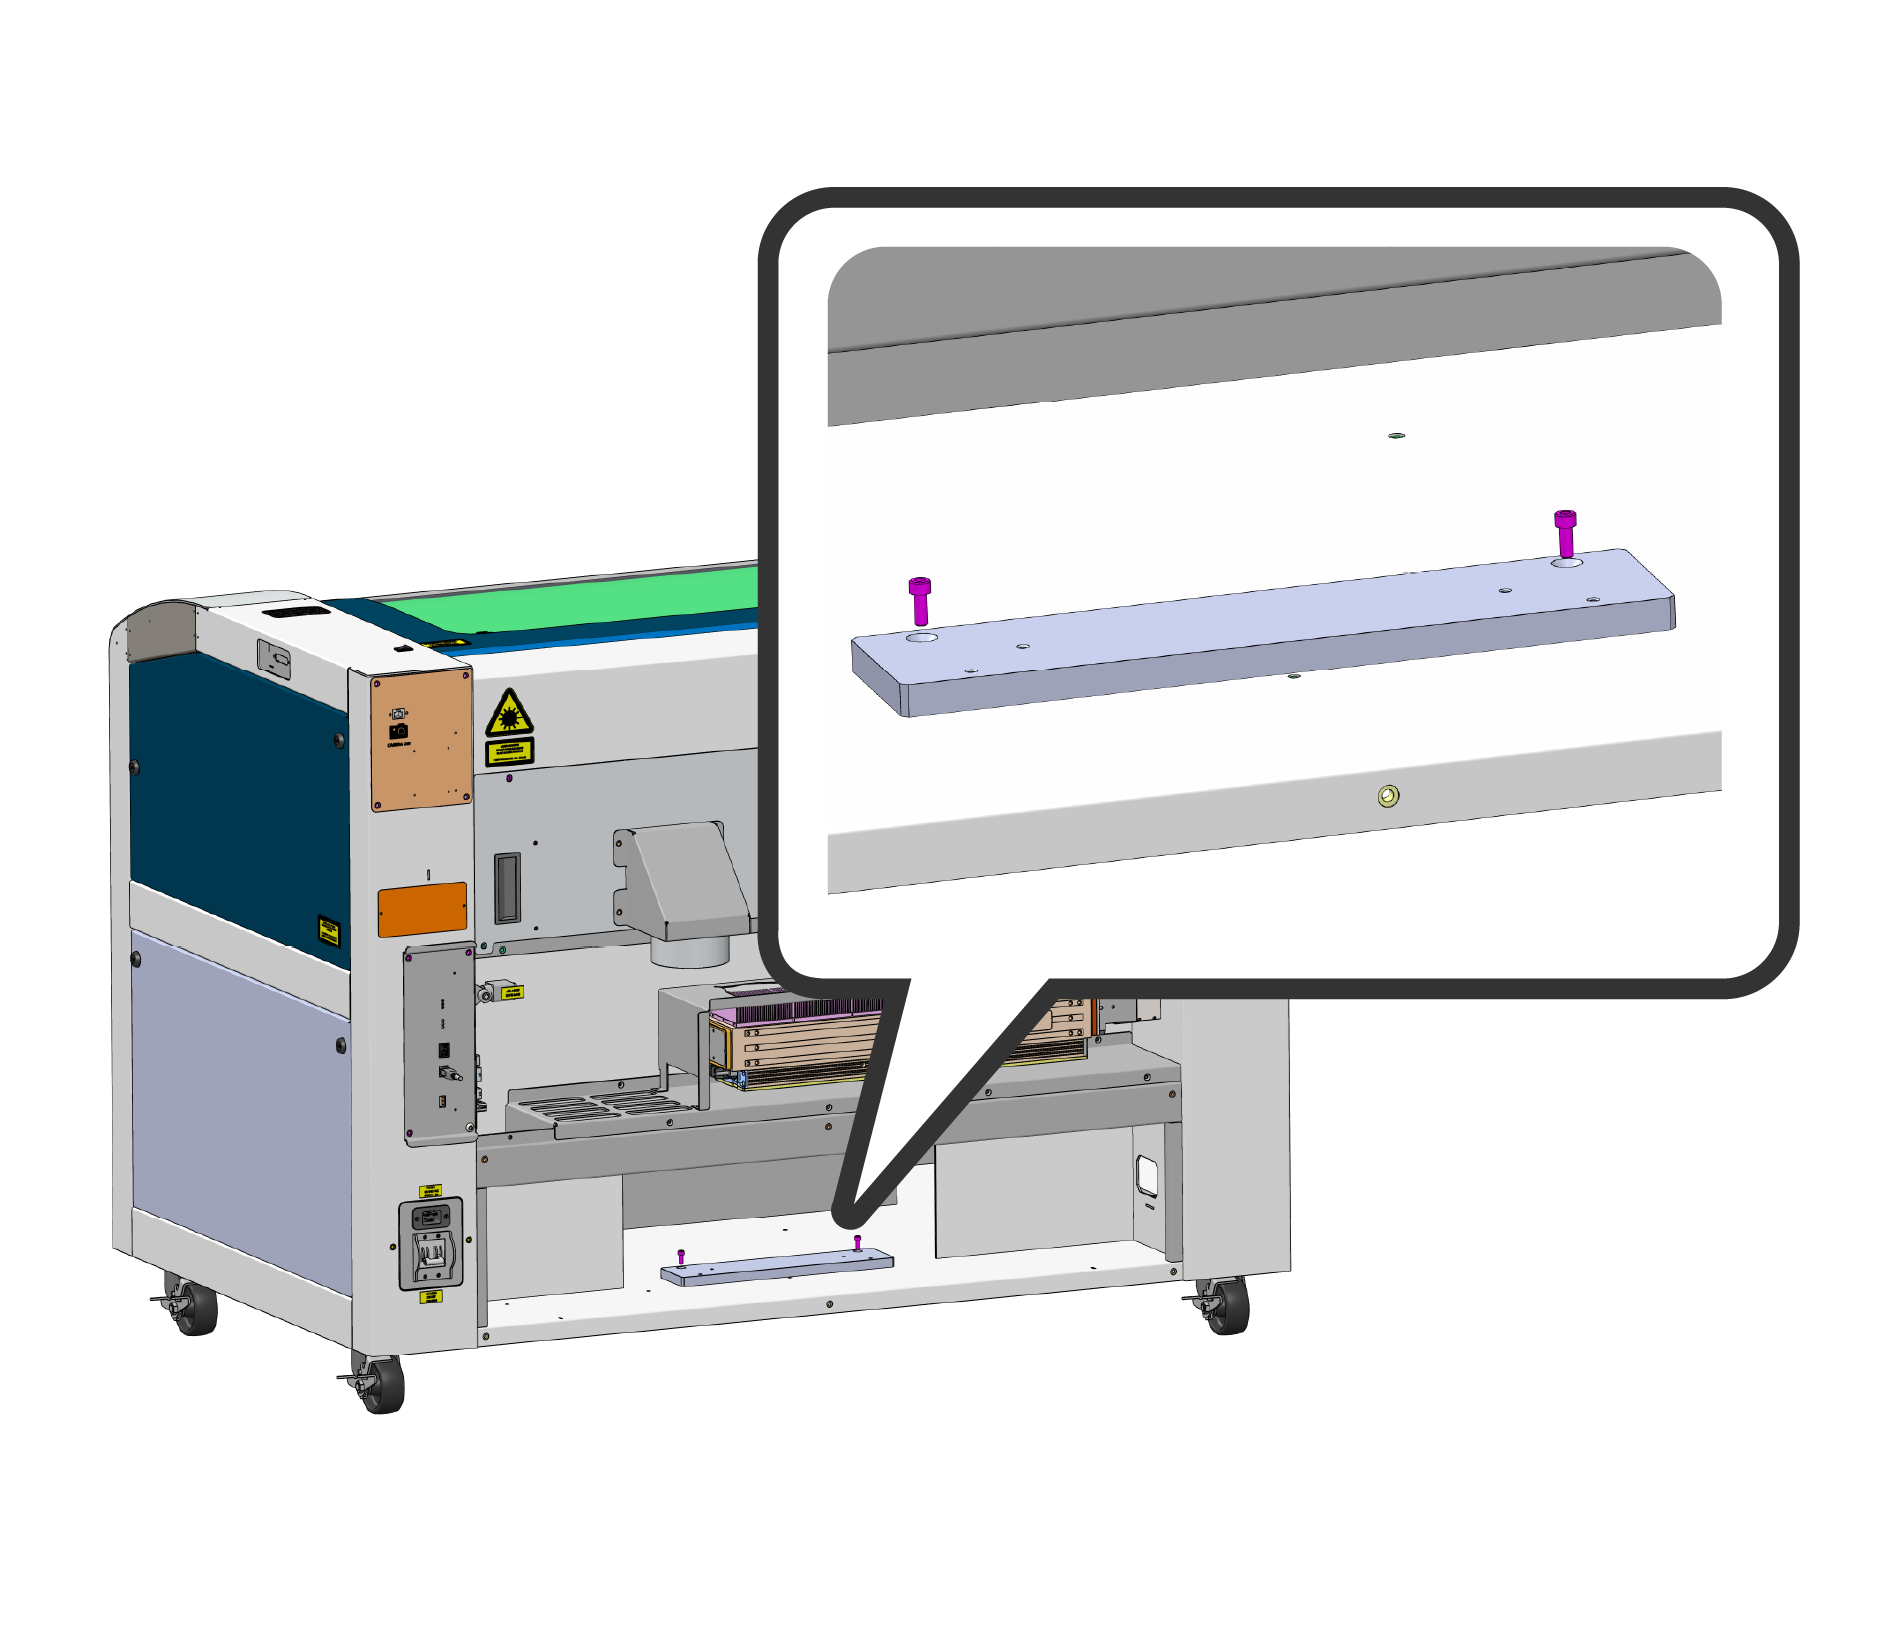
Instalar el soporte del adaptador
Instala el soporte del adaptador de fibra óptica con los tornillos que se incluyen.
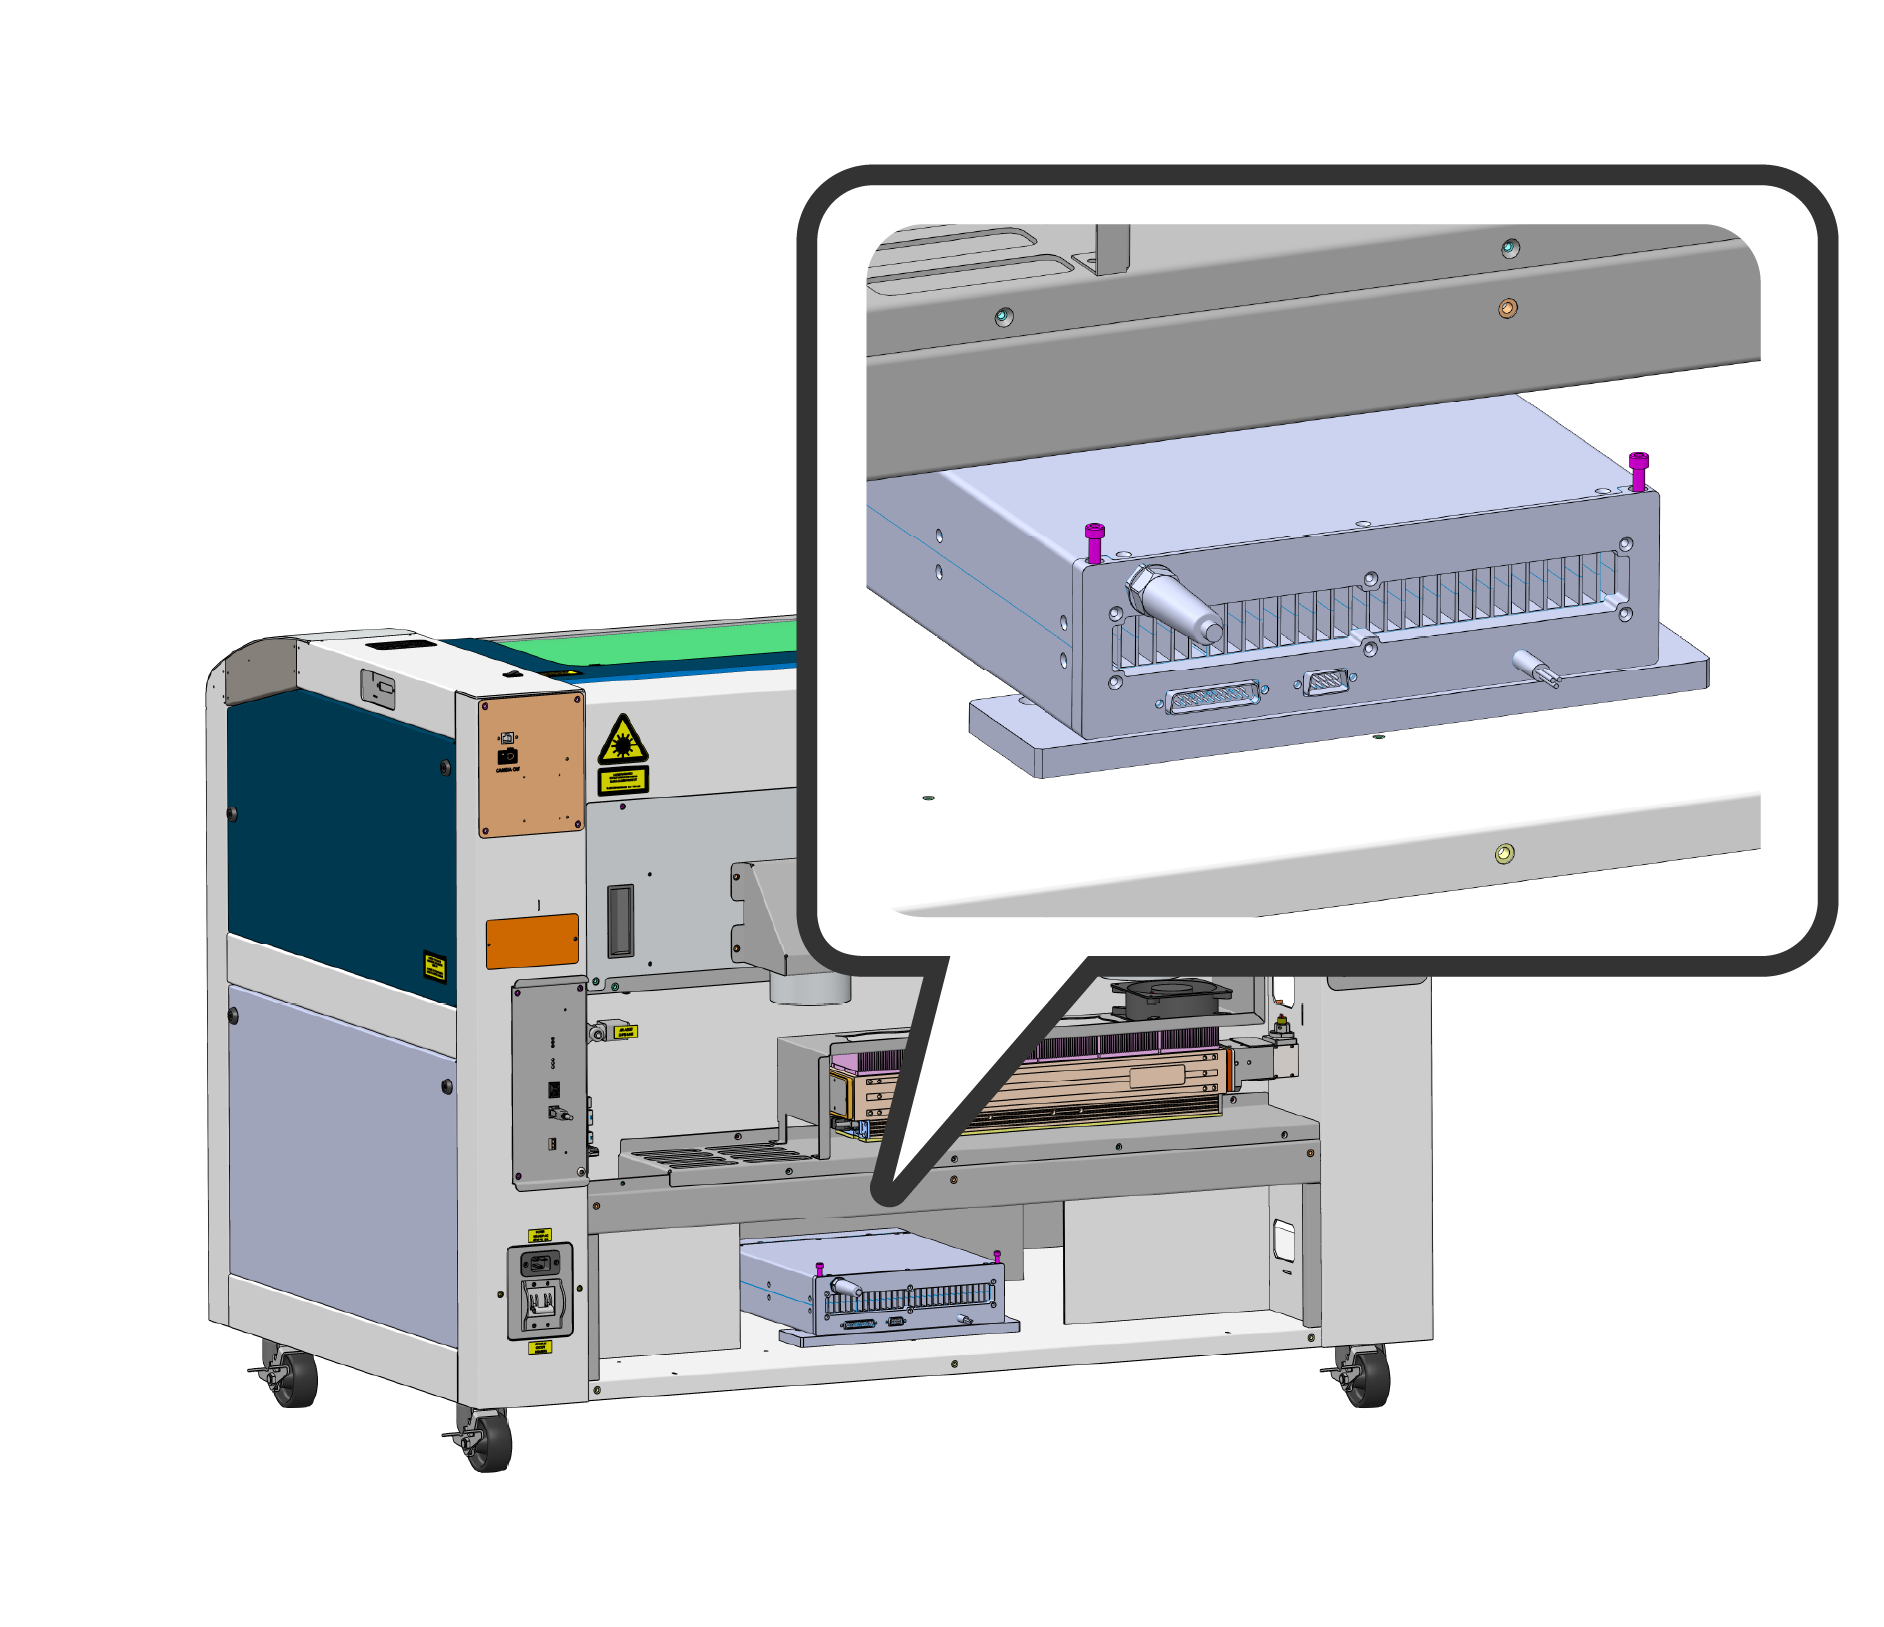
Conectar el suministro de fibra
Fija el conducto de fibra óptica al soporte utilizando la llave hexagonal de 9/64 y los accesorios de fijación suministrados.
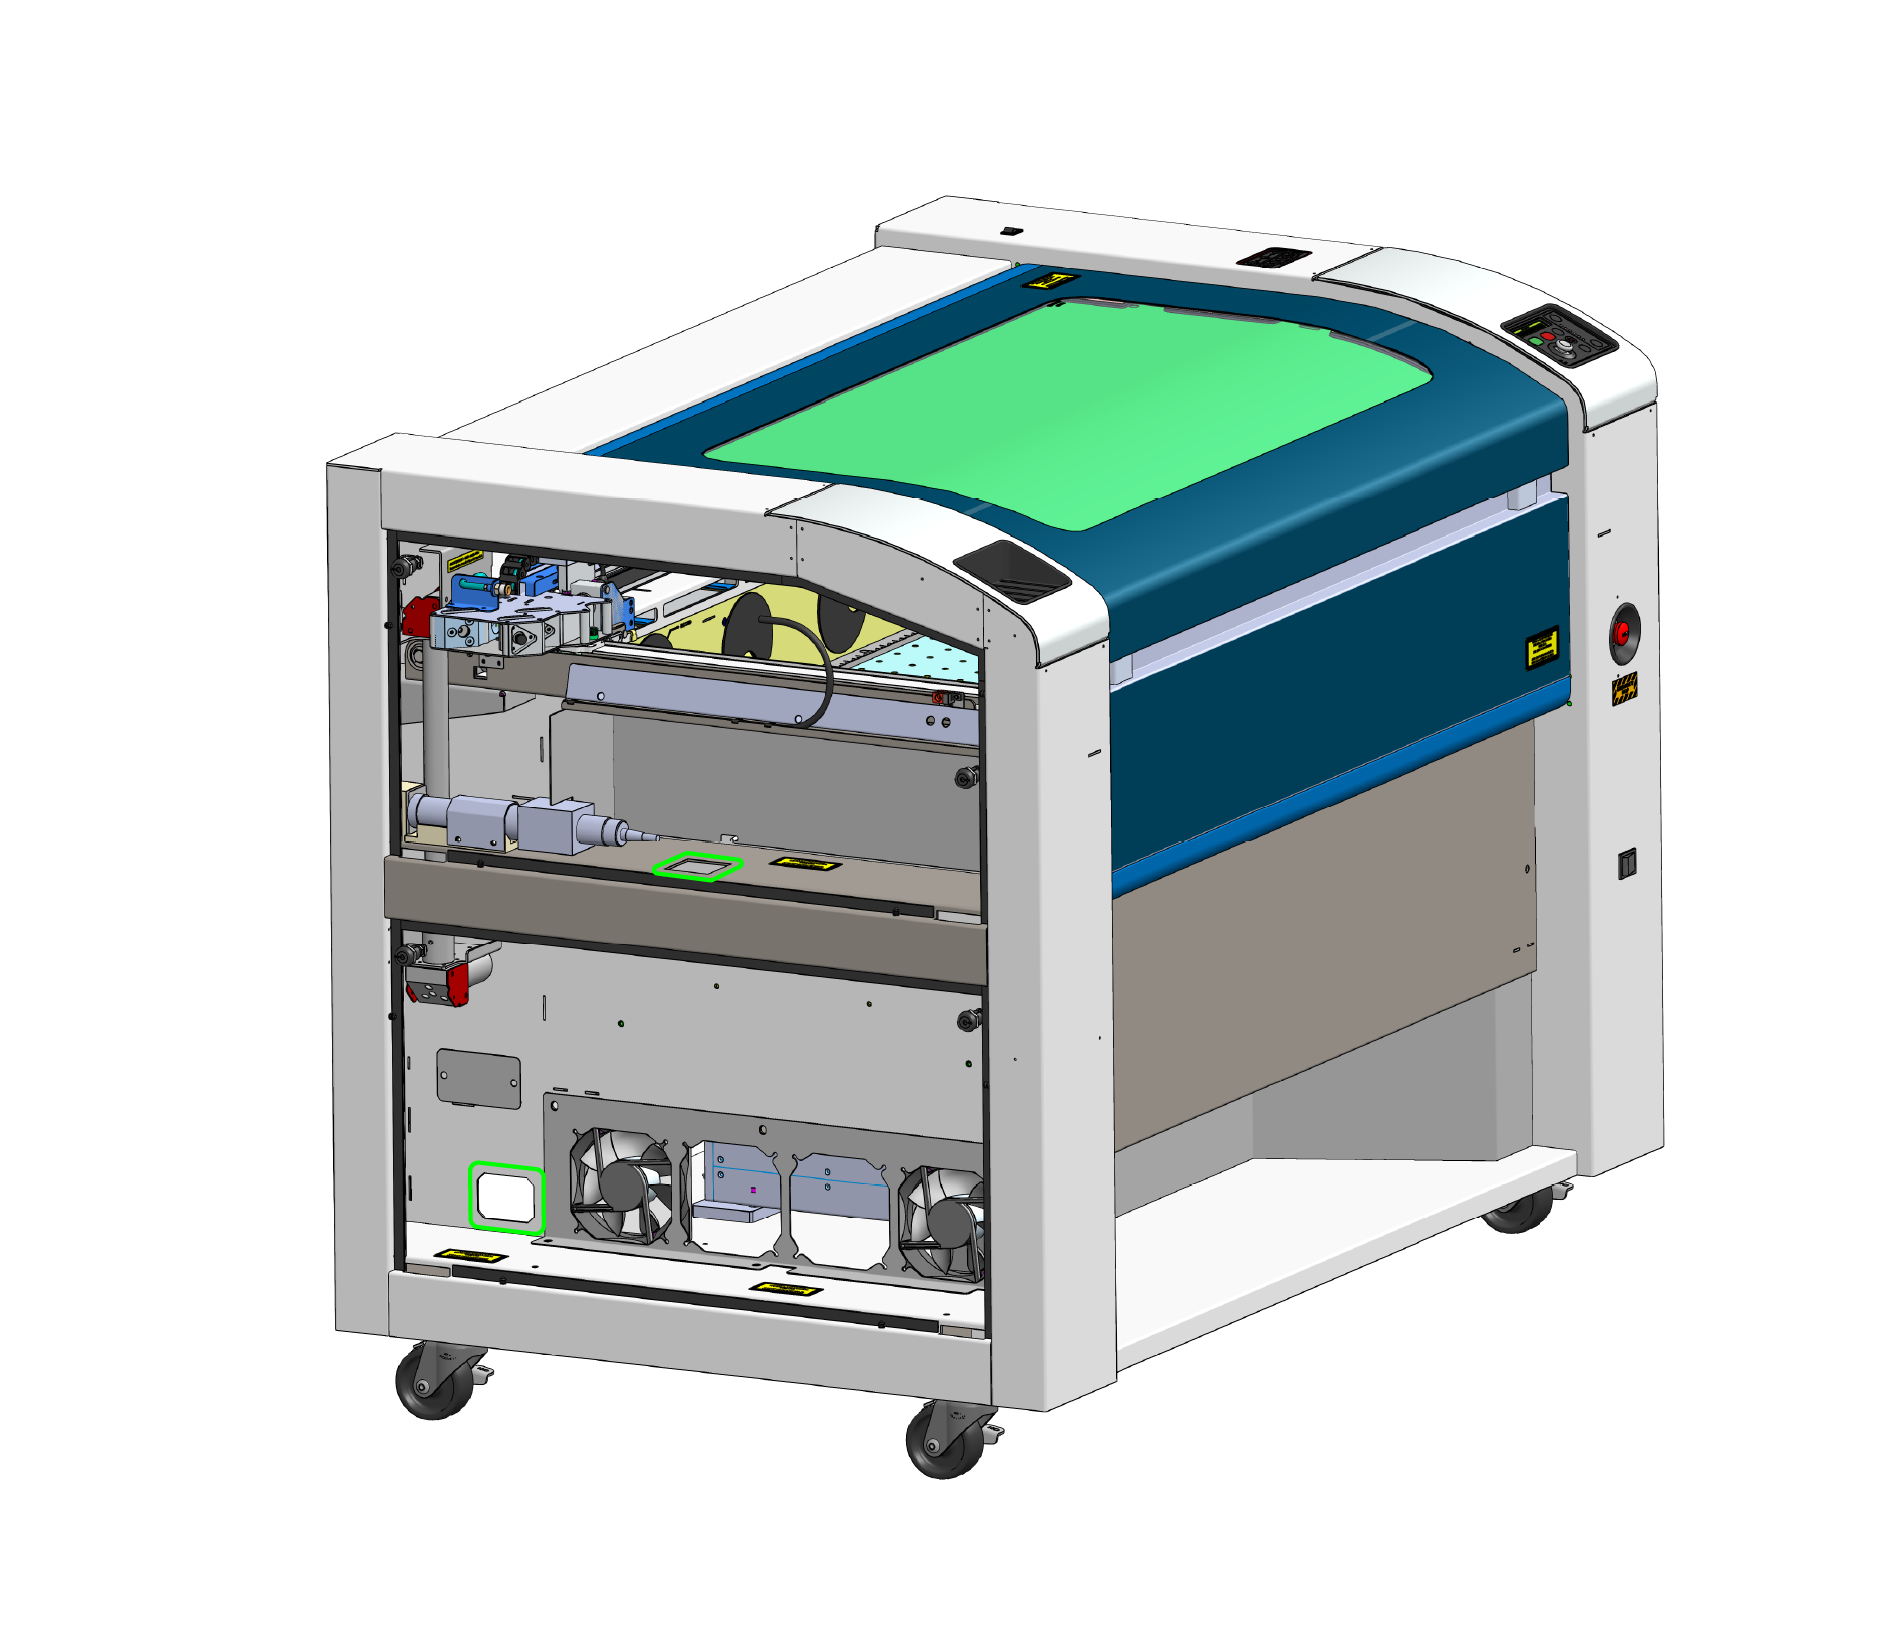
Cabezal de fibra de ruta
Vuelve a introducir el cabezal de fibra a través de los orificios.
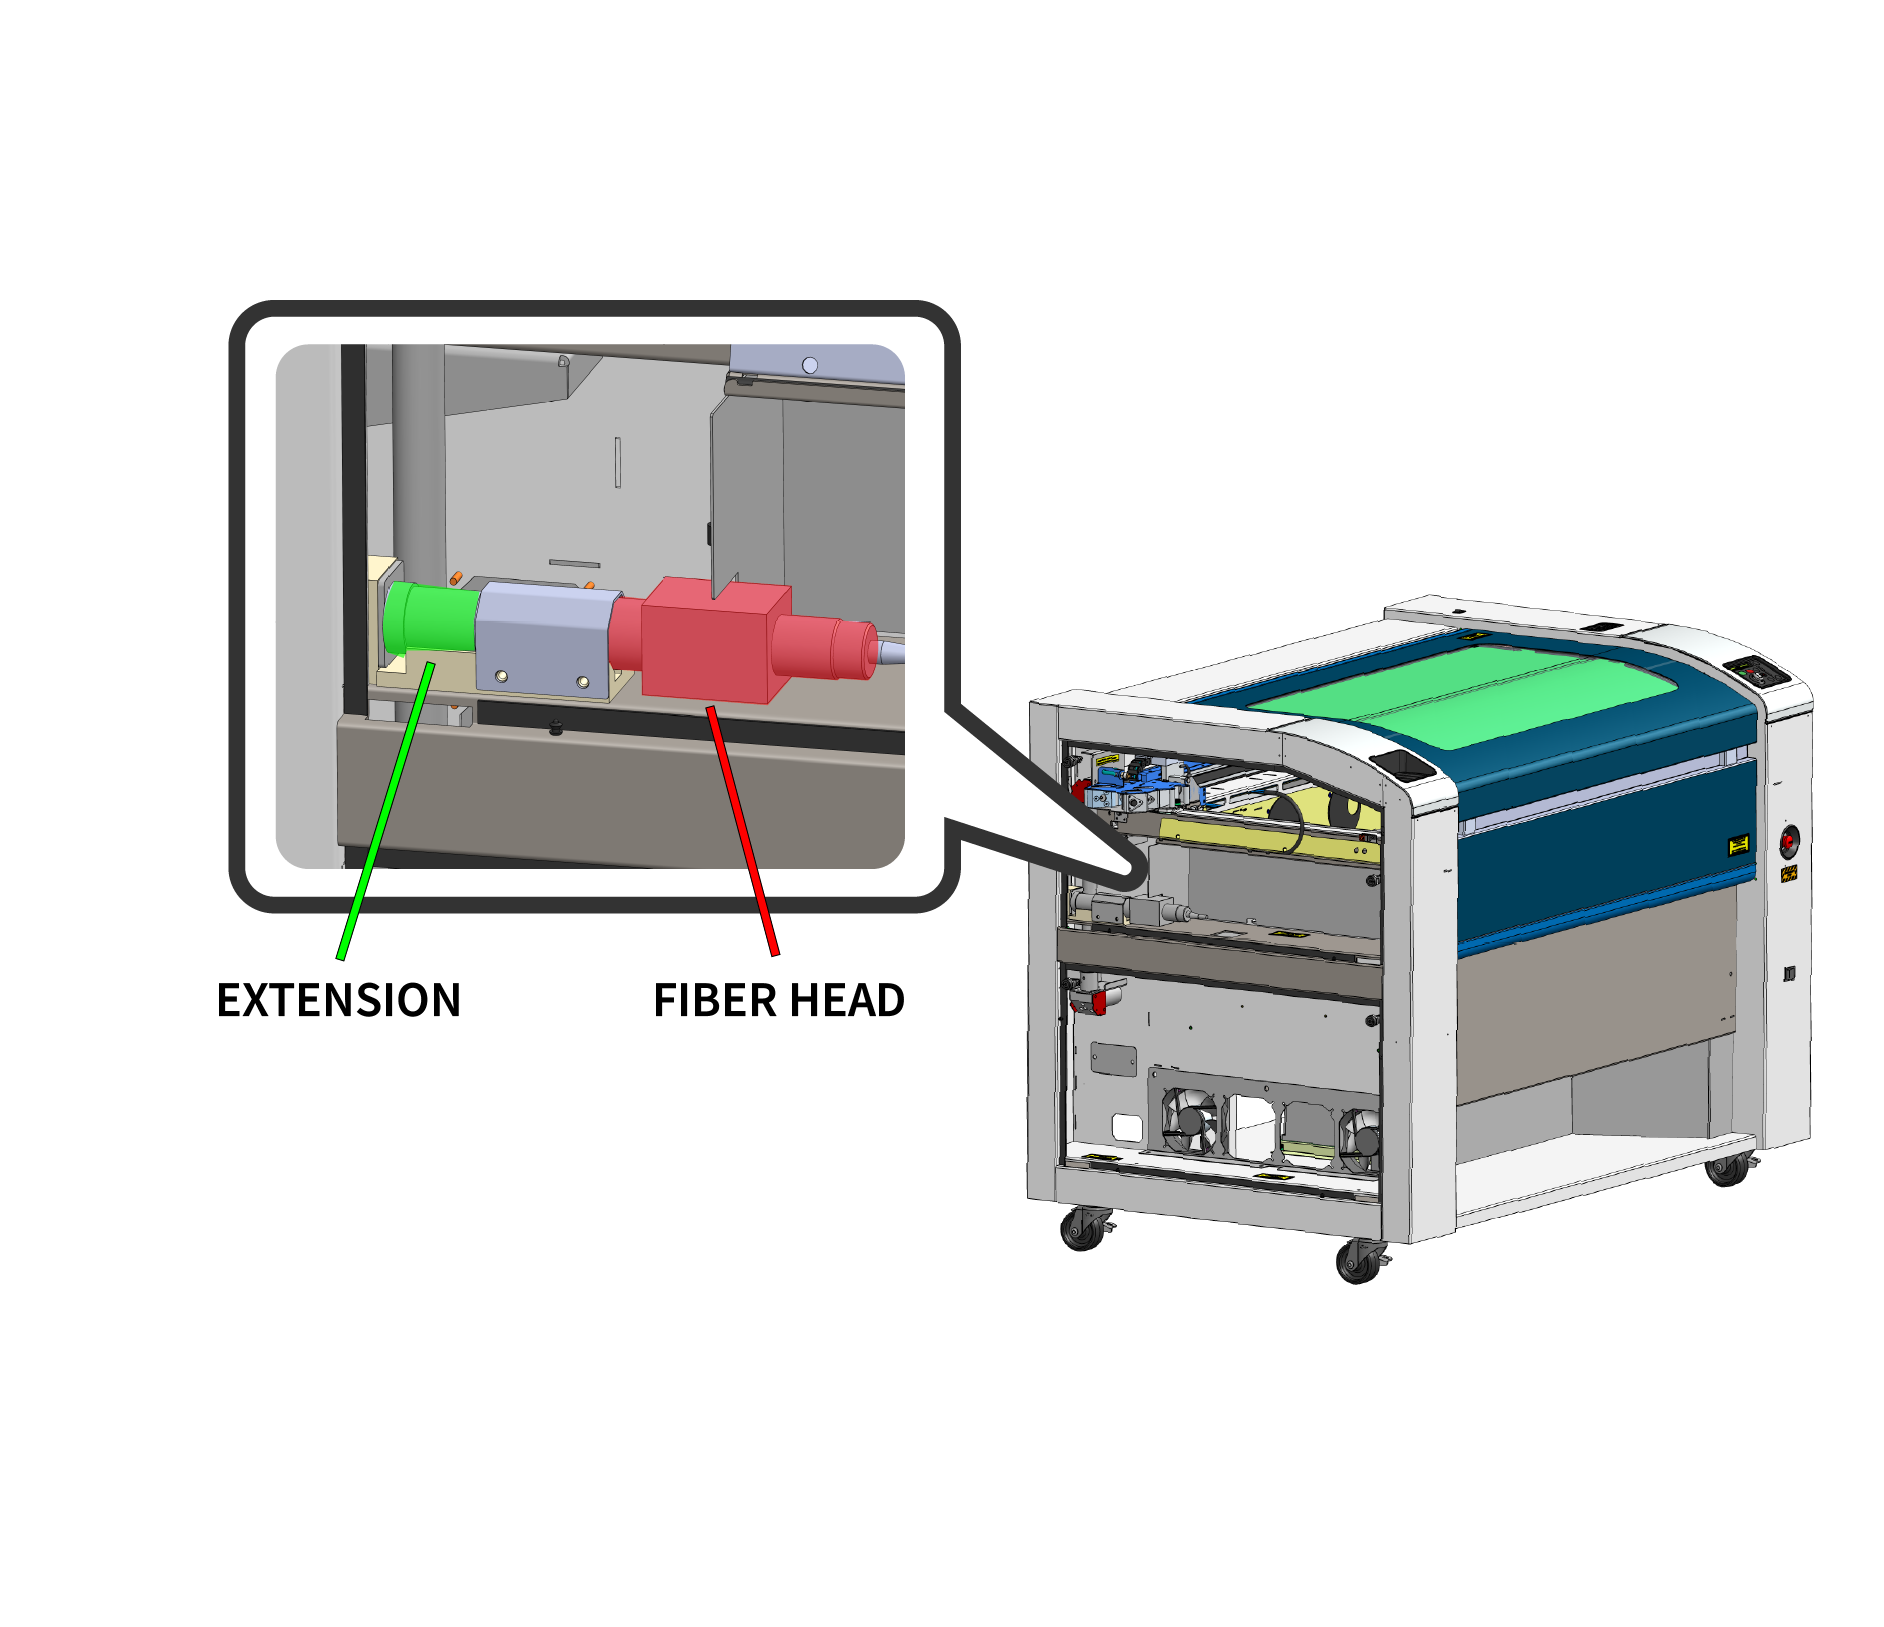
Cabezal de fibra seguro
Introduce el tubo de extensión del cabezal de fibra y el cabezal de fibra en el soporte y fija este último.
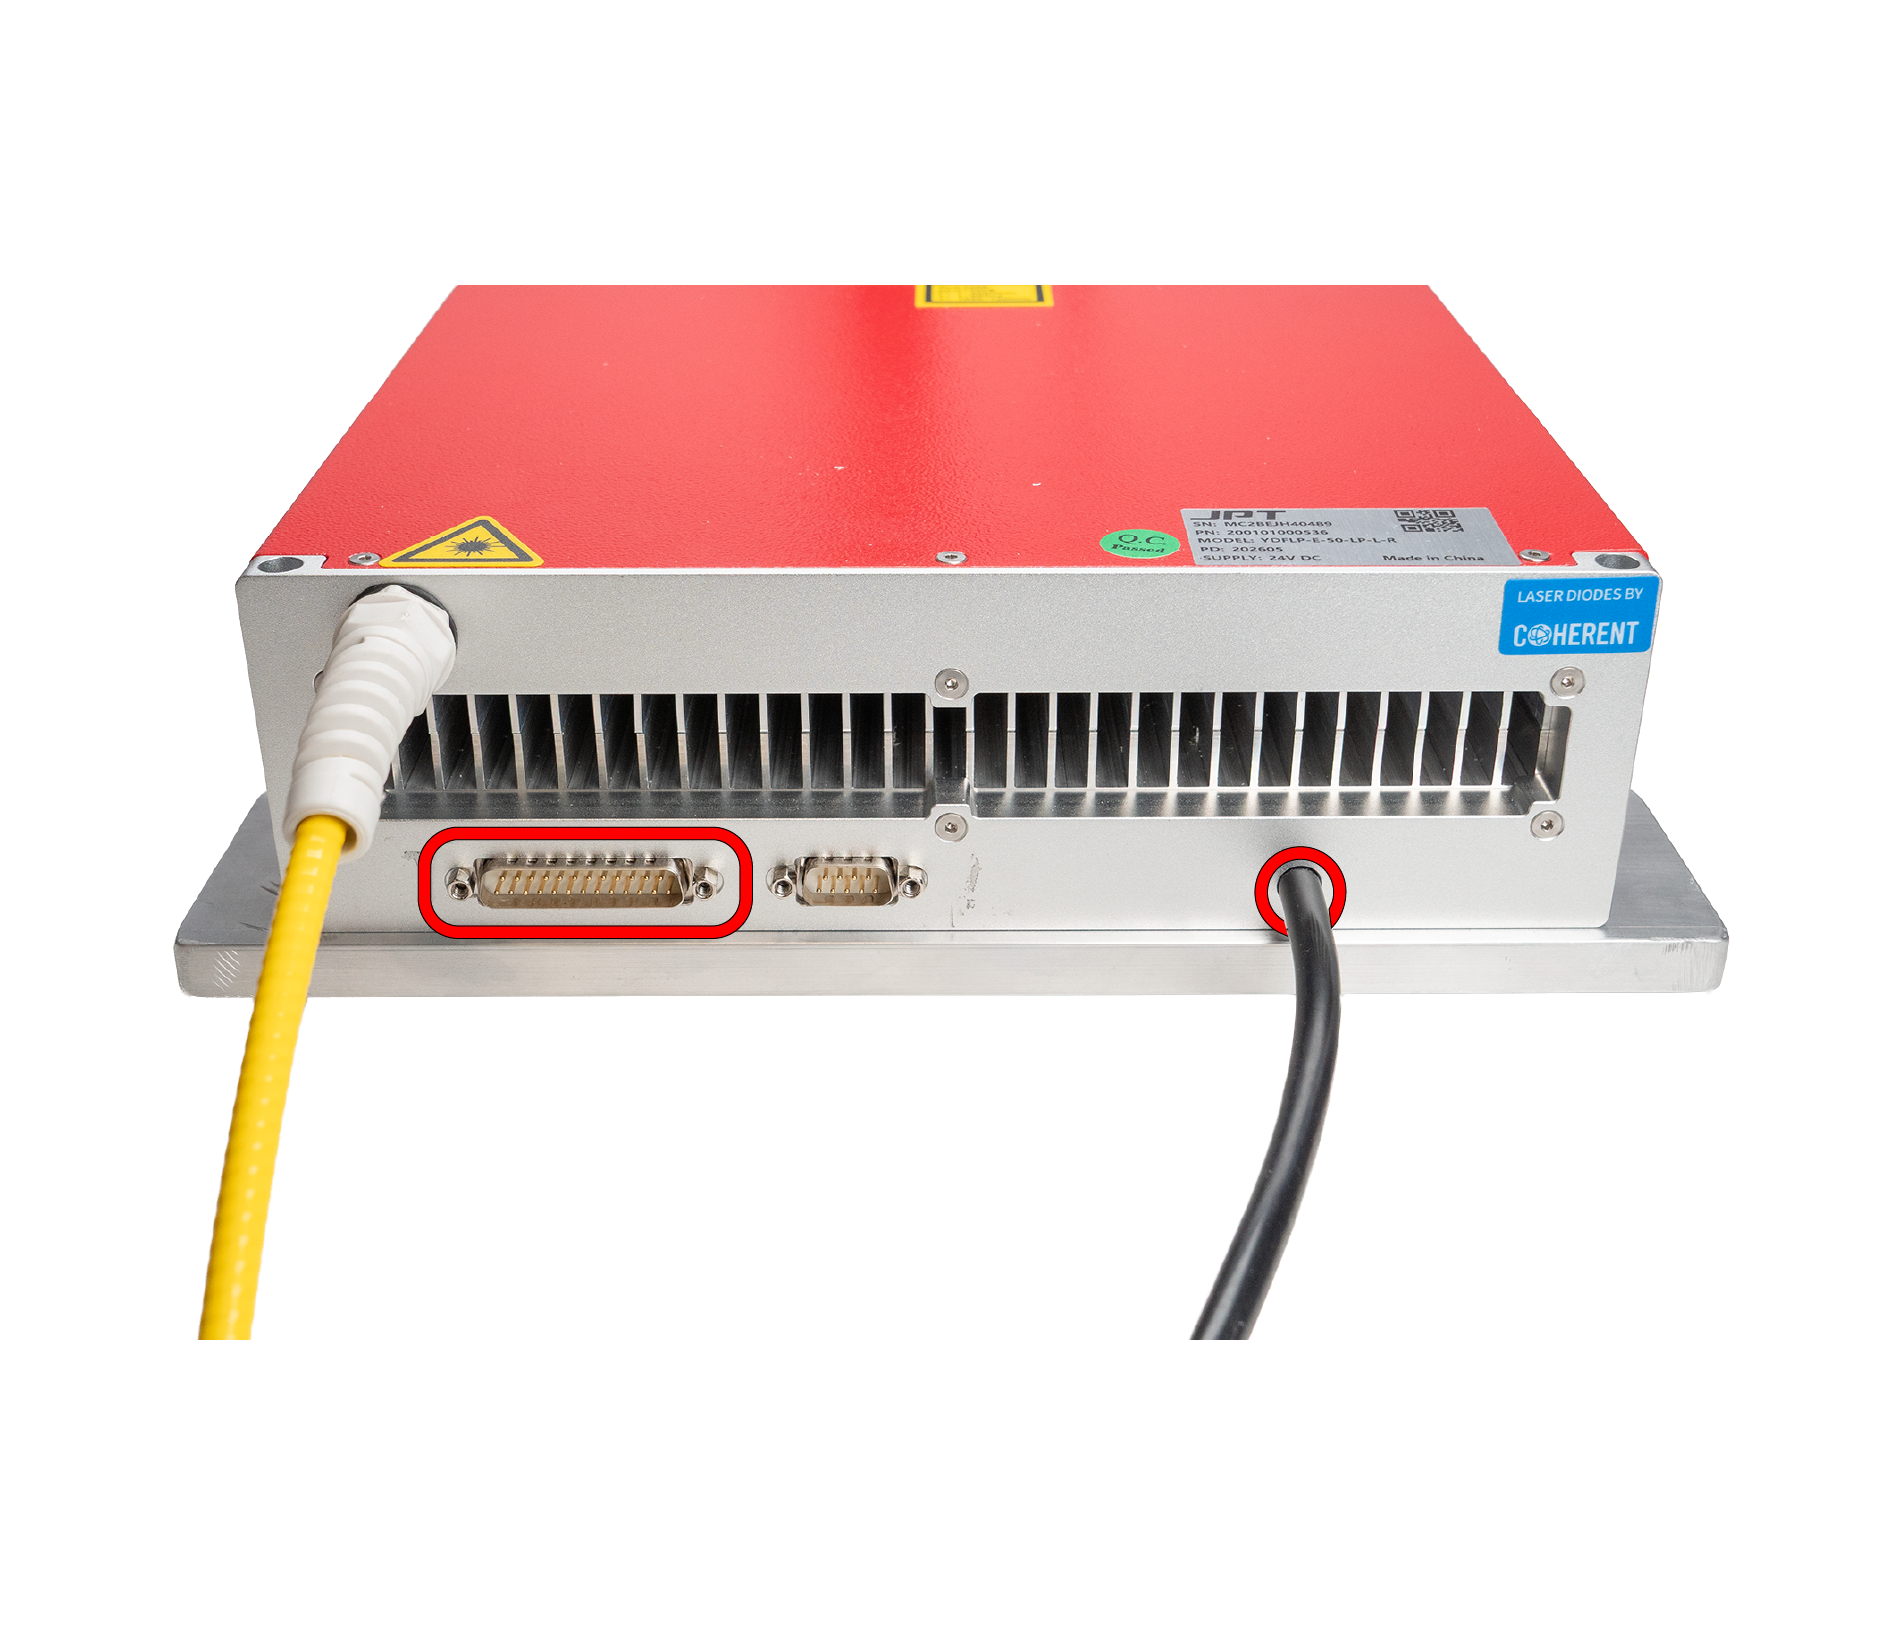
Vuelve a conectar los cables
Vuelve a conectar los cables de señal y de alimentación.
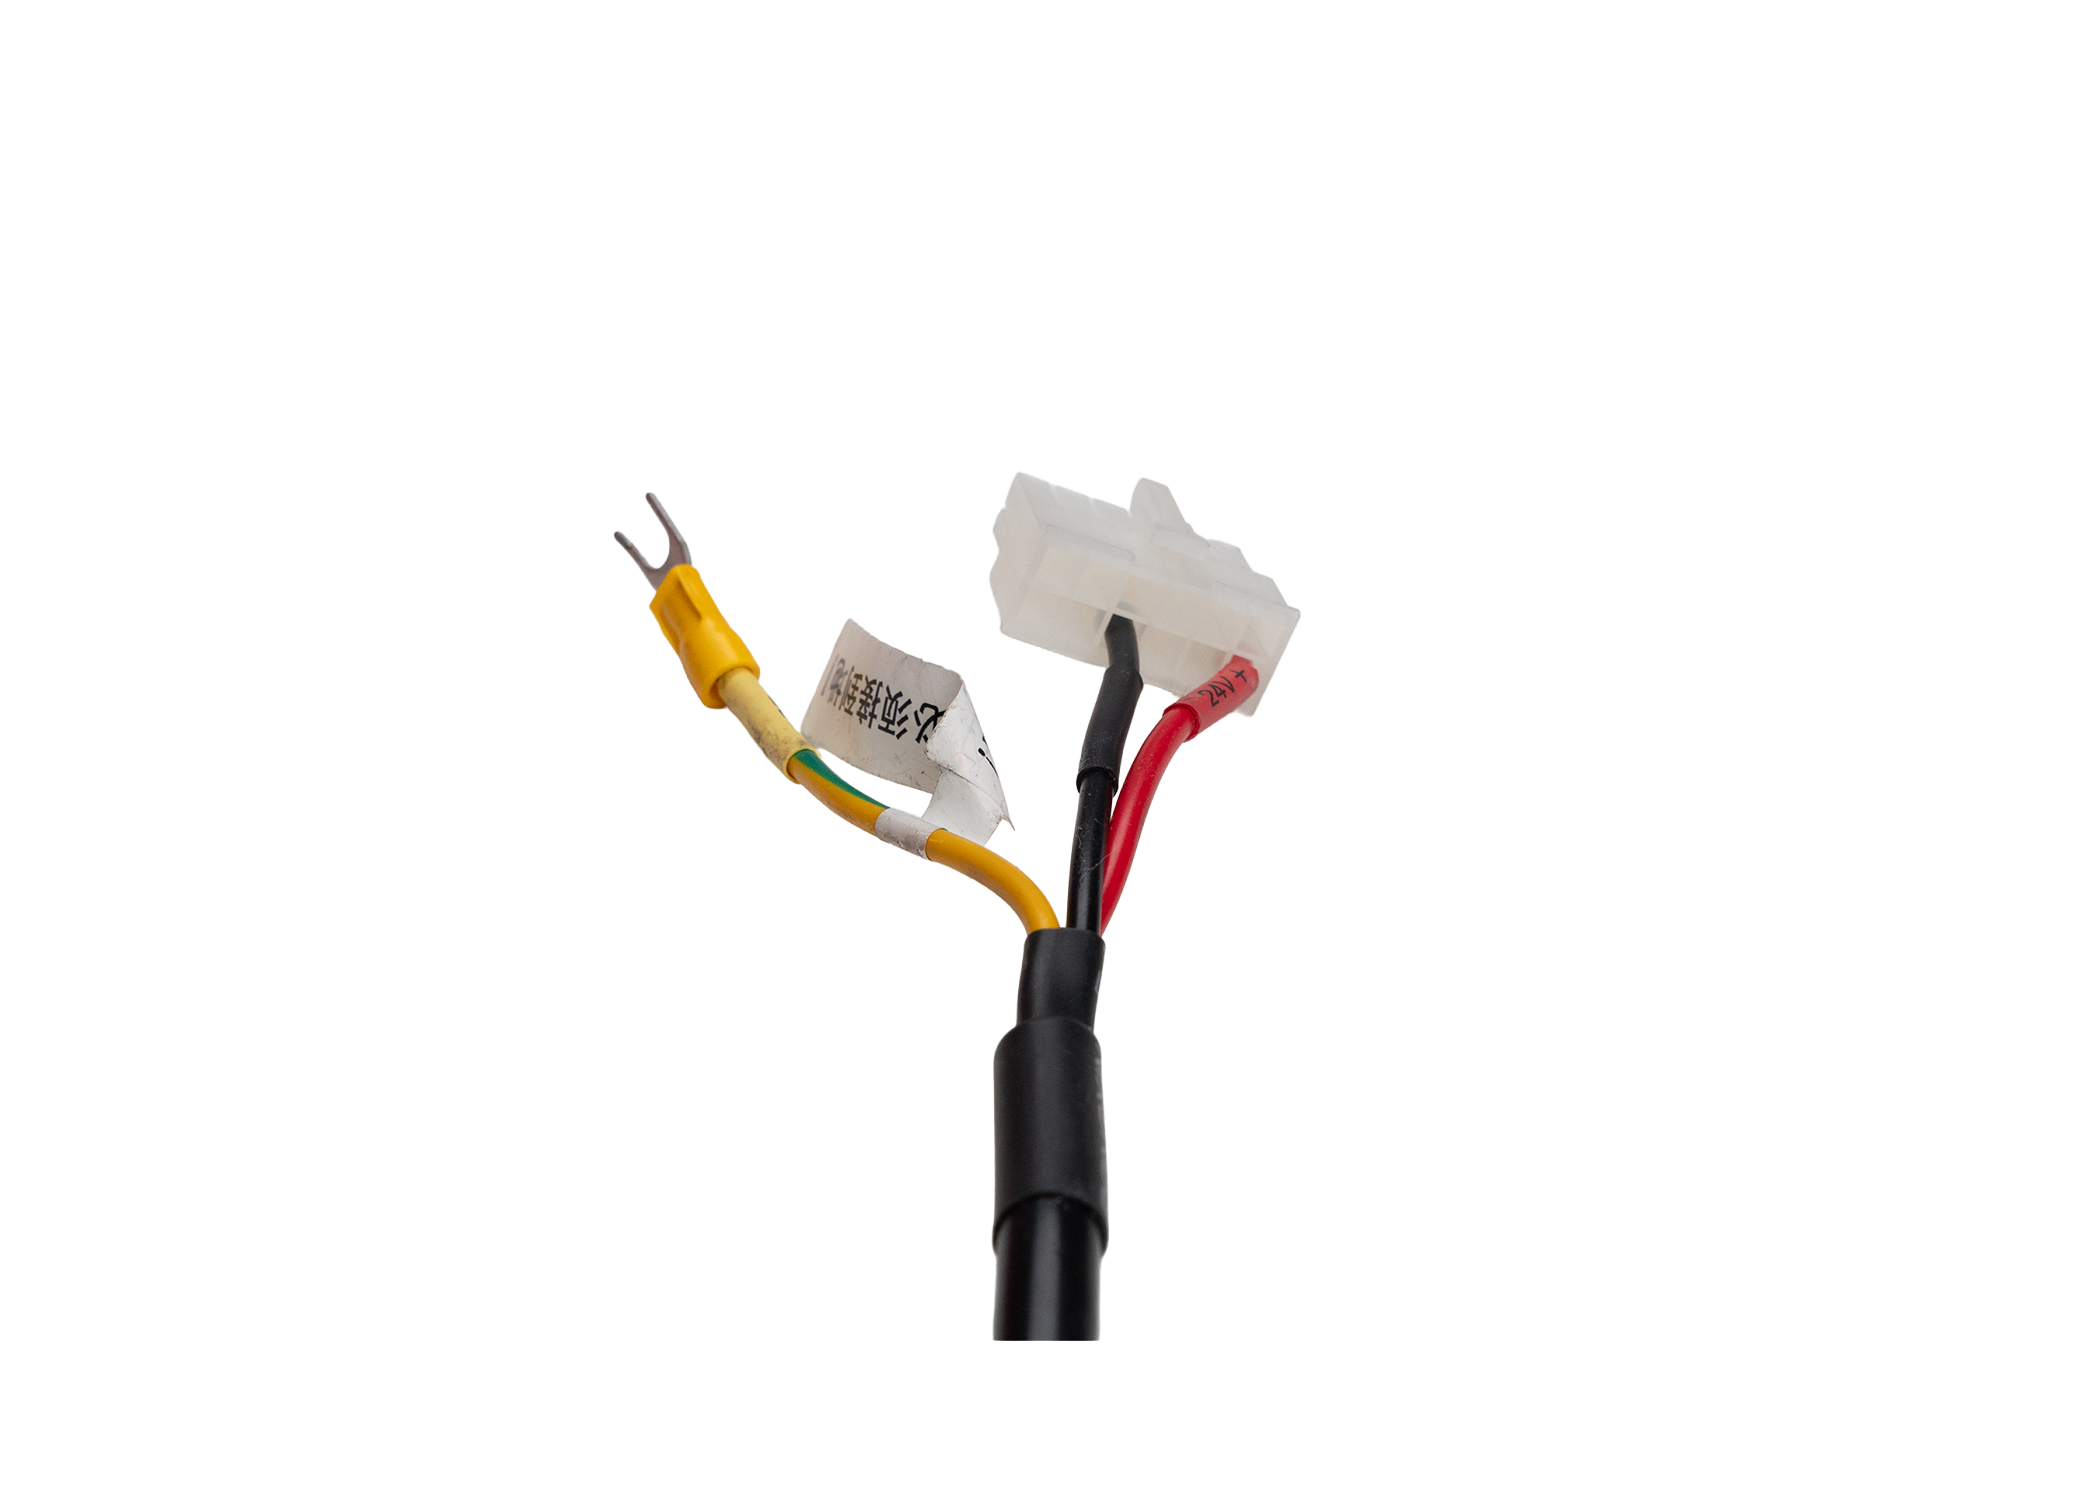
Conectar el cable de puesta a tierra
Conecta el cable de tierra amarillo adicional al chasis, en el orificio sin utilizar situado junto a la entrada de fibra.
Verificación final y alineación
Antes de volver a colocar los paneles, siga la guía de alineación que se adjunta a la derecha para asegurarse de que el láser de fibra esté correctamente alineado. Una vez hecho esto, vuelva a colocar todos los paneles de la máquina.