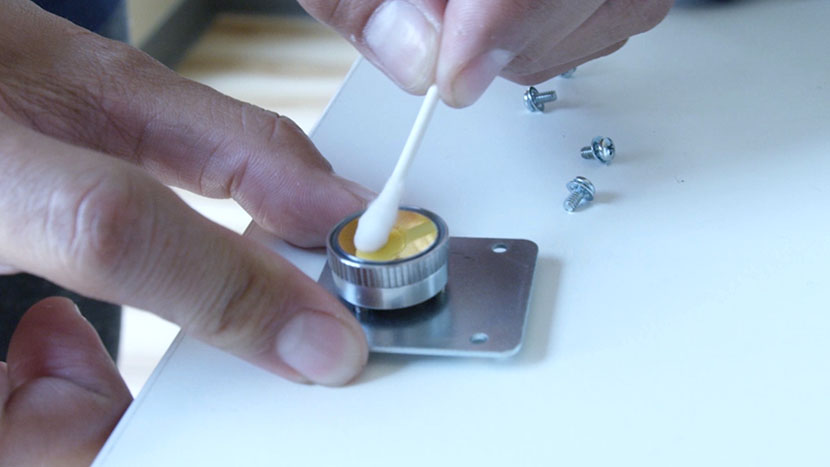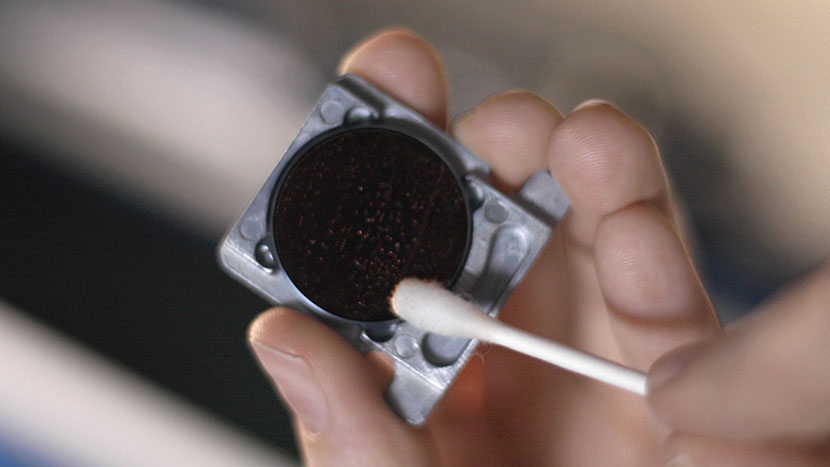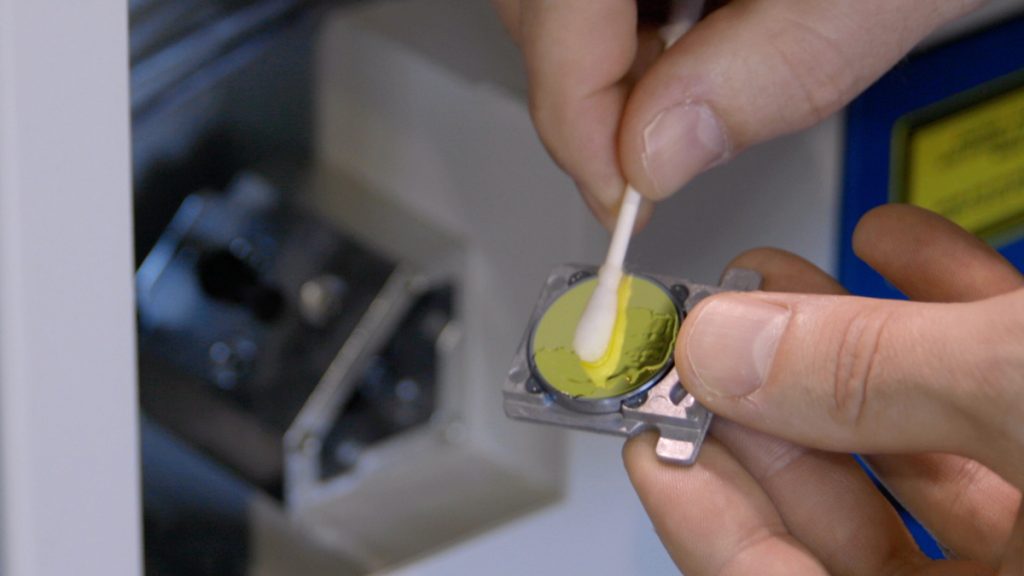
Move X-Axis Assembly To start the optics cleaning procedure, with the machine powered on, use the control panel to scroll down to ‘Jog.’ Then use the joystick to move the x-axis assembly toward the middle of the machine to provide you easier access to the lens assembly and mirrors. Shut (...)
Cleaning Your Optics
Remove Left Side Panel To begin by the optics cleaning procedure, start by shutting off the laser and remove the power cord from the machine. Remove the left side panel by removing the four Phillips head screws on the side of the machine and the two screws on the (...)
Cleaning Your Optics
Remove Side Panel To begin the optics cleaning procedure, shut off the laser and remove the power cord from the machine. Remove the left side panel by removing the three screws on the side of the machine. Remove the screw on the back of the machine. Remove the left side (...)
Cleaning Your Optics
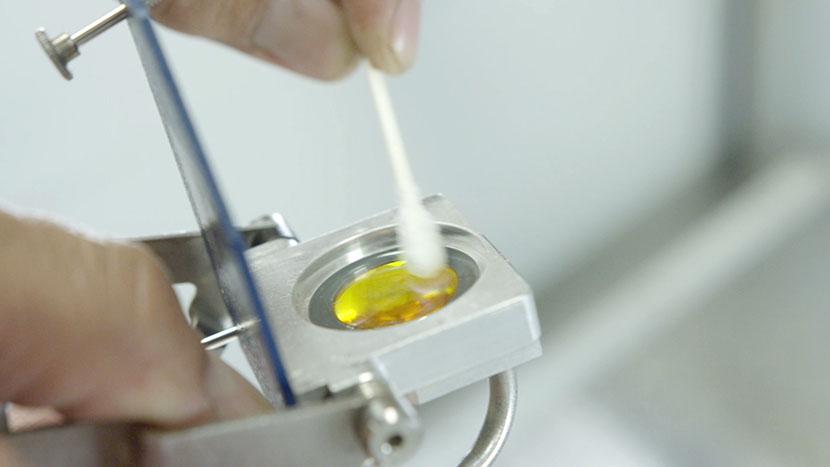
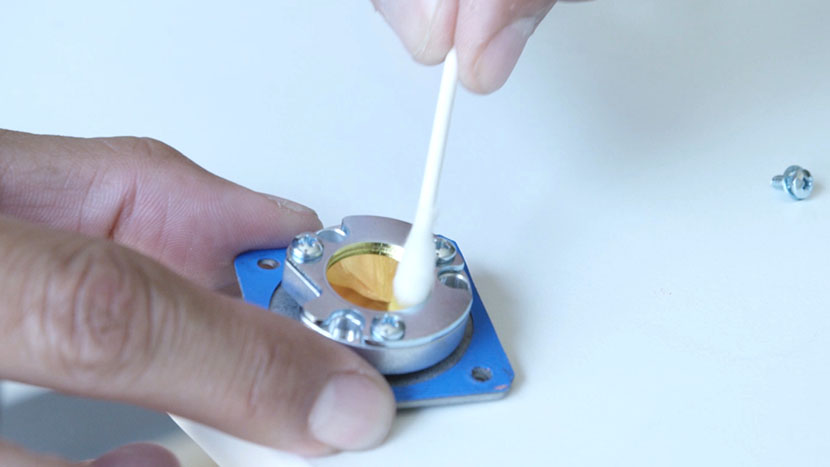
Cleaning the Focusing Lens Optics The mirrors in the periscope housing are enclosed, and will likely require cleaning less often than the other components of the optics system. Let’s start by jogging the laser assembly toward the front of the machine for access to the optics, then we’ll turn off (...)
Cleaning Your Optics
Cleaning the Lens Tube Optics To begin the procedure of cleaning your optics, with the machine powered on, select the Jog icon. Then use the joystick to move the laser head toward the front and middle of the machine to provide you easier access to the lens assembly. (...)
Removing Adhesive Backing from Acrylic
Spray Backing Spray the adhesive backing with Pure Citrus air freshener and let it sit for 30 seconds. Peel Backing Now the adhesive backing should be quick and easy to remove from your acrylic. Wipe Clean Wipe off the remaining residue and you’re ready to engrave or (...)
Creating a 3D Sphere Design for Laser Engraving
Setup the Artwork Here we have a snowflake design that we’ve replicated in an offset grid pattern to be transformed into a 3D sphere design. Select the design and drag it into the Symbols tab. Name the design And set the export type to graphic. Delete the (...)
Using Registration Marks to Cut Preprinted Acrylic Keychains
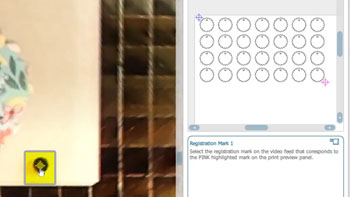
Setup Files Here we have a sheet of keychains to cut out of an acrylic sheet we had preprinted with the flower design. In CorelDRAW, you can also see the file we printed, along with the four registration marks printed at the corners of the design. First, we’ll turn (...)
Precisely place artwork using the IRIS Camera
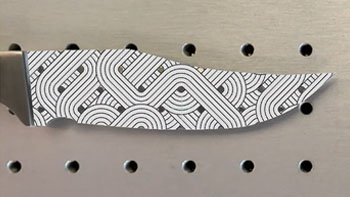
Artwork Setup Here we have a graphic we want to engrave on a blade of knife, which we can do by using the camera. In the Laser Dashboard, using the camera, we can see the knife blade placed in the laser. Start by clicking the Copy Background Image (...)
Use Print Merge to Customize Multiple Items
Import Data Here we have a series of name badges to engrave and cut on the laser using print merge. First we’ll need to pull in the list of names. Select File > Print Merge > Create/Load Print Merge Click Import File and navigate to your .csv, .rtf, or (...)
Creating a Readable Barcode on Stainless Steel
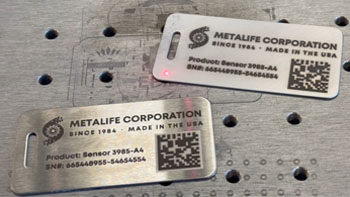
Barcode Readability We have a design for a barcode to be engraved on a stainless steel tag. The issue is that barcodes are very difficult to scan when engraved on highly reflective metal. We’ll walk through two solutions to this issue. Polished Barcode Solution For the (...)
Using Bartender Variable Data
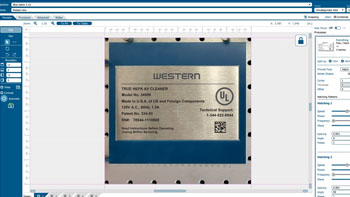
Import Variable Data We have our file for a 5” x 3” serial tag setup in Bartender. There are two pieces of variable data on the tag: the serial number field and a scannable barcode with the serial number. We also have an excel file with a list of serial (...)