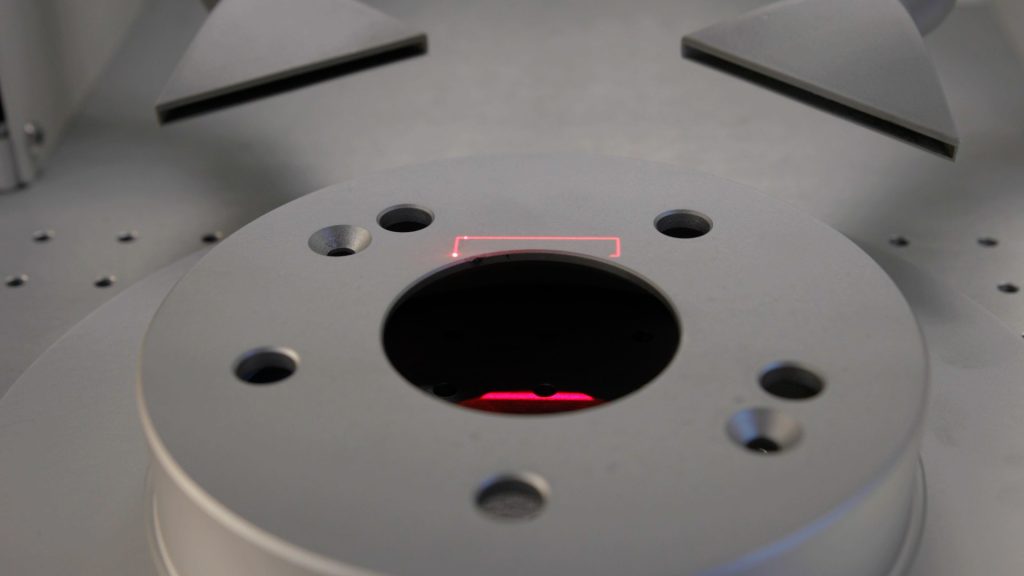
Let’s start creating your custom shaped artwork by placing your part on the table of the laser. Then bring the part into focus using the focus menu. Once the red dot pointer aligns with the vertical line, your part is in focus. For this tutorial will be using CorelDraw as (...)
How to Quickly Make an Engraving Fix
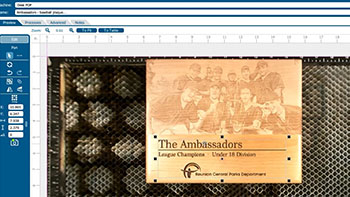
Isolate Text This initial engraving looks good, but the text portion could be deeper! We can isolate the text to improve the result. Turn off the camera. Ungroup your artwork. Select the text and Separate by Selection. You’ll see two processes listed now. Turn off the photo process. Adjust Settings (...)
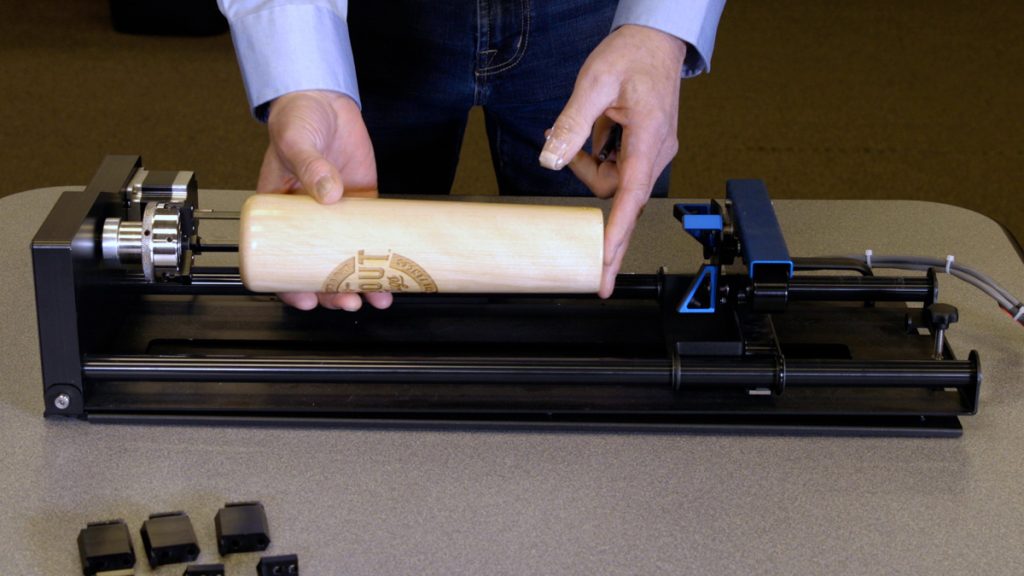
Using the 3-Jaw Chuck Rotary Attachment
Installing the 3-Jaw Chuck Before we get started, we will need to lower the laser table far enough to accommodate the 3-Jaw Chuck Rotary Attachment Once the table is low enough, power off the machine. Measure & record the diameter of the cylinder you plan on engraving; you will (...)
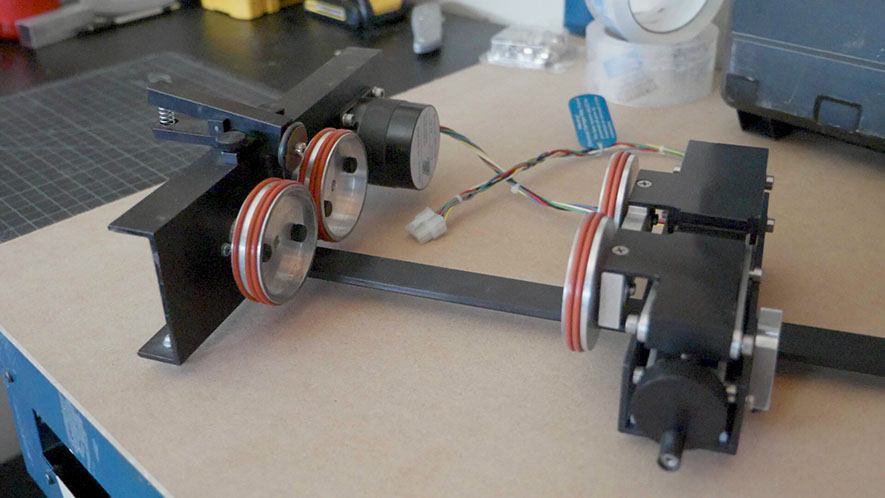
Installing the Rim-Drive Rotary Attachment
Installing the Rim-Drive Rotary Attachment To begin installing the Rim-Drive Rotary Attachment, make sure your machine is plugged in and powered on. We then suggest opening the front door on your machine you so you can view the vertical position of the machine’s table. At the control panel, press the (...)
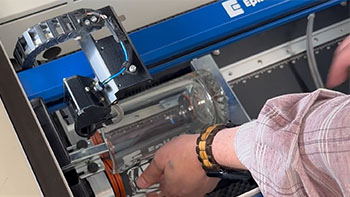
Using the Rim-Style Rotary Attachment
Install the Rim-Style Rotary To install the Rim-Style Rotary Attachment, lower the table and turn off the machine. Place the Rotary at the top-left corner of the table. Attach the plug to the machine at the top-right corner of the bed. Turn the machine back on. (...)
Center-Center vs Custom Center Engraving
Using Center-Center There are many ways to use Center Engraving on the Epilog Laser Dashboard. Let’s take a logo we want to engrave at the center of a coaster. In the Epilog Dashboard, choose the Advanced Tab. Next to Centering Point you’ll see a list of all (...)
Using Margins to Preview Your Engraving
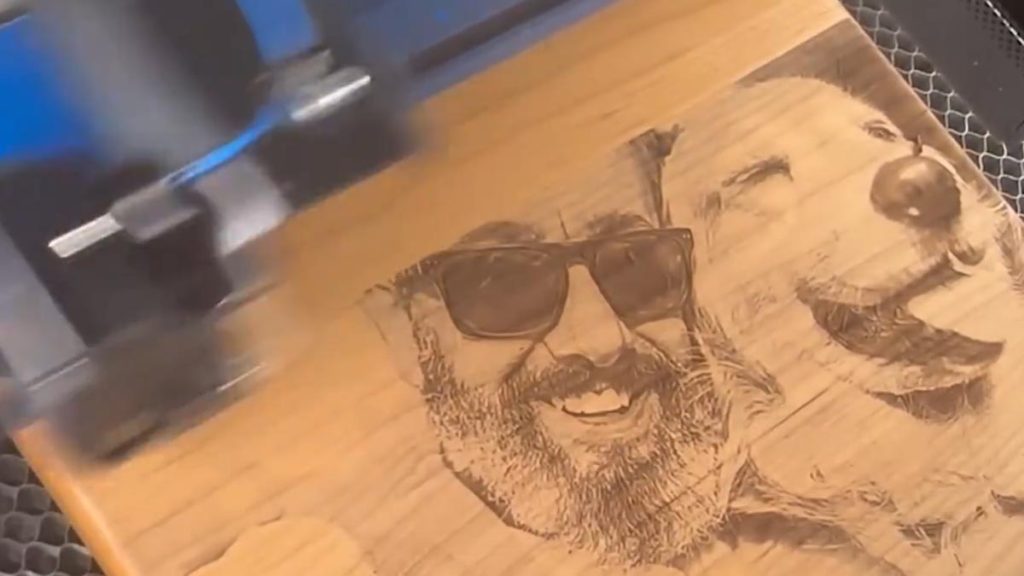
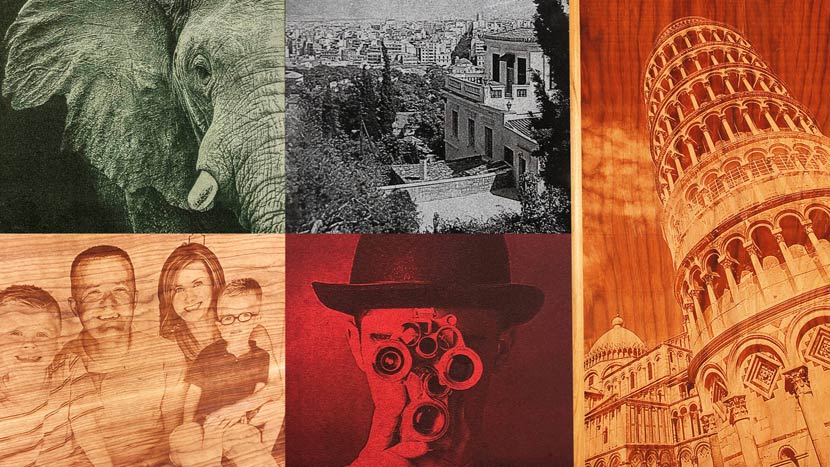
For a helpful tip, we’ll show how to use margins in the Epilog Dashboard to preview the engraving to make sure our photo quality is ideal. Prepare the Artwork We’ll be engraving this photo on a wood plaque. First, we’ll process the photo in PhotoLaser Plus. (...)
Using Color Mapping in the Epilog Software Suite
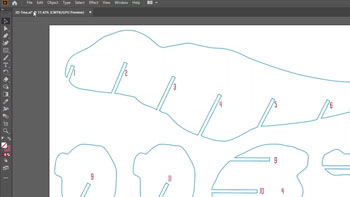
It’s easy to color map with the Epilog Dashboard. Prepare the Artwork for Color Mapping For this file, we want to score the red numbers and cut out the blue outlines. Once the artwork is ready, Print the file to the laser. Everything has come over in a single process (...)
Use a Jig to Pre-Engrave an Item for Customization Later
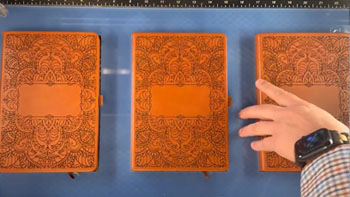
Setup the Artwork Here we are creating a jig to pre-engrave four leather notebooks. We’ll add customized names to each one later. The red lines are the outlines of the notebooks we’ll cut out in a jig. We’ll cut an arrow at the top left corner so (...)
Using PhotoLaser Plus
Prepare Photo Begin by importing a photograph into PhotoLaser Plus. Select the ‘Import’ option from the ‘File’ menu. Then select a photo. Now click on the work area to place the photo. Next, resize the image to match the engraving piece. In this example, our engraving piece is 6” x (...)
Creating City Maps (Illustrator)
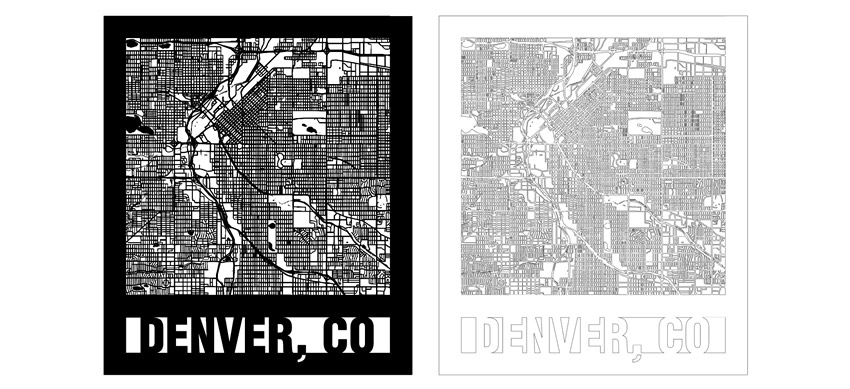
City Map Image Capture Start off by visiting snazzymaps.com to create a custom city map for laser engraving or cutting. Creating an account is not required, but if you are interested in creating different maps for customers or friends, signing up will give you the ability to save map locations (...)
Creating City Maps (CorelDRAW)
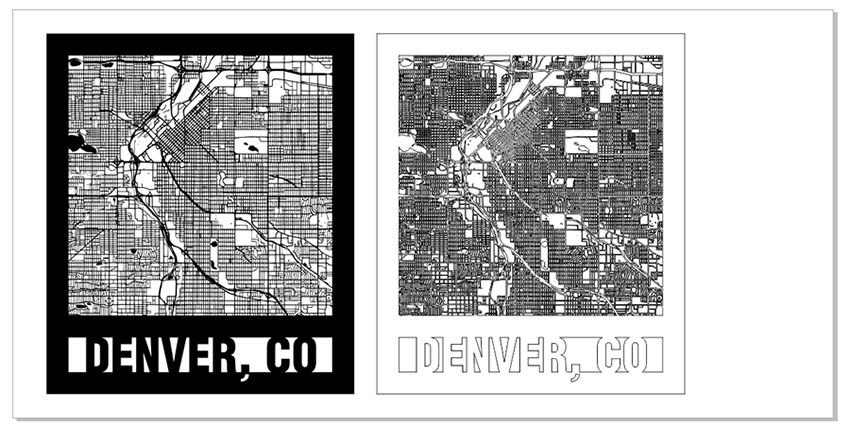
City Map Image Capture Start off by visiting snazzymaps.com to create a custom city map for laser engraving or cutting. Creating an account is not required, but if you are interested in creating different city maps for customers or friends, signing up will give you the ability to save map (...)