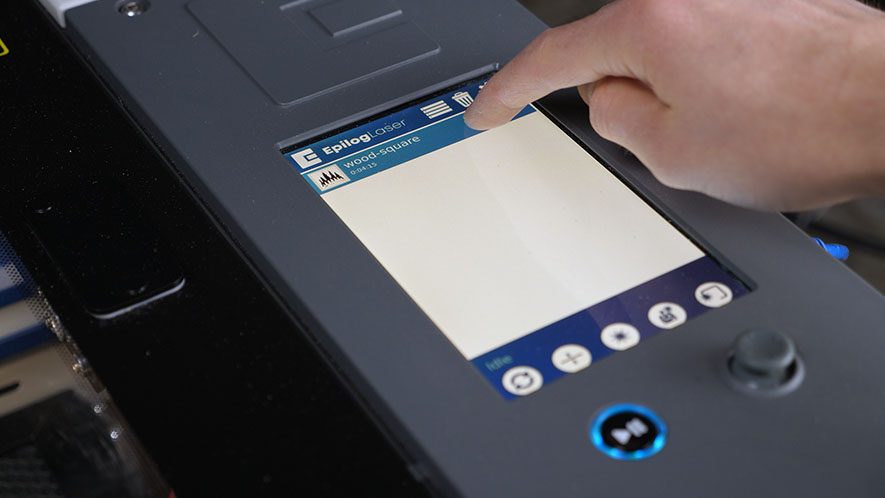
Estimated time: 5 minutes • Skill: Basic Touchscreen calibration ensures accurate touch response when selecting options and settings on the display. This procedure is rarely required and should only be performed if the touchscreen is registering incorrect inputs or responding inconsistently. Touchscreen Calibration Procedure Open the Settings menu. At the (...)
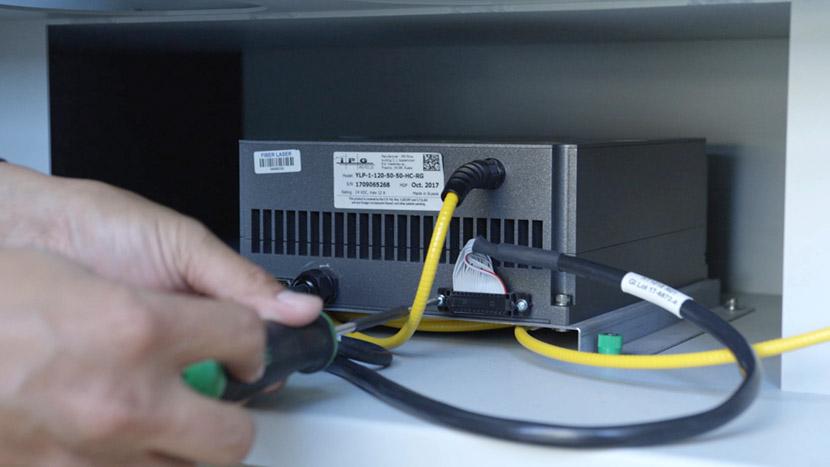
Fiber Laser Alignment
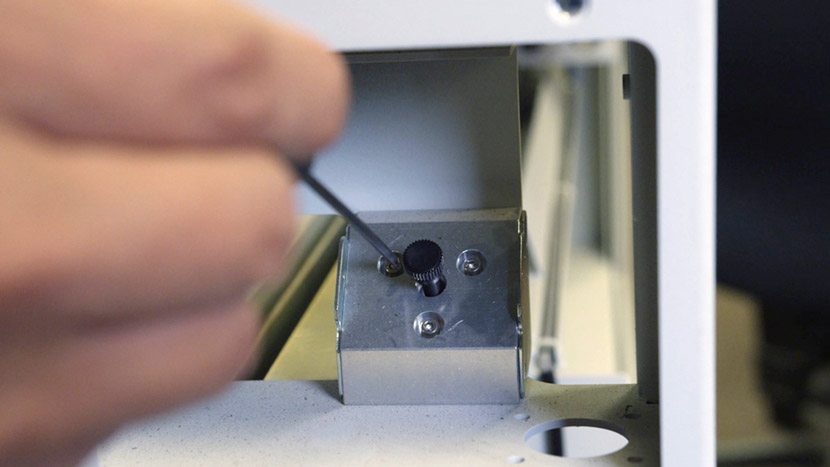
Fiber laser alignment is a crucial maintenance procedure to ensure the optimal performance of your Fusion Edge and Fusion Pro laser engravers. Over time, misalignment can occur due to regular use, component replacement, or moving the machine to a new location. This guide provides a step-by-step process for checking and (...)
Leveling the Table
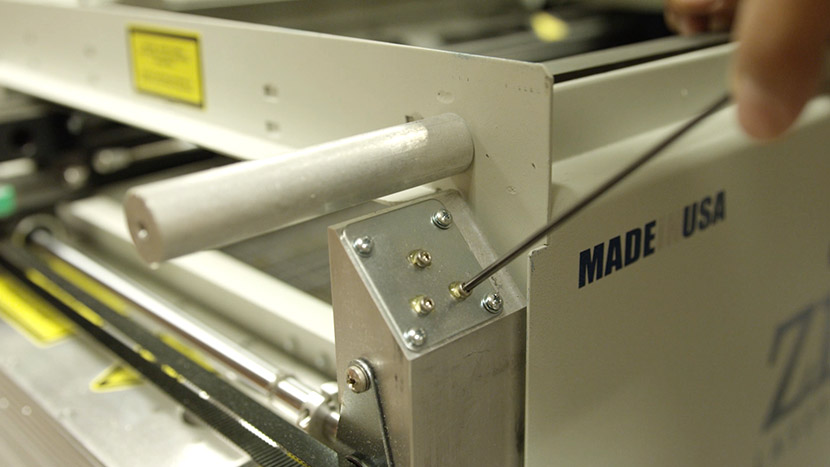
This document outlines the table leveling procedure for the Fusion Maker, Edge, and Pro 24 and 36. Table level should be checked periodically to ensure that all areas of the table are the same distance from the focusing lens. If all areas of the table are not the same distance (...)
Leveling the Table
This document outlines the table leveling procedure for the Fusion Pro 32 and 48. Table level should be checked periodically to ensure that all areas of the table are the same distance from the focusing lens. If all areas of the table are not the same distance from the focusing (...)
Adjusting the Home and Park Positions
This document outlines the home and park position adjustment procedures for the Fusion Maker, Fusion Edge, and Fusion Pro.
Focus and Camera Calibrations – Fusion Galvo
Please find the attachment for an in-depth description.
FiberMark Home Position Calibration
The attachment shows the home calibration procedure for the Fibermark 24×12 engraver.
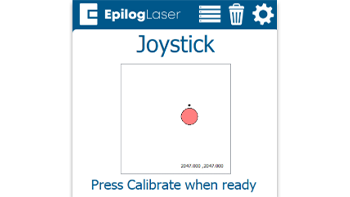
Quick Guide: Calibrating the Joystick for Accurate Movement
Steps to Calibrate the Joystick Open the Settings Menu On the display panel, press the gear icon in the top-right corner to open the Settings menu. Image 1: Home screen with gear icon in top-right corner Access Advanced Settings Press and hold the word “Settings” on the screen until the (...)
Laser Alignment – Maker / Edge / Pro
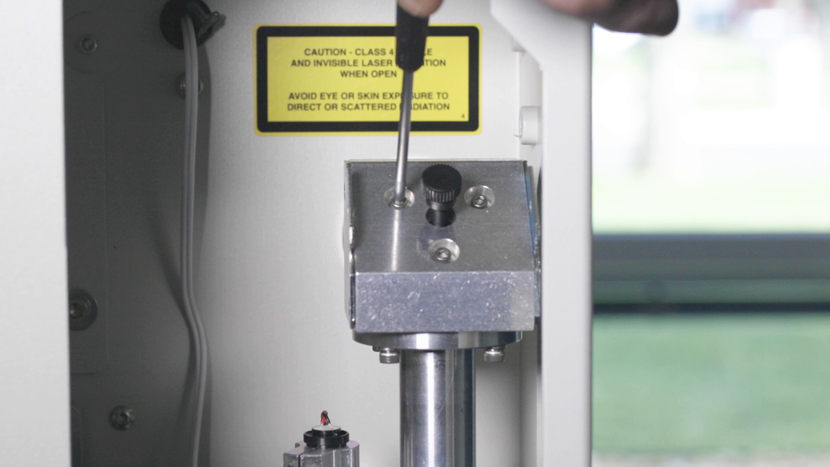
Turn On To begin the laser alignment procedure, power on the laser. For the following procedures, the table will be broken into four (4) positions. Each position is identified by its relative distance to the laser source and corresponds with the mirror to adjust for that position. Three of the (...)
Laser Alignment – Zing
Mark the Laser Alignment Target To begin the laser alignment procedure, in your graphics software, set your page size equal to your machine’s table size and create a small ¼” by ¼” black filled box in the upper right corner of the page, then send it to the laser. Install (...)
Laser Alignment – Mini / Helix
Mark the Alignment Target To begin the laser alignment procedure, on the control panel, press the maintenance button to bring up the maintenance menu on the display. Use the up and down arrow buttons to scroll to ‘Align Laser’. Then press the green ‘Go’ button. The display should now say (...)
Laser Alignment – Fusion / Fusion M2
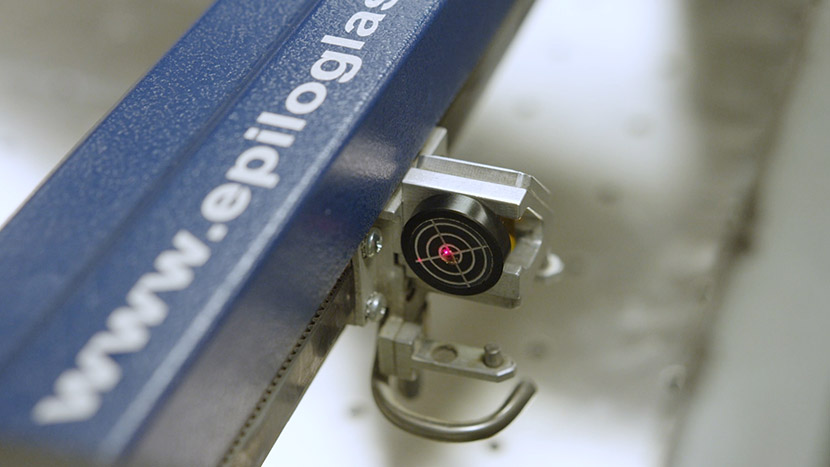
Alignment Target Place the alignment target in the round opening on the side of the lens assembly. Then cover the alignment target with a small piece of masking tape. On the control panel, use the arrow buttons to select ‘Jog.’ Then use the joystick to move the lens carriage to (...)