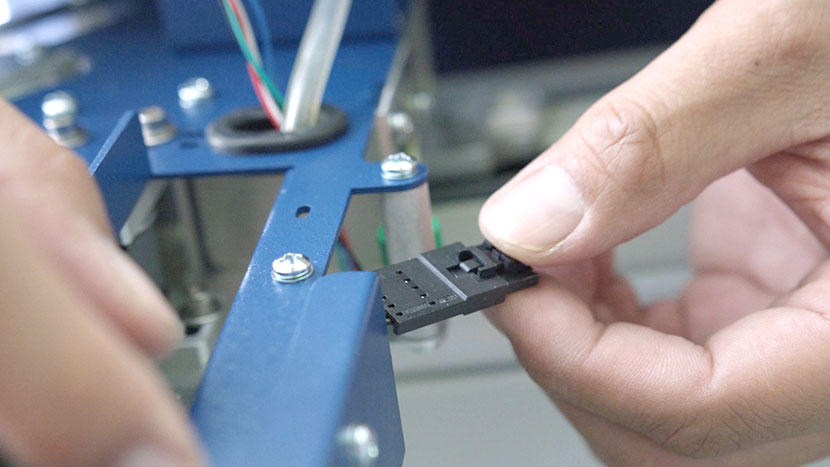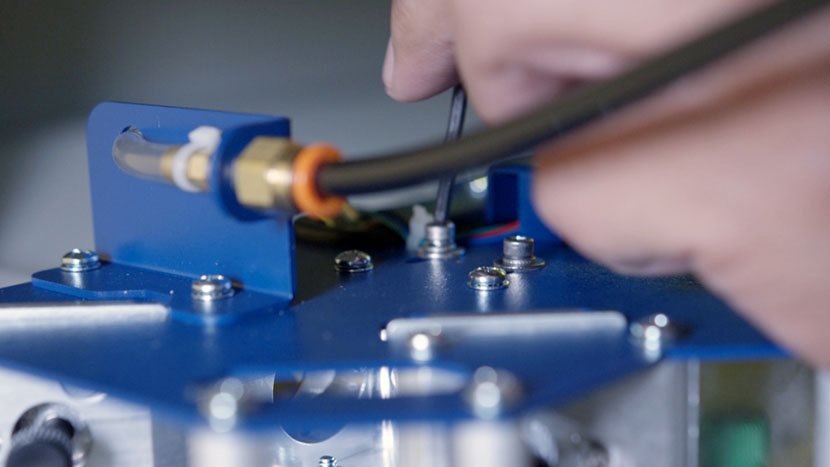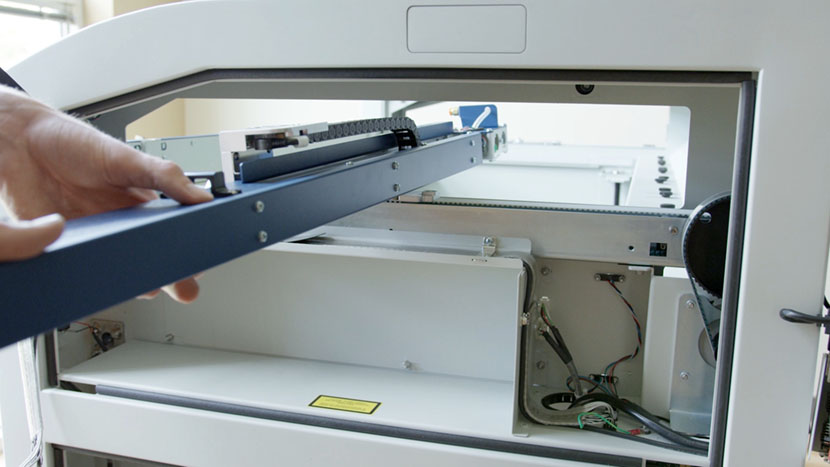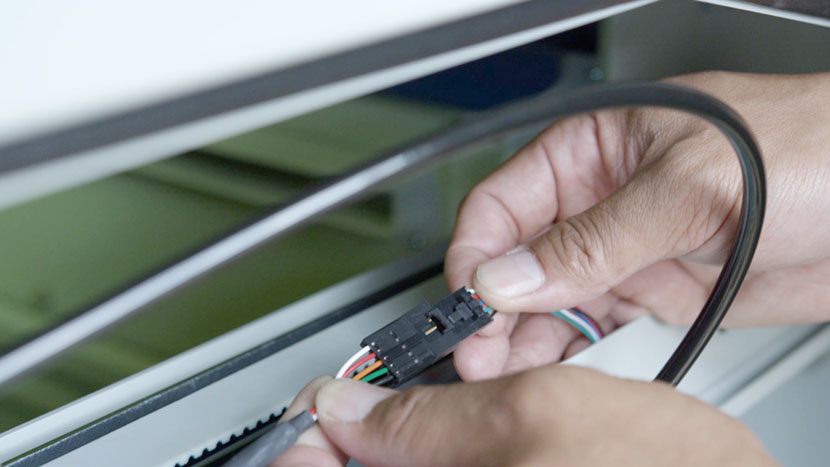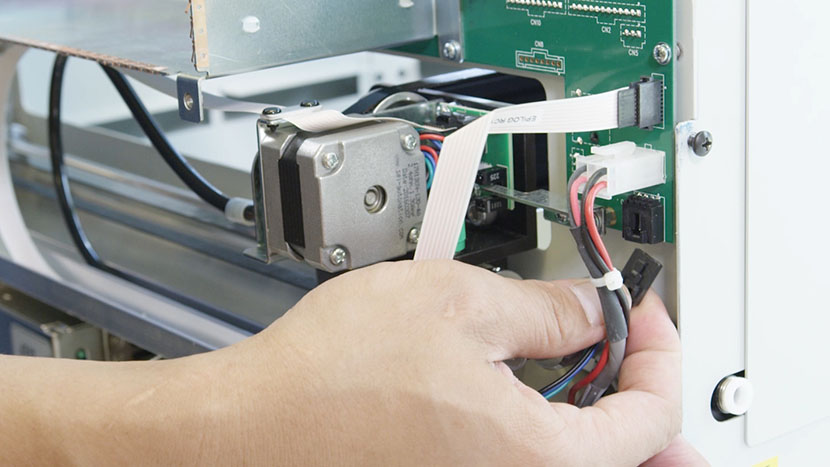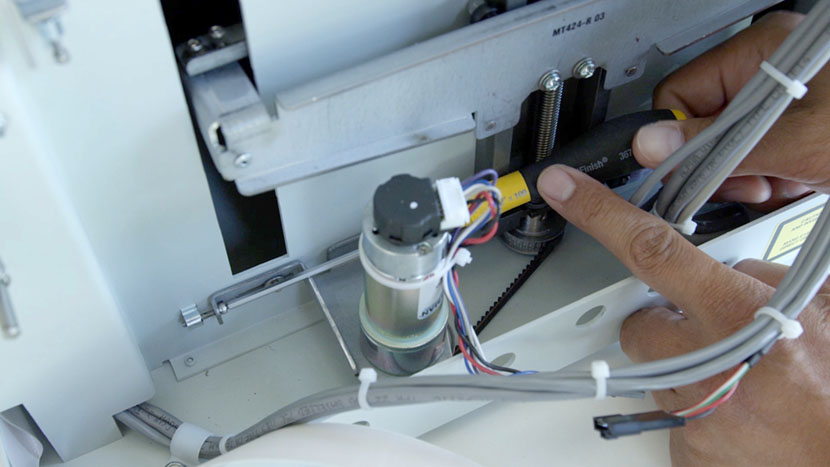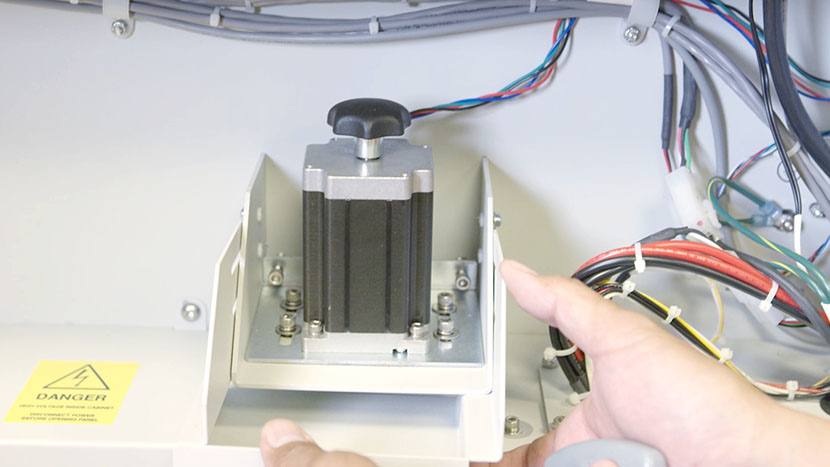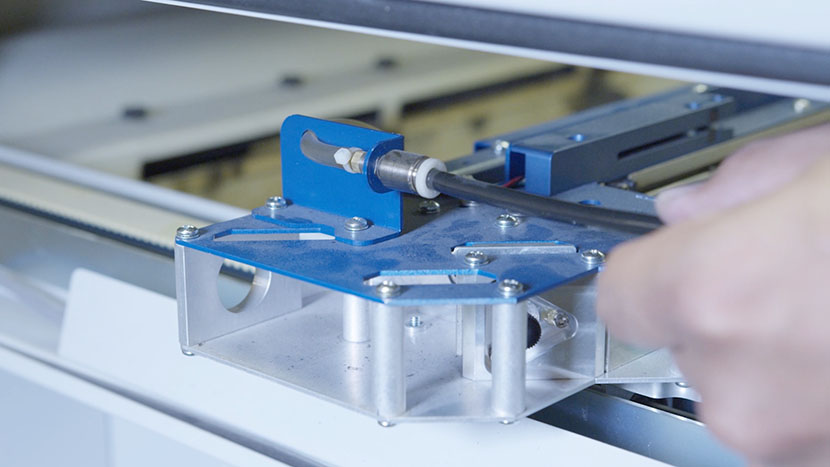
Remove Panels We’ll start by replacing the left sensor, then move on to the right sensor. Shut off the laser and remove the power cord from the machine. Remove the top access panels on both the left and right side of the machine by using a 5/32” hex key to (...)
X-Axis Tensioning Belt
Remove Panel Shut off the laser and remove the power cord from the machine. Remove the top access panel on the left side of the machine by using a 5/32” hex key to turn the black panel locks ¾ of the way counter-clockwise. Adjust Belt Tension Use a 7/64” hex (...)
Y-Axis Assembly
Remove Panels Shut off the laser and remove the power cord from the machine. We’ll begin by replacing the y-axis on the right-hand side of the machine. Use a 5/32” hex key to remove the exhaust plenum on the rear of the machine. Then remove the small panel in the (...)
Y-Axis Sensors
Remove Panel We’ll start by replacing the front sensor, then move on to the rear sensor. Shut off the laser and remove the power cord from the machine. Remove the top access panel on the left side of the machine by using a 5/32” hex key to turn the black (...)
Y-Motor Replacement
Remove Panels Turn off and unplug the machine. Each Fusion Edge is fitted with two Y motors. Determine which Y Motor, left or right-hand side, you will be replacing and remove that side panel from the machine. Using a 5/32″ Allen wrench, remove the 8 screws that secure the left (...)
Y-Motor Replacement
Remove Rear Panel Loosen the two screws on the back of the machine and remove the back panel. Remove Old Y-Motor Using a 3mm hex key, loosen the four hex screws located on the drive couplers located on both sides of the Y-Motor. Slide the drive couplers away from the (...)
Y-Motor Replacement
Remove Right Panel Remove the right side panel by removing the 6 screws, 4 located on the side of the machine, two located on the back of the machine. Remove Old Y-Motor Open the front access door. Locate the Y-Motor on the right hand-side of the machine. Remove the spring (...)
Y-Motor Replacement
Remove Panels Remove the top access panel on the right side of the machine by using a 5/32” hex key to turn the black panel locks ¾ of the way counter-clockwise. Use a 5/32” hex key to remove the two main panels on the back of the machine. Remove Old (...)
Fixing Table Movement: Replacing the Z-Axis Motor
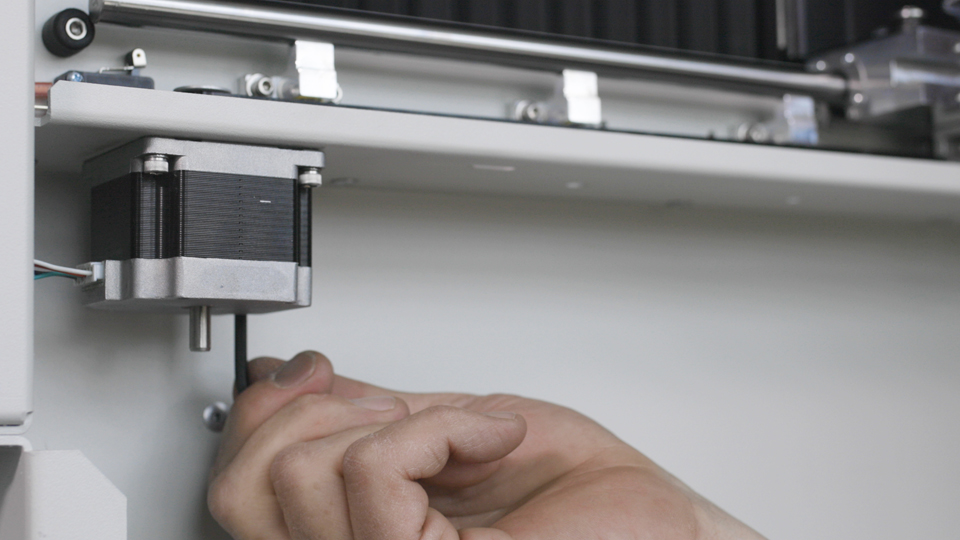
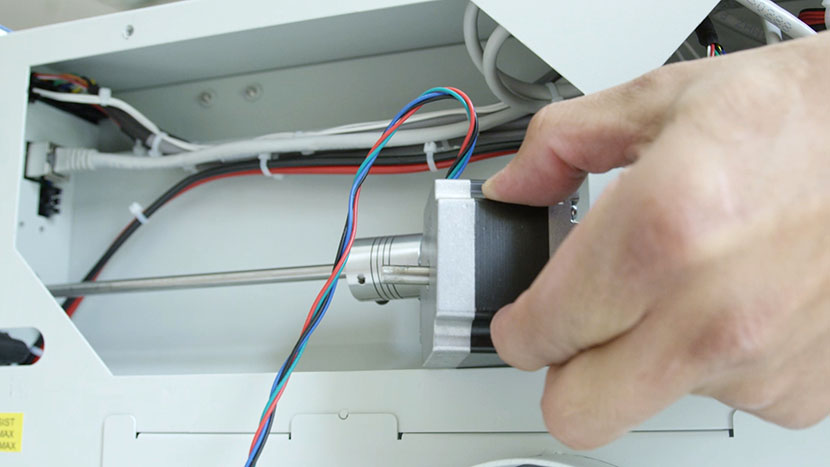
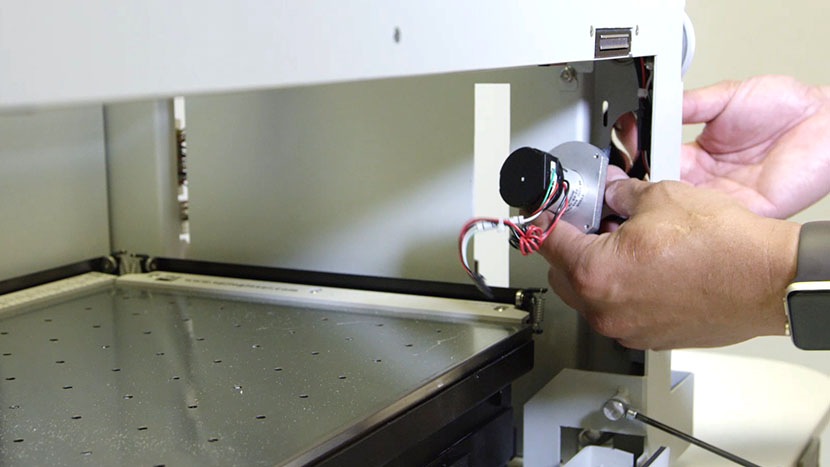
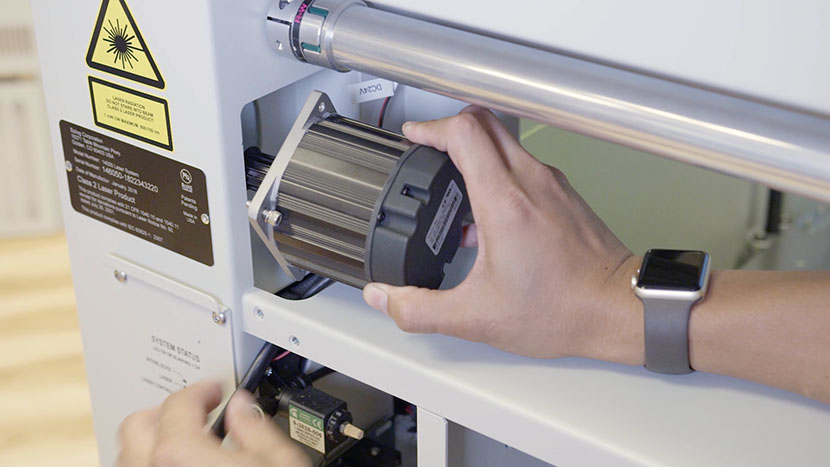
Preparation Start by lowering the table to the bottom of the machine by pressing focus then the down arrow button. Shut off the laser and remove the power cord from the machine. Inside the machine, move the x-axis assembly to the rear of the machine. Put on the anti-static strap. (...)
Z-Motor / Table Motor Replacement
Adjust Table Position Start by turning on the machine and then raise the table all the way to the top. Shut off the laser and remove the power cord from the machine. To manually adjust your laser machine’s vertical table position, pull on the belt located underneath the table to (...)
Z-Motor / Table Motor Replacement
Remove Bottom Right Panel Shut off the laser and remove the power cord from the machine. Remove the bottom access panel on the right side of the machine by using a 5/32” hex key to turn the black panel locks ¾ of the way counter-clockwise. Mark Tensioning Position Begin by (...)
Replacing Optics
Remove the Current Lens Begin by Jogging the lens assembly closer to the front of the machine. To do this, select the Jog Menu icon, then use the joystick to move the lens assembly. Lower the table a few inches to give you some clearance to work. You can accomplish (...)