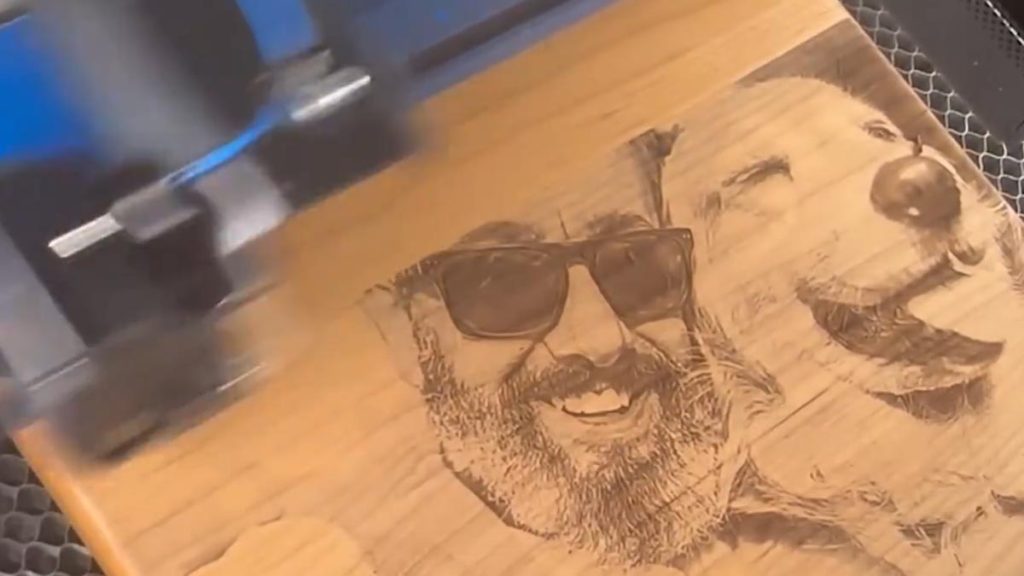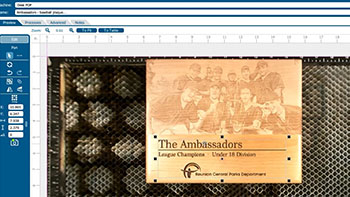
For a helpful tip, we’ll show how to use margins in the Epilog Dashboard to preview the engraving to make sure our photo quality is ideal. Prepare the Artwork We’ll be engraving this photo on a wood plaque. First, we’ll process the photo in PhotoLaser Plus. (...)
Center-Center vs Custom Center Engraving
Using Center-Center There are many ways to use Center Engraving on the Epilog Laser Dashboard. Let’s take a logo we want to engrave at the center of a coaster. In the Epilog Dashboard, choose the Advanced Tab. Next to Centering Point you’ll see a list of all (...)
Using the Rim-Style Rotary Attachment
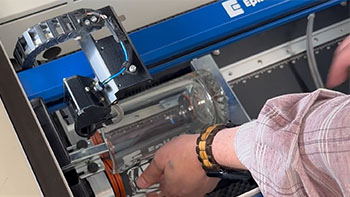
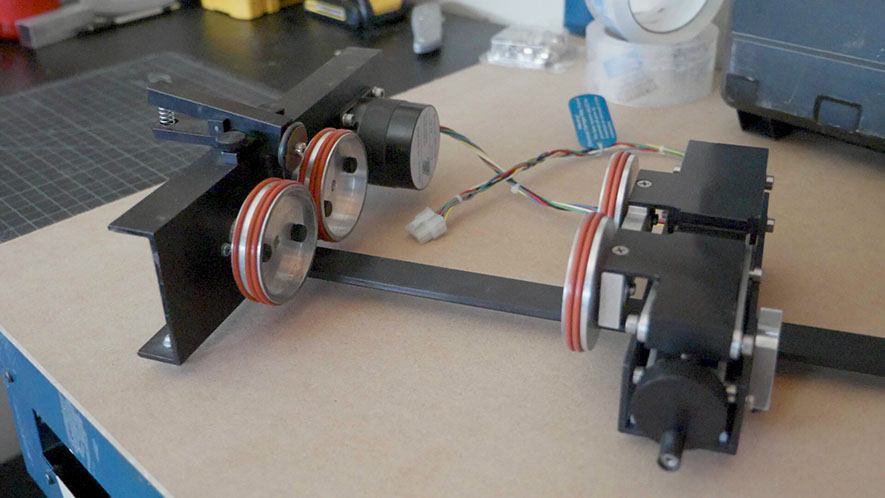
Install the Rim-Style Rotary To install the Rim-Style Rotary Attachment, lower the table and turn off the machine. Place the Rotary at the top-left corner of the table. Attach the plug to the machine at the top-right corner of the bed. Turn the machine back on. (...)
Installing the Rim-Drive Rotary Attachment
Installing the Rim-Drive Rotary Attachment To begin installing the Rim-Drive Rotary Attachment, make sure your machine is plugged in and powered on. We then suggest opening the front door on your machine you so you can view the vertical position of the machine’s table. At the control panel, press the (...)
Using the 3-Jaw Chuck Rotary Attachment
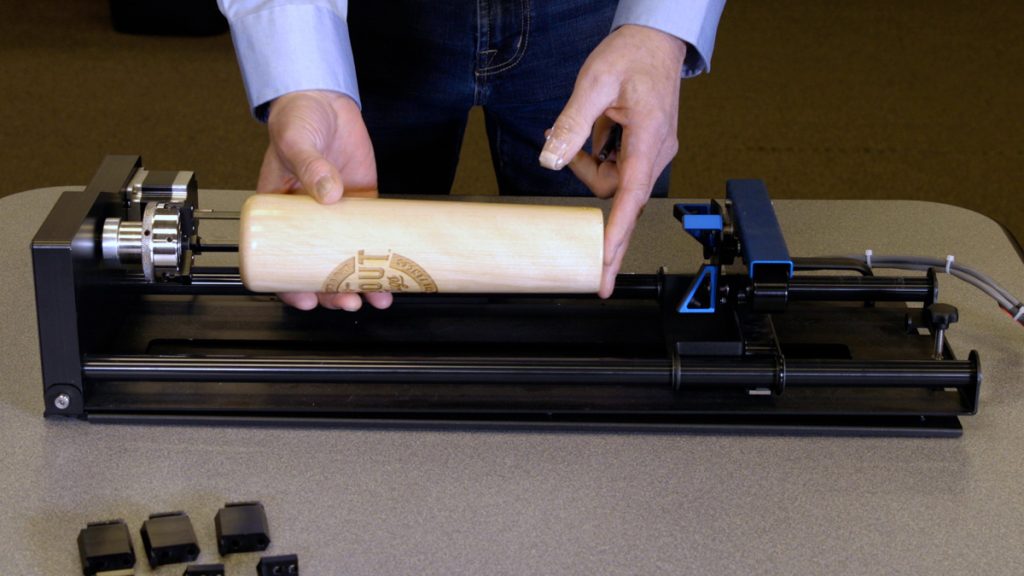
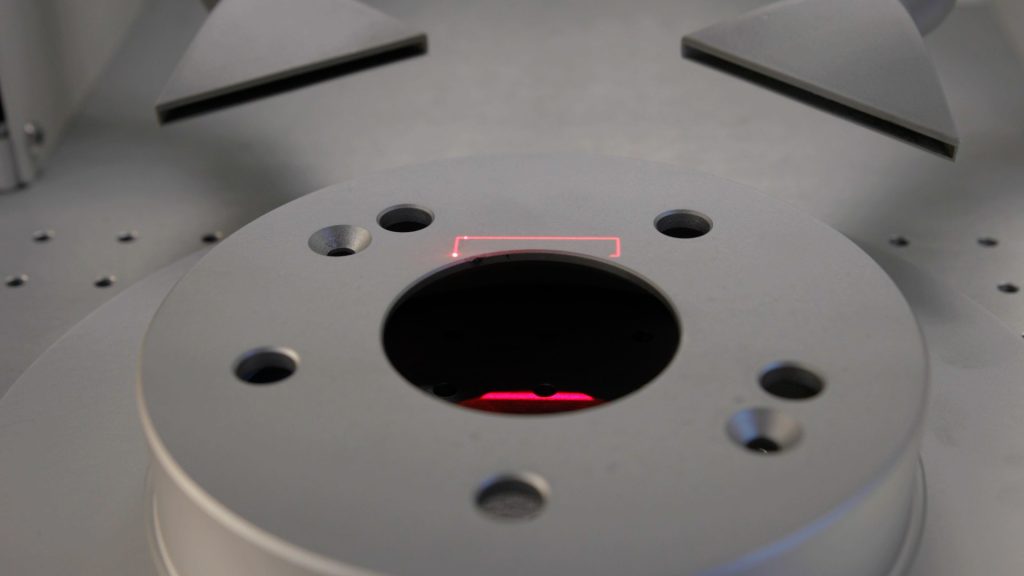
Installing the 3-Jaw Chuck Before we get started, we will need to lower the laser table far enough to accommodate the 3-Jaw Chuck Rotary Attachment Once the table is low enough, power off the machine. Measure & record the diameter of the cylinder you plan on engraving; you will (...)
How to Quickly Make an Engraving Fix
Isolate Text This initial engraving looks good, but the text portion could be deeper! We can isolate the text to improve the result. Turn off the camera. Ungroup your artwork. Select the text and Separate by Selection. You’ll see two processes listed now. Turn off the photo process. Adjust Settings (...)
Creating Custom Shaped Artwork
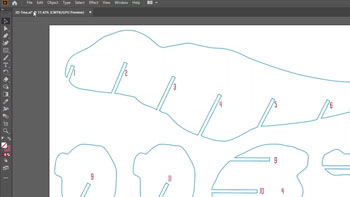
Let’s start creating your custom shaped artwork by placing your part on the table of the laser. Then bring the part into focus using the focus menu. Once the red dot pointer aligns with the vertical line, your part is in focus. For this tutorial will be using CorelDraw as (...)
Using Bartender Variable Data
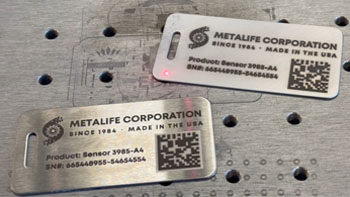
Import Variable Data We have our file for a 5” x 3” serial tag setup in Bartender. There are two pieces of variable data on the tag: the serial number field and a scannable barcode with the serial number. We also have an excel file with a list of serial (...)
Creating a Readable Barcode on Stainless Steel
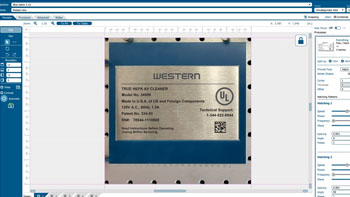
Barcode Readability We have a design for a barcode to be engraved on a stainless steel tag. The issue is that barcodes are very difficult to scan when engraved on highly reflective metal. We’ll walk through two solutions to this issue. Polished Barcode Solution For the (...)
Use Print Merge to Customize Multiple Items
Import Data Here we have a series of name badges to engrave and cut on the laser using print merge. First we’ll need to pull in the list of names. Select File > Print Merge > Create/Load Print Merge Click Import File and navigate to your .csv, .rtf, or (...)
Precisely place artwork using the IRIS Camera
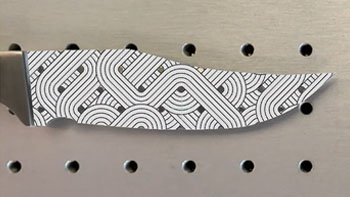
Artwork Setup Here we have a graphic we want to engrave on a blade of knife, which we can do by using the camera. In the Laser Dashboard, using the camera, we can see the knife blade placed in the laser. Start by clicking the Copy Background Image (...)
Using Registration Marks to Cut Preprinted Acrylic Keychains
Setup Files Here we have a sheet of keychains to cut out of an acrylic sheet we had preprinted with the flower design. In CorelDRAW, you can also see the file we printed, along with the four registration marks printed at the corners of the design. First, we’ll turn (...)