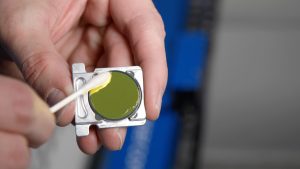
This guide covers routine cleaning and maintenance for the Mini and Helix: the autofocus plunger, the optics, the encoder strip, the rails, the crumb tray, the exhaust and the laser tube. A few minutes a week pays off with better quality, better performance and lower fire risk.
Parts Required
- None
Tools / Materials Required
- Cotton swabs and the optics cleaner from the accessory kit
- Soft cotton cloth
- Mild household cleaner or isopropyl alcohol (not for optics)
- Compressed air
- Epilog bearing grease
- Flexible plastic or wire brush
- 3/32" Hex Wrench (optional, lens removal)
Safety First: Turn off and unplug the engraver before any cleaning or maintenance.
Reduce Fire Risk With a Clean Laser
Fire risk: a build-up of cutting and engraving residue and debris is a fire hazard in its own right. Keep the engraver clean, and regularly remove the vector cutting table to clean out any small pieces that have fallen through it.

Turn Off and Unplug
Turn off the engraver and unplug the power cord before cleaning.
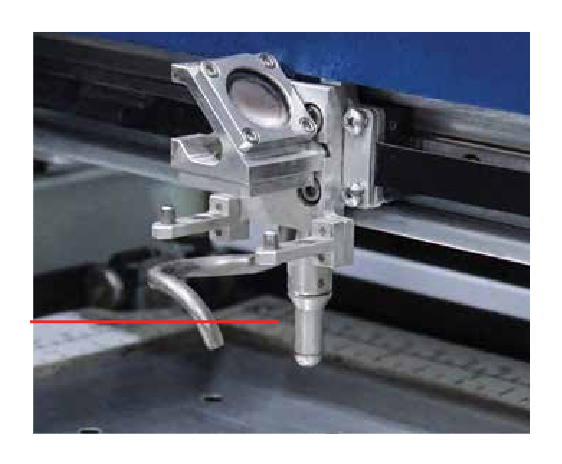
Clean the Autofocus Plunger
The autofocus plunger is mounted at the back of the lens carriage. The bottom of its shaft must be kept clean for accurate focusing. Wipe it with a cotton rag and a mild household cleaner (Windex, 409 or isopropyl alcohol).
Cleaning the Optics
Clean the optics about once a week, or whenever dust builds up. Smoke, resin and other contaminants reduce laser power and can damage the optics.
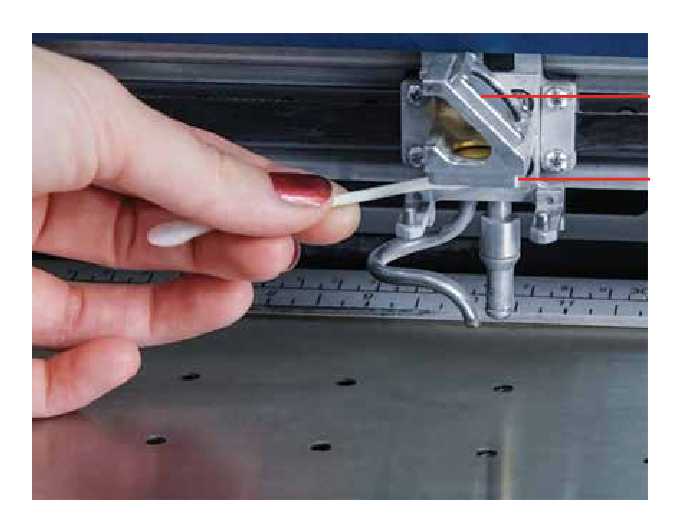
Clean the Focus Lens and Mirror
The focus lens and the mirror directly above it need cleaning most often. They are a single assembly that can be cleaned in place. If you need to remove it for a more thorough cleaning, take out the two 3/32" hex screws that hold it to the carriage.
Prepare a Swab
Wet a high-quality cotton swab thoroughly with the optics cleaner from the accessory kit (read its label), then blot it on a piece of cotton so it is not soaking wet.
Important: Never use rubbing alcohol or hardware-grade acetone; their impurities can damage the optics. If you run out of Epilog cleaner, use reagent or laboratory-grade acetone, a 10 to 1 water and white vinegar mix (good for fingerprints and mineral spots), or Golden Grain or Everclear.
Daub the Optic
Daub the optic gently, rotating the swab after each daub to expose clean cotton, until there is no visible contamination.
Finish the Surface
With a fresh swab, clean the surface with a gentle zigzag motion. Do not scrub, especially while there are visible particles, and avoid repeated circular motions. Remove any cotton threads caught on the mountings and let the optics dry before running the engraver.
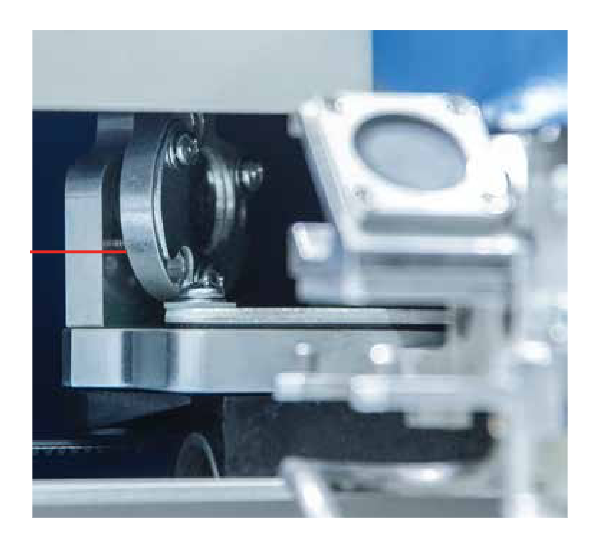
Check the X-Beam Mirror
There is also a mirror on the left side of the engraver, mounted to the X-beam. It is well protected and rarely needs cleaning, but can be reached with a cotton swab if it does.
Cleaning the Optical Strip and Encoder
Dust can build up on the optical encoder strip and reader and cause the X-axis to lose position. Clean them occasionally, or if the X-carriage loses position.
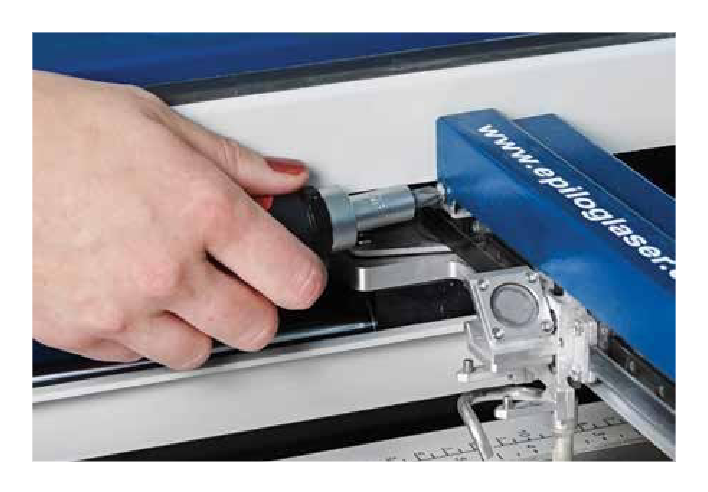
Remove the X-Beam Cover
Loosen the two screws on the front of the X-beam cover and the five on the rear. They do not need to come out. Lift the cover off the beam.
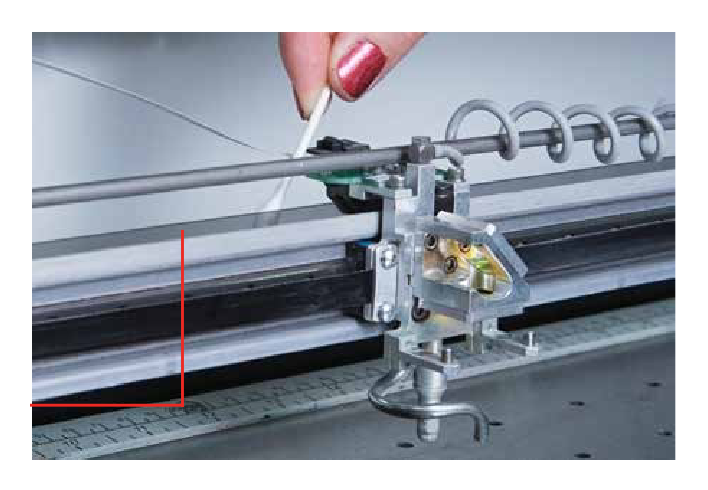
Clean the Optical Strip
The optical strip is a thin, clear plastic strip with fine vertical lines that runs the length of the X-beam. Run a cotton swab or cloth soaked in water along the front and back of the whole strip; mild dish soap can remove debris water alone does not. Repeat with a second clean swab.
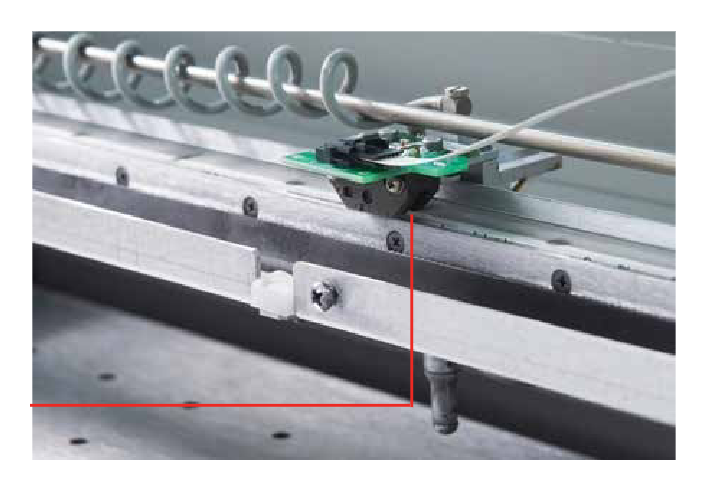
Clean the Encoder Reader
The encoder reader is the horseshoe-shaped part that straddles the strip. Blow some compressed air under it to clear out dust and debris.
Important: Keep a can of compressed air upright so liquid is not sprayed out; the liquid can damage the encoder reader.
Reinstall the X-Beam Cover
Use gentle pressure throughout, and do not take anything apart other than the cover. Put the X-beam cover back on and tighten its screws.
Cleaning and Lubricating the Rails
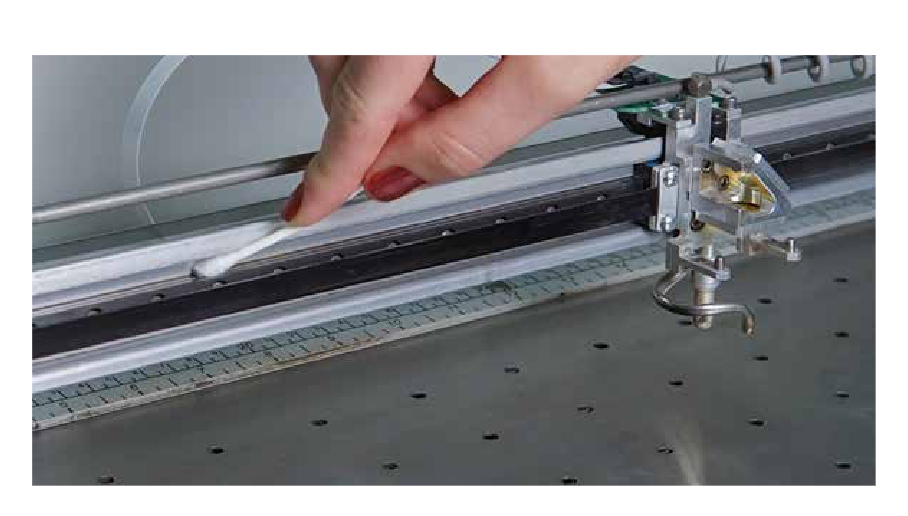
Clean the X-Axis Rail
Use a soft cloth or cotton swab with a little alcohol or similar mild solvent to clean the full length of the X-axis rail, including the top and bottom grooves the carriage runs in. Move the X-axis belt aside to reach the bottom groove, without stretching it.
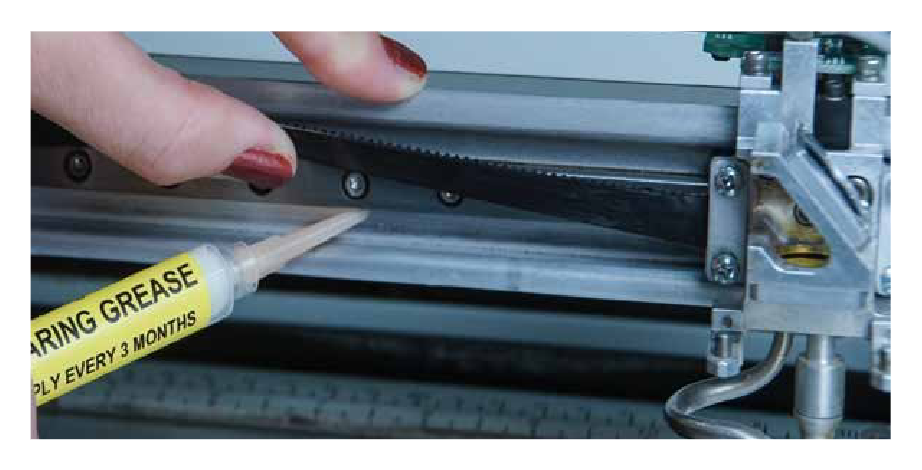
Grease the X-Axis Rail
Put about a 1" bead of Epilog-supplied grease in the top and bottom grooves of the X-axis rail. With the engraver off, move the X-carriage back and forth over the grease to work it into the bearing block and rail.
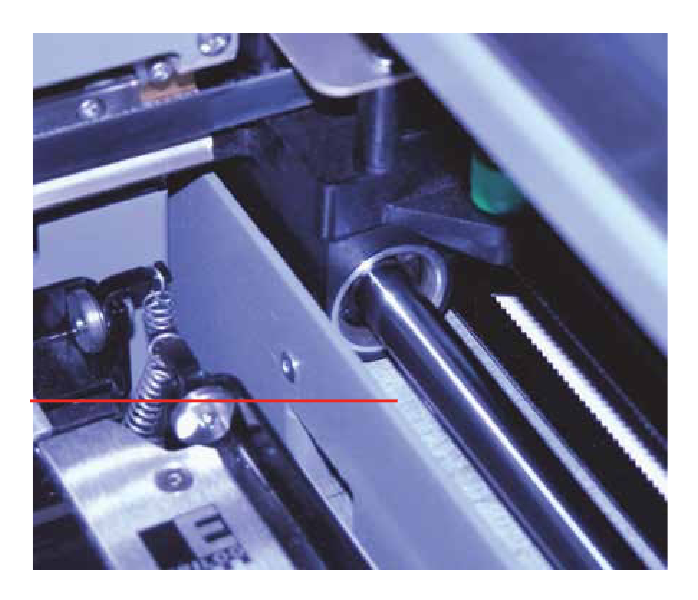
Clean the Right Y-Axis Rail
Wipe the length of the right side Y-axis rail with a soft cotton cloth. It does not need lubrication.
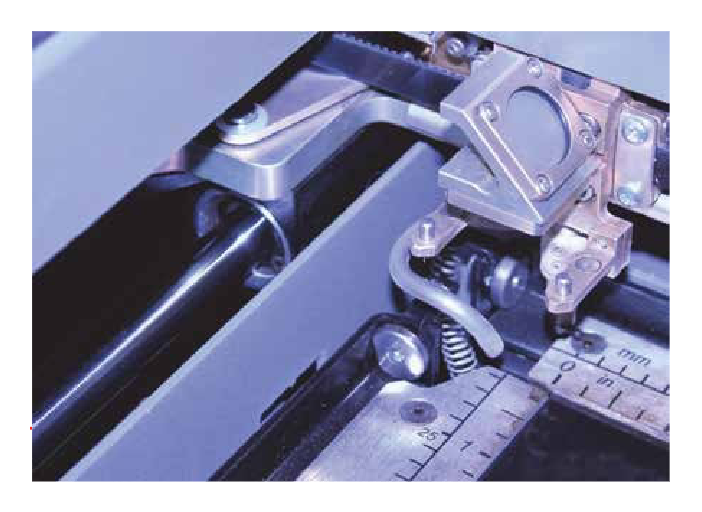
Clean the Left Y-Axis Rail
Wipe the length of the left side Y-axis rail with a soft cotton cloth. It does not need lubrication. Then clean off the table and the rest of the inside of the engraver.
Crumb Tray
https://support.epiloglaser.com/wp-content/uploads/8000_mini_cleaning_11_crumb_tray.pngCrumb tray partly slid out of the frontEmpty the Crumb TrayThe crumb tray sits below the vector cutting table and catches small debris that falls through. Open the front access door, slide the tray out and dispose of all the debris.
Important: Debris and soot in the tray become a dangerous fire hazard over time. Keep it clean.
Exhaust Cleaning
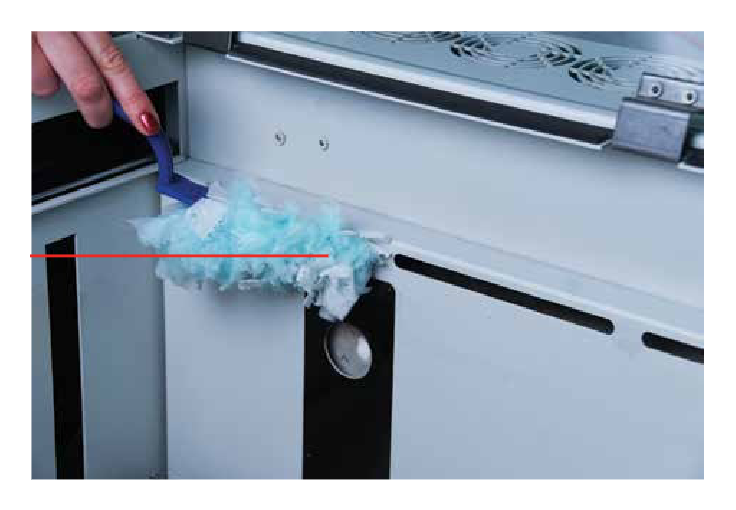
Clean the Vents
Clean the exhaust vents from inside the engraver. A flexible plastic or wire brush that reaches inside the vent works best.
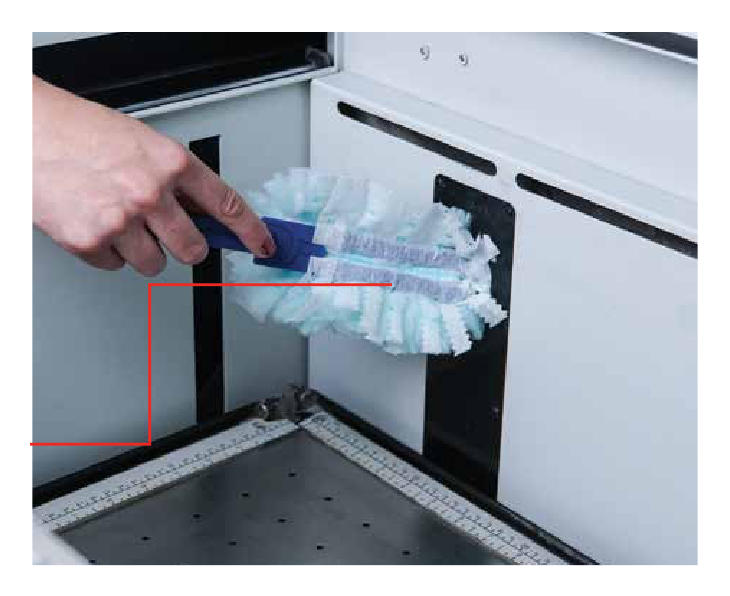
Clean the Down Draft Ports
Also clean the down draft ports on the black strips at the back of the cabinet.
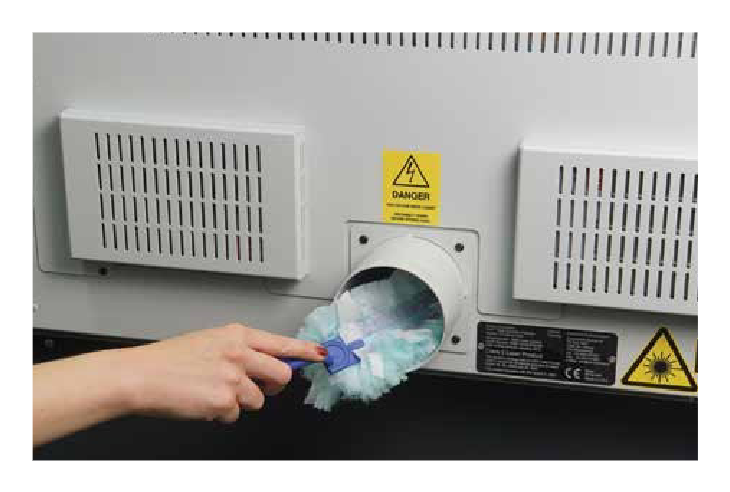
Clean the Rear Exhaust Port
Periodically remove the duct from the back of the engraver and clean both exhaust ports. Inspect and clean your exhaust fan and its duct work.
Laser Tube Care
Check the Cooling Fans
Make sure all the laser cooling fans are working. An overheated laser tube gives erratic output and may fail completely.
Clean the Cooling Fins
In a dusty environment, keep the laser tube cooling fins free of dust by blowing them off with compressed air, with the engraver unplugged.

Reconnect Power
When cleaning is finished and the optics are dry, plug the power cord back in.