
This guide covers replacing the X/Y combo PCB on the Mini 18, Mini 24 and Helix.
Parts Required
- X/Y Combo PCB
Tools Required
- Phillips Screwdriver
- Nut Driver
- Anti-Static Bracelet
Safety First: Ensure the engraver is completely powered off and the power cord is disconnected before removing any panels or touching internal components.
Static Warning: Circuit boards are sensitive to static discharge. Wear a grounded anti-static bracelet while handling the PCB.
PCB Removal
Power Off Engraver
Turn off the engraver.

Disconnect From Power
Unplug the power cord from the engraver.
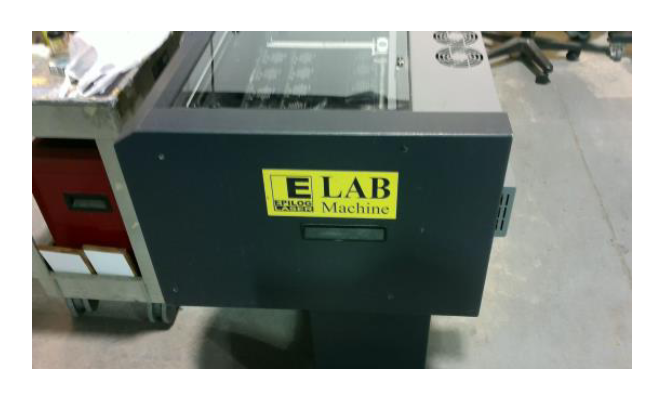
Remove the Right Side Panel
Remove the right side panel with a Phillips screwdriver.
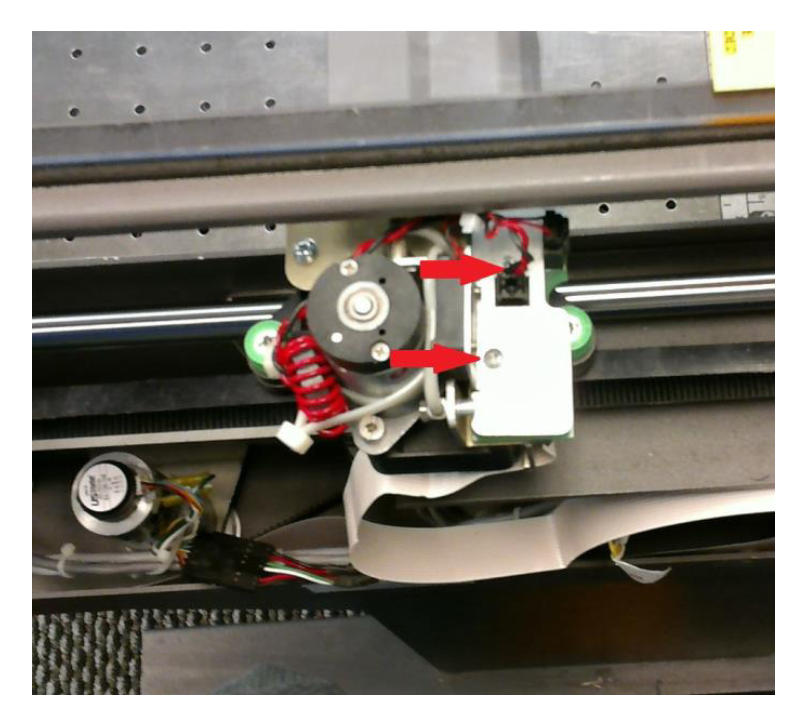
Remove the Fan Bracket
Find the fan mounting bracket next to the X-motor. Unplug the motor and fan connectors (arrows), remove the Phillips screws and take off the bracket.
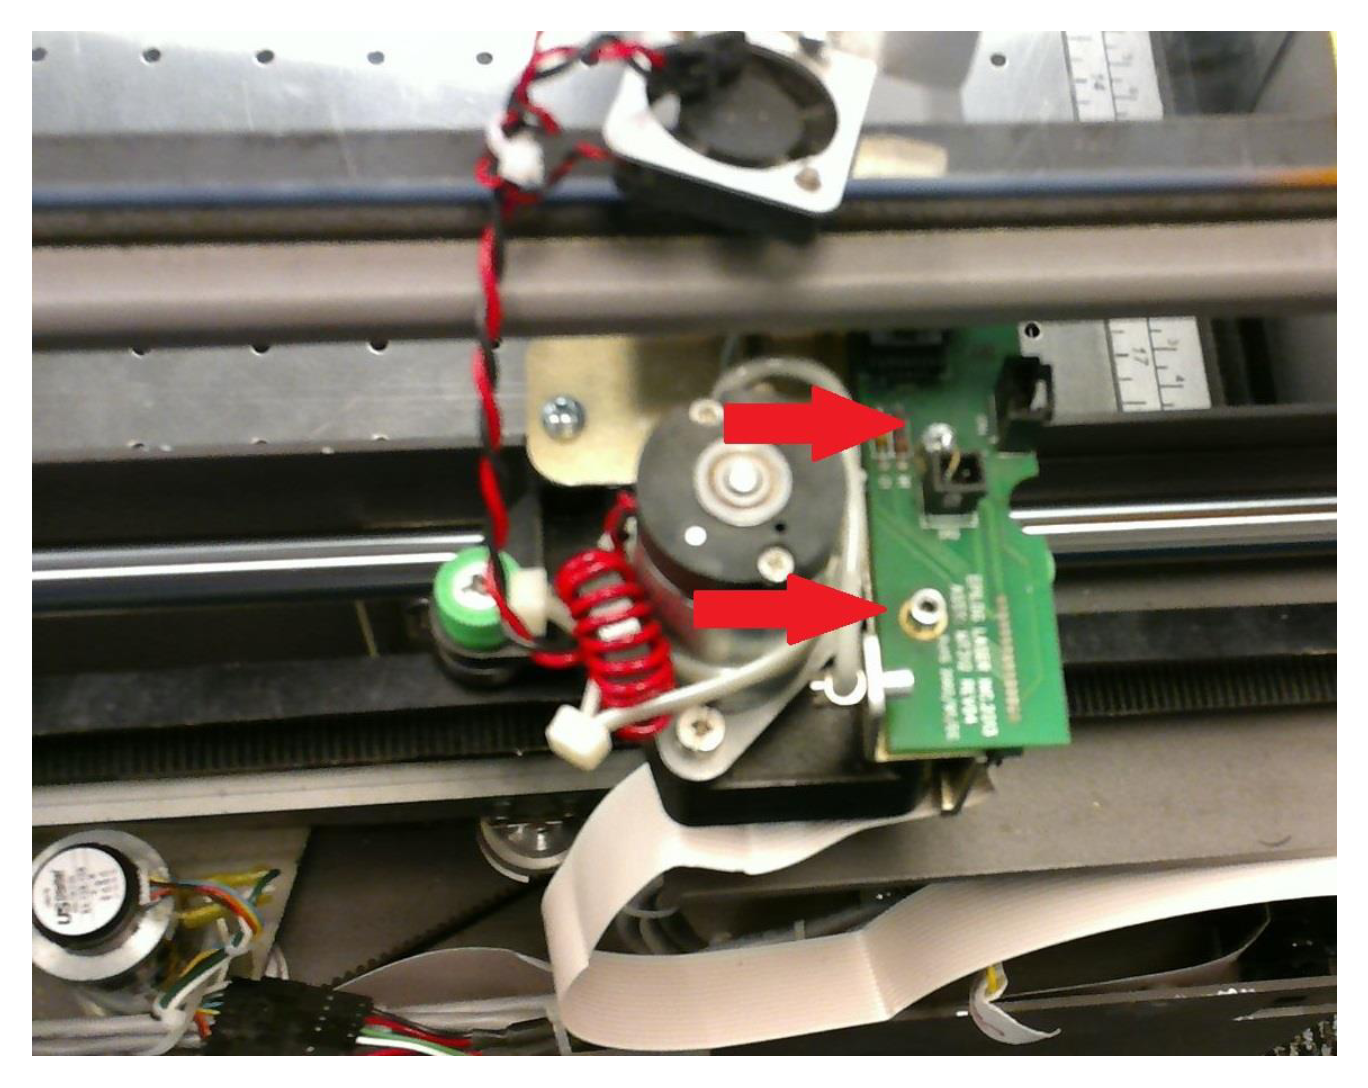
Remove the PCB
Remove the two nuts holding the X/Y combo PCB (arrows) and remove the board.
PCB Installation
Install the New PCB
Set the new X/Y combo PCB in place and install its two nuts.
Reinstall the Fan Bracket
Reinstall the fan mounting bracket with its Phillips screws and plug the motor and fan connectors back in.
Reinstall the Side Panel
Reinstall the right side panel.

Reconnect Power
Plug the power cord back in and turn on the engraver.
