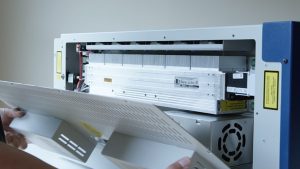
This guide covers replacing the lid interlock switch on the FiberMark, Mini and Helix.
Parts Required
- Interlock Switch
Tools Required
- Phillips Screwdriver
- Nut Driver or Wrench
Safety First: Ensure the engraver is completely powered off and the power cord is disconnected before removing any panels or touching internal components.
Interlock Removal
Power Off Engraver
Turn off the engraver.

Disconnect From Power
Unplug the power cord from the engraver.
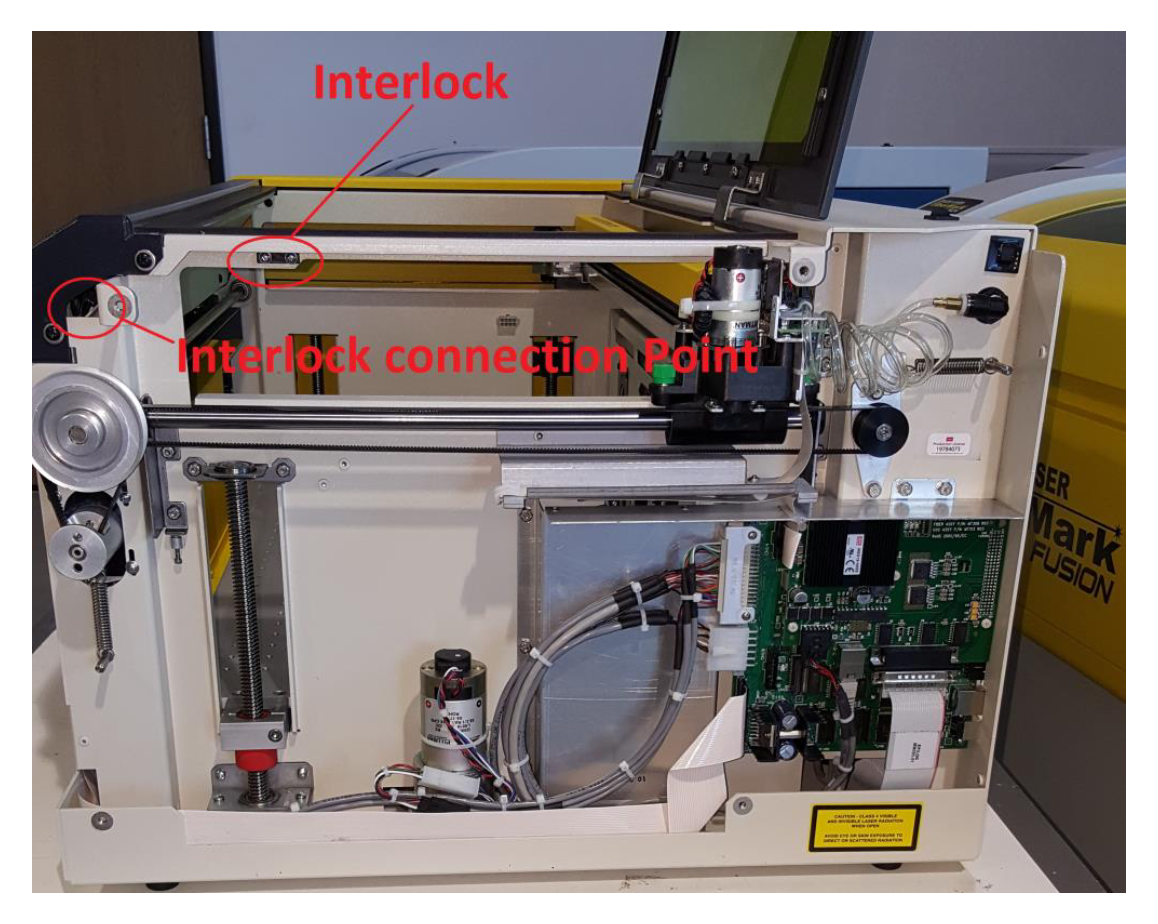
Remove the Side Panel
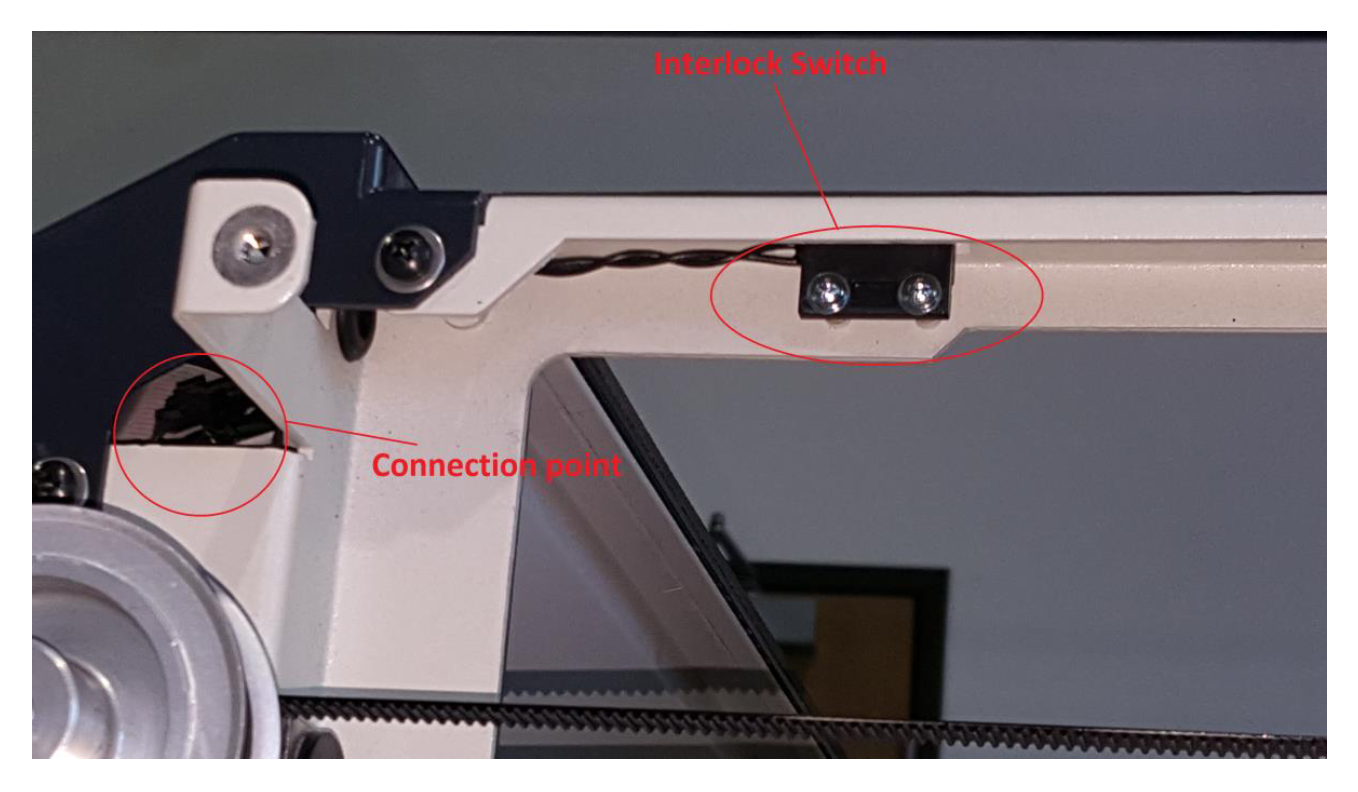
Remove the side panel to reach the interlock. The photo shows the interlock and its connection point.
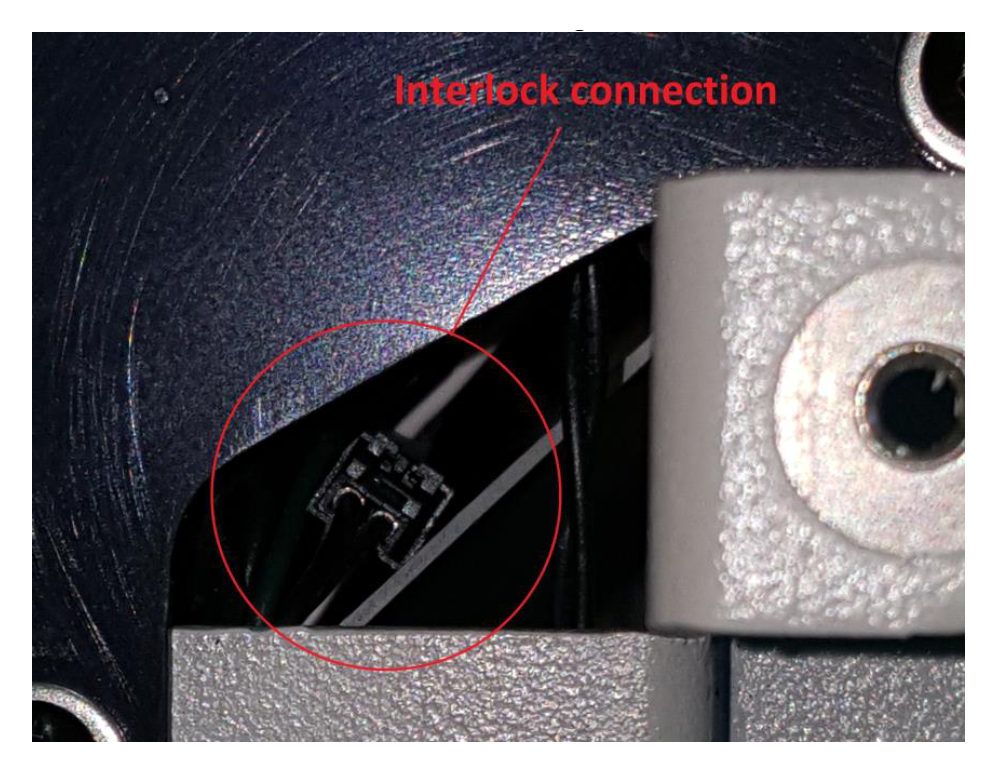
Disconnect the Interlock
Disconnect the interlock from the wiring harness.
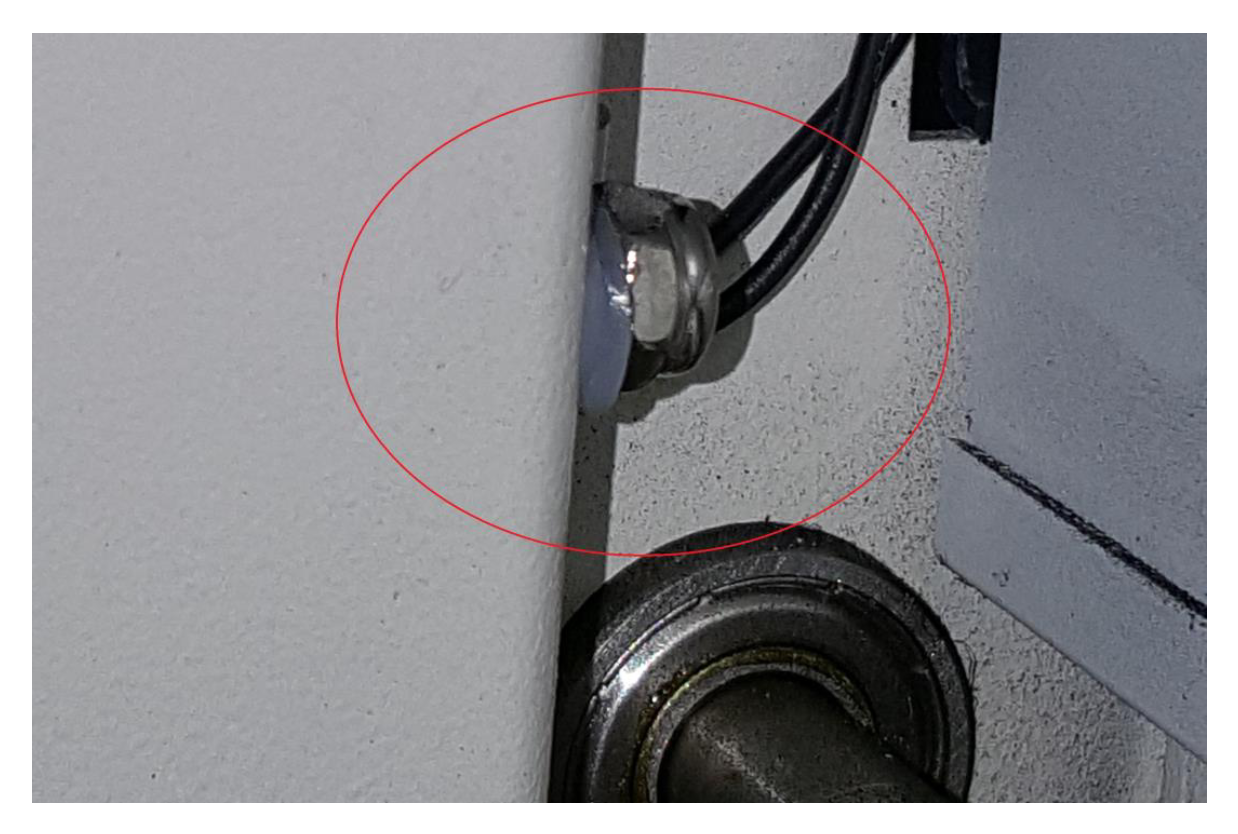
Free the Interlock Wires
Remove the nut on the inside front corner of the engraver that holds the interlock wires.
Remove the Interlock
Remove the two screws holding the interlock switch and remove it.
Interlock Installation
Install the New Interlock
Fasten the new interlock switch in place with its two screws.
Secure the Wires
Route the interlock wires as before and reinstall the nut on the inside front corner.
Reconnect the Interlock
Plug the interlock back into the wiring harness.
Reinstall the Side Panel
Reinstall the side panel.

Reconnect Power and Test
Plug the power cord back in, turn on the engraver and check that opening the lid stops the laser.