Before setting up and printing from an Epilog Laser system, ensure that CorelDRAW or another compatible graphics program is installed and functioning properly. This software is essential for creating, sending, and testing files with the laser. For the best results and compatibility with Epilog equipment, we recommend starting with the default system settings outlined below.
Software Setup
-
CorelDRAW Setup
-
Open CorelDRAW.
-
Select Tools > Options > Global > Printing > Driver Compatibility.
-
Choose Epilog Engraver and enable “Printer can match document page sizes.”
-
Select OK.
-
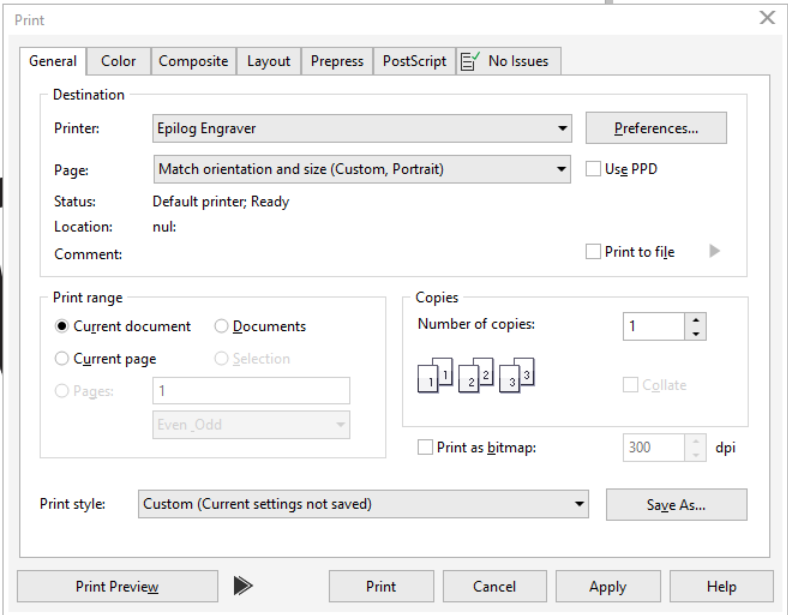
When printing, select Epilog Engraver and choose:
-
Match orientation and size (Custom, Portrait)
-
Match orientation and size (Custom, Landscape)
-
-
Click Apply to save as default settings.
-
Click Print to send the job to the Epilog Dashboard.
Note: CorelDRAW Graphics Suite is the recommended CorelDraw version for use with Epilog Laser systems. Other versions, such as the Student or Standard version, may have different menu options and settings.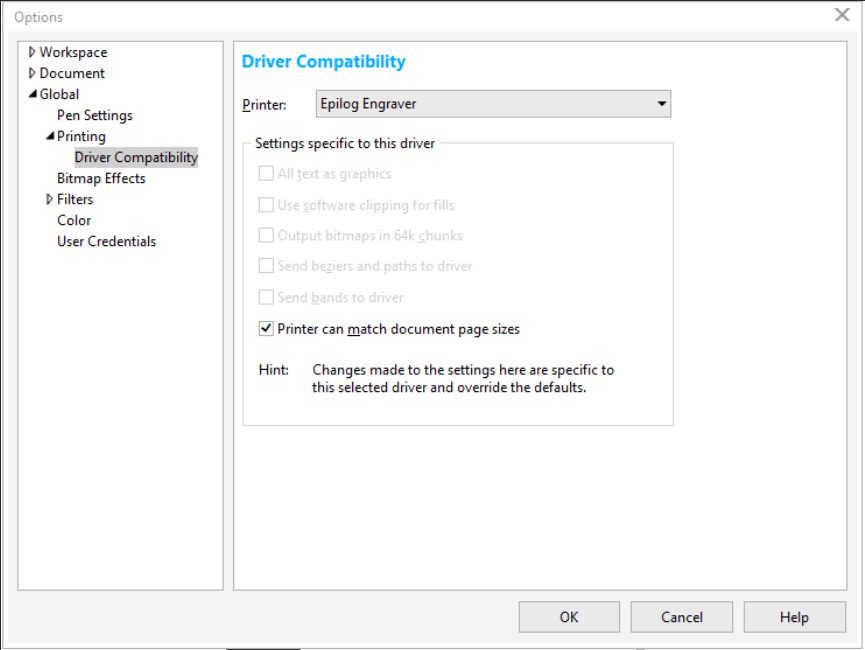
Line Width and Color Defaults
-
Use a hairline line width for vector cutting.
-
Use thicker lines for raster engraving.
-
Always use RGB colors.
-
-
Adobe Illustrator Setup
-
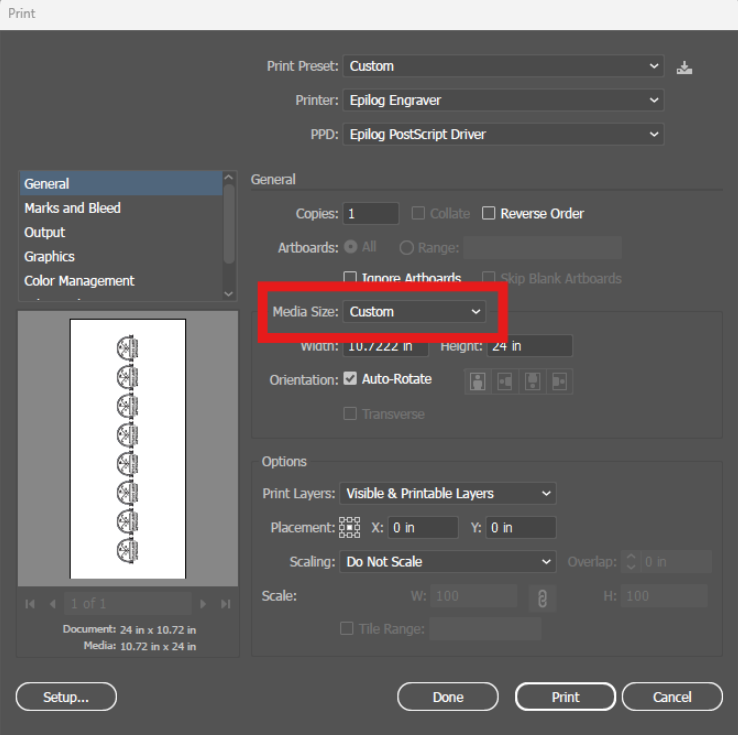
Print using Epilog Engraver and select media size “Custom”.
-
Enter the correct bed size / artboard dimensions.
 Note: Print preview orientation may appear incorrect in Illustrator, but will display properly in the Epilog Dashboard.
Line Width and Color Defaults
-
Use (0.001″) or (0.072pt) line width for vector cutting.
-
Use thicker lines for raster engraving.
-
Always use RGB colors.
If you are still having trouble with vector recoginiton, refer to the Adobe Illustrator Setup article.
-
-
LightBurn Setup
Note:The following instructions outline how to use LightBurn as a design software with your Epilog Laser system and how to send the created file to the Epilog Dashboard.-
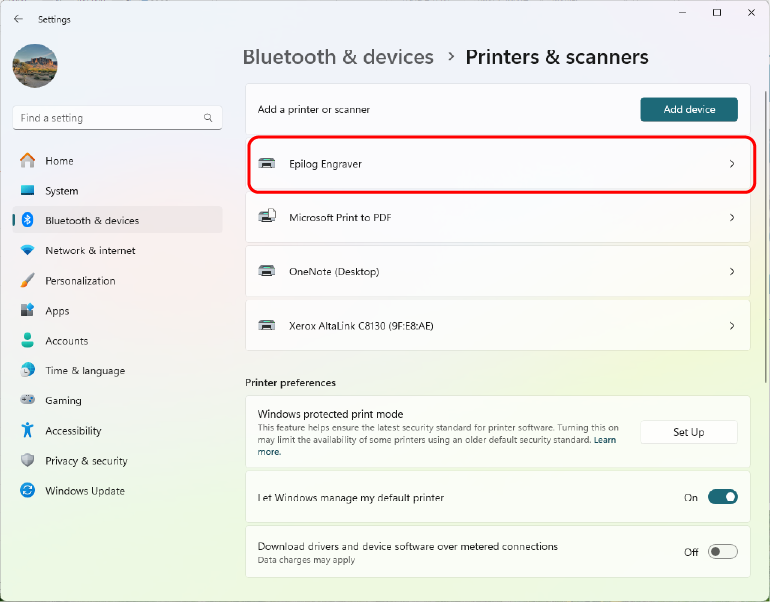
Navigate to Printers & Scanners and select Epilog Engraver.
-
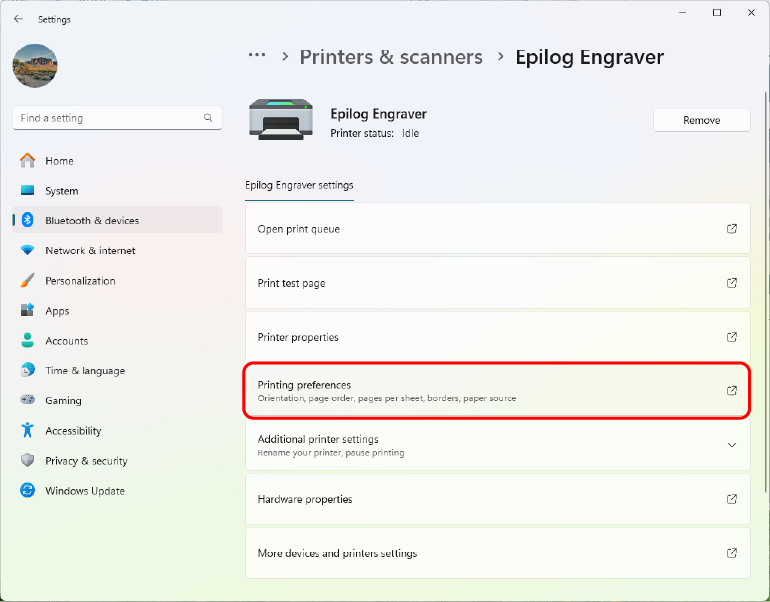
Select Printing Preferences.
-
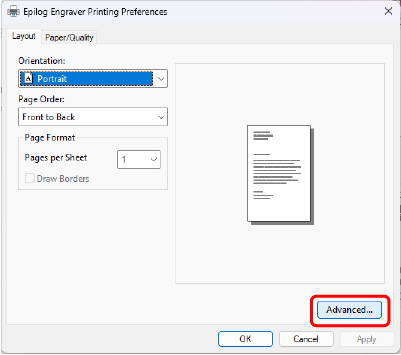
Click Advanced.
-
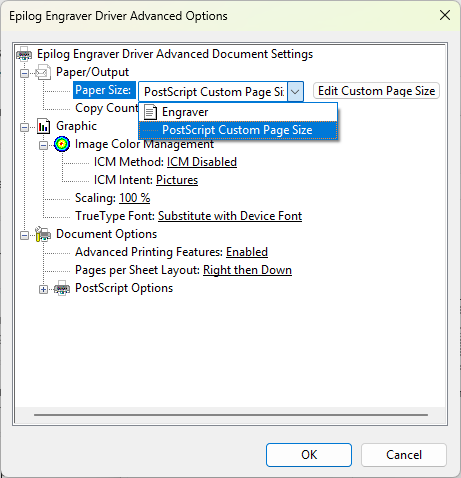
Set Paper Size to PostScript Custom Page Size.
-
Enter Y-Axis in Width, X-Axis in Height.
Note: These settings appear backwards from all other height and width settings.
-
Confirm with OK.
-
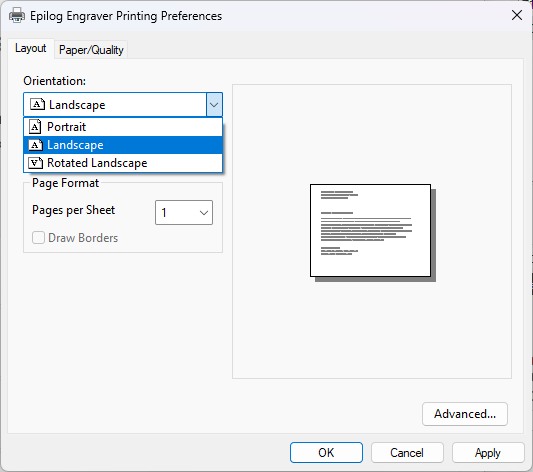
Change orientation to Landscape.
-
Apply settings and click OK.
-
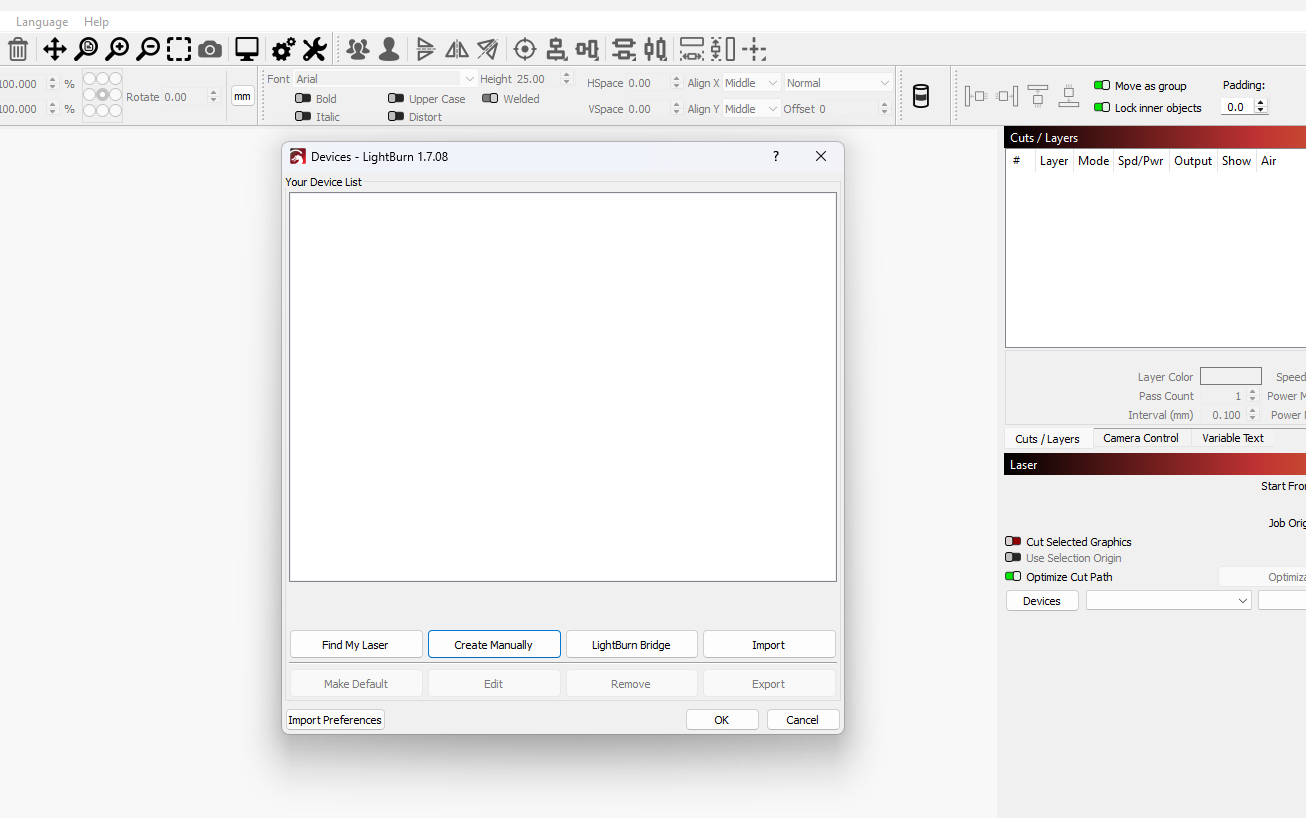
In LightBurn: Go to Devices > Create Manually.
-
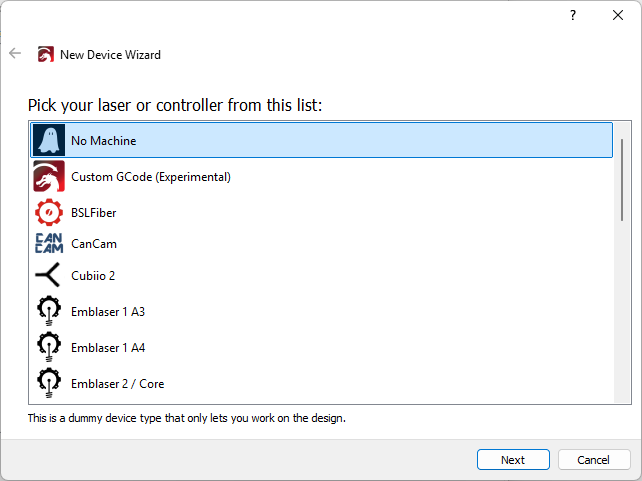
Select No Machine and click Next.
-
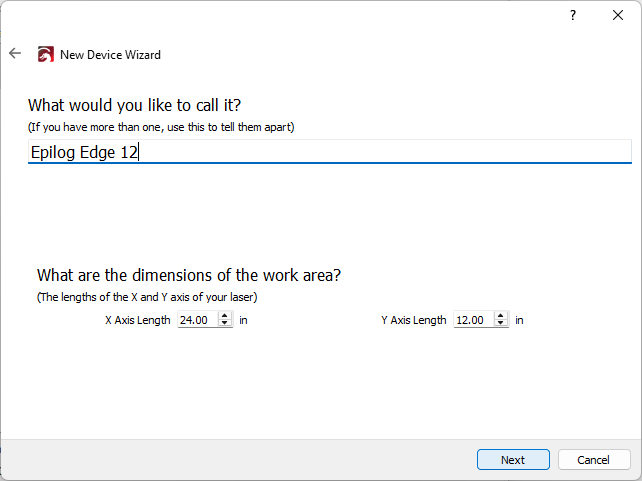
Enter work area dimensions and name the engraver.
-
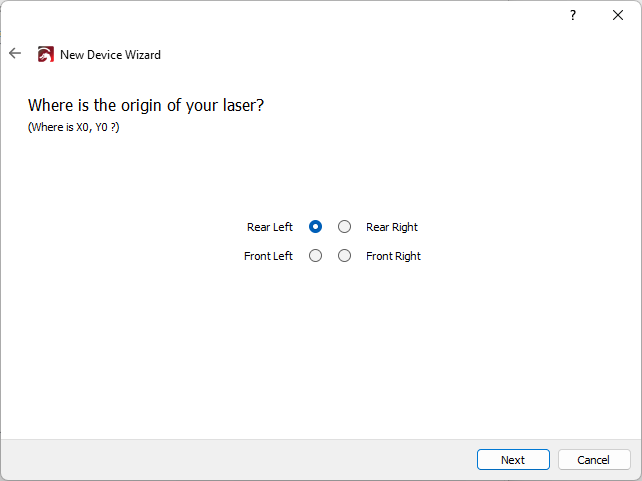
Select Rear Left origin and click Next.
-
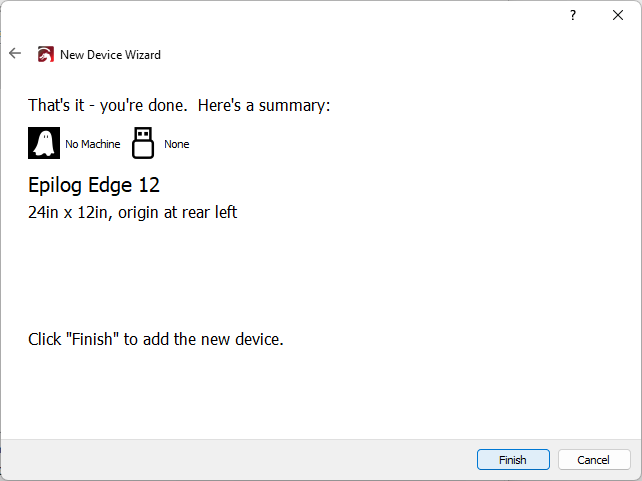
Click Finish.
-
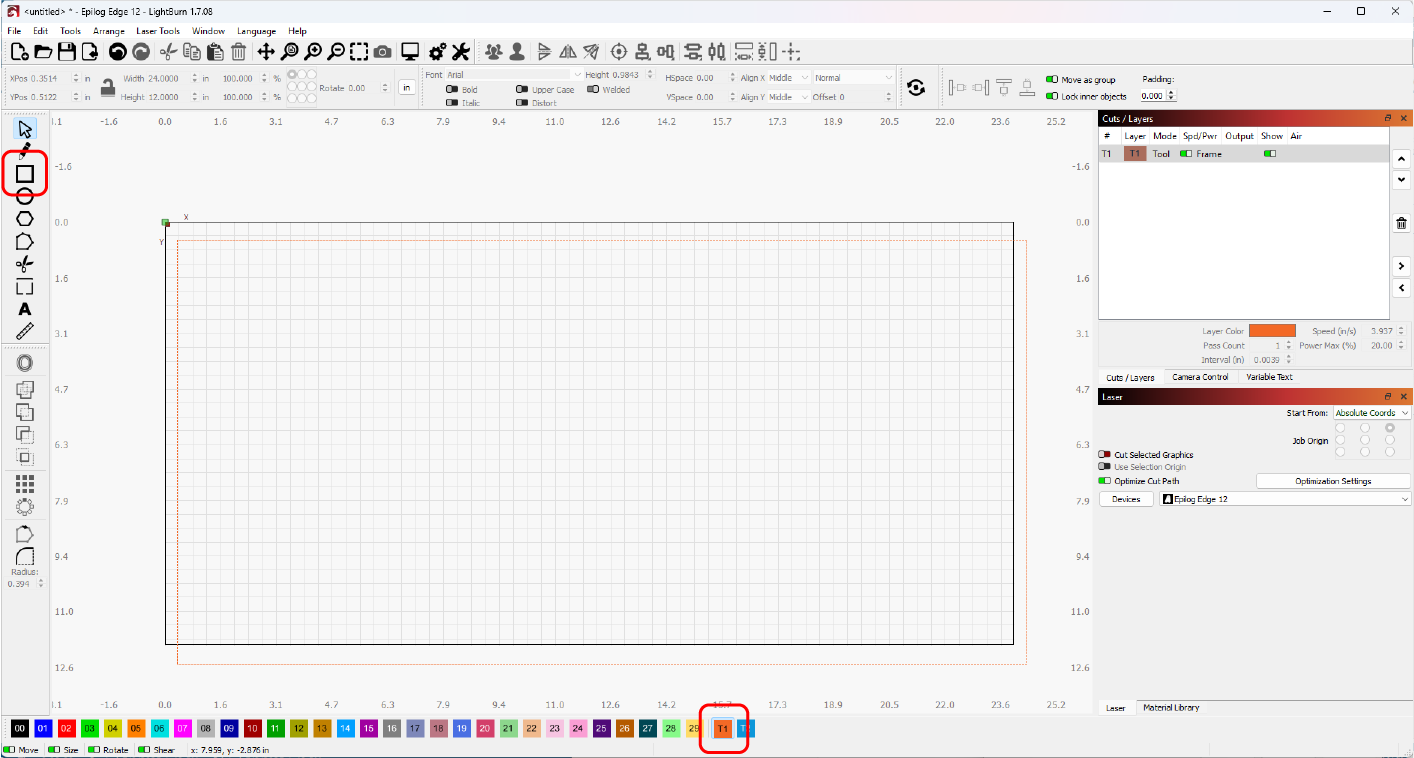
Create a bounding box matching your artboard size.
-
Set tool mode to T1 and center the tool frame.
-
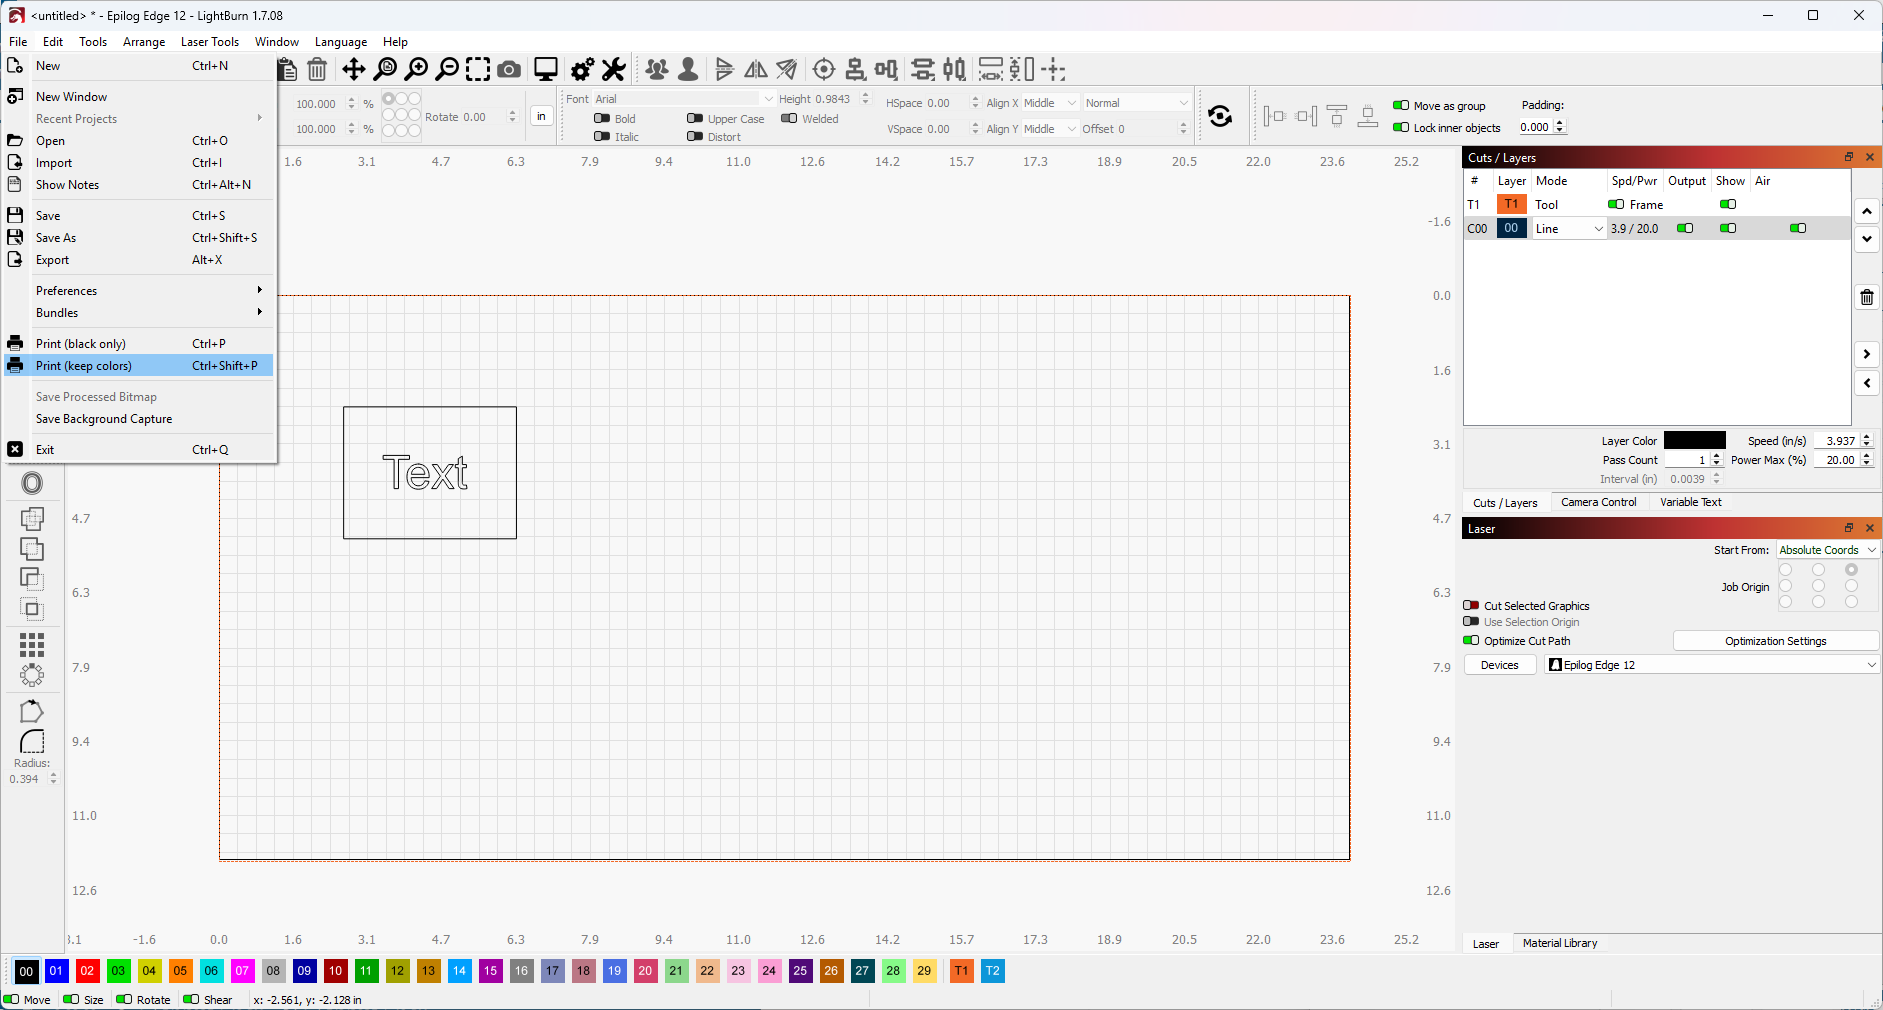
Design your artwork.
-
Select File > Print (keep colors).
-
Click Print.
-
Your job will now appear in the Epilog Software Suite.
-
-
Other Software Packages
These general steps can help access PostScript settings in other software. Refer to software-specific guides as needed.
Navigate to: Printer Properties > Layout > Advanced > Paper Size > PostScript Custom Page Size
-
Set the appropriate height and width for your system.
-
Click OK to apply settings.
-