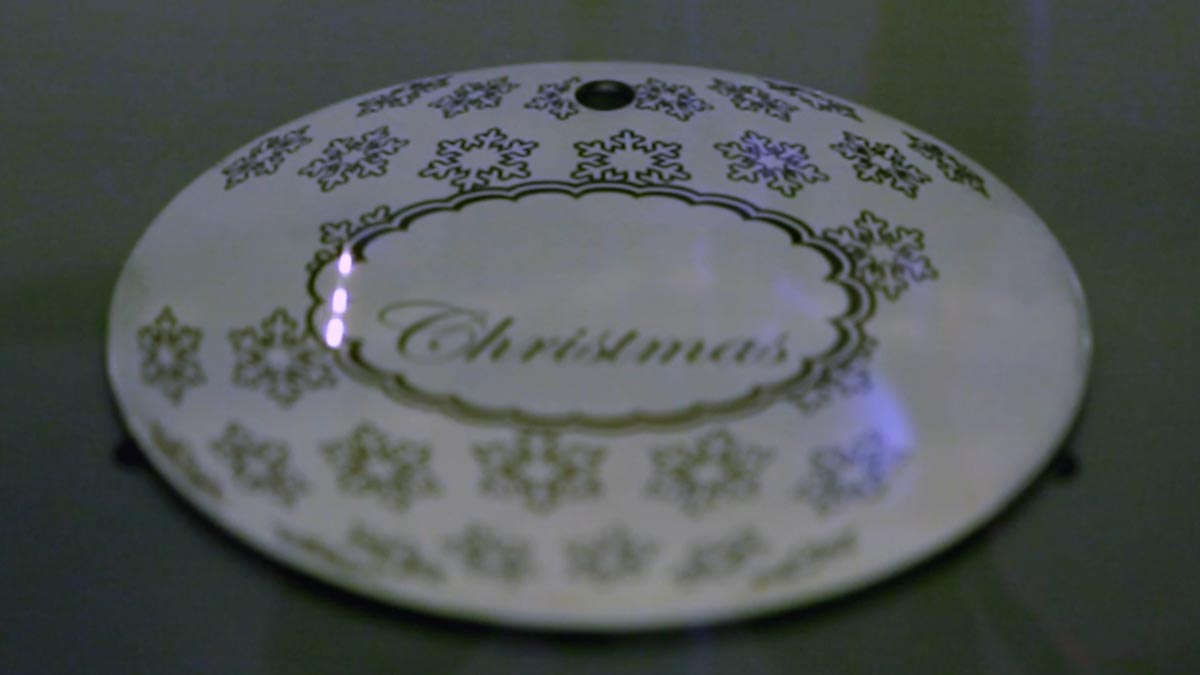
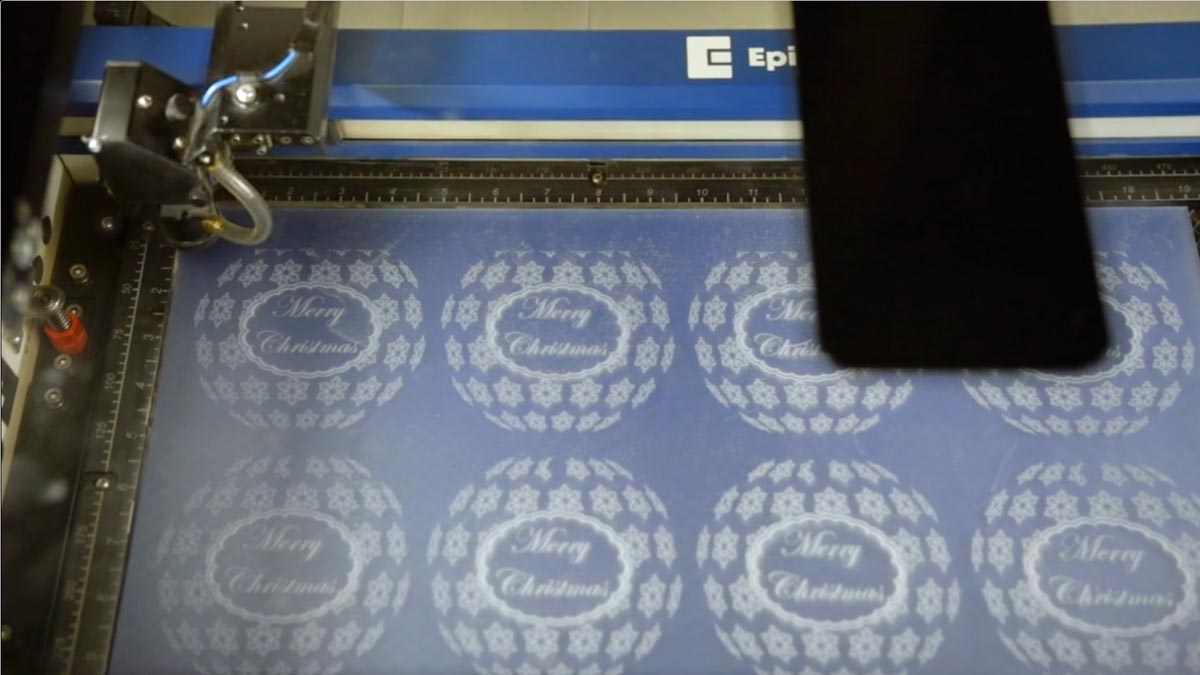
In this video we take a simple design image and create a spherical look using Adobe Illustrator’s 3D Revolve feature. We’ll create a custom Christmas Ornament design to engrave on both the Fusion Galvo fiber laser and our Fusion Maker CO2 laser using this simple technique.
Setup the Artwork
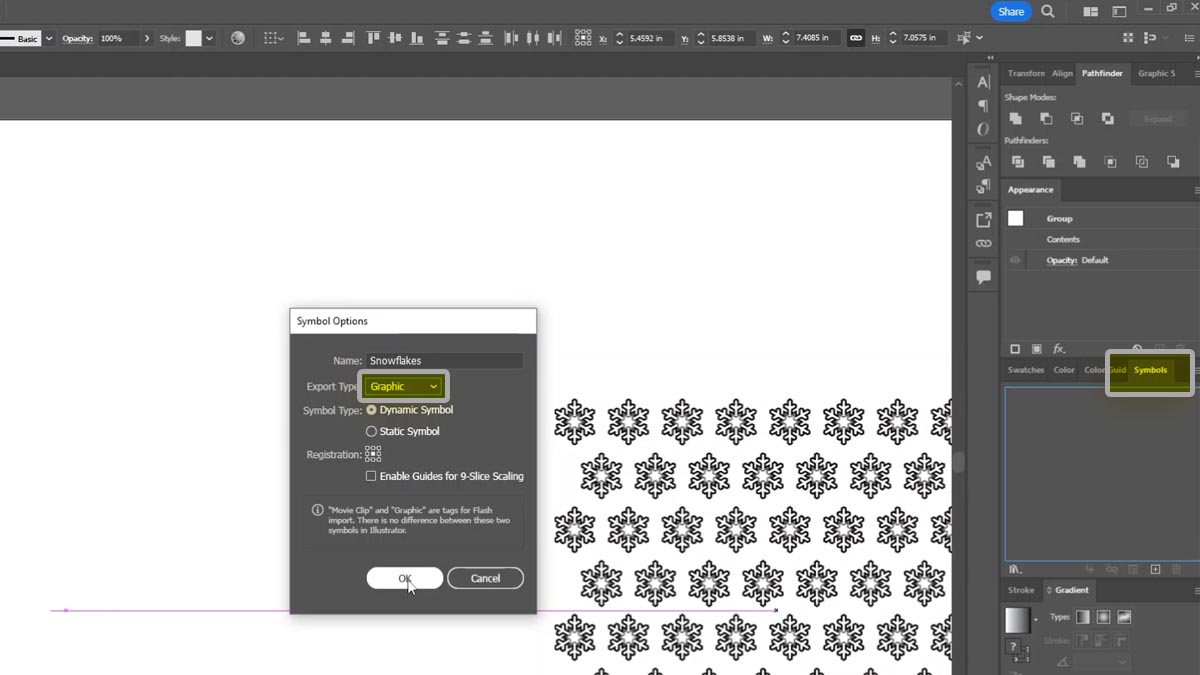
Here we have a snowflake design that we’ve replicated in an offset grid pattern to be transformed into a 3D sphere design.
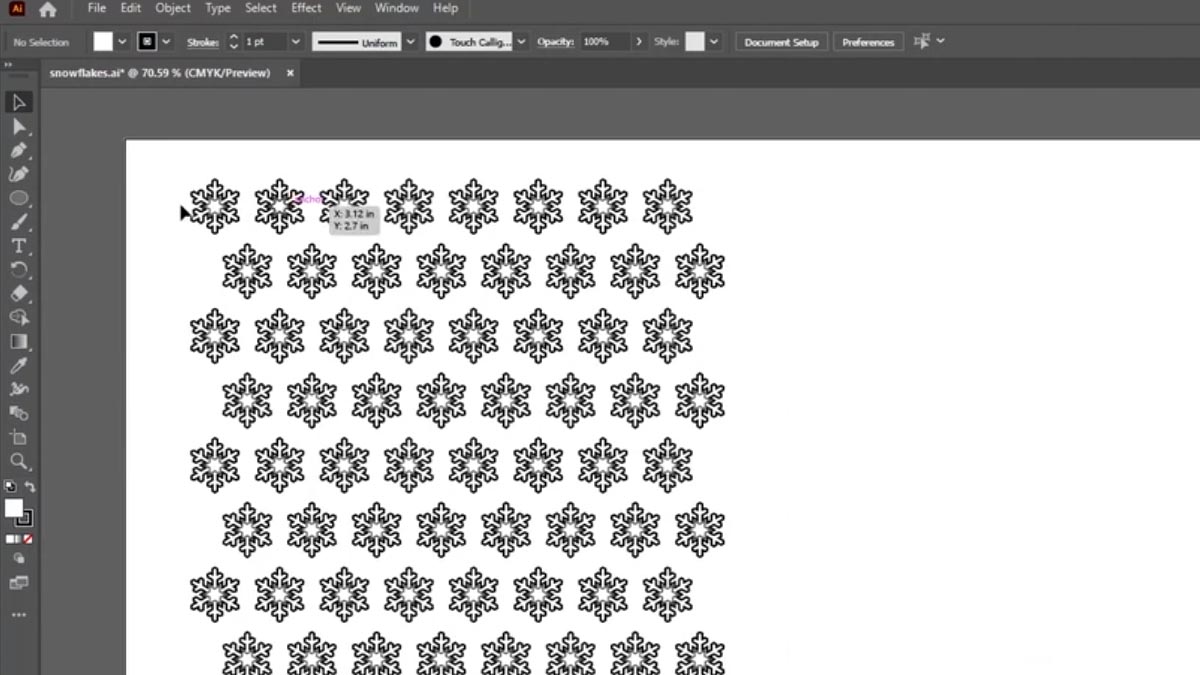
Select the design and drag it into the Symbols tab.
Name the design
And set the export type to graphic.
Delete the design.
Create 3D Sphere Effect
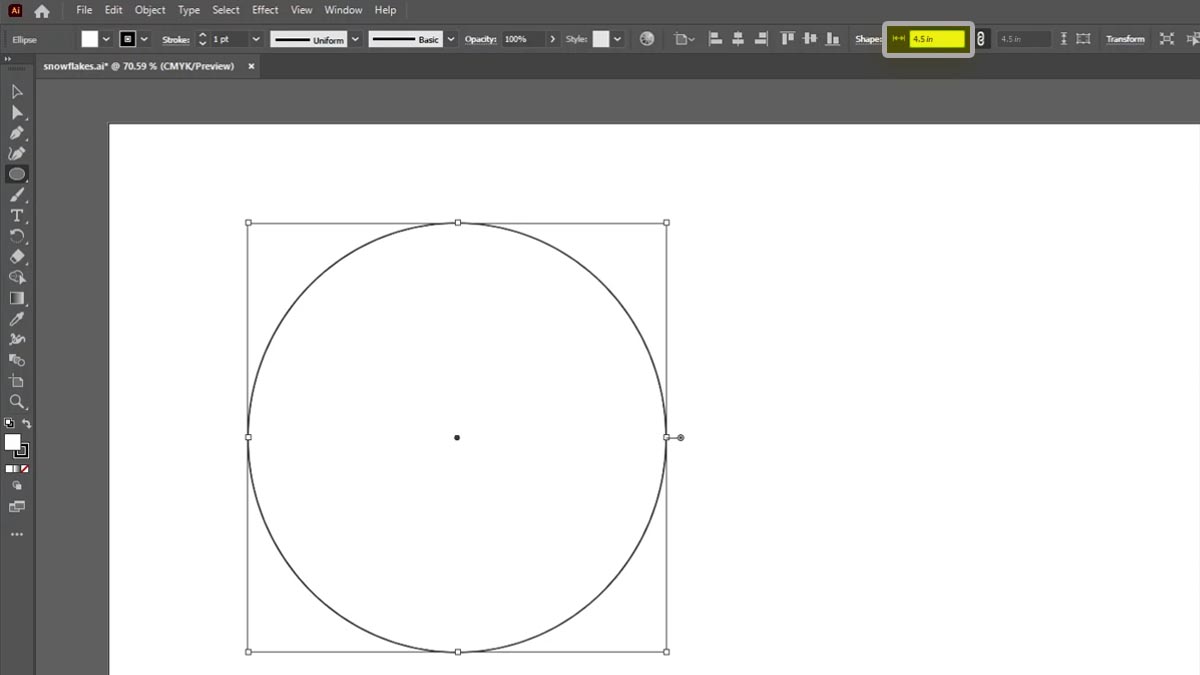
Using the Ellipse tool, create a 4.5” circle.
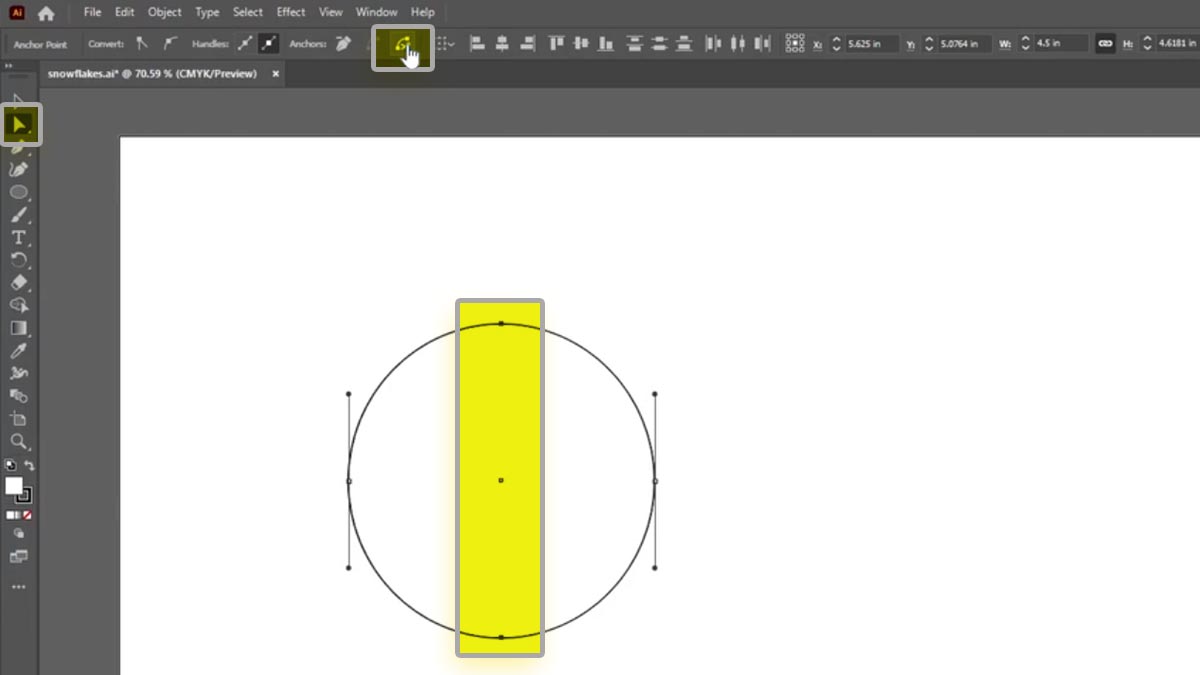
With the circle selected, click on the filled arrow Direct Selection tool.
Highlight the top and bottom nodes of the circle.
Select the Cut Path at Selected Anchor Points tool from the menu bar.
Under the Pathfinder tab, select the Divide tool.
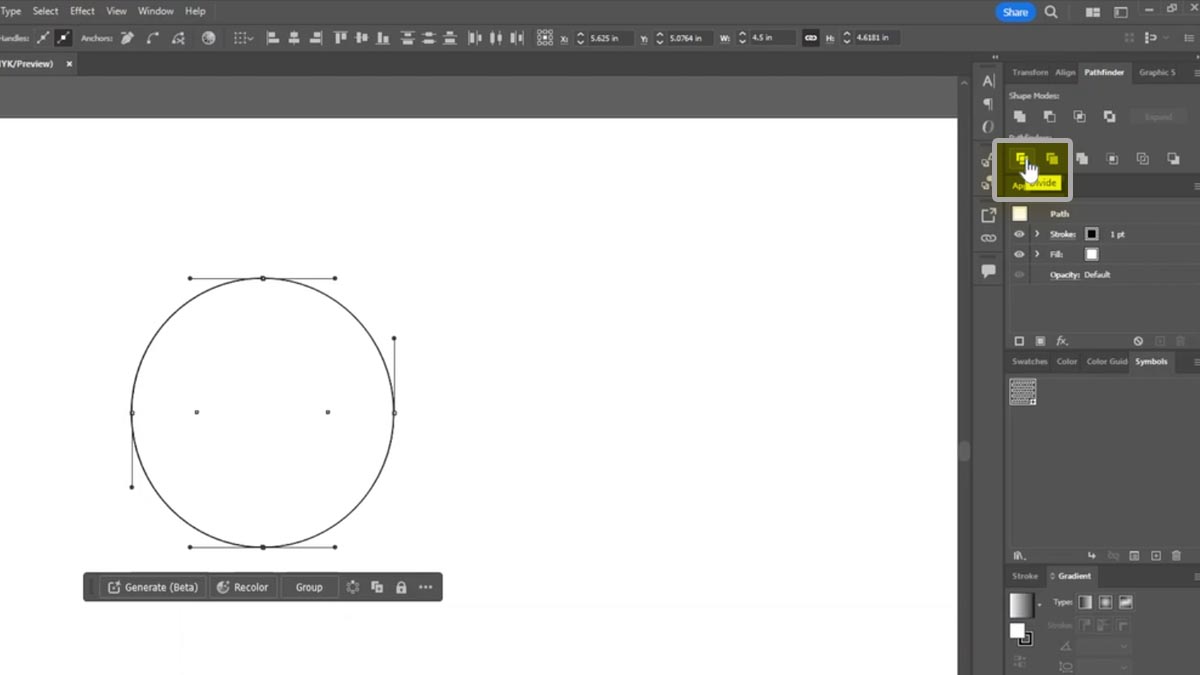
Delete the right node.
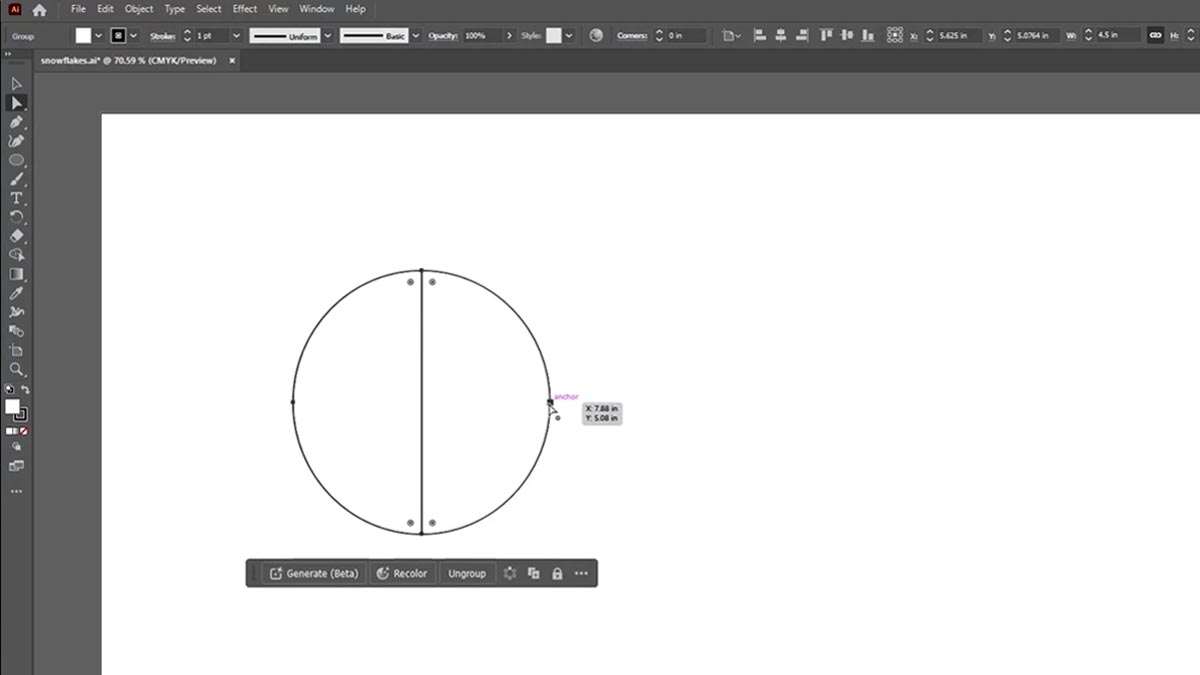

Select the half circle and click the Unite tool in the Pathfinder tab Shape Modes.
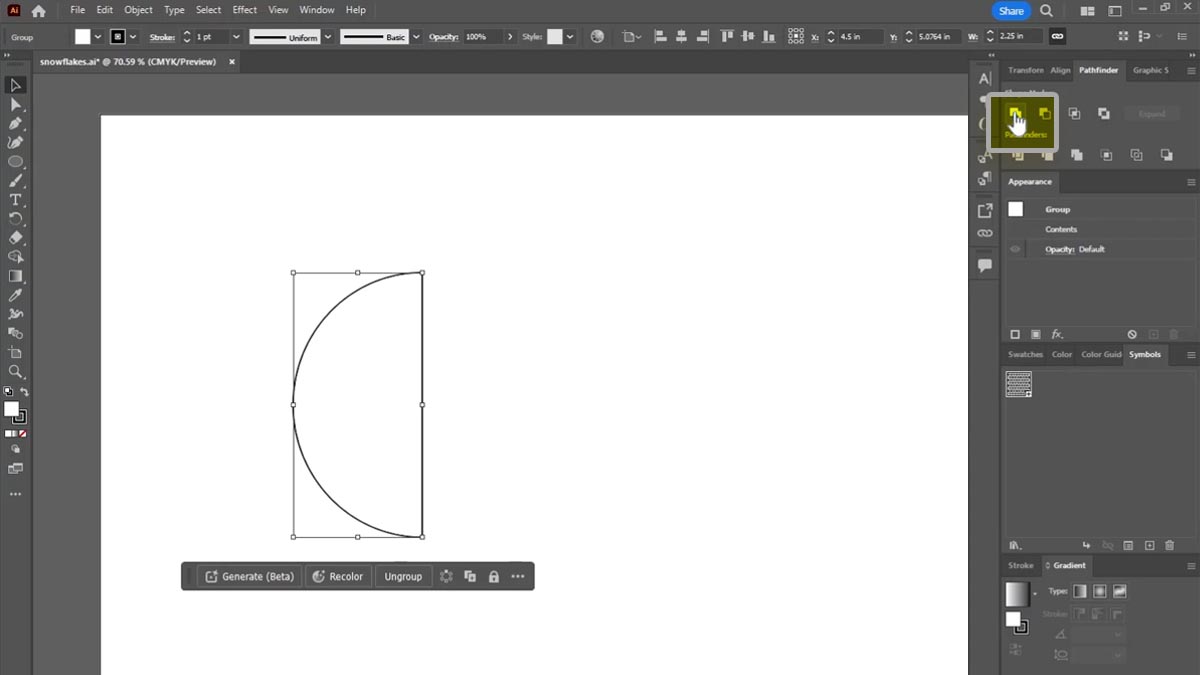
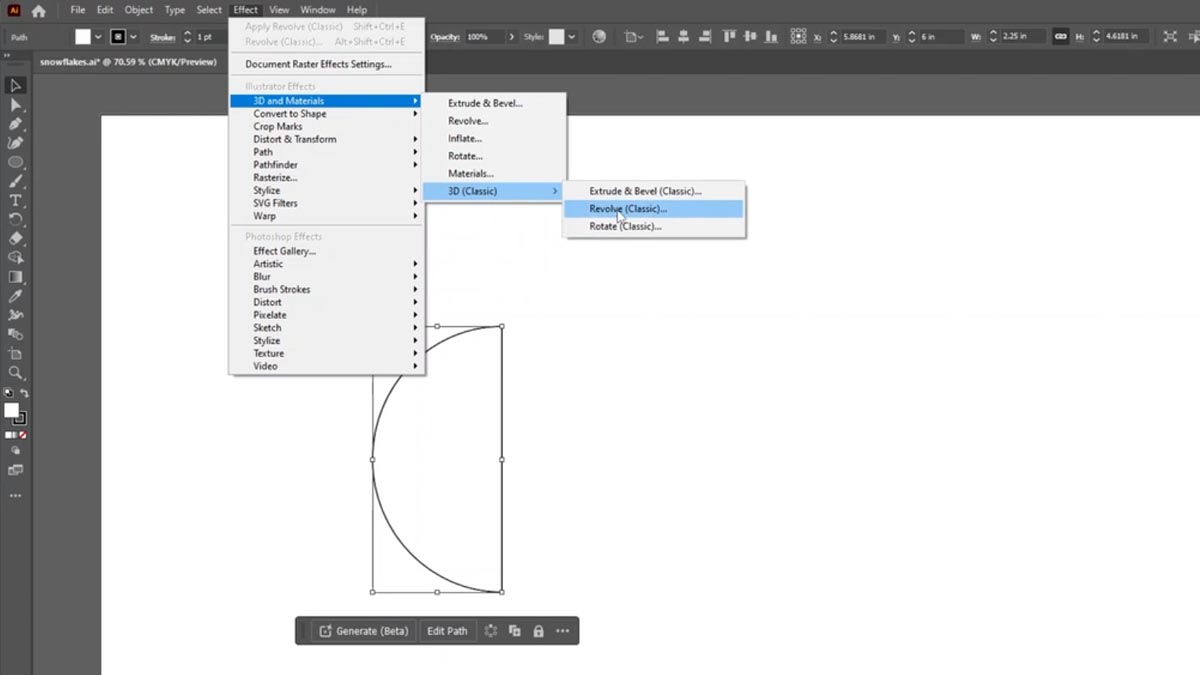
Select the Effect menu > 3D and Materials >3D (Classic) > Revolve (Classic)
Set the three angles to 0 degrees. Next to Offset, select Right Edge. Set the Surface to No Shading. Click the Map Art button.
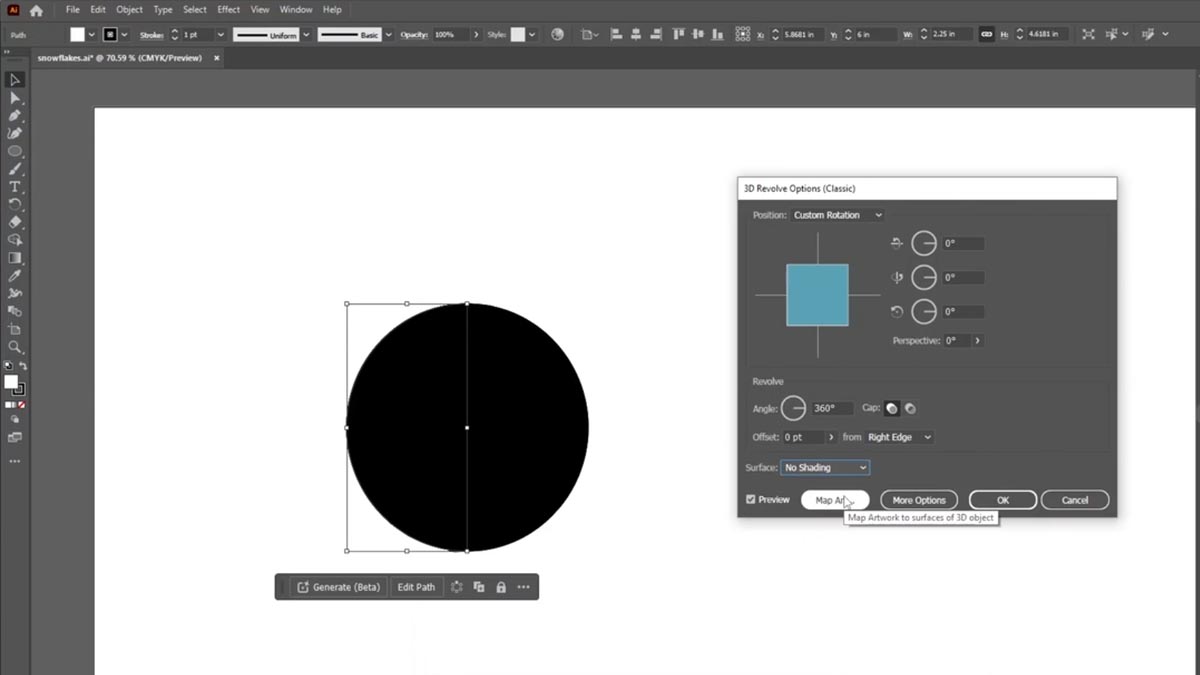
Click Invisible Geometry. Next to Symbol, select the symbol we created earlier. Now drag the graphic so it is only over the white section of file area.
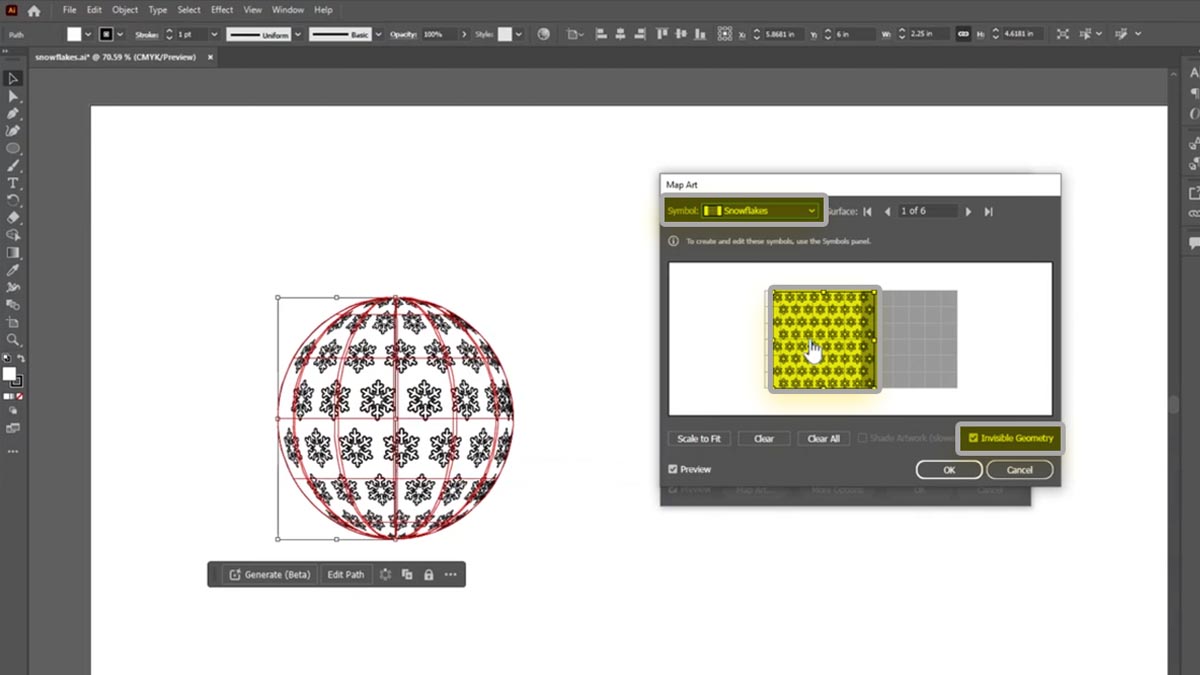
Click OK.
And OK again.
We now have our 3D sphere design laid out across our file.
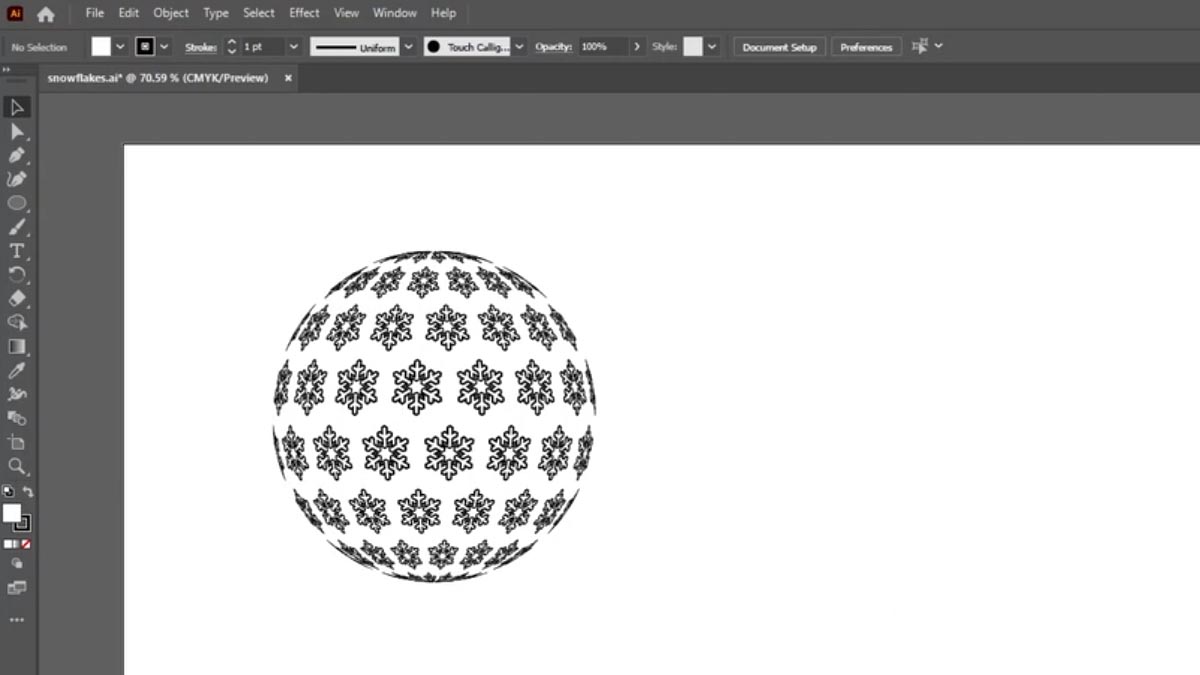
Add Customizations
Now we can further customize the 3D sphere design.
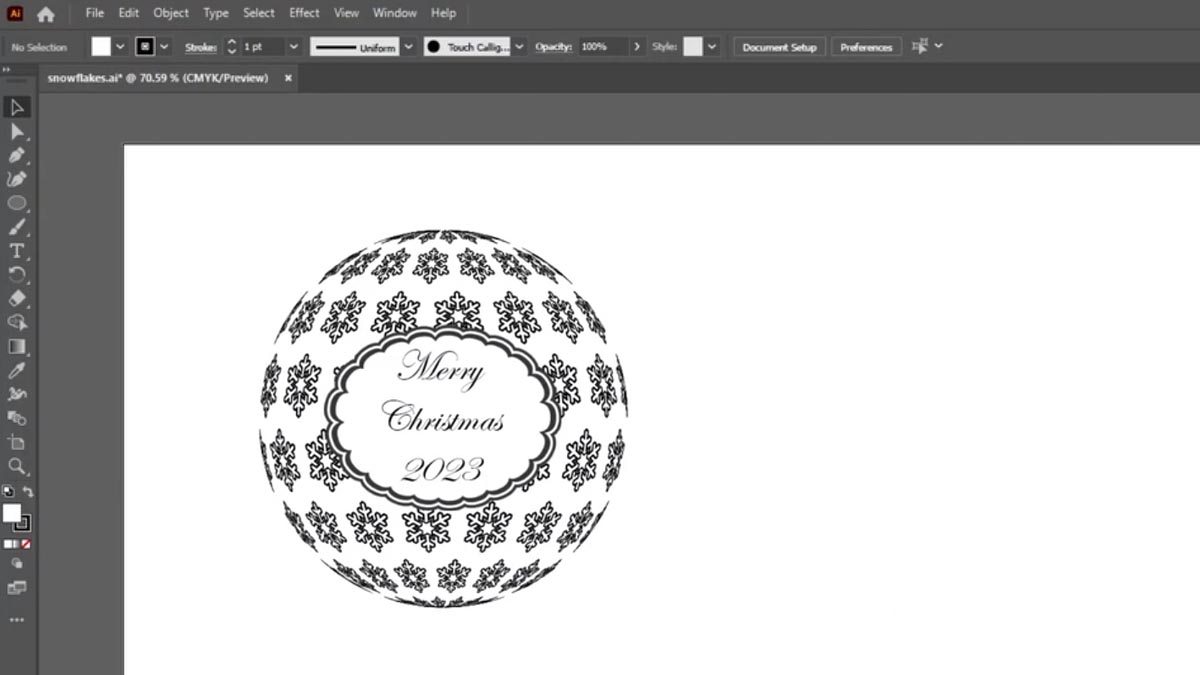
We’ll add a border image to the file.
And add our custom text.
Engrave the 3D Sphere Design
We’re ready to place our artwork in the Laser Dashboard.
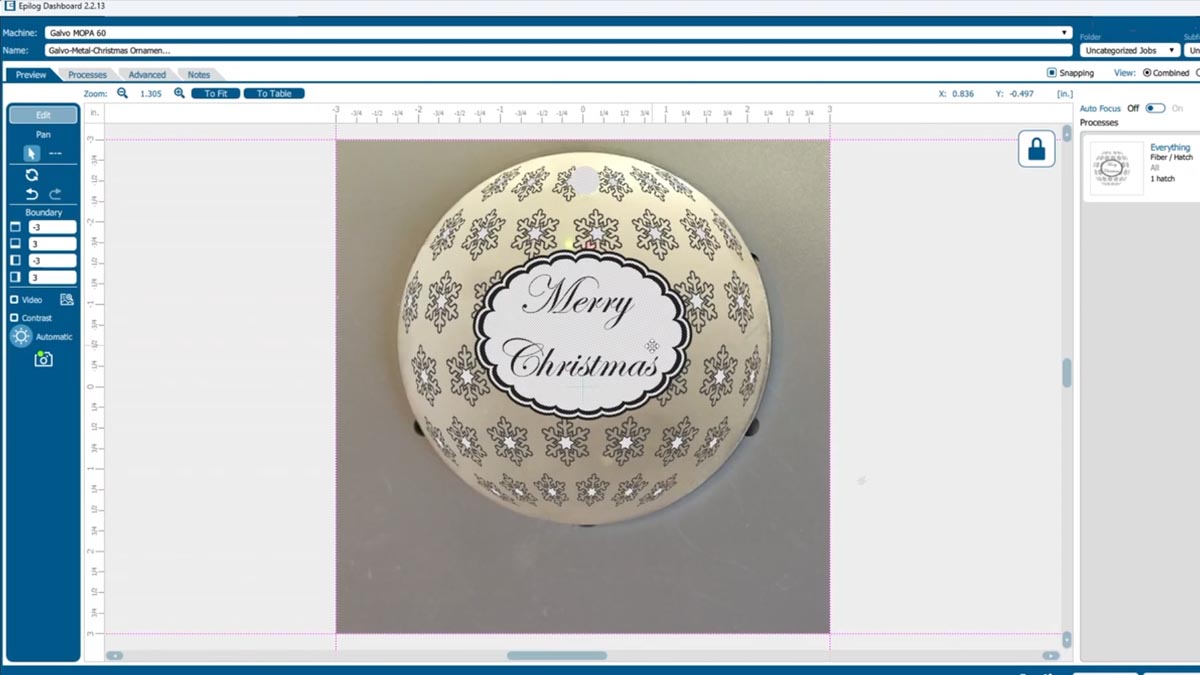
When it’s perfectly aligned, select your material setting.
And print it to the laser.
