Did you know you can use the badge layout tool in PhotoLaser Plus to create serial tags with variable data? It’s a quick and easy way to create a serialized tag system that can be engraved and cut with the laser. In this article we’ll be looking at how to (...)
Color Management Settings CorelDRAW X5, X6, X7
Some of our users have reported unsatisfactory engraving results when using CorelDRAW. We believe this is caused by certain Color Management settings, which can result in a “pixilated” output when using the color black or when using the Color Mapping feature (see image below.) This issue can be resolved by (...)
Creating a Multiple Name Badge Layout using Print Merge
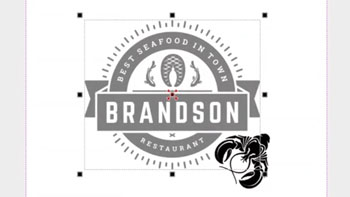
One of the most common questions we receive is regarding name badge layout. Although it looks easy, finding a quick way to create multiple name badges can create some major complications. Since working with PhotoLaser Plus, we’ve discovered a great benefit of the software is that it does an excellent (...)
Reducing Fire Hazards with your Laser
This article will guide you through recommendations to reduce fire hazard with your laser. Your laser system uses a high intensity beam of light that can generate extremely high temperatures when it comes into contact with the material being engraved, marked or cut. Some materials are extremely flammable and can (...)
Focus Lens 101
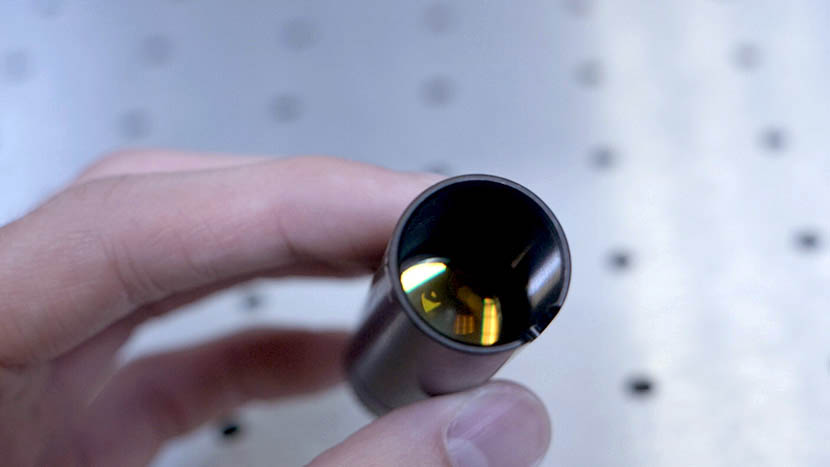
This Technical Library article discusses the purpose of the focus lens as well as guidelines for using lenses of different sizes for various projects. What does a focus lens do? A laser beam emanating from the laser tube is typically around one-quarter of an inch (240 thousandths) in diameter. This (...)
Center-Center vs Custom Center Engraving
Using Center-Center There are many ways to use Center Engraving on the Epilog Laser Dashboard. Let’s take a logo we want to engrave at the center of a coaster. In the Epilog Dashboard, choose the Advanced Tab. Next to Centering Point you’ll see a list of all (...)
Driver and Firmware Downloads
You can find the latest versions of Epilog Laser’s driver and firmware software available for download at www.epiloglaser.com/support/drivers/. To stay informed when a new driver version is released, join the Driver Notification mailing list located on that page.
Maximum Rotary Attachment Diameters
Maximum diameter that will fit on the Rotary Attachment for each system Epilog Zing 24: 5.25″ (133mm) Epilog Mini 18: 3″ (76mm) Epilog Mini 24: 5″ (127mm) Epilog Helix: 8″ (203mm) Fusion 32: 10.75″ (273 mm) Fusion 40: 10.75″ (273 mm) Fusion M2 32: 10.25″ (260 mm) Fusion M2 40: (...)
Removing Adhesive Backing from Acrylic
Spray Backing Spray the adhesive backing with Pure Citrus air freshener and let it sit for 30 seconds. Peel Backing Now the adhesive backing should be quick and easy to remove from your acrylic. Wipe Clean Wipe off the remaining residue and you’re ready to engrave or (...)
Creating a 3D Sphere Design for Laser Engraving
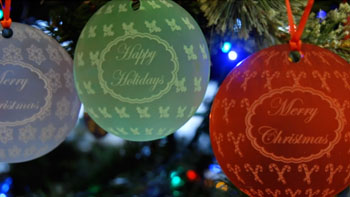
Setup the Artwork Here we have a snowflake design that we’ve replicated in an offset grid pattern to be transformed into a 3D sphere design. Select the design and drag it into the Symbols tab. Name the design And set the export type to graphic. Delete the (...)
Precisely place artwork using the IRIS Camera
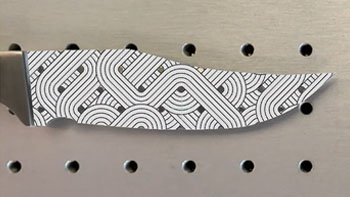
Artwork Setup Here we have a graphic we want to engrave on a blade of knife, which we can do by using the camera. In the Laser Dashboard, using the camera, we can see the knife blade placed in the laser. Start by clicking the Copy Background Image (...)
Use Print Merge to Customize Multiple Items
Import Data Here we have a series of name badges to engrave and cut on the laser using print merge. First we’ll need to pull in the list of names. Select File > Print Merge > Create/Load Print Merge Click Import File and navigate to your .csv, .rtf, or (...)