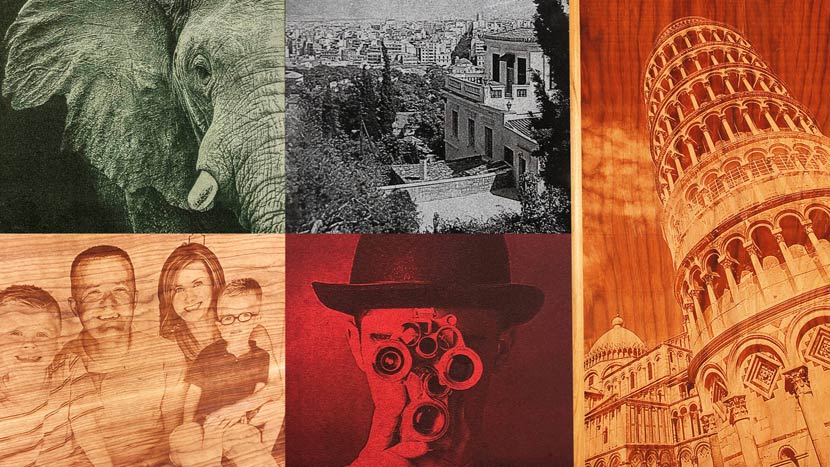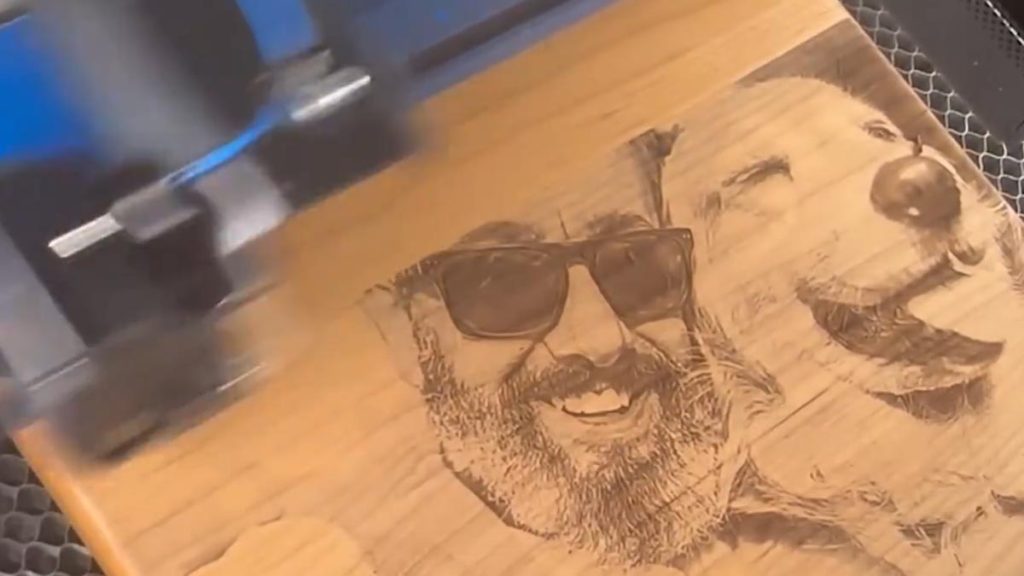
For a helpful tip, we’ll show how to use margins in the Epilog Dashboard to preview the engraving to make sure our photo quality is ideal. Prepare the Artwork We’ll be engraving this photo on a wood plaque. First, we’ll process the photo in PhotoLaser Plus. (...)
Using Color Mapping in the Epilog Software Suite
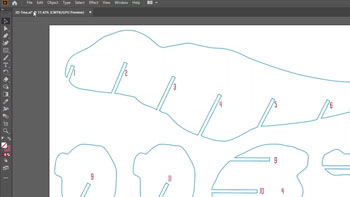
It’s easy to color map with the Epilog Dashboard. Prepare the Artwork for Color Mapping For this file, we want to score the red numbers and cut out the blue outlines. Once the artwork is ready, Print the file to the laser. Everything has come over in a single process (...)
Use a Jig to Pre-Engrave an Item for Customization Later
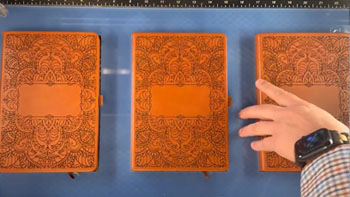
Setup the Artwork Here we are creating a jig to pre-engrave four leather notebooks. We’ll add customized names to each one later. The red lines are the outlines of the notebooks we’ll cut out in a jig. We’ll cut an arrow at the top left corner so (...)
Using PhotoLaser Plus
Prepare Photo Begin by importing a photograph into PhotoLaser Plus. Select the ‘Import’ option from the ‘File’ menu. Then select a photo. Now click on the work area to place the photo. Next, resize the image to match the engraving piece. In this example, our engraving piece is 6” x (...)
Creating City Maps (Illustrator)
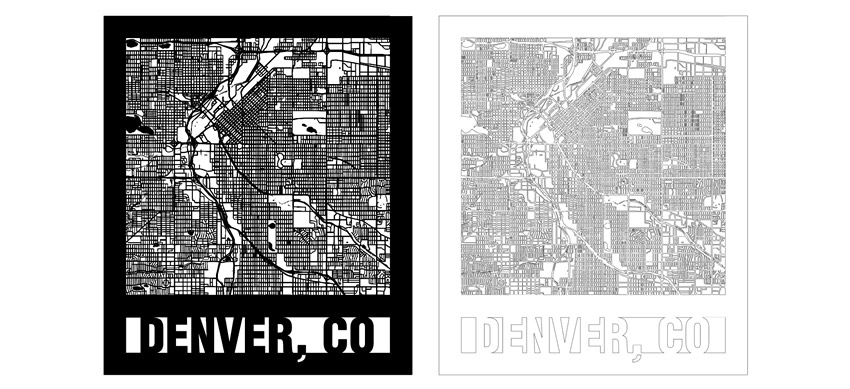
City Map Image Capture Start off by visiting snazzymaps.com to create a custom city map for laser engraving or cutting. Creating an account is not required, but if you are interested in creating different maps for customers or friends, signing up will give you the ability to save map locations (...)
Creating City Maps (CorelDRAW)
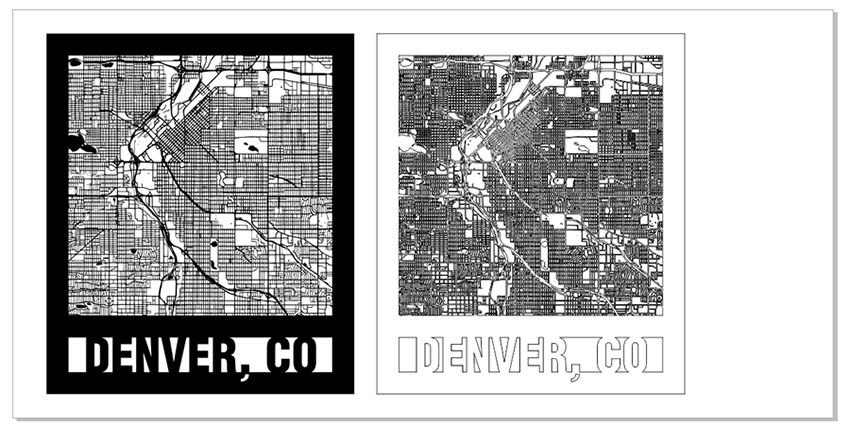
City Map Image Capture Start off by visiting snazzymaps.com to create a custom city map for laser engraving or cutting. Creating an account is not required, but if you are interested in creating different city maps for customers or friends, signing up will give you the ability to save map (...)
Creating an Appliqué
With a few easy steps you can create your own custom cut appliqué out of two-ply twills! Follow these instructions to see how we’ve taken a piece of clipart and optimized it to create this stunning design! First, ungroup the entire image. Next, we need to add an outline around (...)
Engraving Small Wood Photos with PhotoLaser Plus
With the introduction of PhotoLaser Plus, photo engraving has vastly improved. But at Epilog Laser, we’re always looking for ways to make it even better. One of the improvements we’ve recently made is creating a setting that allows you to see more detail when engraving very small photos on wood. (...)
Photo Laser Engraving on Wood – CorelDRAW X5 – 2018
Click the link below to download the .zip file for the Wood Photo Engraving Macro, then unzip the file. Instructions for installation are included with the download, and are located at the bottom of this page. Download Now How to Process a Photo for Laser Engraving on Wood Open the (...)
Adding an Italic / Oblique Effect to a non-Italic Font – CorelDRAW X7
Have you ever had a client or project requiring the italic version of a typeface, but the typeface you are using doesn’t have an italic font? Many people experience this problem when designing with roman, hand-written, and calligraphic style typefaces. Here we’ll show you a quick and easy technique for (...)
Expanding Thin Shapes for Laser Cutting
When cutting out very thin or intricate patterns with the laser, the final cuts can sometimes be so thin that they may break during everyday handling. In this article, we will show you how to expand thin shapes with Adobe Illustrator CC 2014 and combine objects together to make them (...)
How to Create a Snowflake Ornament in Corel X6
Snowflakes are a festive symbol reminiscent of the holiday season. Using a few tools in CorelDRAW, it’s easy to create your own one-of-a-kind snowflake design. After you learn how to design these snowflakes you can use them as ornaments or wall hangings to help get your home or office in (...)