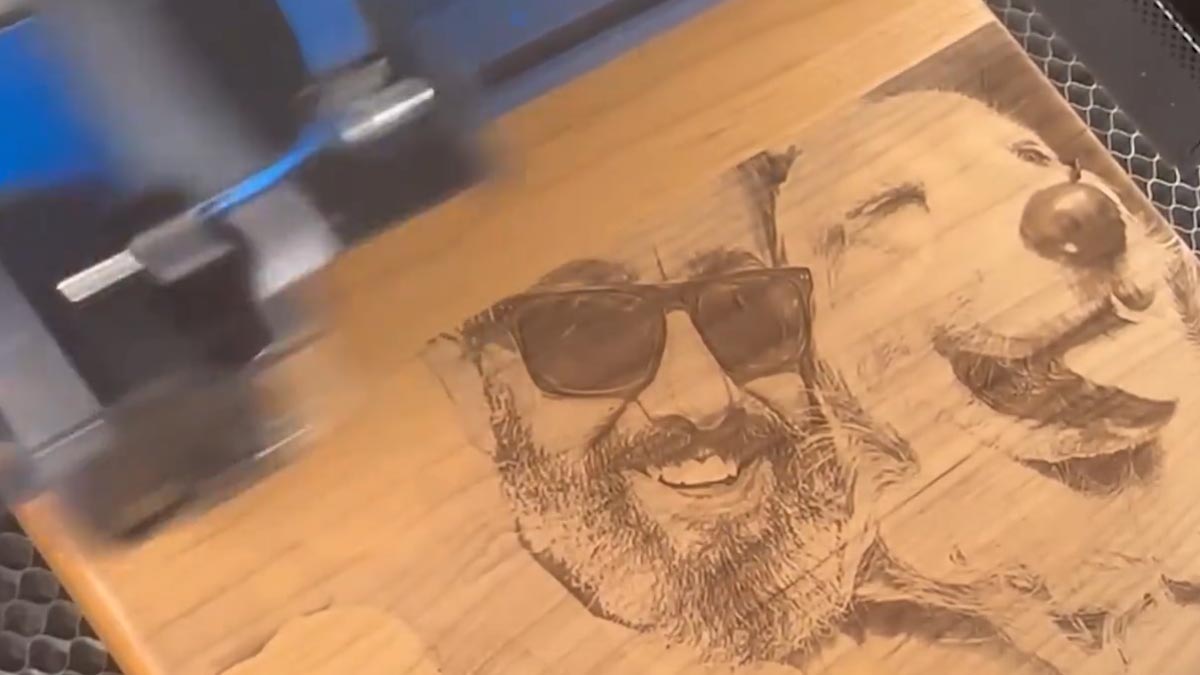
Nothing is more frustrating than setting up a file for engraving, such as a photograph, and not having it engrave the way you want or the way you thought it would. Here we’ll walk you through the steps of using margins in the Epilog Laser Dashboard to create a preview of the engraving to test before completing the final piece. No more wasted materials!
For a helpful tip, we’ll show how to use margins in the Epilog Dashboard to preview the engraving to make sure our photo quality is ideal.
Prepare the Artwork
We’ll be engraving this photo on a wood plaque.
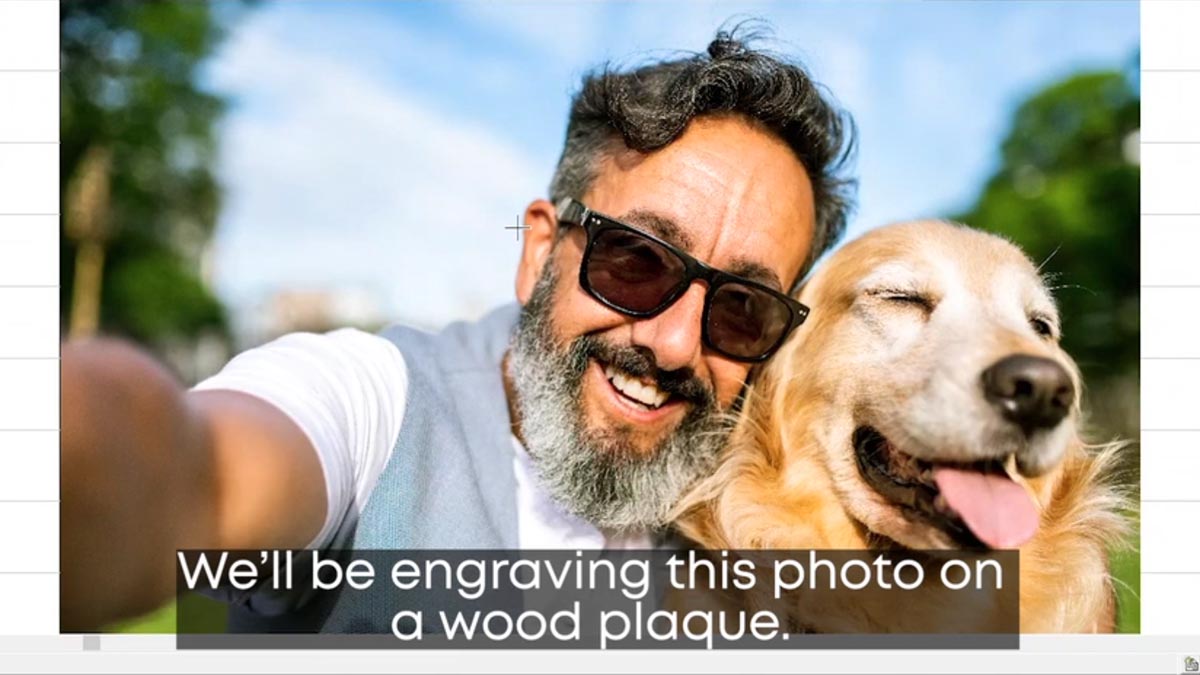
First, we’ll process the photo in PhotoLaser Plus.
Import the image onto a 12” x 10” page.
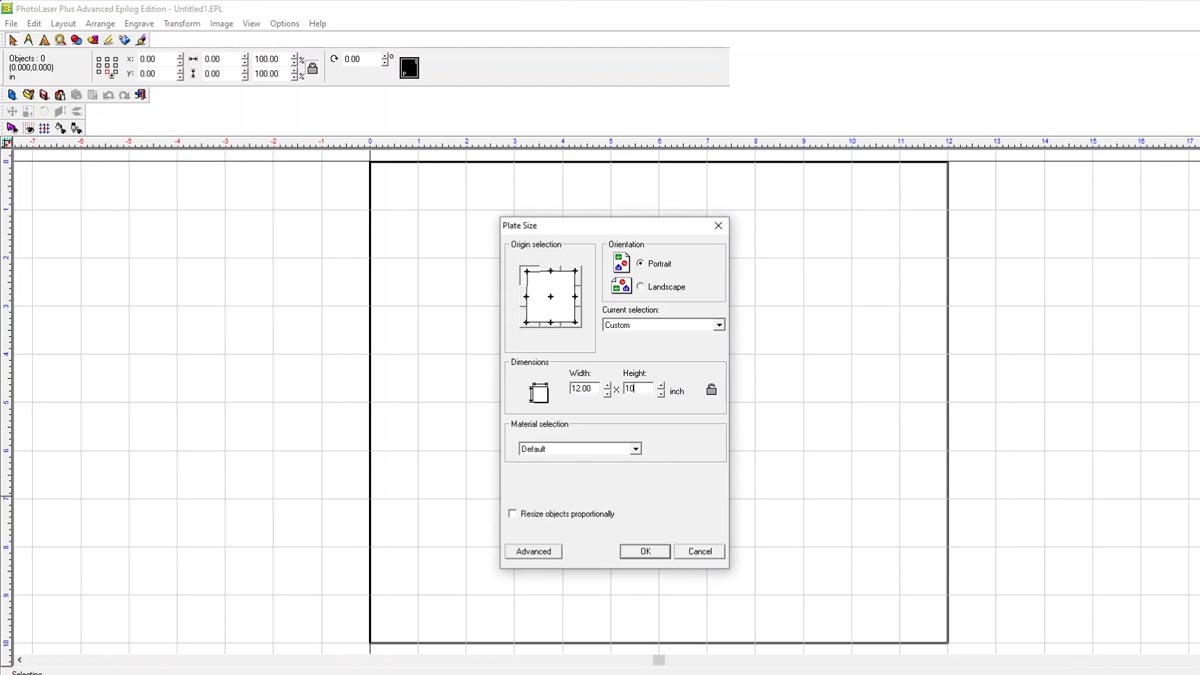
Resize the image so it fits the entire plaque size.
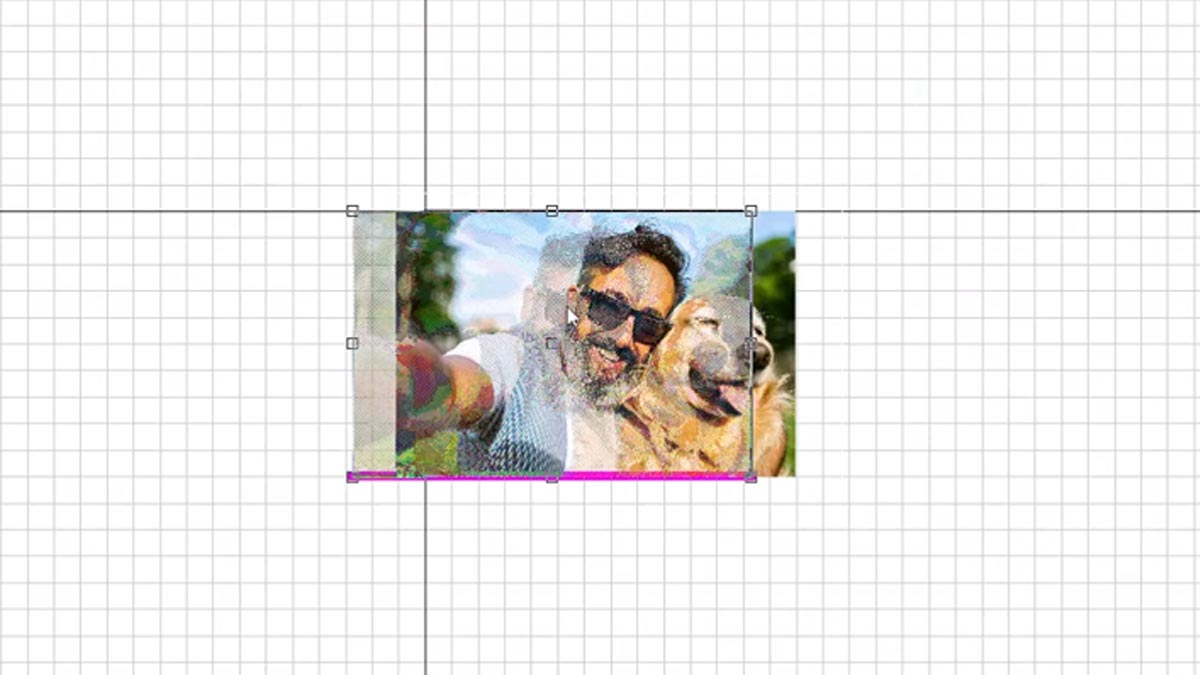
Move the photo so the part we want engraved is placed on the plaque.
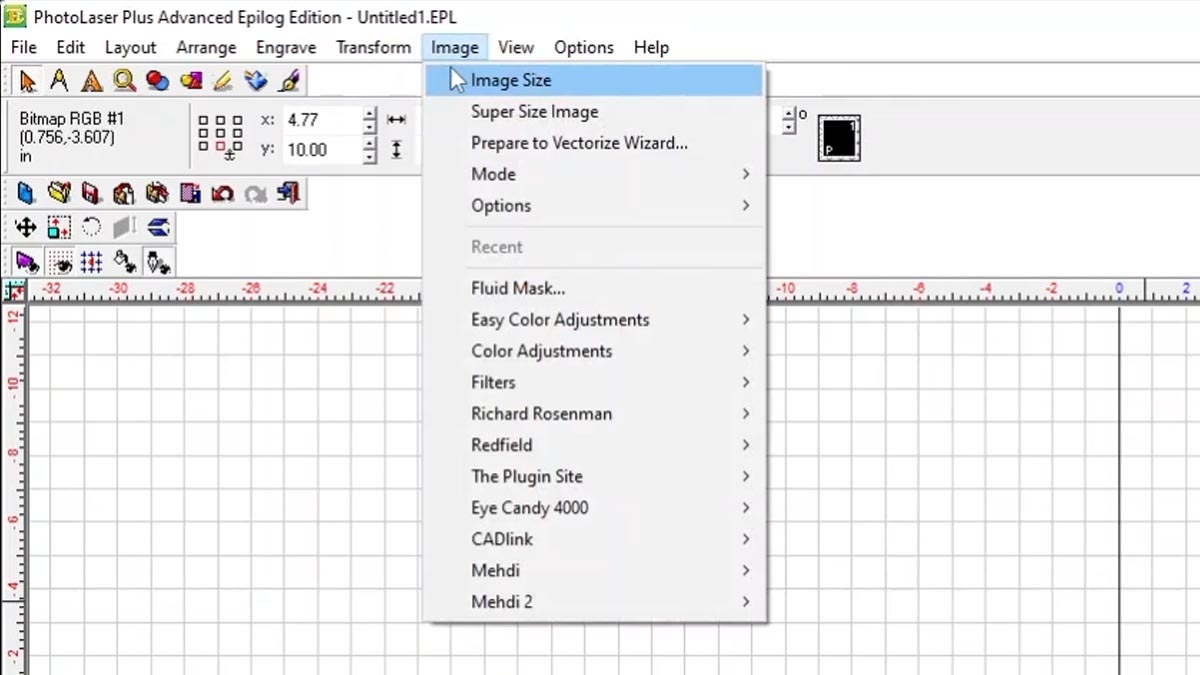
Select Image > Image Size.
Set the Resolution to 600 x 600 to match the dpi we’ll use to engrave the photo.
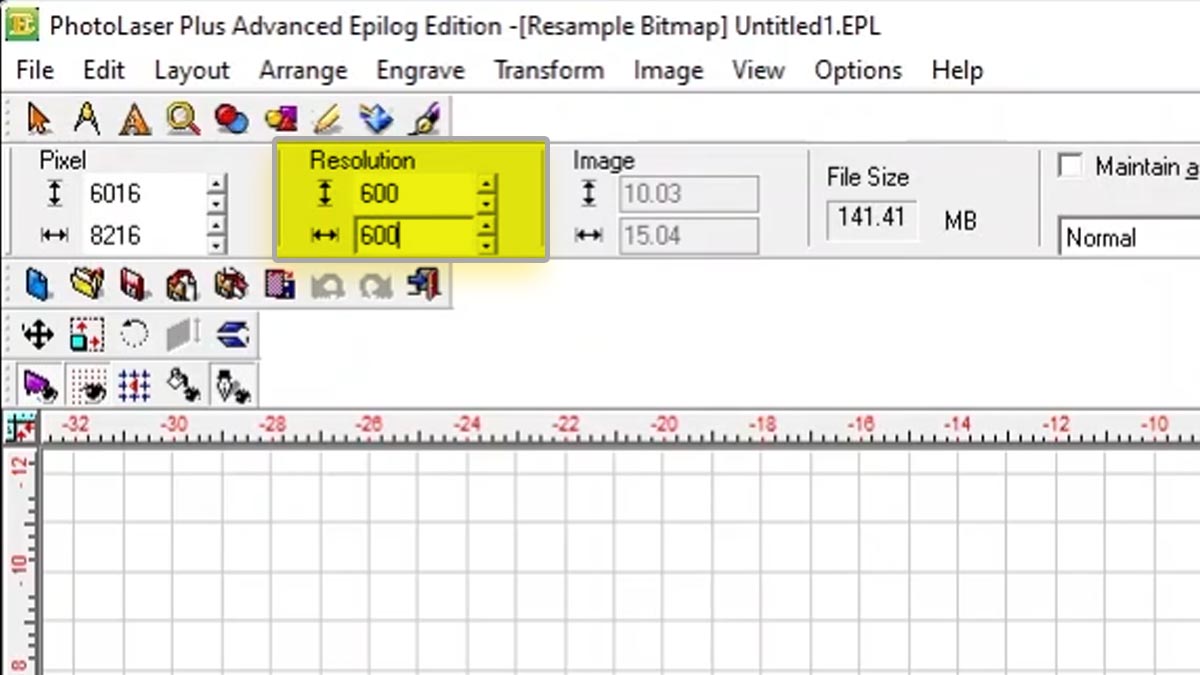
Click Apply.
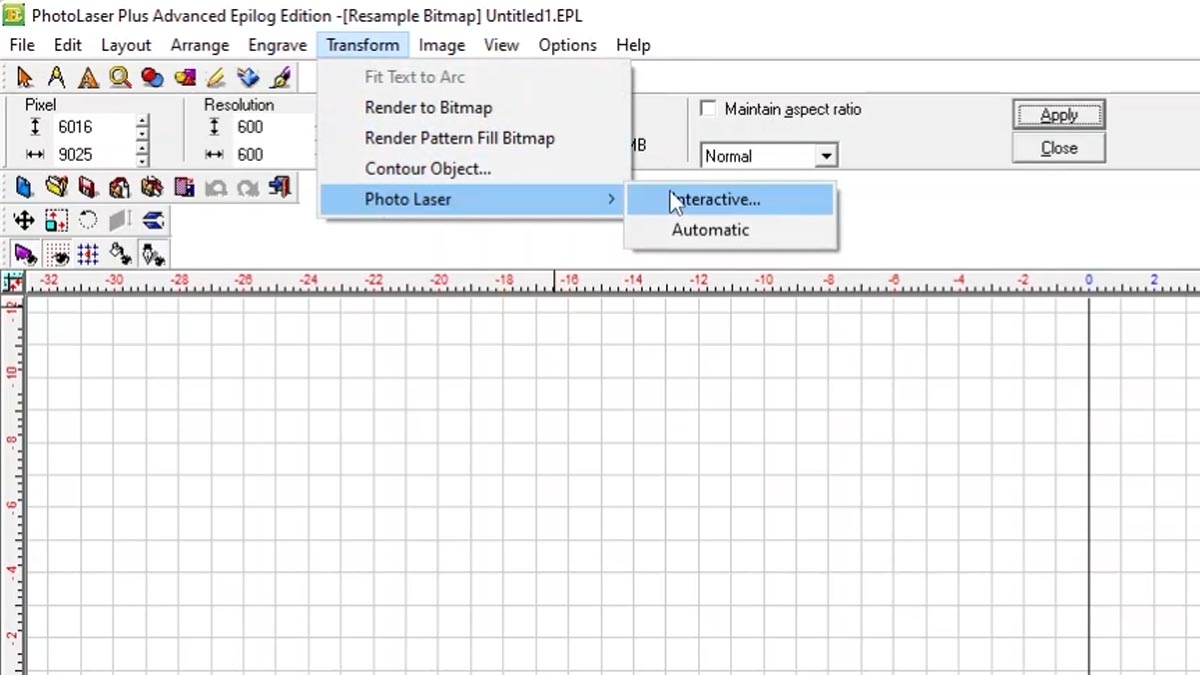
Select Transform > PhotoLaser > Interactive.
Select the materials folder.
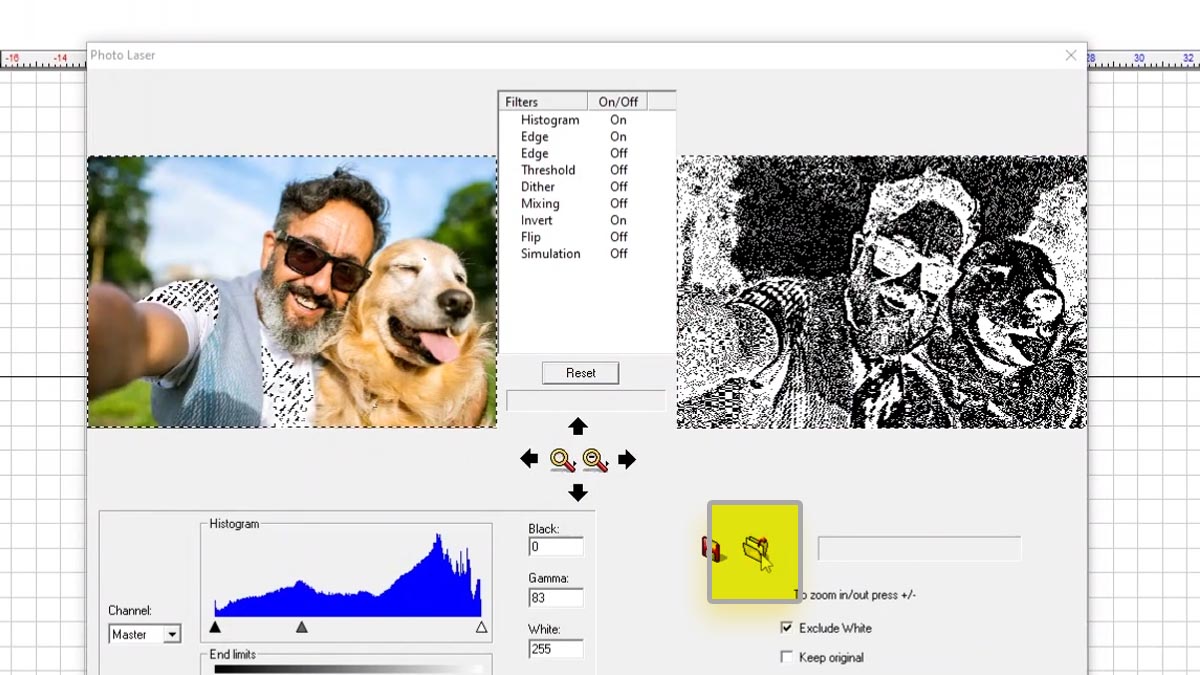
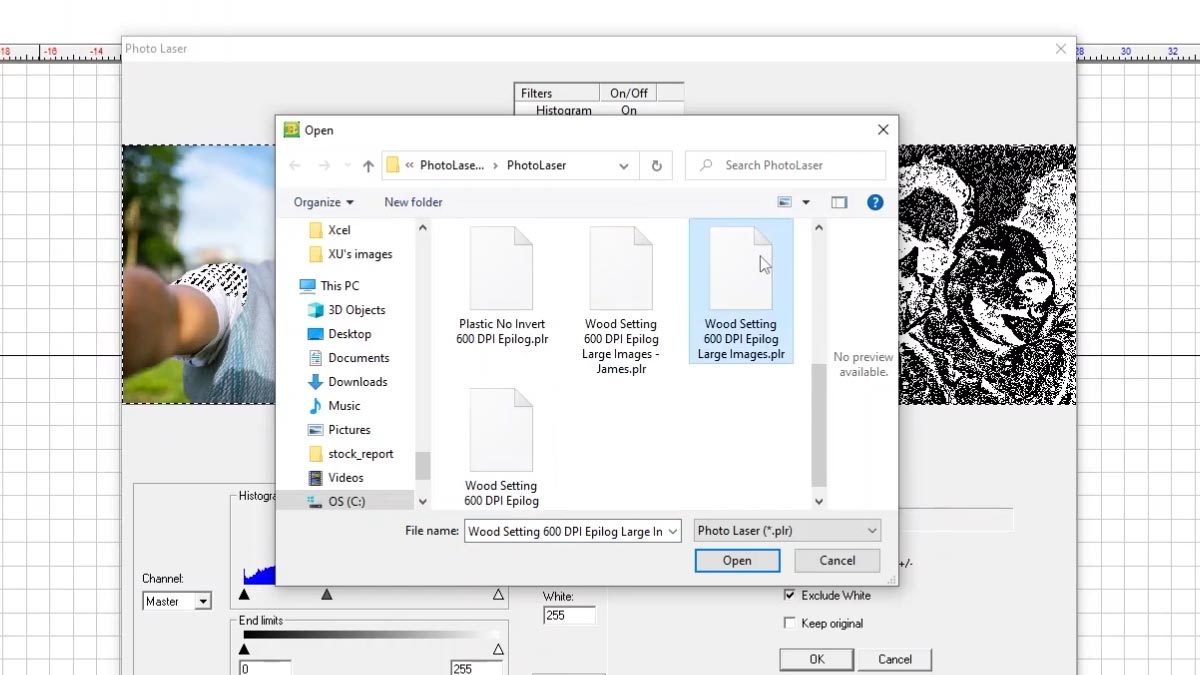
Choose Wood Setting 600 DPI Epilog Large Images and Open.
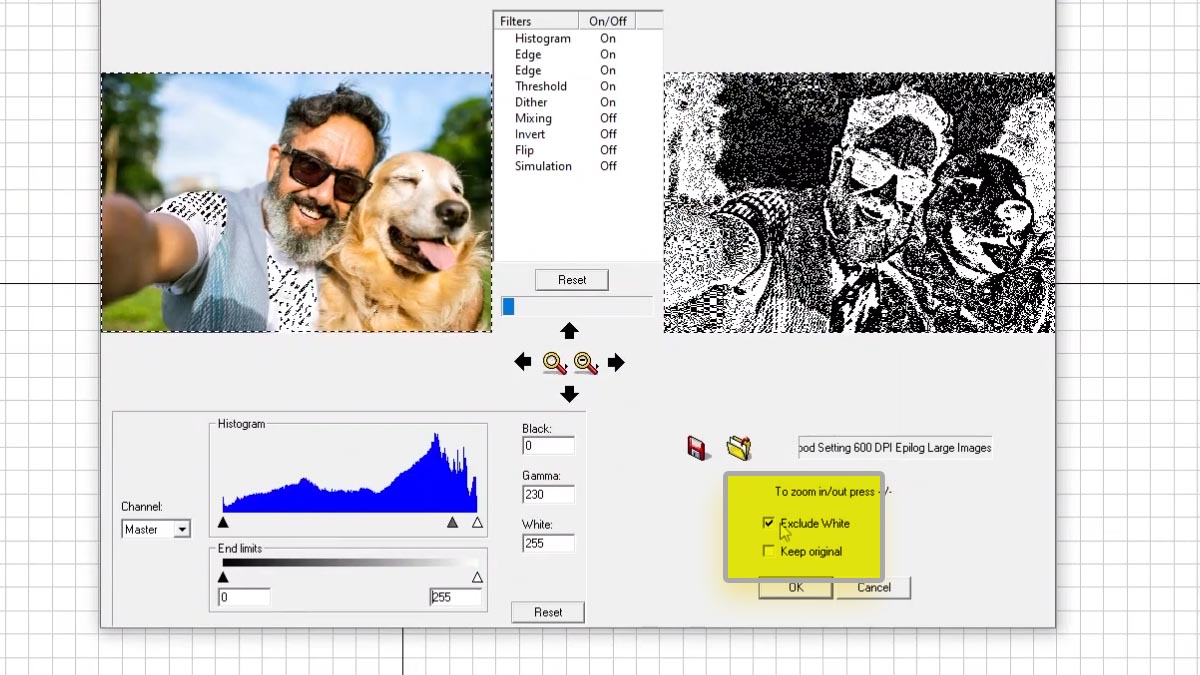
Unselect Exclude White and press OK.
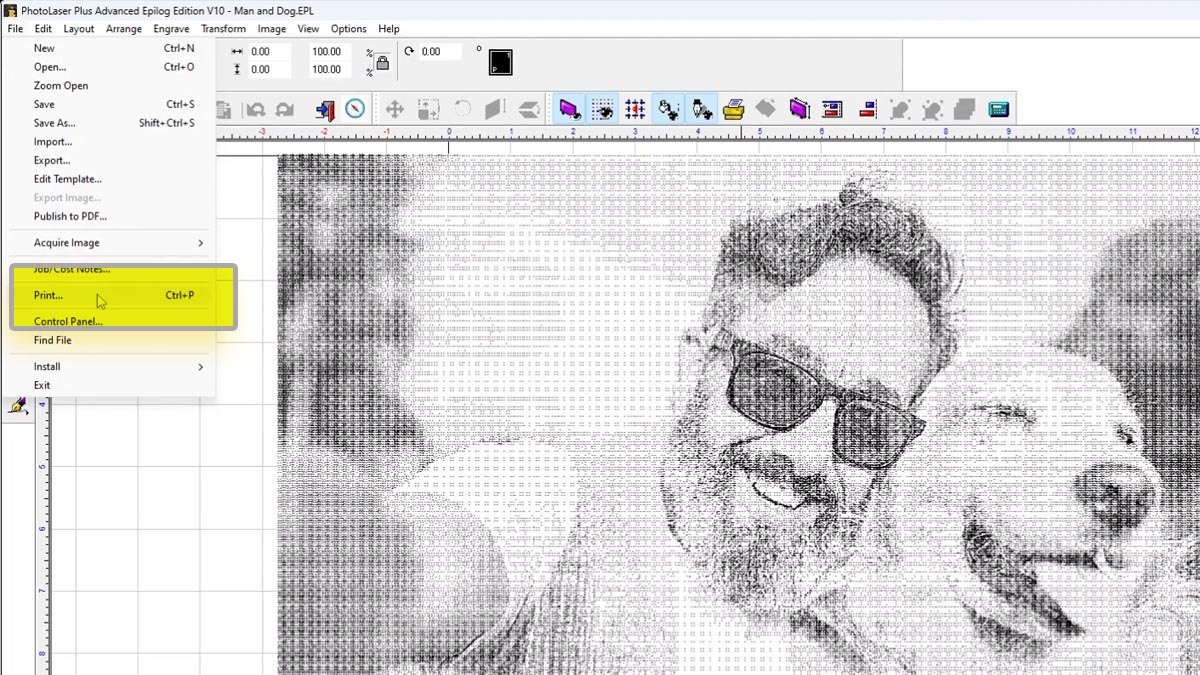
When the photo has been process, print the file to the laser.
Test Engraving using Margins
Now we’ll engrave a small piece of the whole engraving on a piece of scrap wood.
Pull the margins from each side to the edge of the piece of scrap wood.
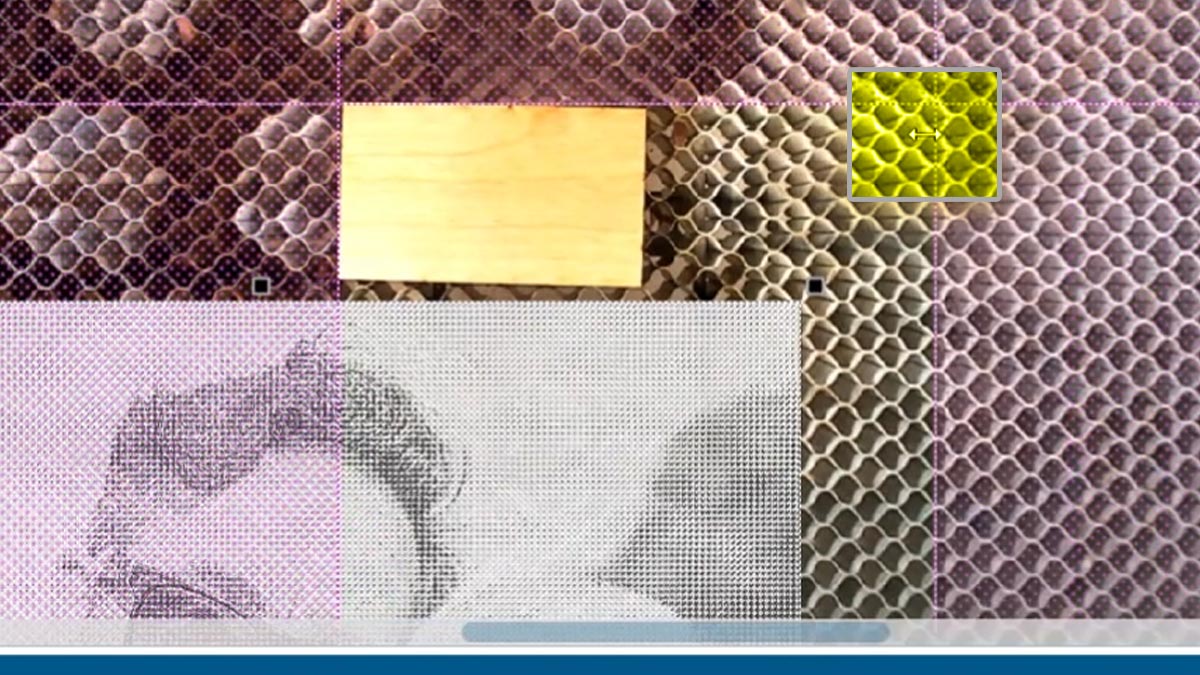
Move a dark part of the engraving over the wood.
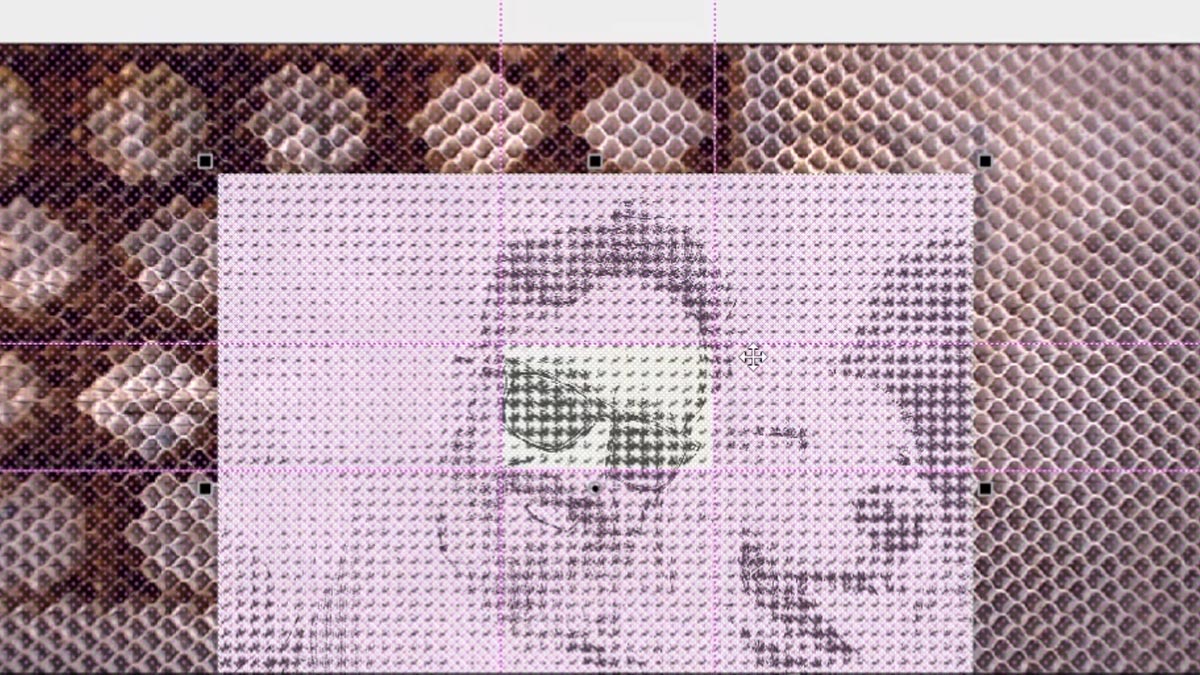
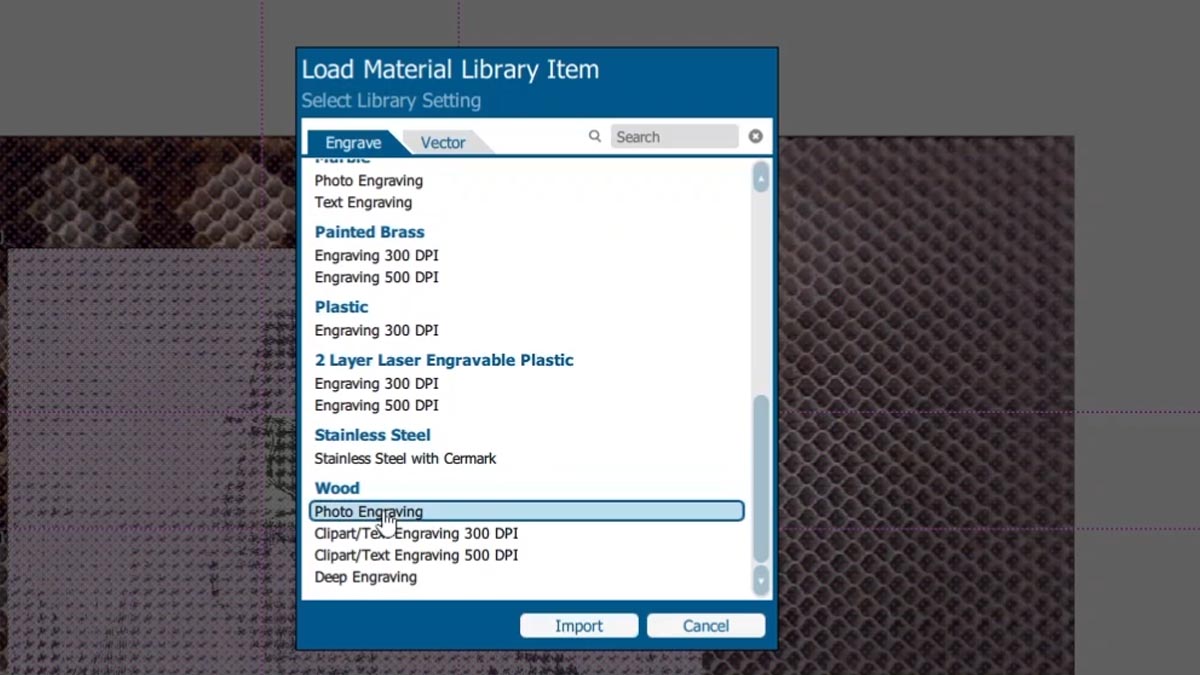
Choose the wood photo settings.
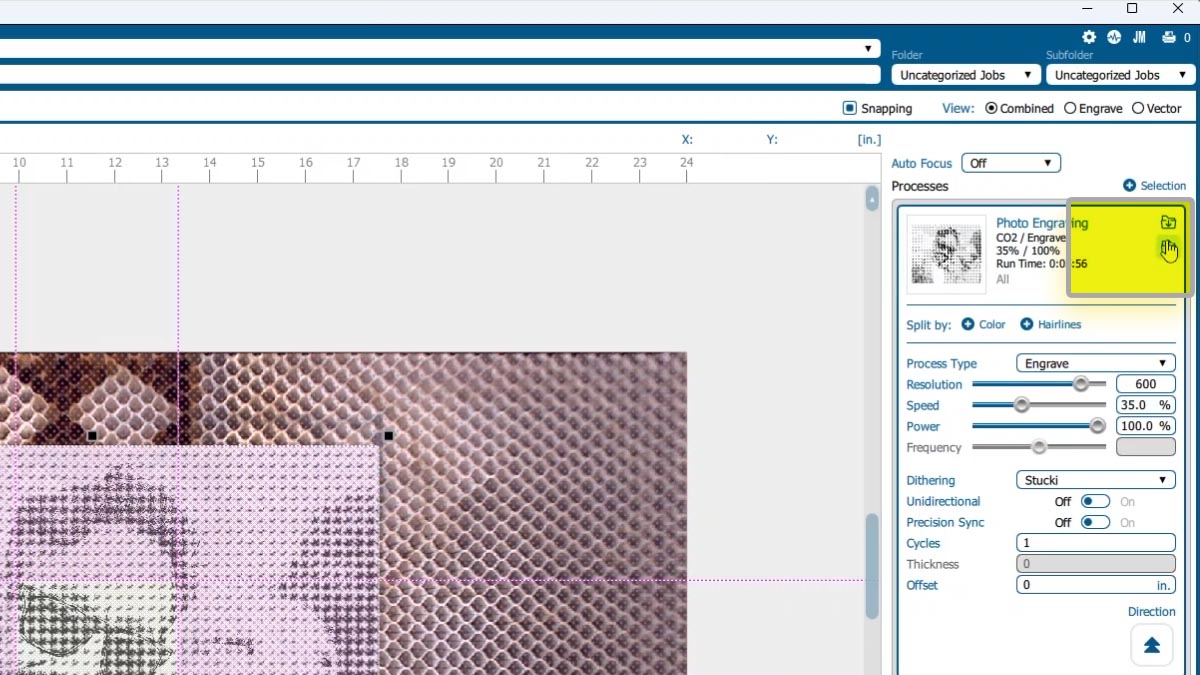
We’ll change it to 600 dpi to match our settings in PhotoLaser Plus.
Increase the speed to 50%.
And set it to bottom-up engraving.
Start the job at the laser and see if the results meet your expectations.
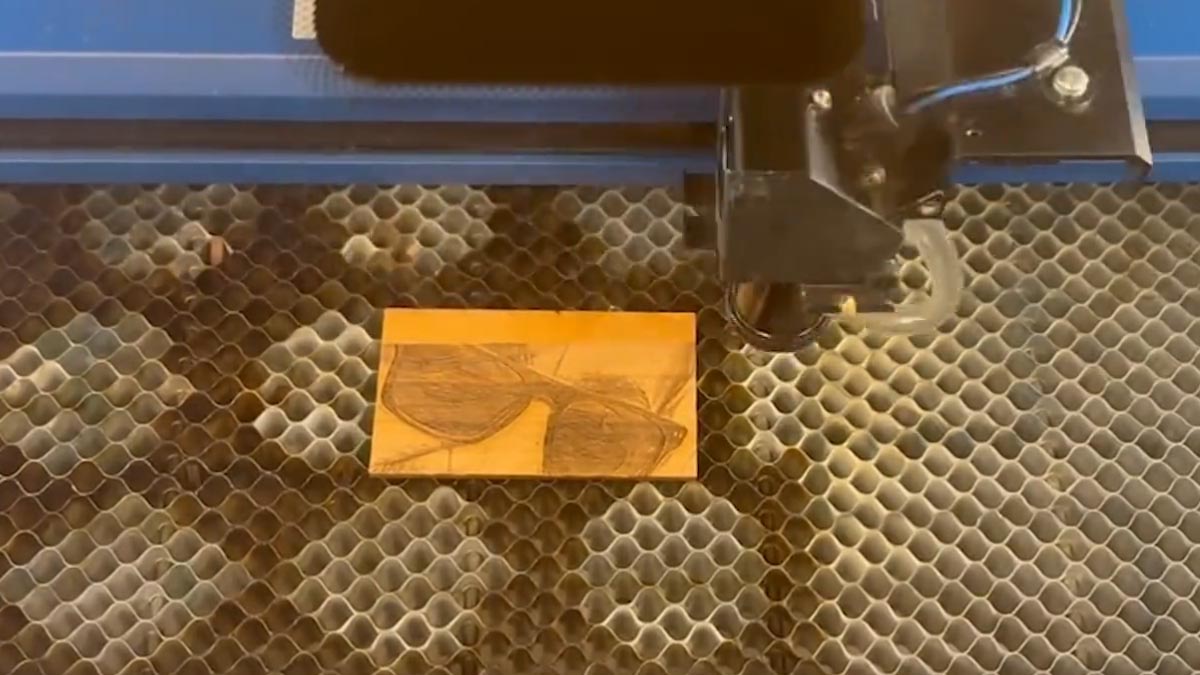
Good contrast, and the laser is seeing lots of detail. Looks good!
Final Engraving
Now we’re ready to engrave our full plaque. Pull the margins out to the edges of the plaque.
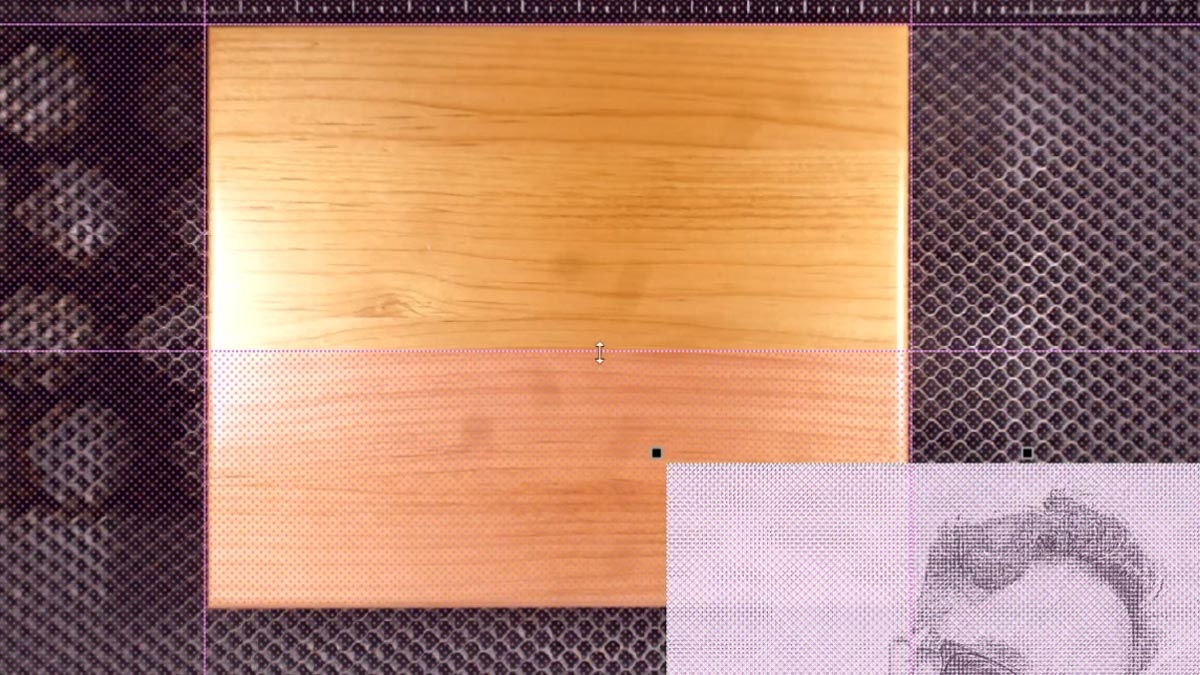
Our photo is slightly larger than the plaque, so position it on screen as you’d like it engraved.
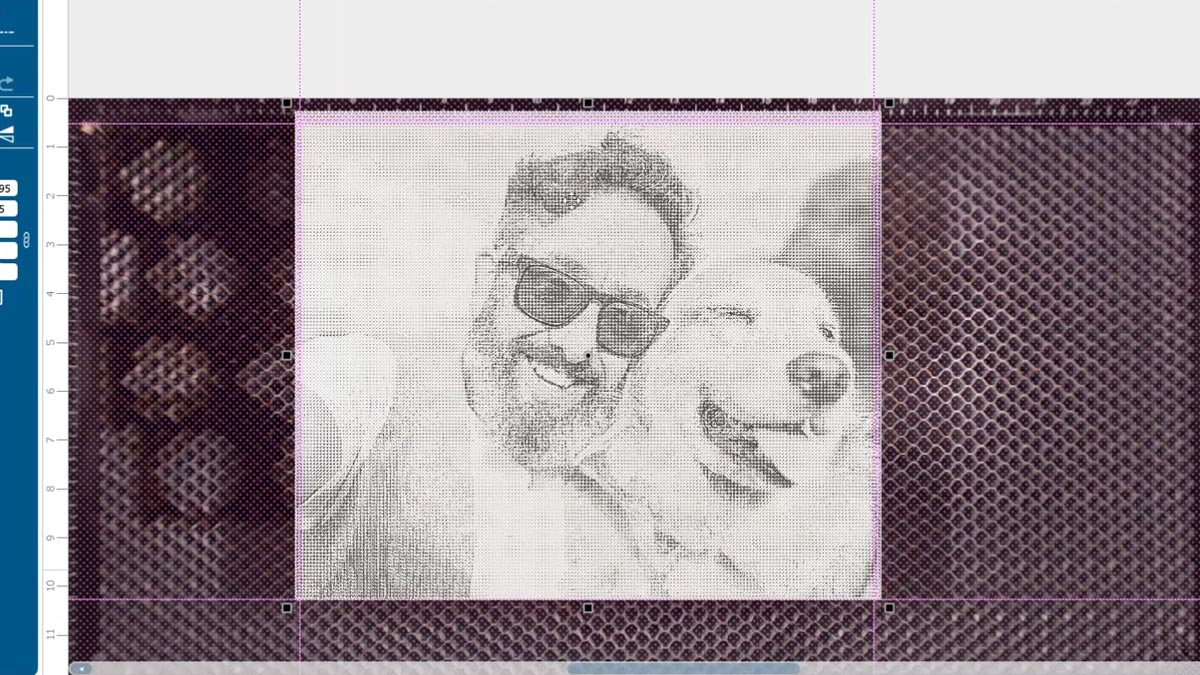
Print it to the laser.
Now we can engrave our full plaque with confidence in our engraving settings, positioning, and quality!
