The Autofocus Calibration Wizard allows the laser system to automatically determine the correct autofocus height using a calibrated reference surface. This process ensures accurate and consistent autofocus performance across supported materials.
Running the Autofocus Calibration Wizard
-
Open the Settings Menu
Click the Gear icon in the upper-right corner of the display.
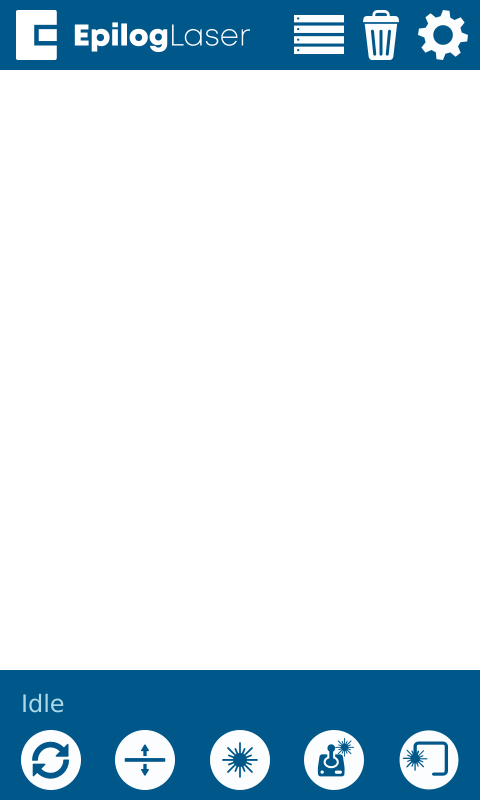
Figure 1: Access the settings menu by selecting the gear icon. -
Select Focus Settings
Select Focus from the menu.

Figure 2: Select the Focus option. -
Select the Lens Aperture
If prompted by the calibration wizard, select the lens aperture used by your machine.
If the wizard does not ask for this information, you may skip this step.-
Need help determining your lens aperture?
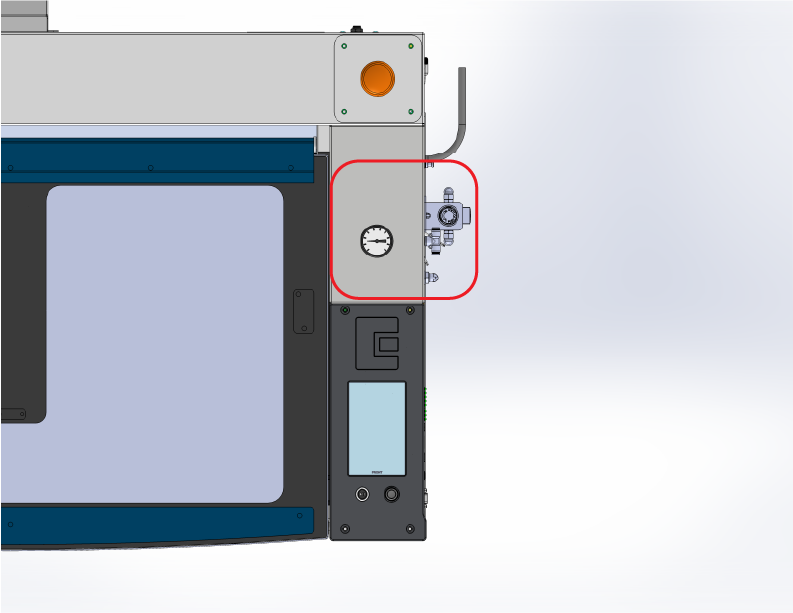
Look for a regulator to identify 1.0″ units. 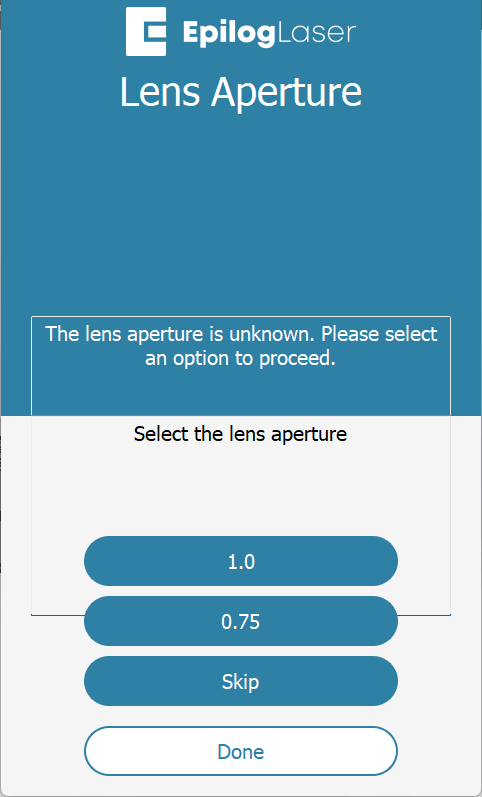
Select the appropriate aperture on the display. Note: Check for a pressure gauge on the right side. If present, your machine uses a 1.0″ aperture.
-
-
Select Autofocus
Choose Autofocus to begin the autofocus calibration wizard.
Note: You must complete the CO2 Focus Calibration first.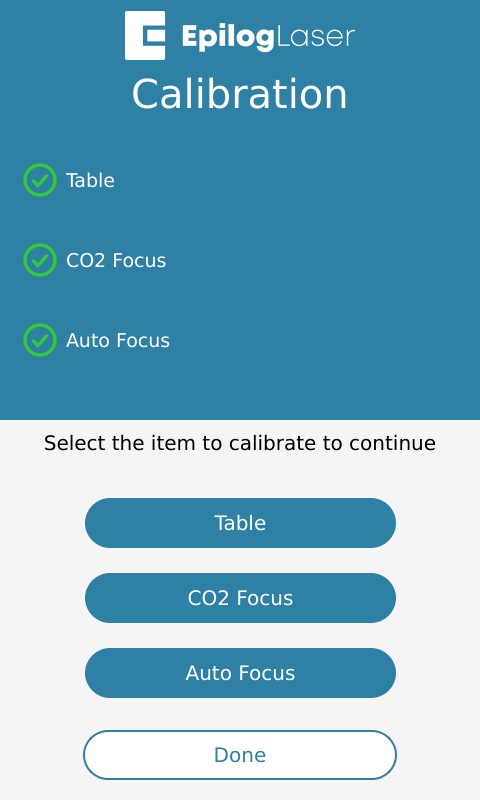
Figure 3: Select the Autofocus calibration option. -
Start the Calibration Wizard
Click Proceed to continue.
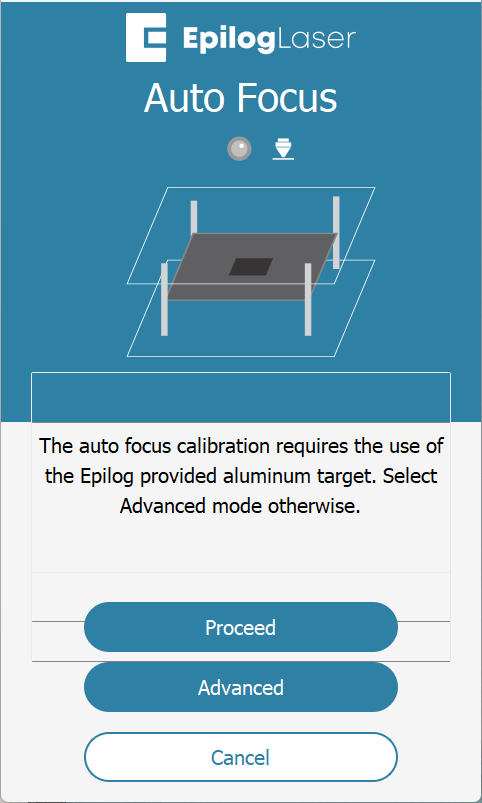
Figure 4: Press Proceed to begin the autofocus calibration workflow. -
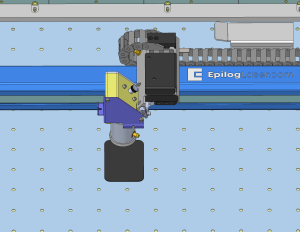
Insert Calibration Material
Place a piece of anodized aluminum in the machine and jog the lens cone directly over the material.
Note: Use 0.025" thick anodized aluminum, the same material used in the Focus Calibration Wizard.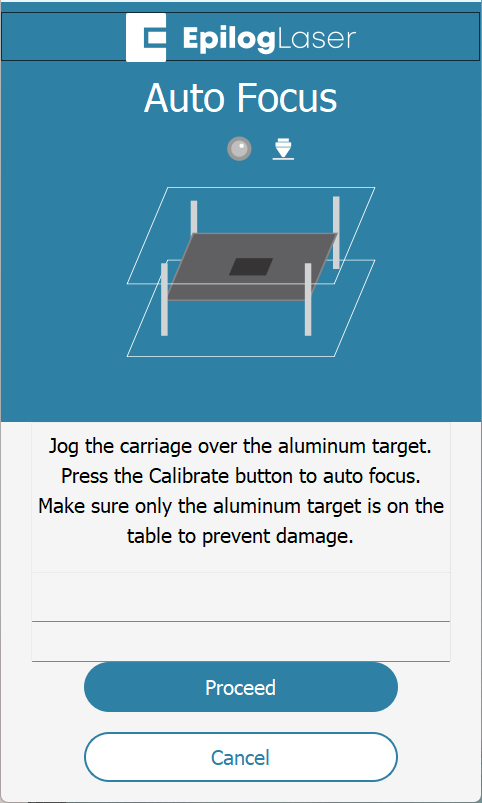
Figure 5: Position the lens cone over the anodized aluminum. -
Run the Calibration
Click Proceed to begin the autofocus calibration process.
Figure 6: Start the autofocus calibration process. -
Calibration Complete
Click Done when the process is finished.
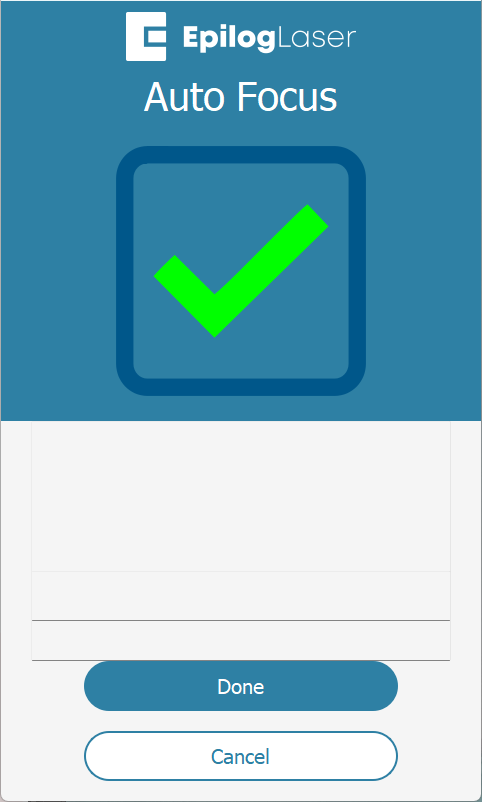
Figure 7: The machine confirms the autofocus calibration is complete.
Advanced Workflow
The Advanced Workflow is designed for users who are unable to complete the standard calibration process, are using an accessory lens (such as a 4-inch), or prefer a more manual calibration method. This workflow provides greater control by allowing manual input of material thickness and custom calibration procedures.
To begin, measure the thickness of your material, enter that value into the system, and place the test material in the machine. During the calibration process, the laser will automatically raise and lower the table to determine the autofocus height. This method supports custom materials and is especially useful when anodized aluminum is not available.