Estimated time: 10–15 minutes • Skill: Beginner
Routine inspection and cleaning of the carriage optics ensures consistent engraving performance and protects optical components from permanent damage.
Use the tabs below to inspect, clean, or troubleshoot carriage optics on the Ascent laser system.
-
Optics Inspection
Inspect the carriage lens and mirror regularly to prevent performance issues. Look for:
- Visible smoke residue or haze
- Spots or debris on optic surface
- Reduced engraving depth
- Inconsistent cutting performance
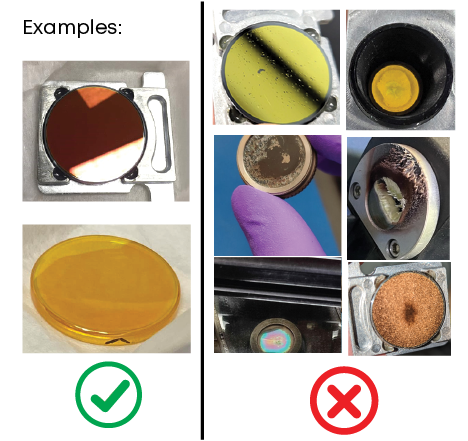
Note: If contamination is visible, proceed to the Cleaning Procedure tab before running additional jobs.
Recommended Cleaning Frequency
- Light use: Inspect weekly
- Moderate use: Inspect every 1–3 days
- Heavy/Dusty environments: Inspect daily
-
Carriage Optics Cleaning
-
Power Down the Machine
Turn the machine OFF before servicing.
-
Remove the Magnetic Carriage Cover
Gently pull the front magnetic cover away from the carriage.

Figure 1: Remove the magnetic carriage cover. -
Remove the Lens
Slide the magnetically retained lens straight out.
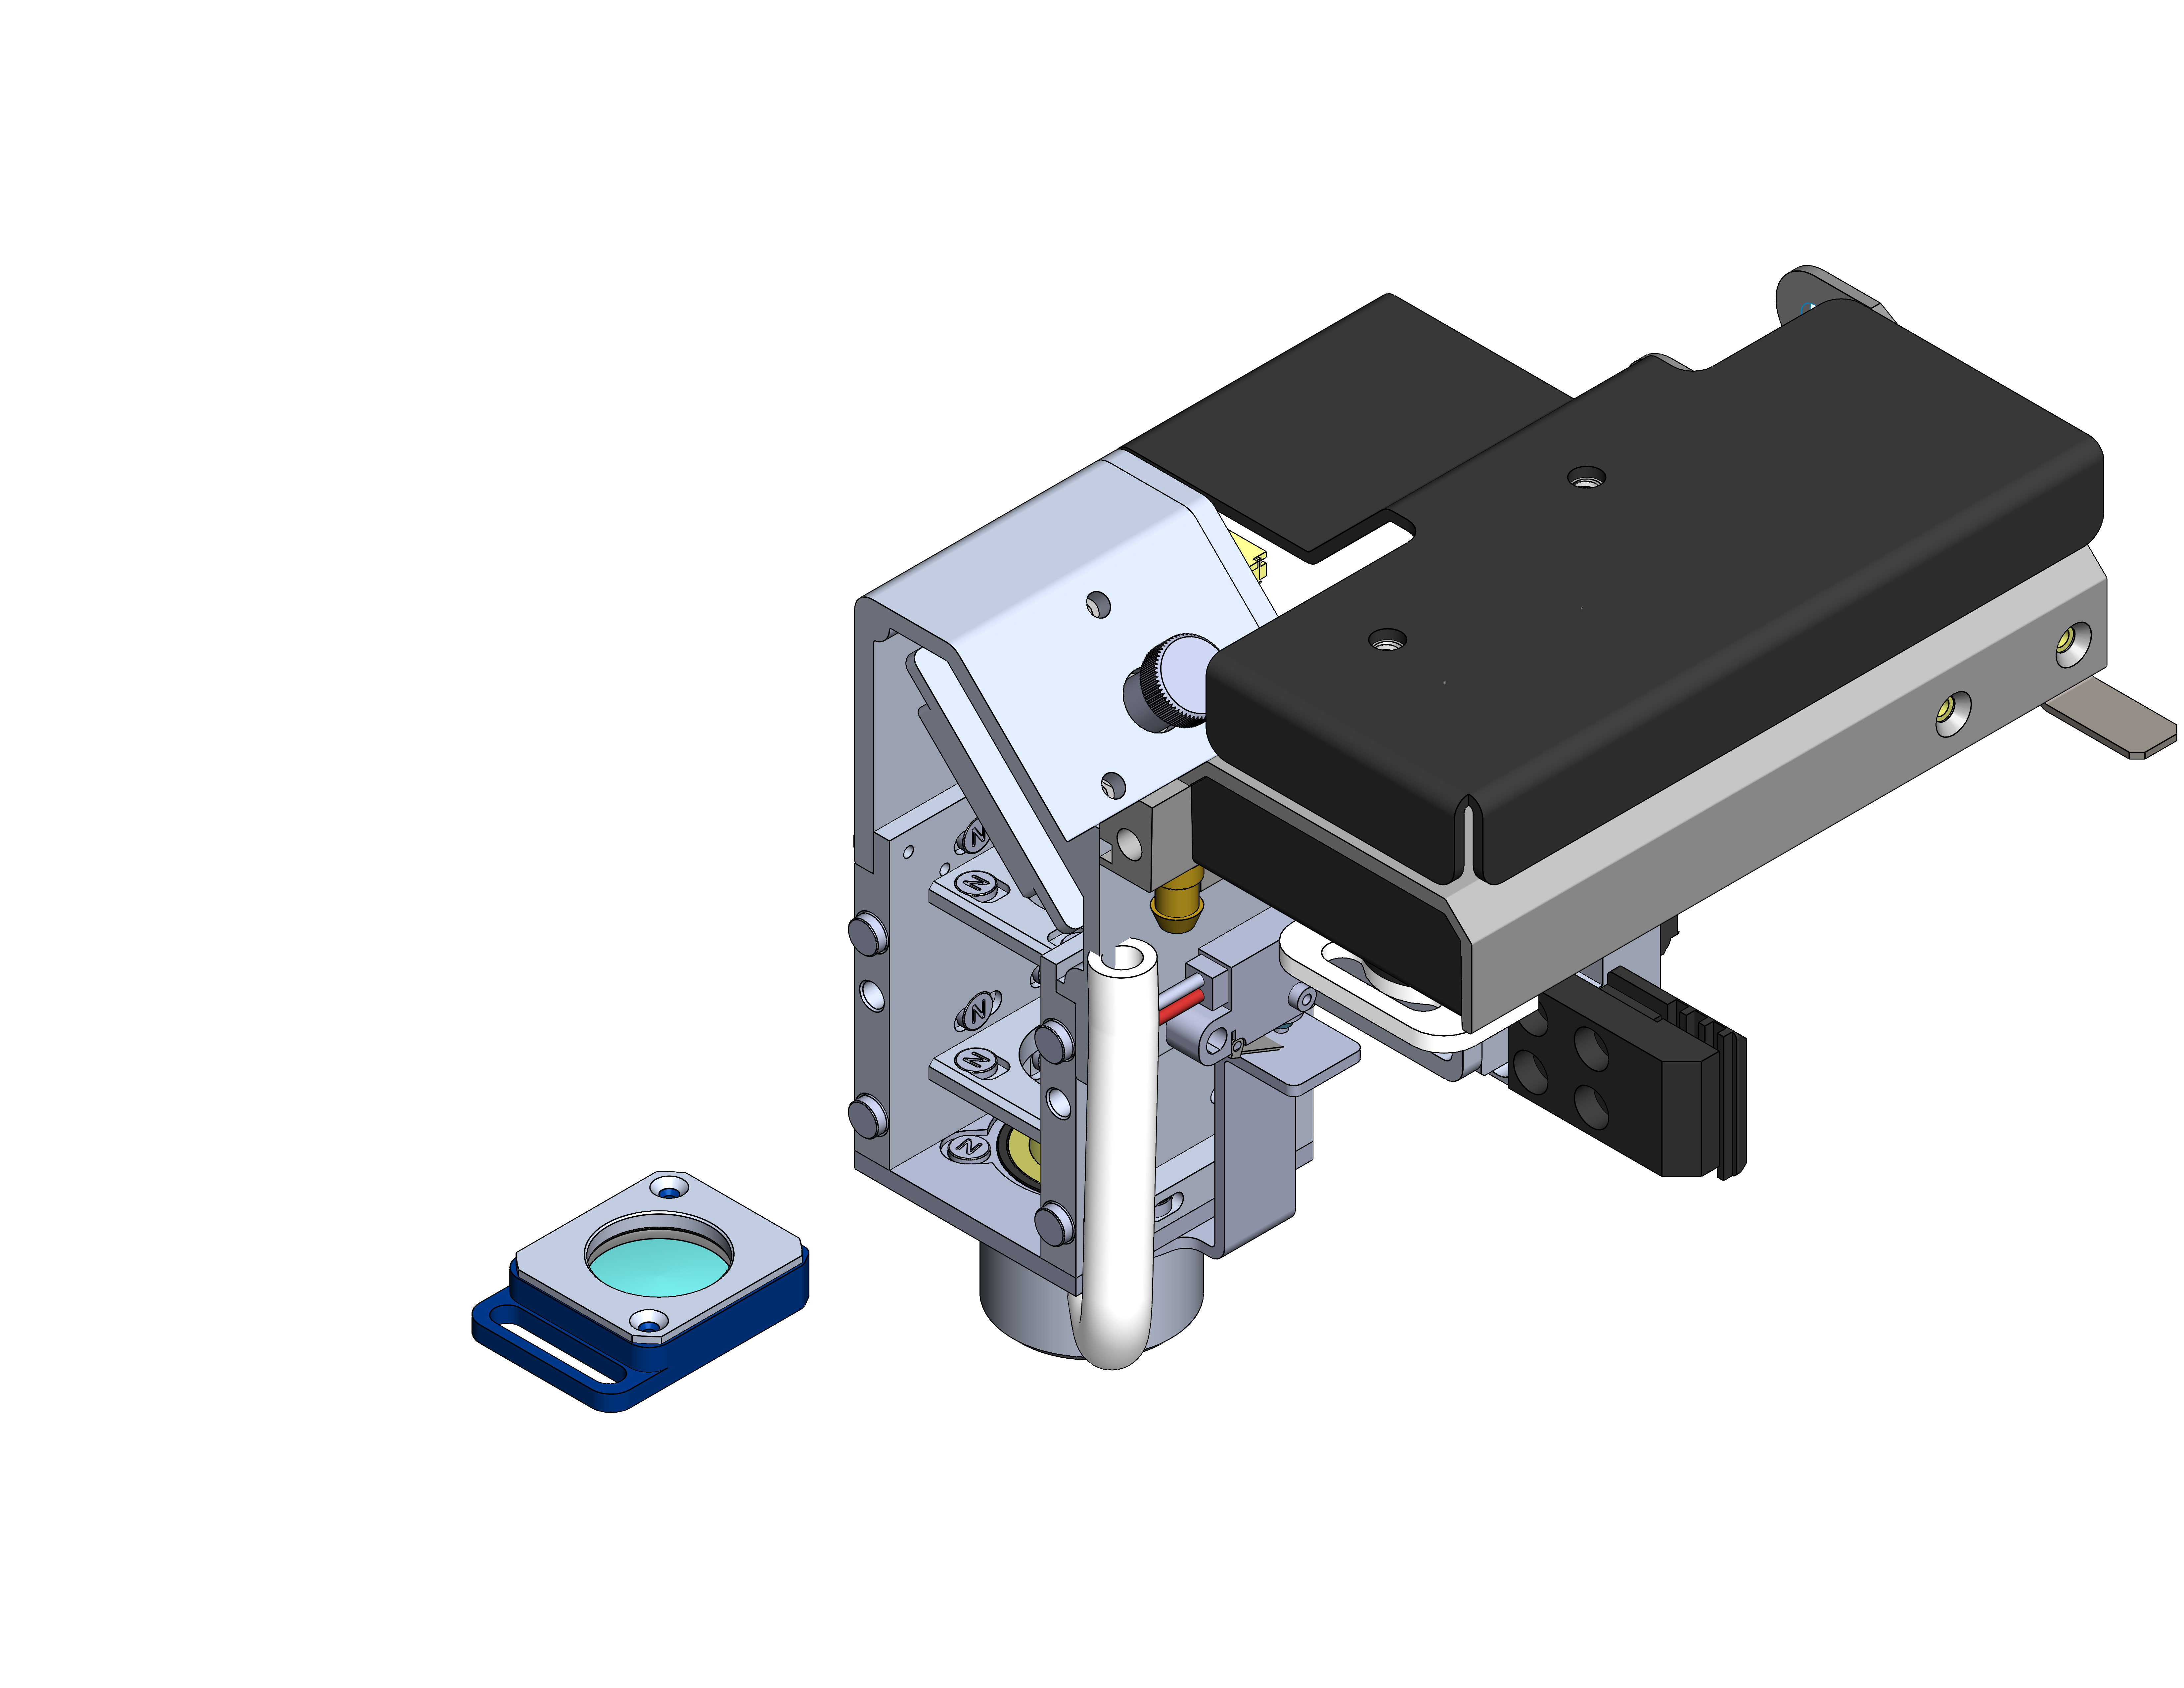
Figure 2: Remove the carriage lens. -
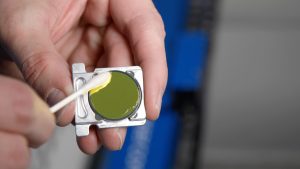
Clean the Lens
Apply optics cleaner to a cotton swab and gently wipe both sides of the lens using light pressure. Use a clean swab to dry.
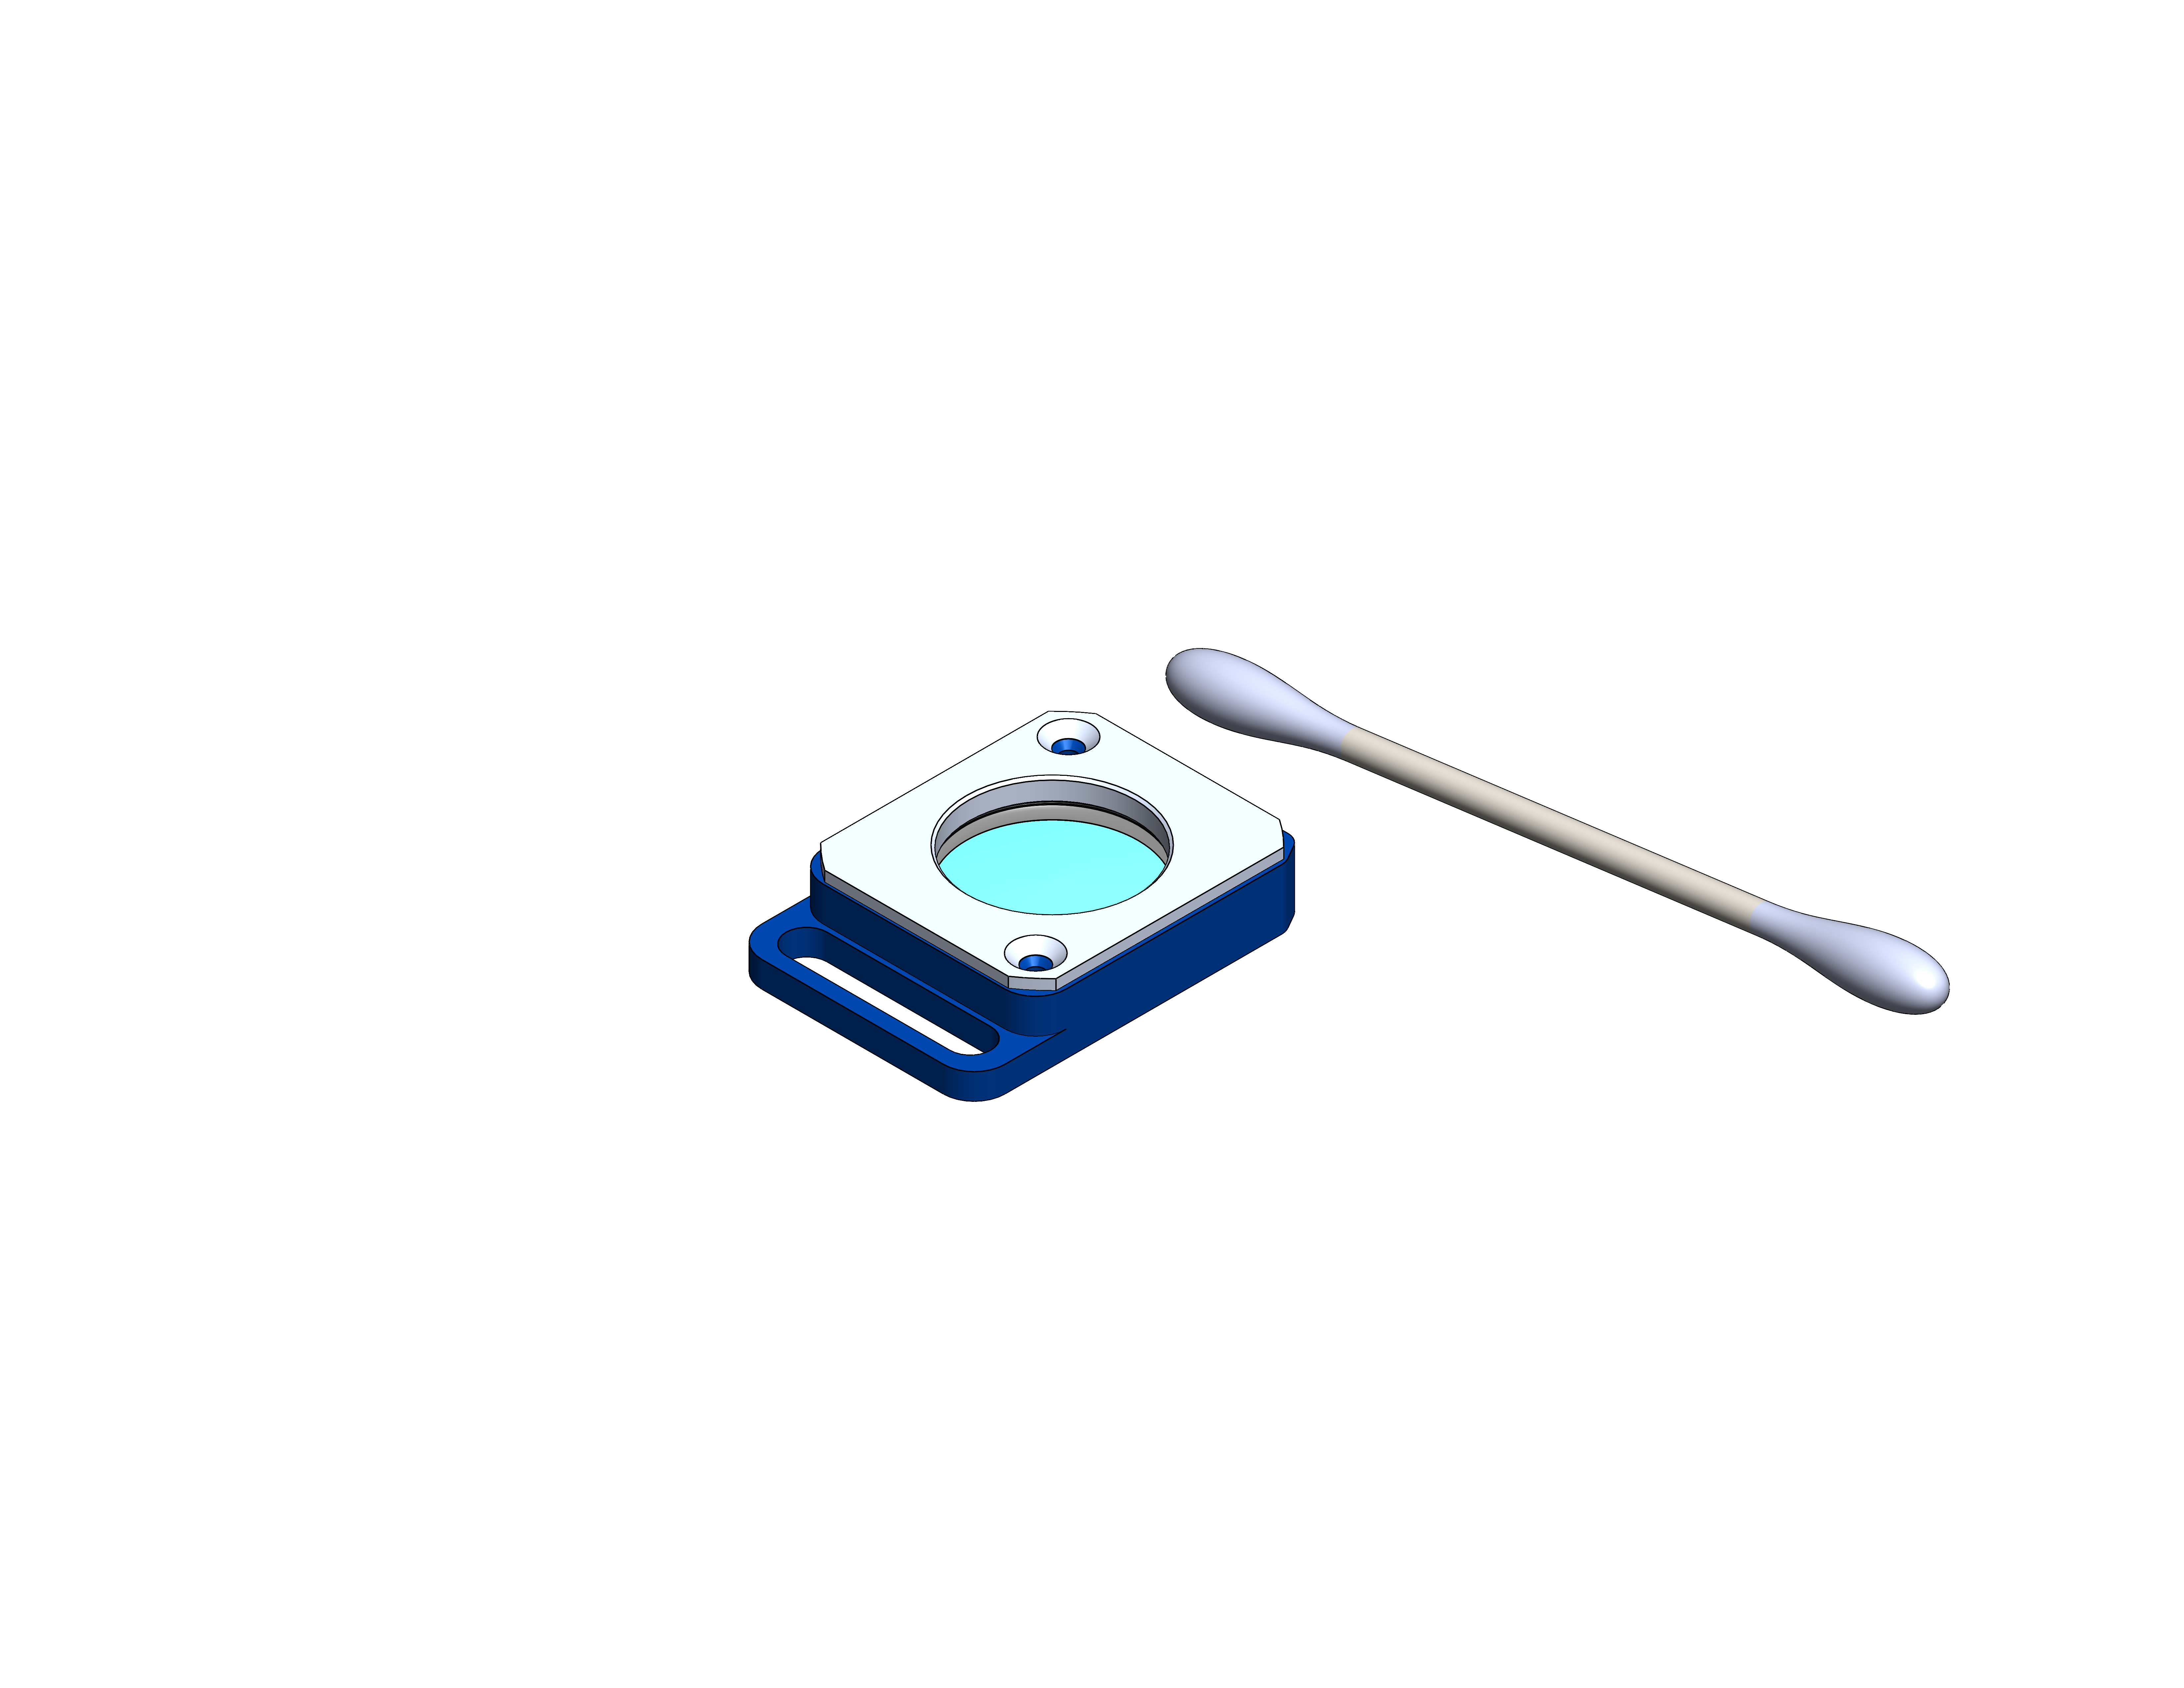
Figure 3: Clean the carriage lens. -
Reinstall the Lens
Slide the lens back into position, ensuring it seats fully.
Note: Each lens has a designated positon. You must put the lens back in its color coded position. Otherwise the carriage cover will not reattach properly.
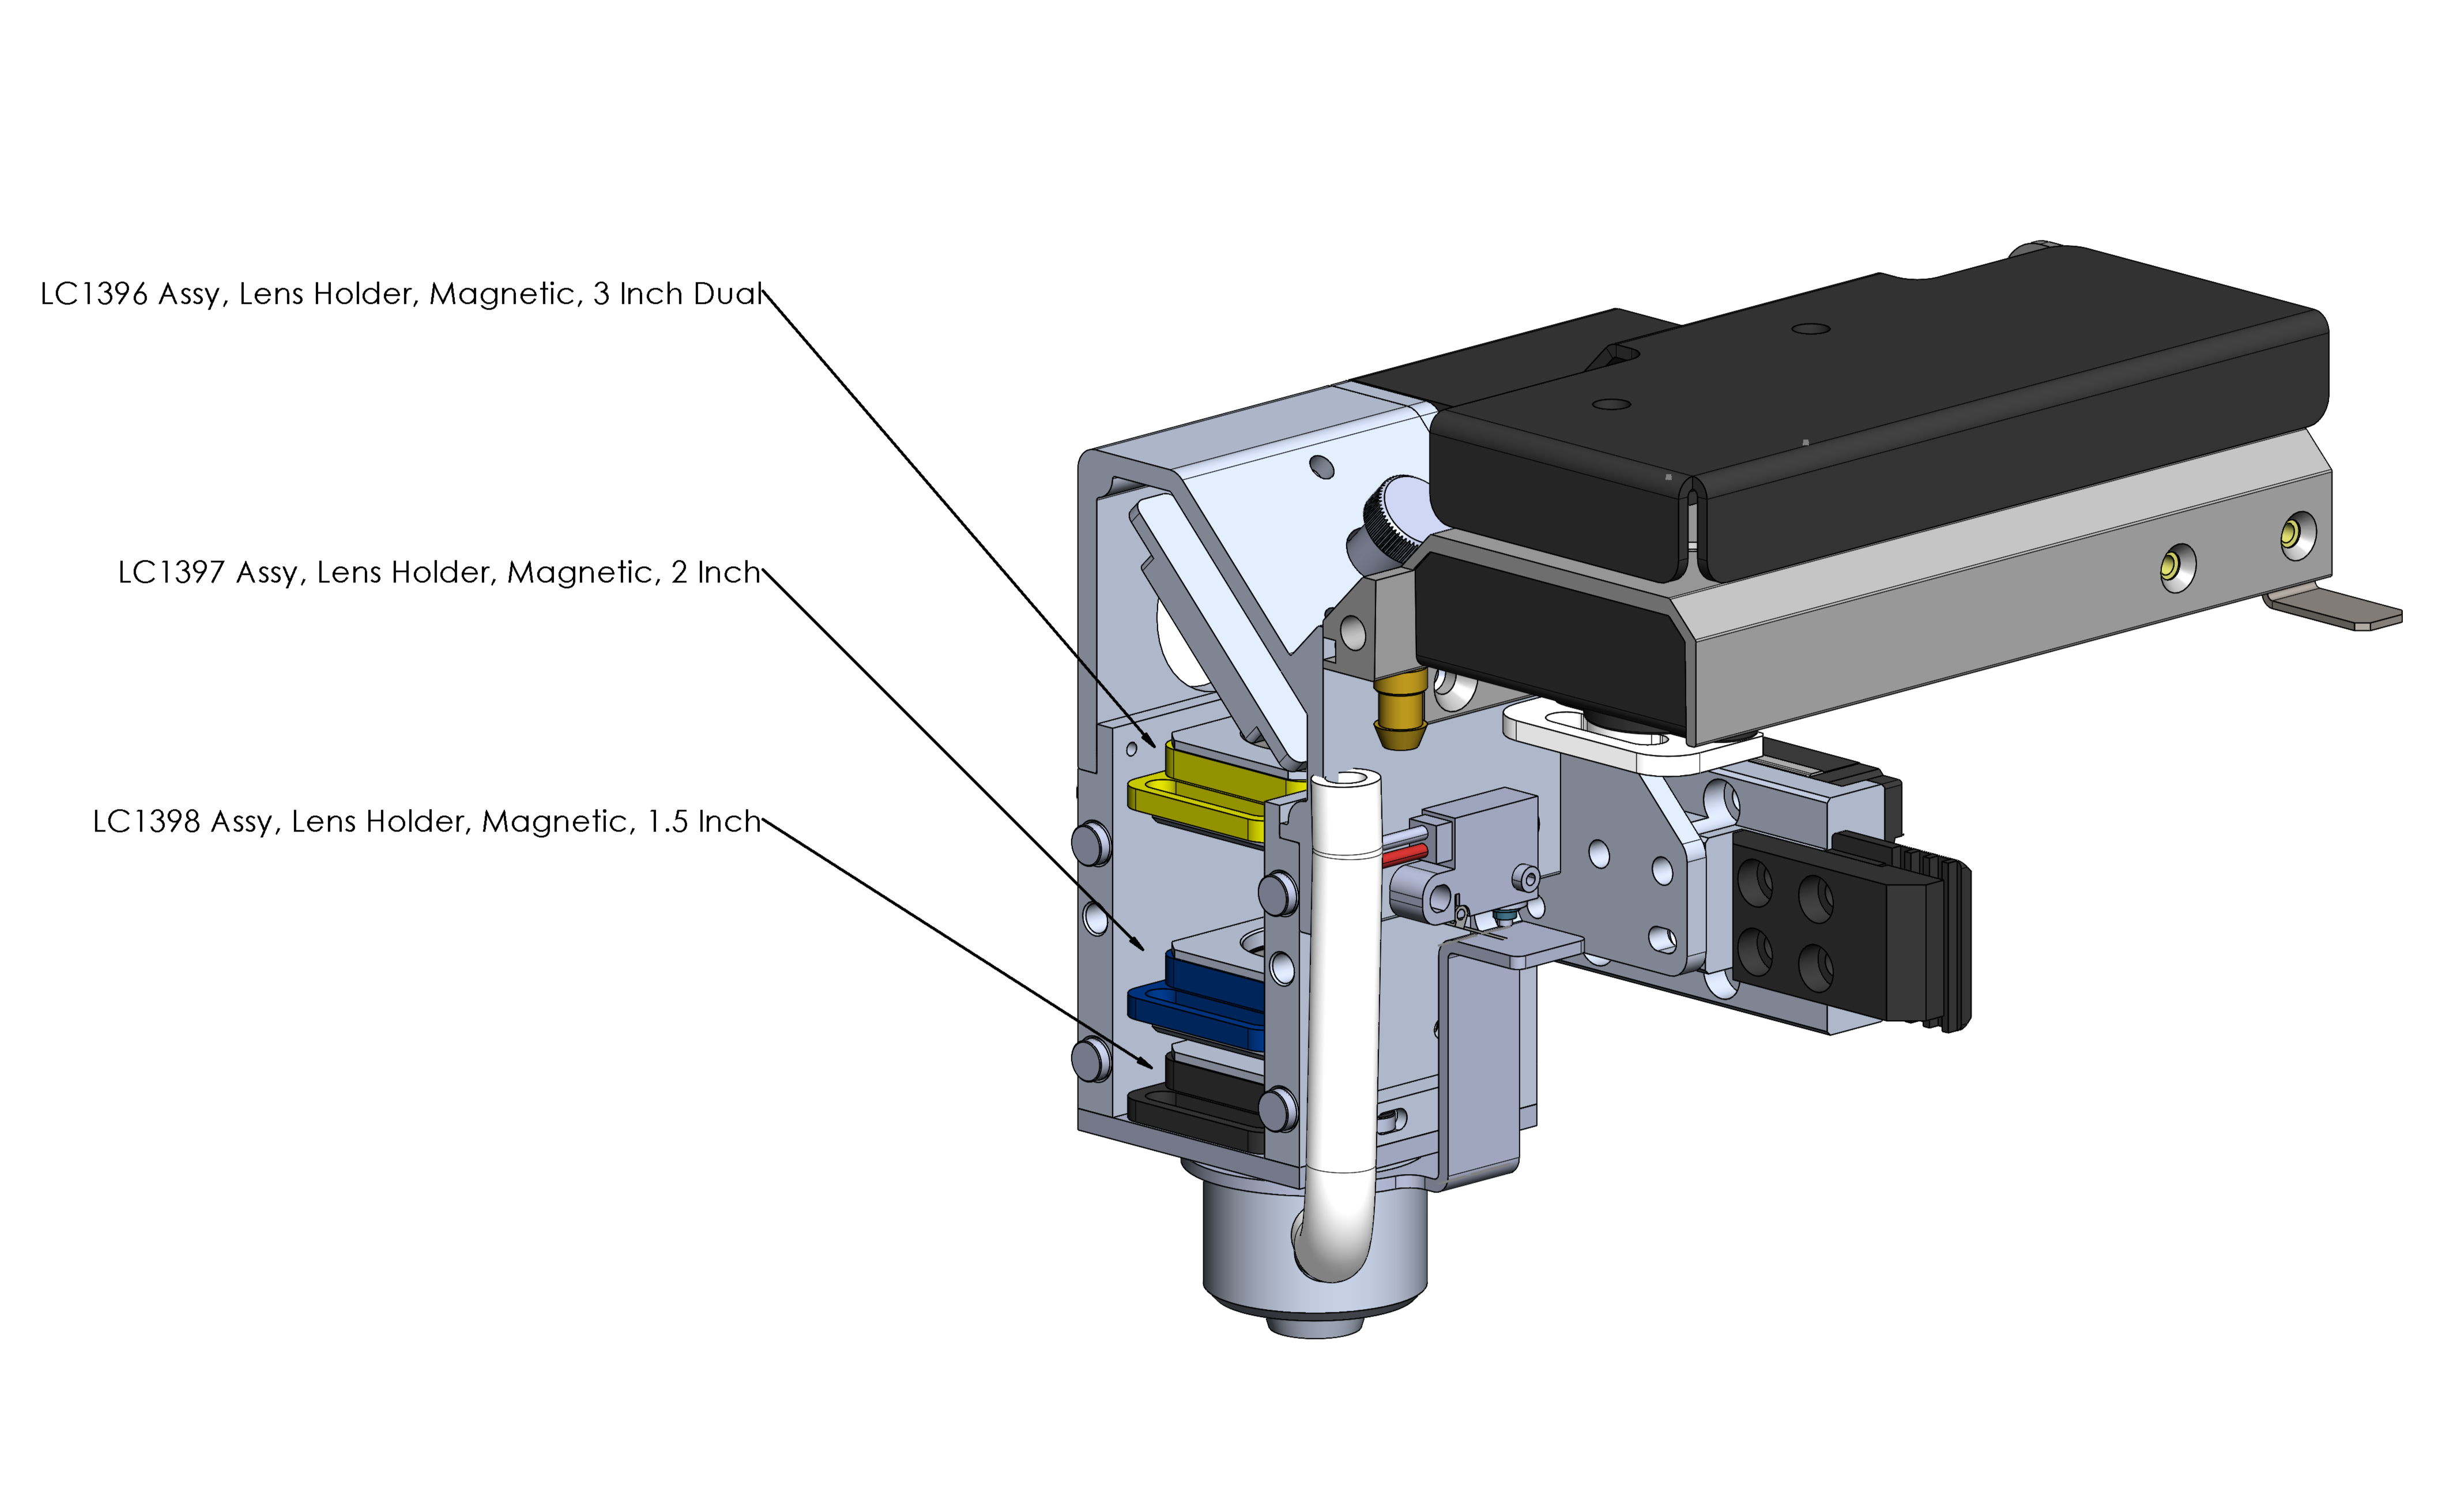
Figure 4:
-
Remove the Mirror
Loosen the thumb screw on top of the carriage, and remove the mirror.
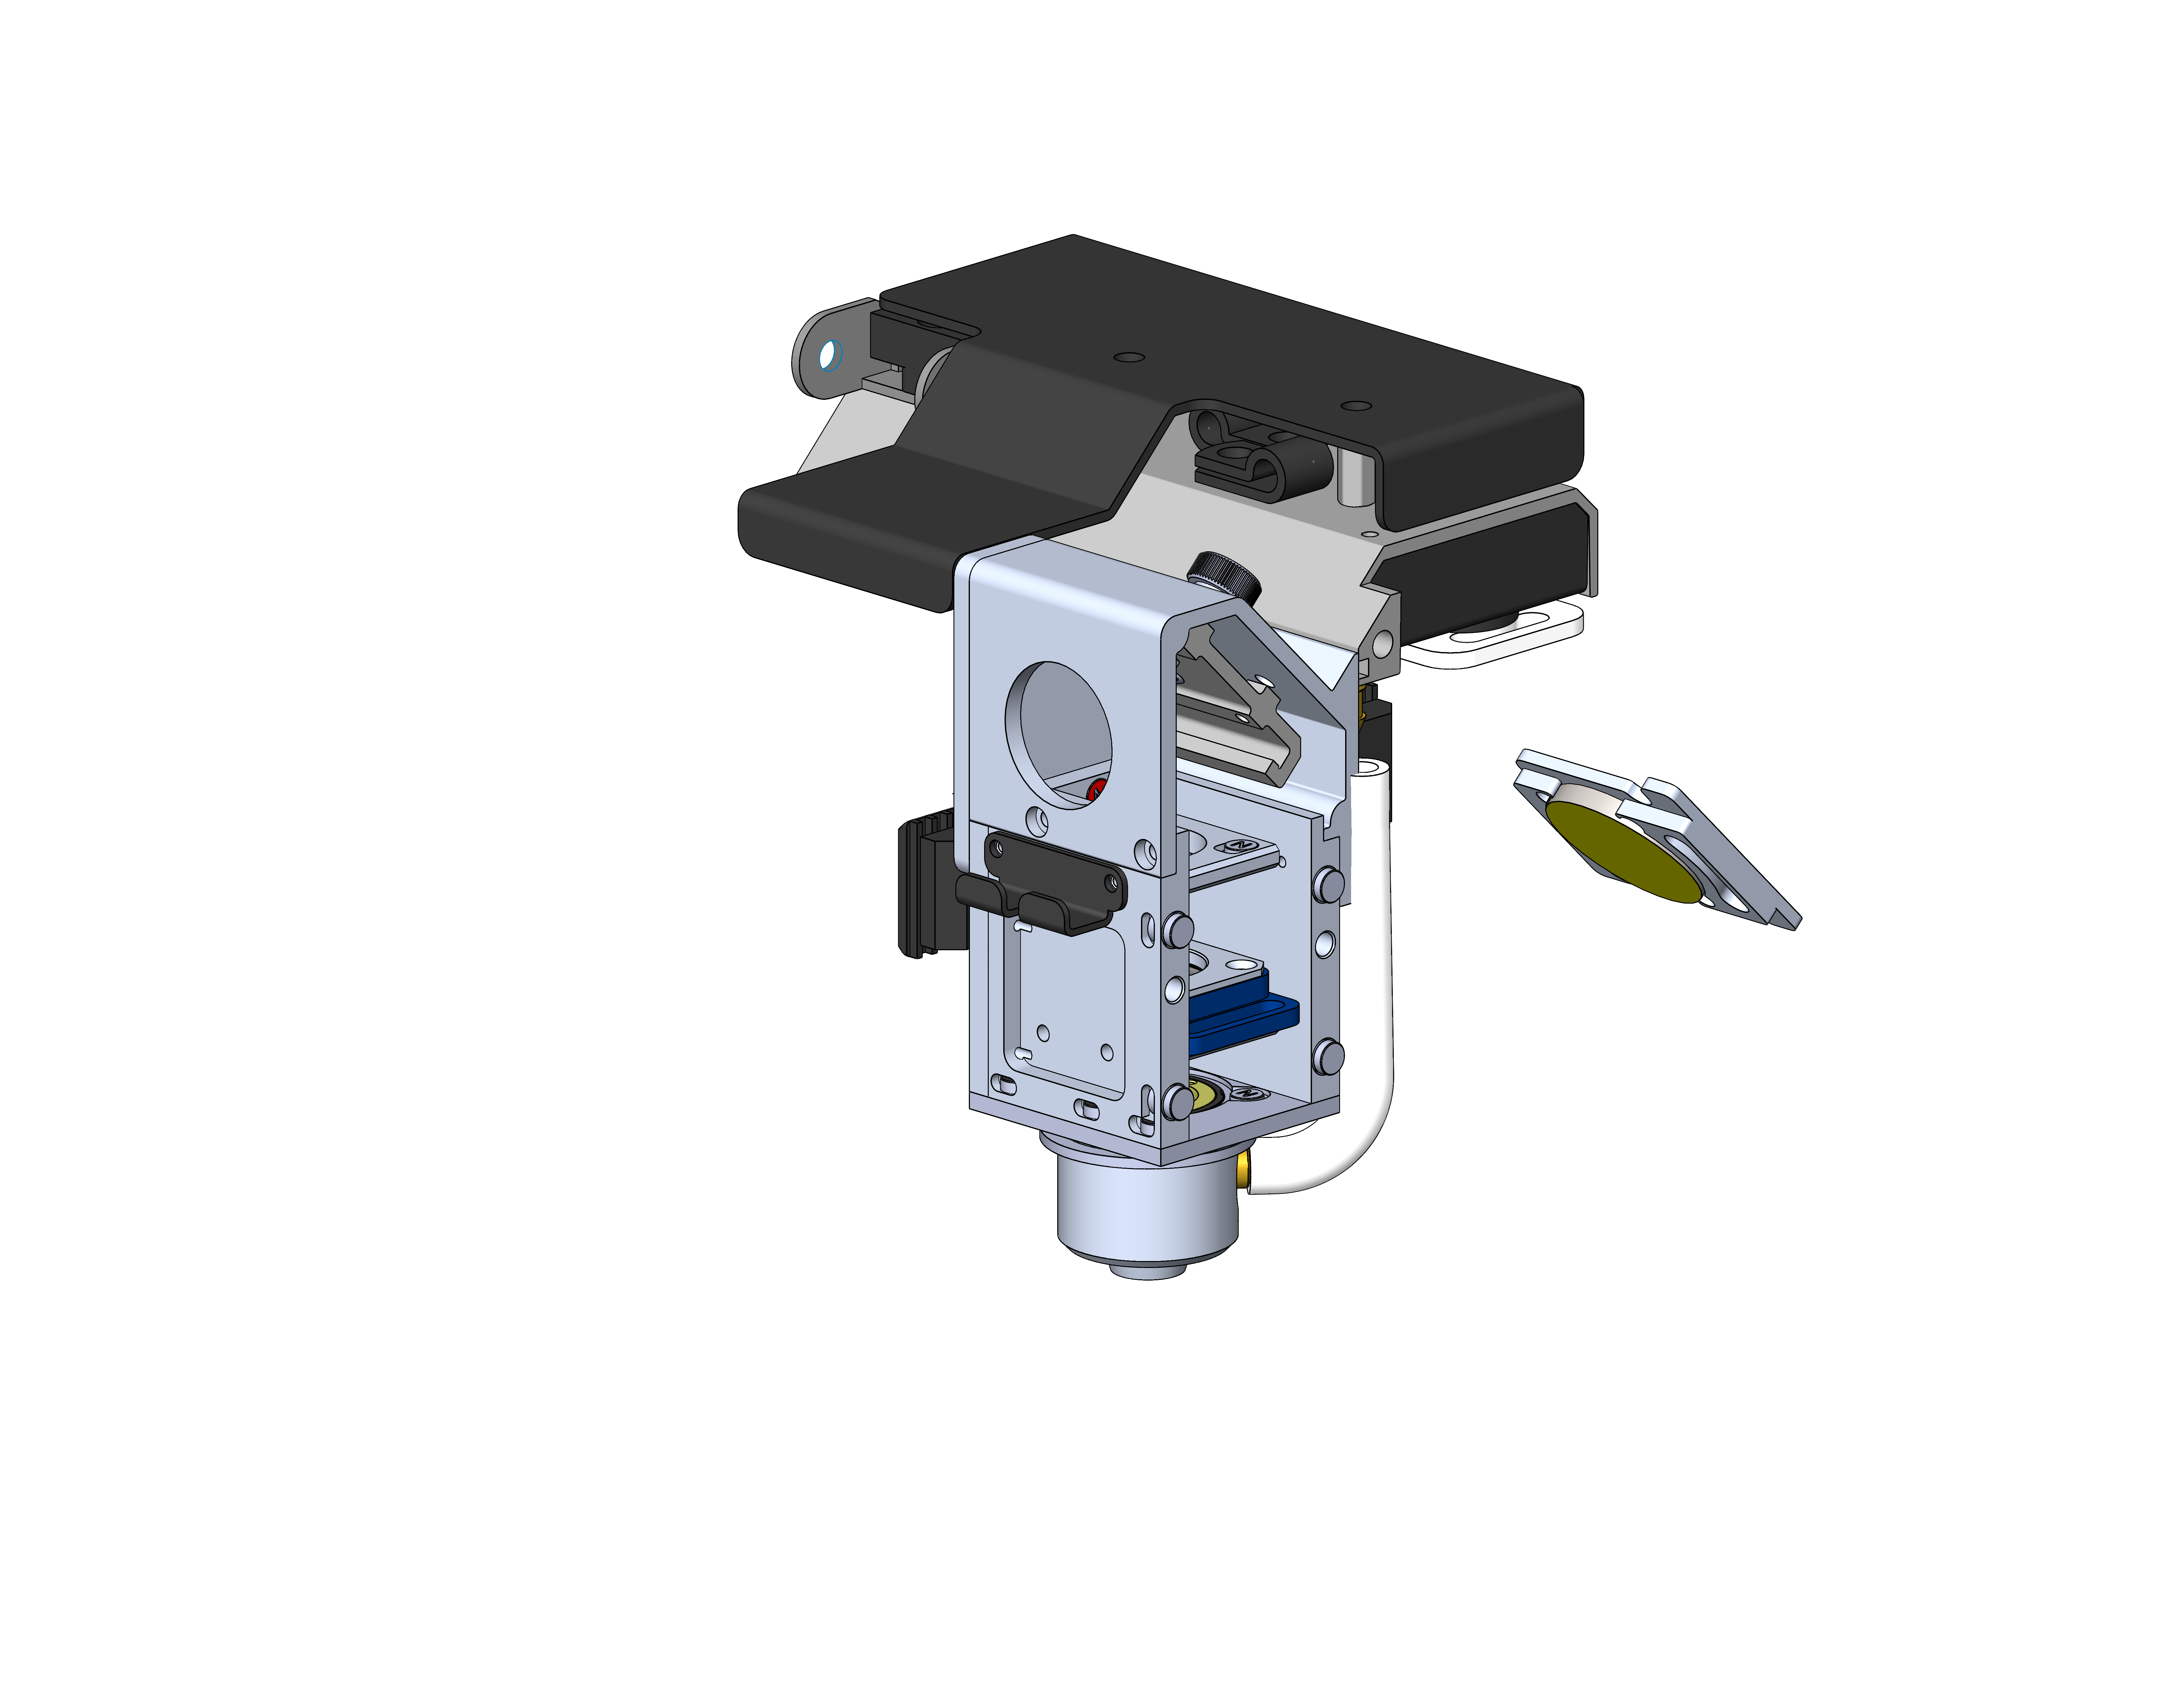
Figure 5: Remove and clean the carriage mirror. -
Clean the Mirror
Apply cleaner to a cotton swab and wipe the mirror surface gently using a single smooth motion.
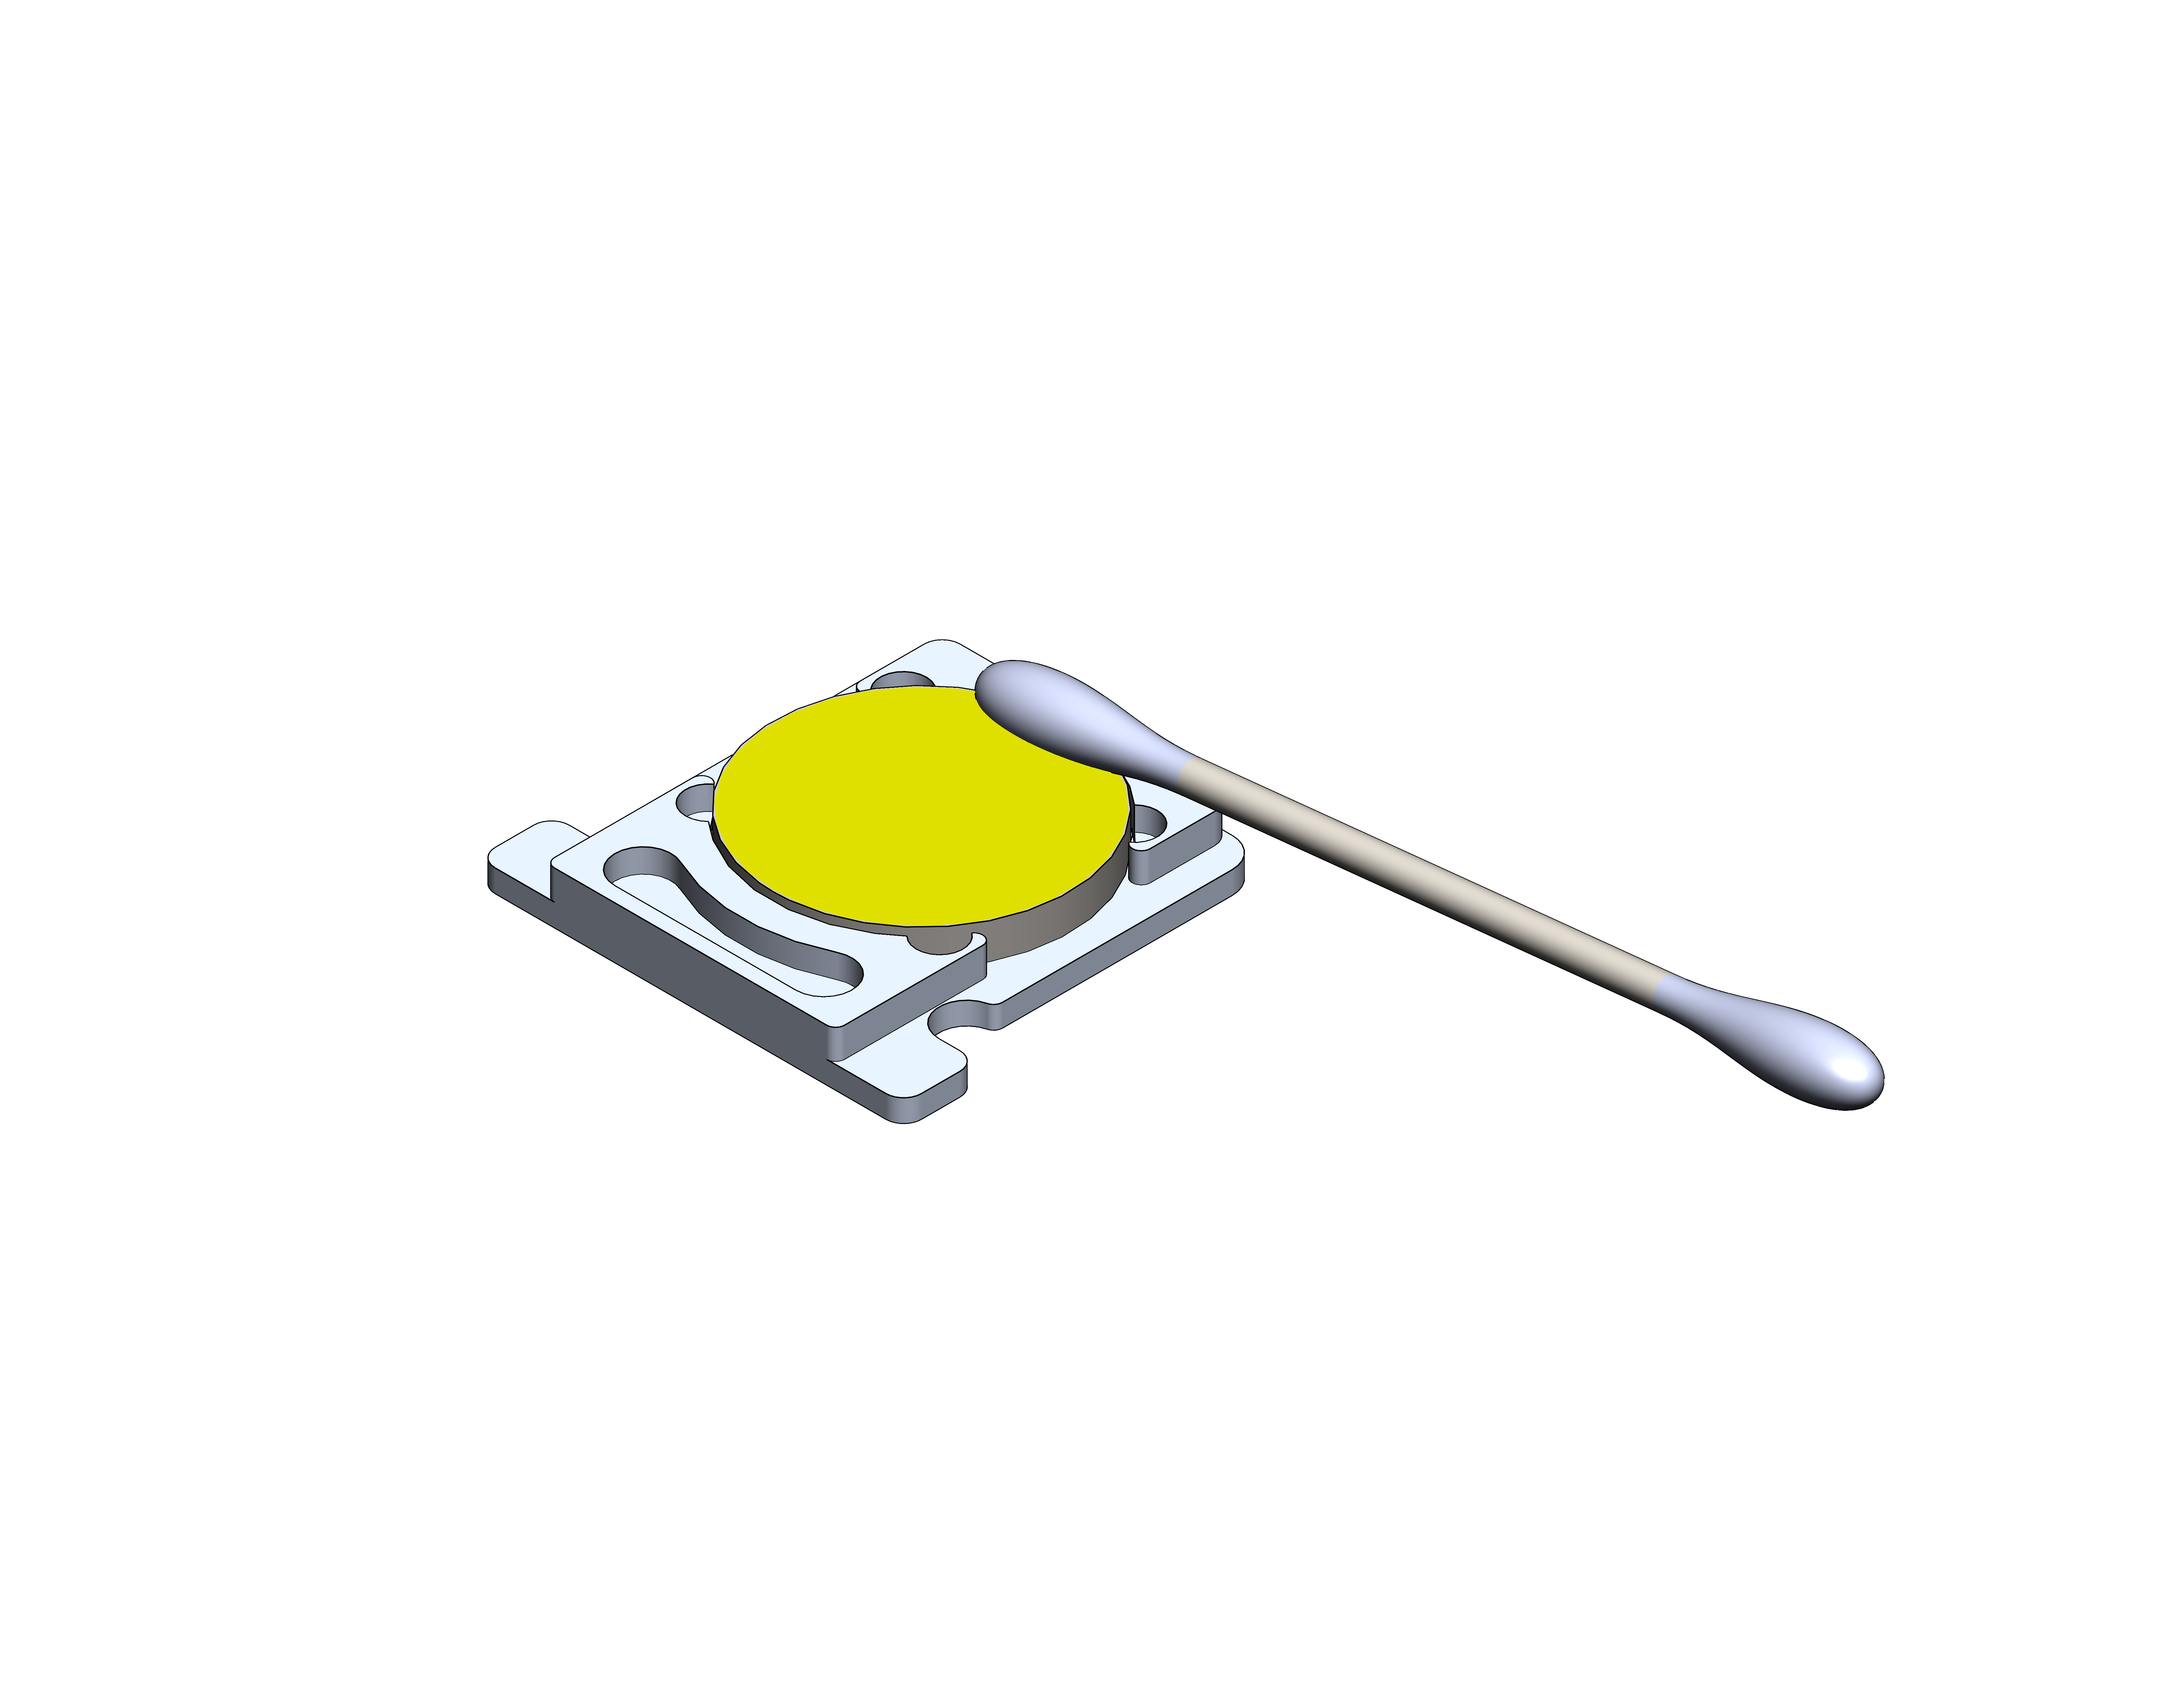
Figure 6: Clean the carriage mirror. -
Reinstall Components and Restore Power
Reinstall the mirror and magnetic cover. Plug the machine back in and power ON. Run a small test engraving to confirm normal beam quality.
-
Power Down the Machine
-
Troubleshooting After Cleaning
-
Still low power?
Inspect the remaining optics in the machine.
-
Uneven engraving?
Check the table level.
-
Persistent issues?
Check upstream mirrors and alignment before replacing optics.
If cleaning does not resolve performance issues, additional alignment or service may be required.
-
Still low power?