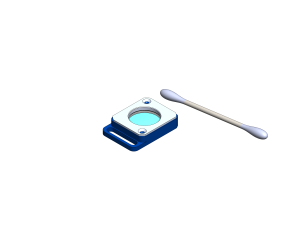
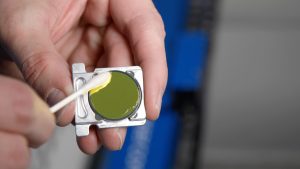
Cleaning the Overhead and Carriage Cameras
Your laser machine uses several cameras to help you position and align your work: overhead cameras mounted in the lid, and a carriage camera that travels with the laser head. Over time, smoke residue and dust build up on these lenses, which can make the camera image hazy, blurry, or dim. This article explains how to clean each camera safely.
What you’ll need
Overhead camera
- Optical lens cleaner
- Clean, lint-free microfiber cloth
Carriage camera
- Mild soap and water
- Clean, soft microfiber cloth
Overhead Camera
The overhead camera is located on the underside of the lid and looks down onto the work area. Its lens is glass, so it can be cleaned with a standard optical cleaner.
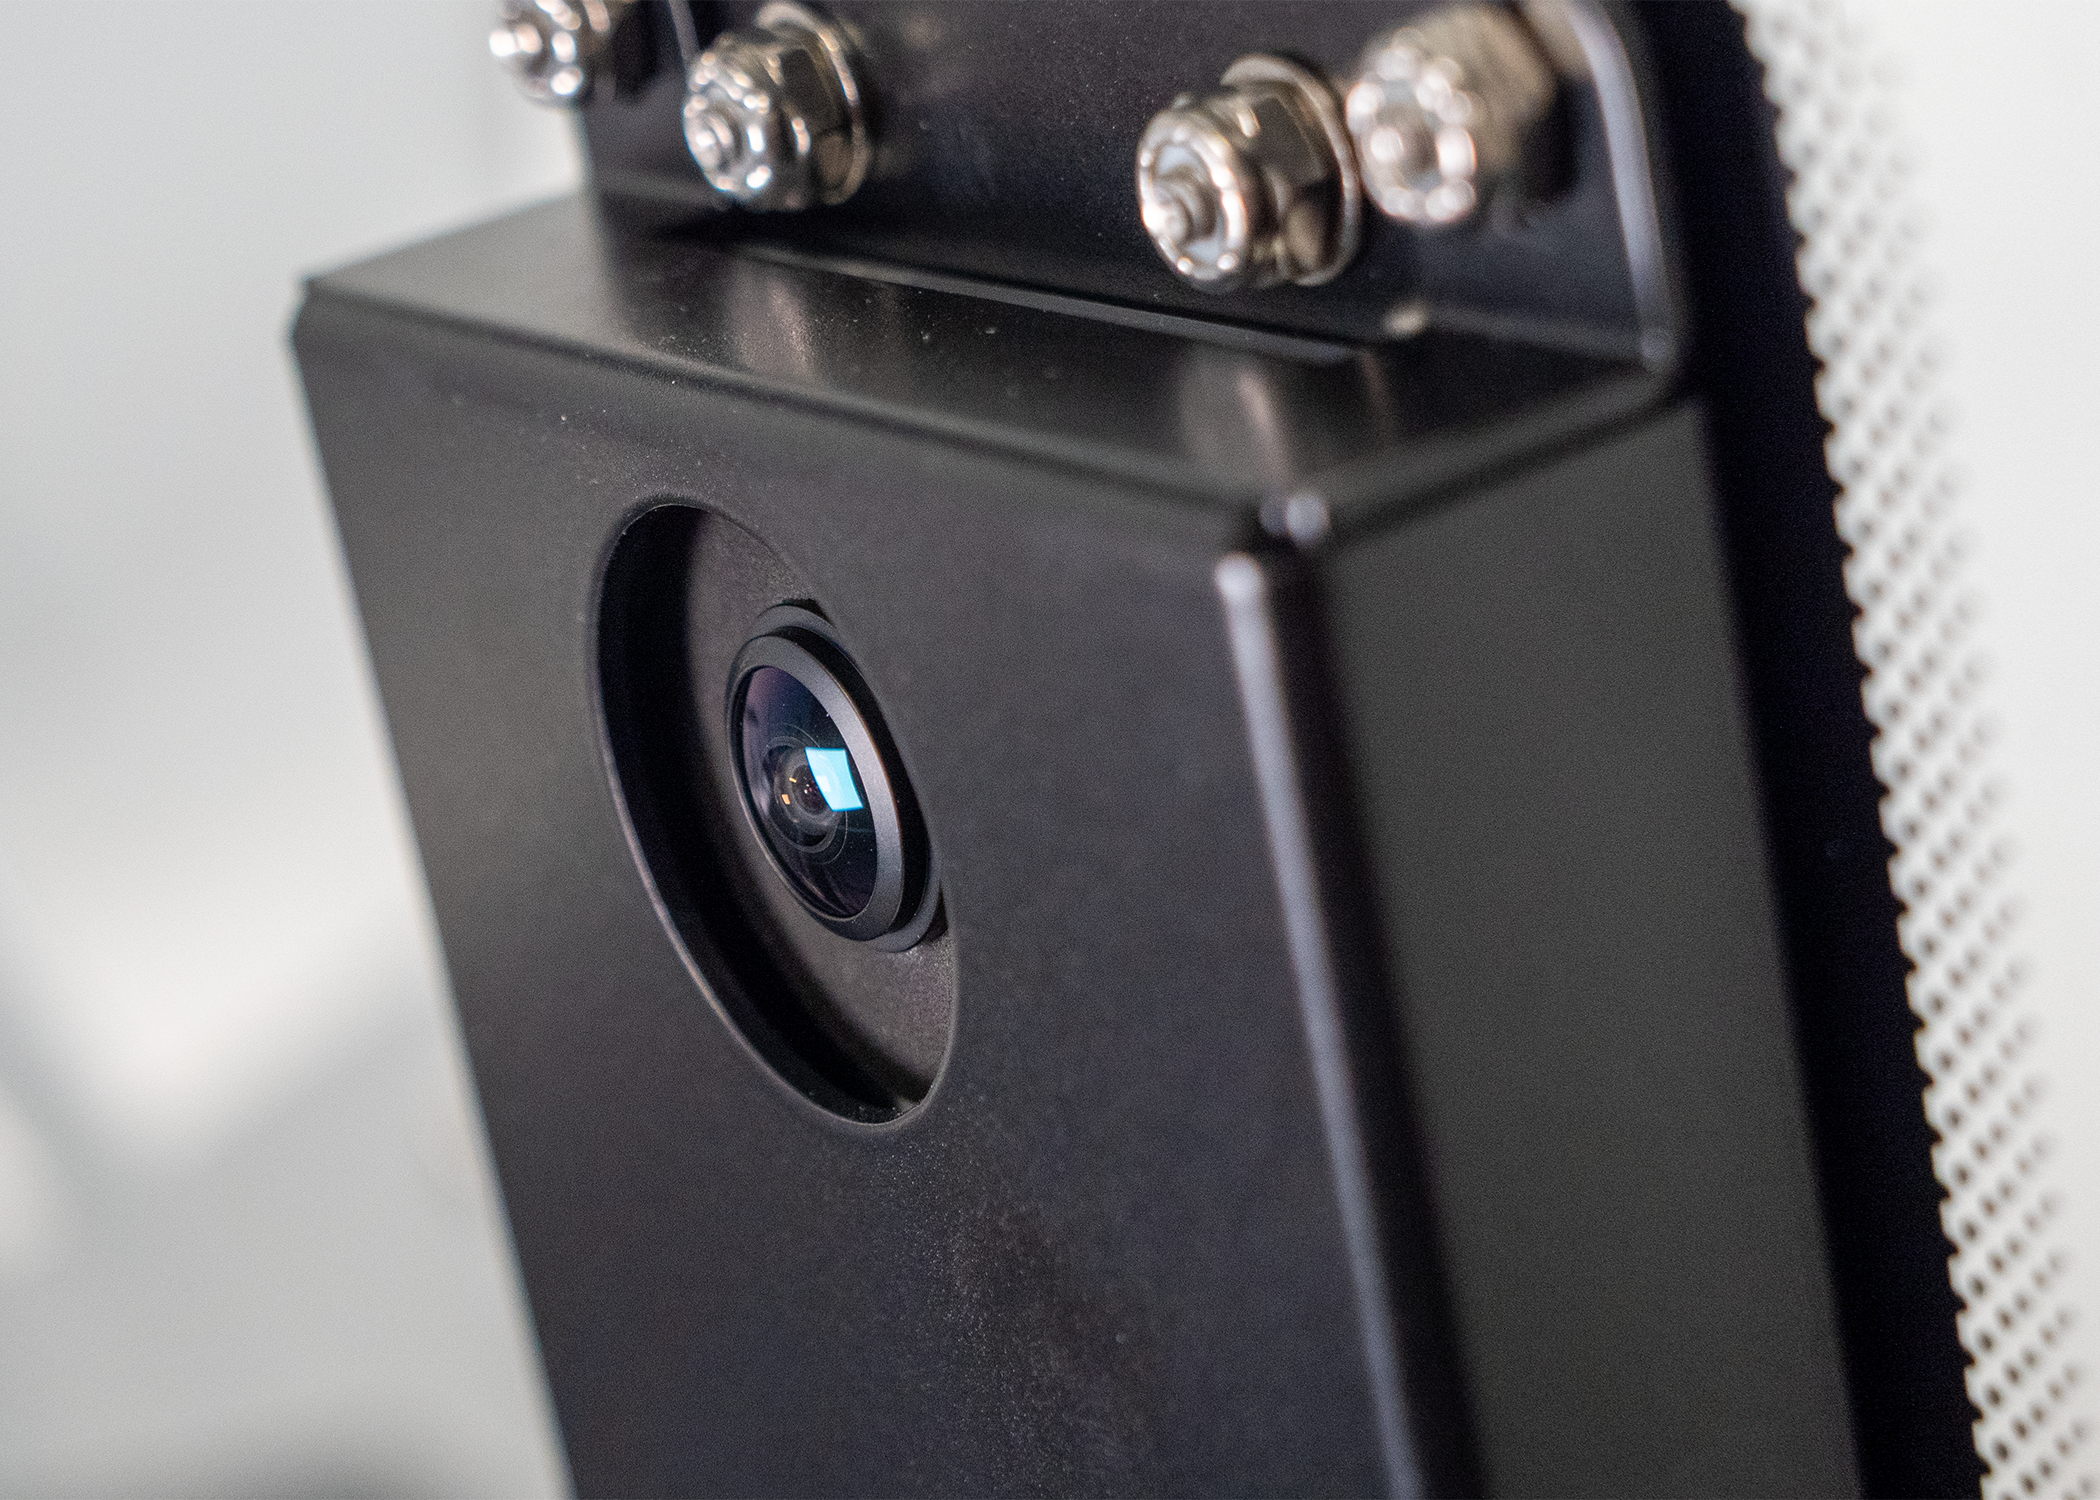
- Power down. Turn off and unplug the machine, then open the lid so you can reach the camera.
- Apply cleaner to the cloth. Lightly dampen the microfiber cloth with optical cleaner. Avoid spraying the lens directly, as excess liquid can seep into the camera housing.
- Wipe the lens. Gently wipe the lens in small circular motions, working from the center outward.
- Dry and inspect. Use a dry section of the cloth to remove any streaks, then check the lens for remaining residue. Repeat if needed.
Carriage Camera
The carriage camera is mounted on the laser head and moves with it. Unlike the overhead camera, this camera is protected by a plastic lens cover, which needs extra care.
Do not use optical cleaner on the carriage camera. The plastic lens cover may be damaged by some cleaning chemicals. Use only mild soap and water.
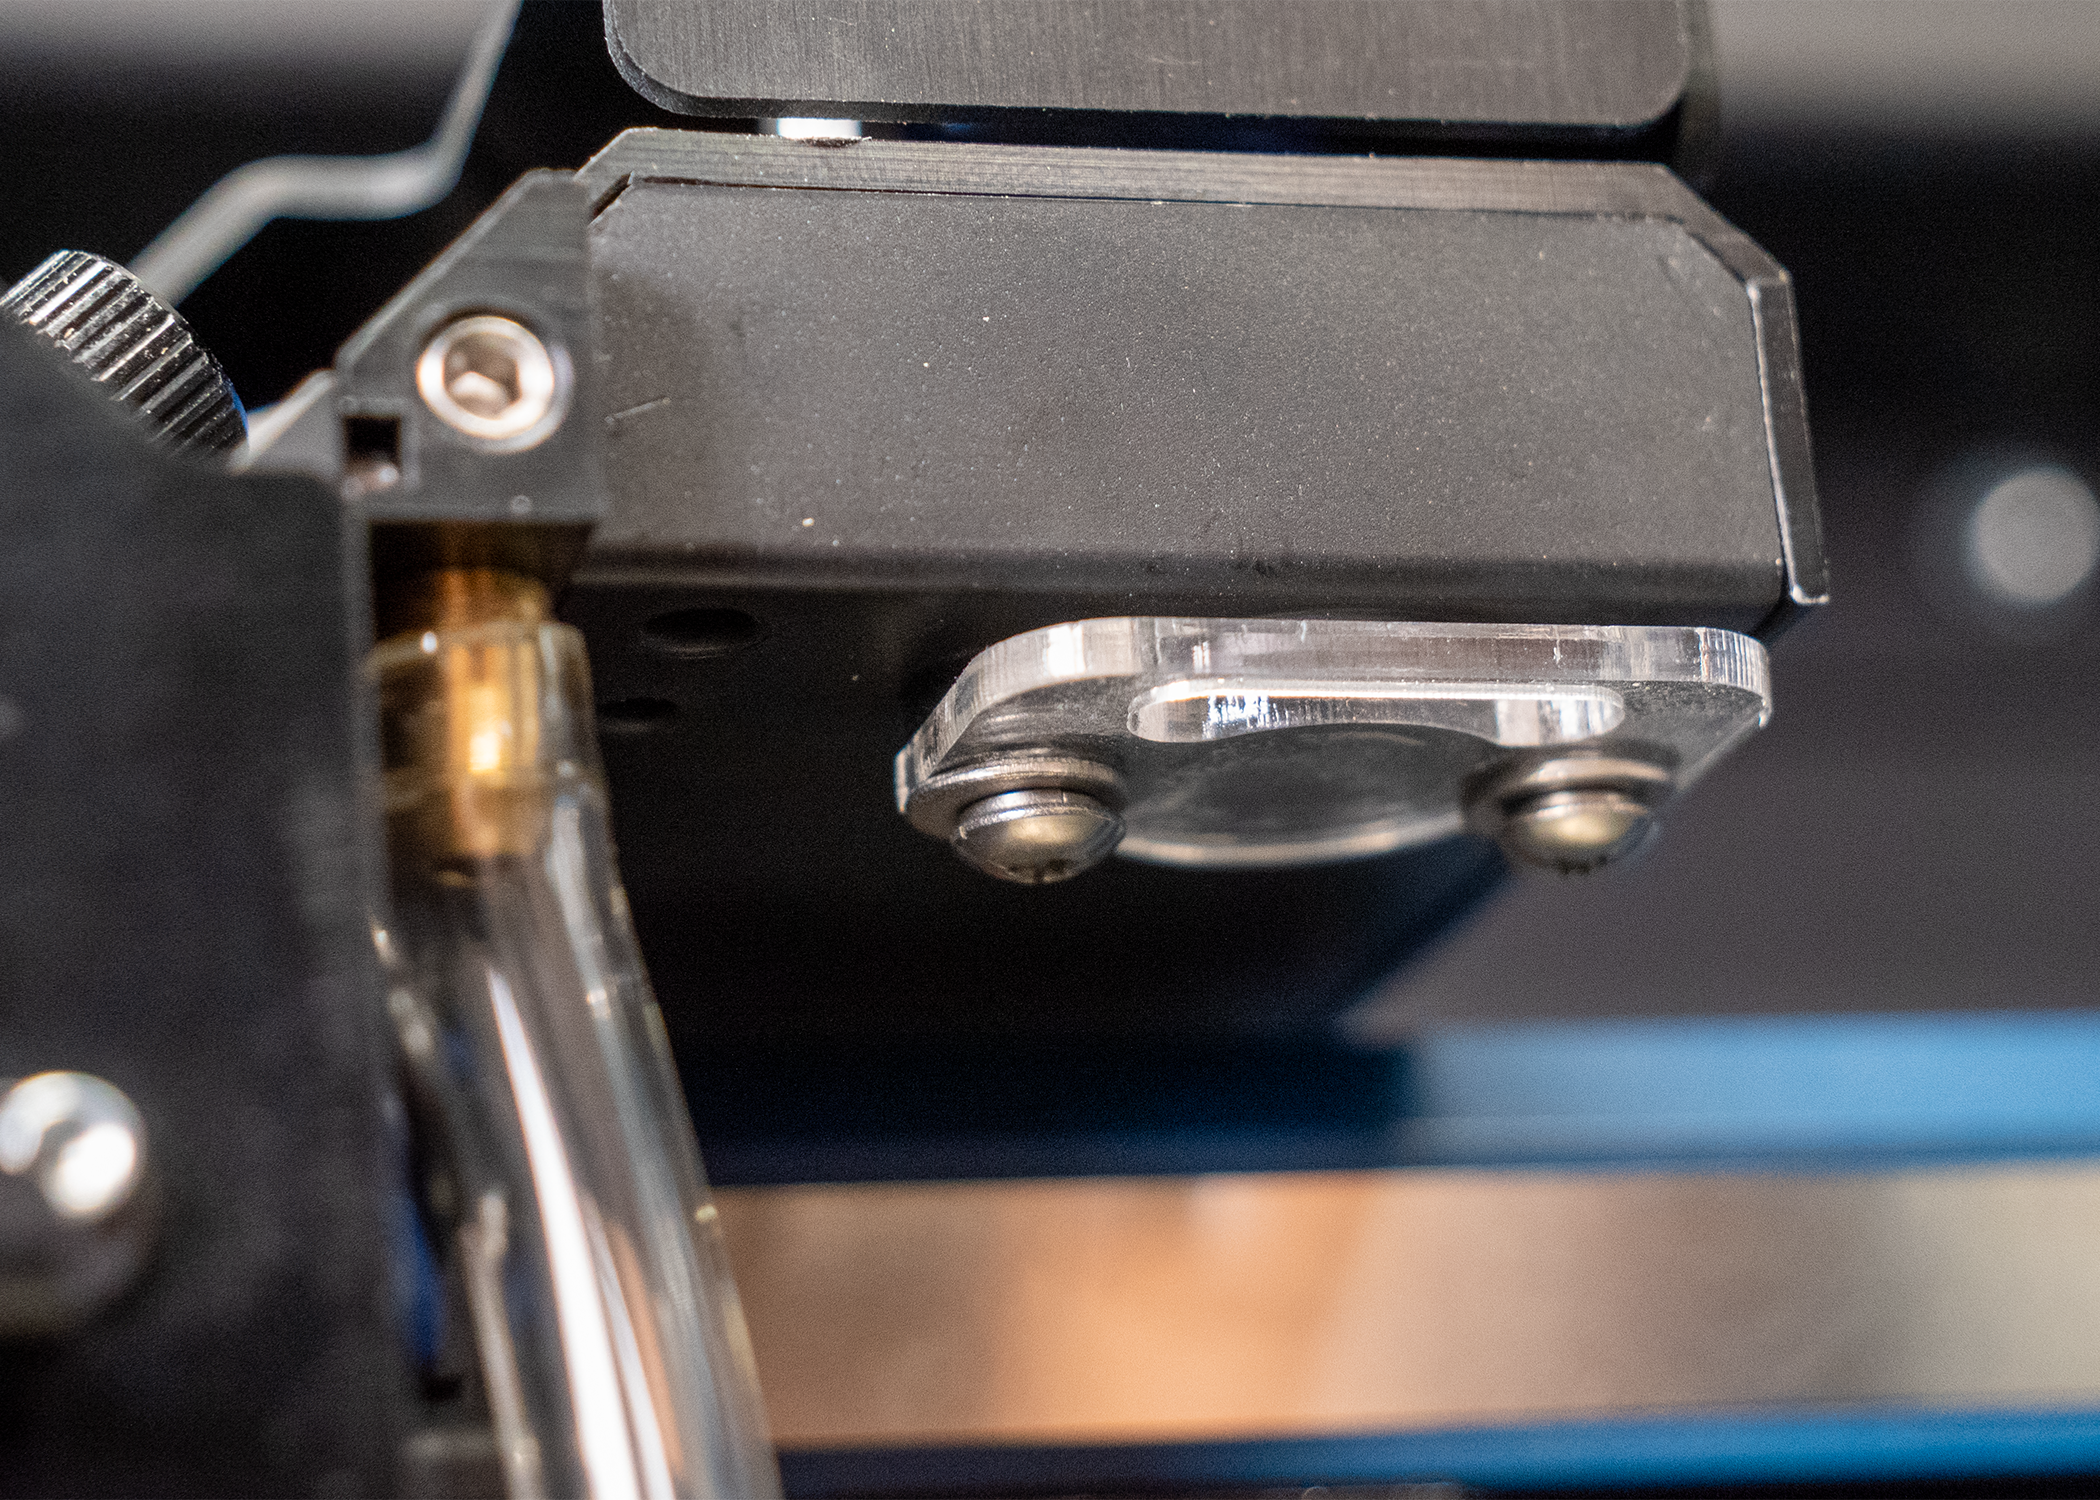
- Power down. Turn off and unplug the machine. Pull the carriage head and rail to the middle of the machine.
- Prepare a mild soap solution. Mix a small amount of mild soap with water.
- Dampen the cloth. Dip a clean microfiber cloth in the solution and wring it out well. It should be damp, not dripping.
- Wipe gently. Wipe the lens cover with light pressure. Do not scrub, since the plastic scratches easily.
- Rinse and dry. Wipe again with a cloth dampened with plain water to remove any soap, then gently dry with a clean, dry microfiber cloth.
Tips
- Always use a clean microfiber cloth. A dirty cloth can drag grit across the lens and cause scratches.
- Keep separate cloths for the overhead camera (optical cleaner) and the carriage camera (soap and water) so chemicals don’t transfer to the plastic cover.
- The carriage camera lens cover can be removed for cleaning if necessary.
- If the camera image is still blurry after cleaning, contact support for further help.