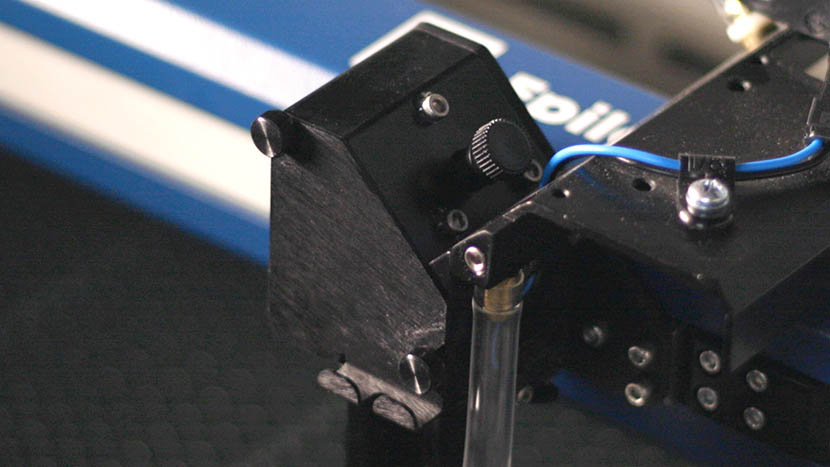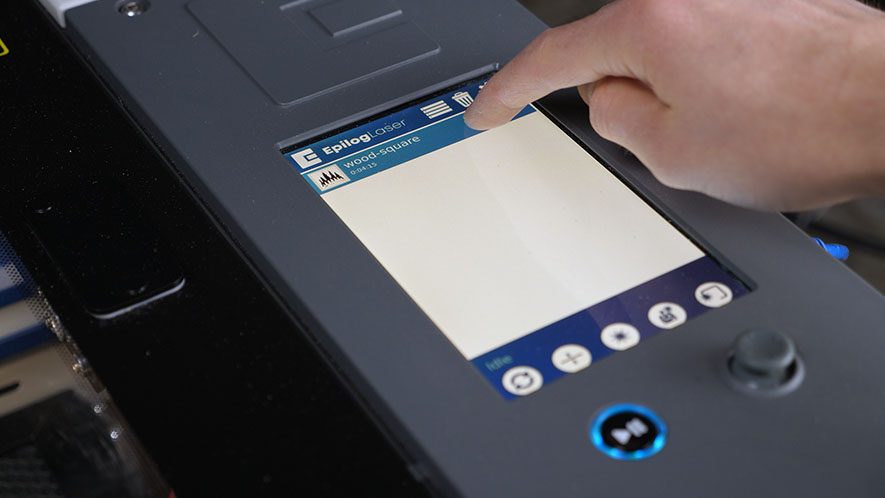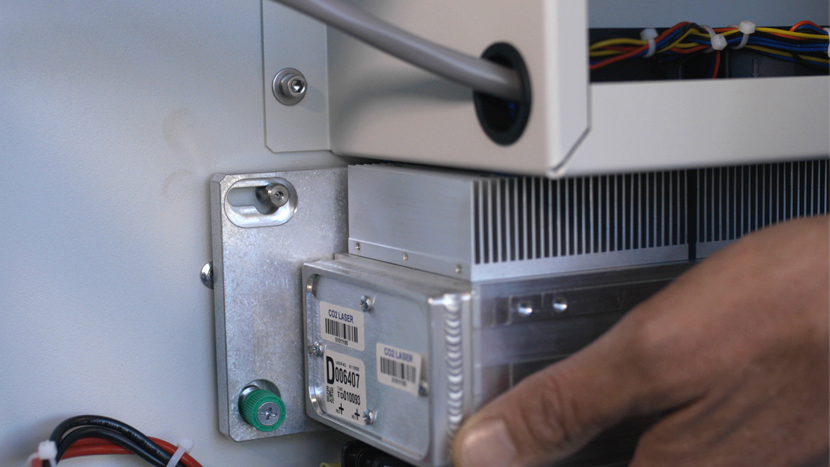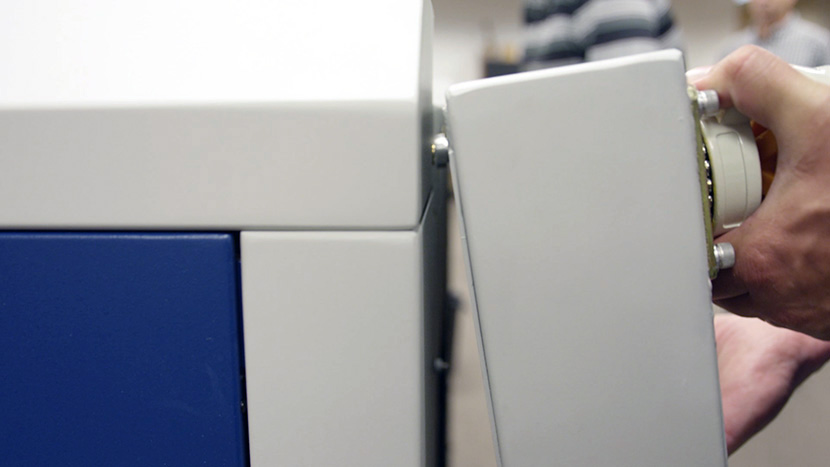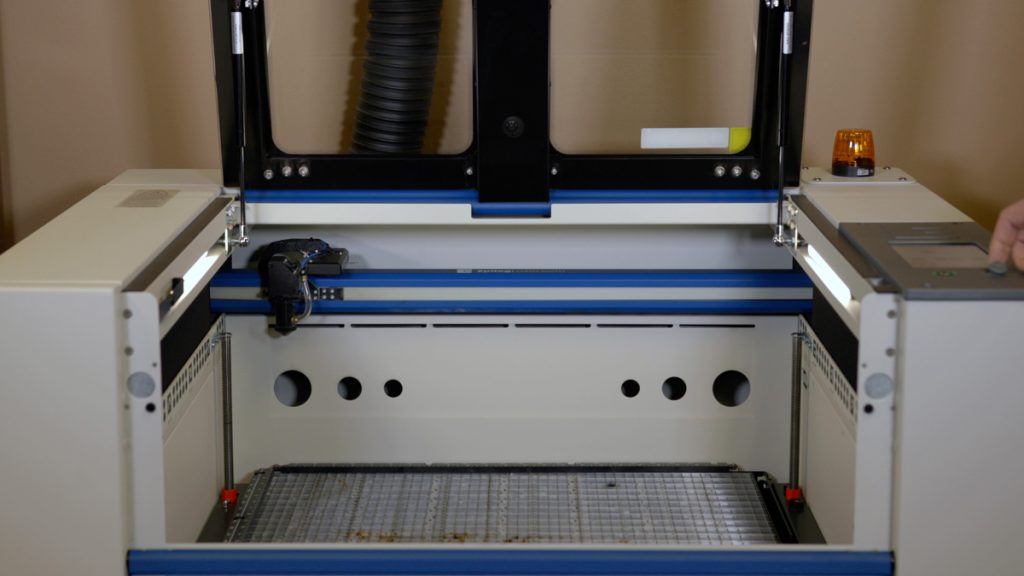
This procedure outlines the steps required to safely and effectively replace the Autofocus Switch on the Fusion Maker, Edge, and Pro, laser system. The Autofocus Switch is a critical component responsible for maintaining the proper focal distance during operation. This document provides detailed instructions to ensure proper removal, and installation (...)
Optics Cleaning – Fusion Maker, Edge, and Pro
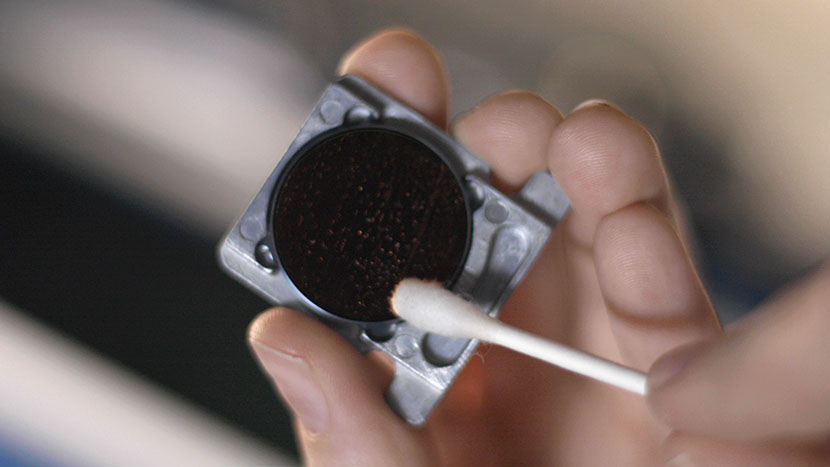
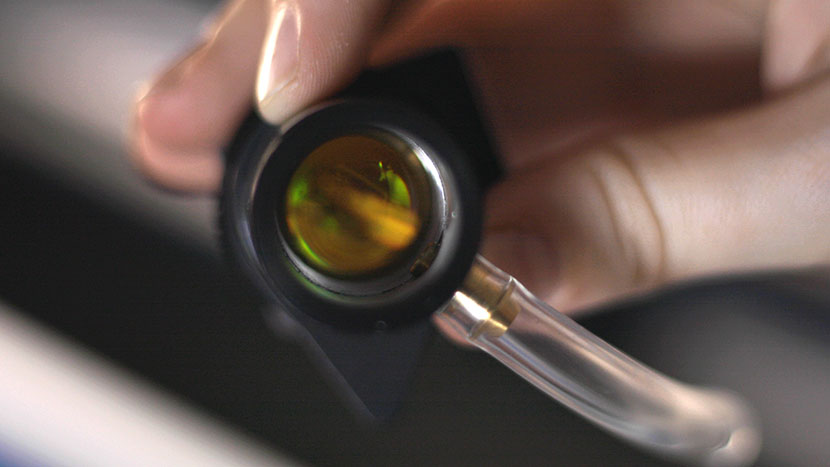
Daily Maintenance Cleaning Remove the lens and carriage mirror. Safely detach both the lens and carriage mirror using the video guide below. Figure 1. Lens and carriage mirror removal process. Carriage Optics Removal Steps Disconnect the air tubing from the lens. Loosen the thumb screws on the carriage cover and (...)
My Artwork isn’t showing up in the Epilog Dashboard
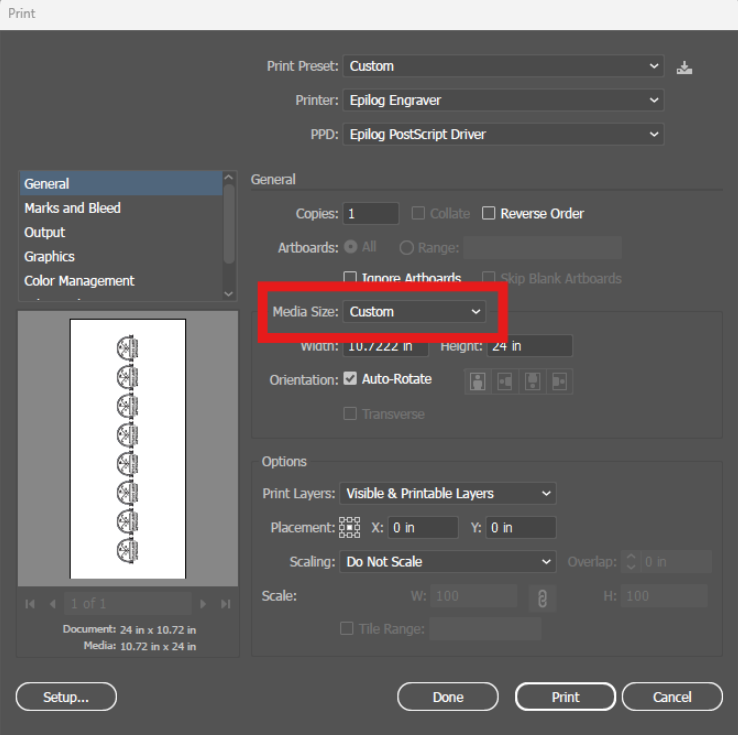
Explanation of the Symptoms When encountering this issue, you may see something similar to the image below—here we can see the artwork in the preview thumbnail, but the artwork does not appear in the work area: However, if zoomed out, we can see that the artwork did transfer to the (...)
Manual Focus Gauge Calibration – Fusion Maker, Edge, Pro
This procedure outlines the steps required to calibrate the manual focus gauge after completing the Focus Calibration Wizard. Proper calibration ensures that the gauge accurately reflects the correct focal height determined using the Calibration Wizard. Note: The Calibration Wizard is available only on firmware version 1.1.2.1 or later. To update (...)
How to Replace the X-Axis Motor Driver: Step-by-Step Guide
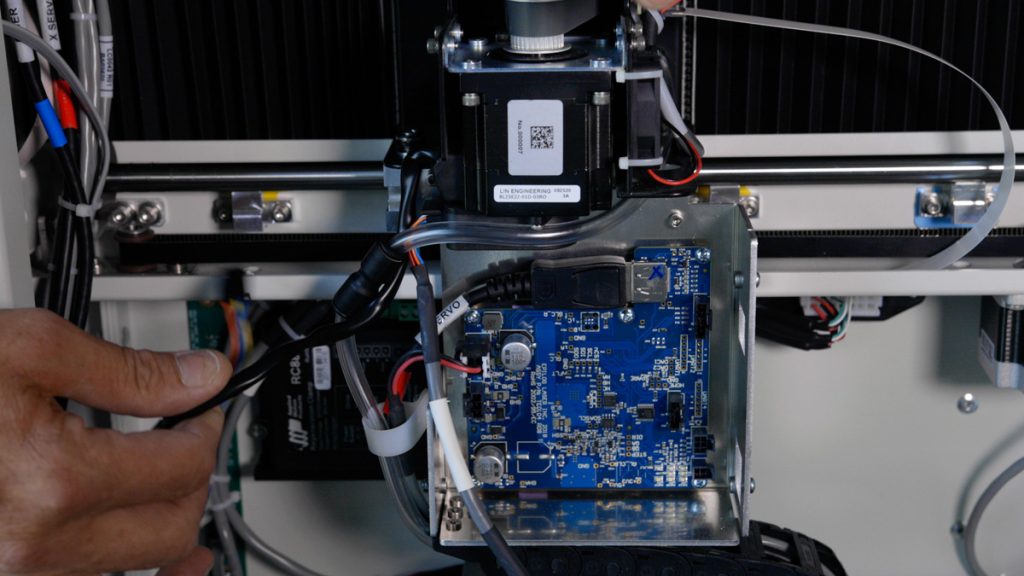
This guide will walk you through the process of removing, installing, and programming the X-Axis Drive Board for Fusion Edge and Pro 24 / 36 models. Proper precautions, including the use of an anti-static strap, are essential to ensure the safe handling of electronic components. Drive Board Replacement Procedure Models: (...)
Generating Machine Logs
Generating machine logs enables Epilog Technical Support to gather important information about the machine, aiding in its diagnosis and troubleshooting. The process is straightforward and requires either a USB flash drive or a network-connected machine. This guide will outline the steps for generating logs. Logs can be generated one of (...)
Cleaning Procedures – Fusion Maker, Edge, and Pro
Regular cleaning of the Fusion Pro engraver will result in a longer service life of the engraver and less down time. Additionally, regular cleaning of the Fusion Pro engraver can mitigate the risk of flare-ups and other thermal events. A mild household cleaner or degreaser can be used to clean (...)
CO2 Laser Replacement Checklist / Low Output
Having to continually reduce speed and increase power can indicate low output from the laser. This document will help identify a low output laser tube on a 17000 Maker, Edge, or Pro machine. Checklist Optics Alignment Focus Reference Engraving Download the sample file below. Reference Engraving Open the file and (...)
Control Module Replacement – Fusion Edge, Maker, Pro
The control module is a crucial component of your Fusion Maker, Fusion Edge, or Fusion Pro engraver, enabling seamless operation and precise control. This guide provides step-by-step instructions for safely removing and installing a new control module to ensure optimal performance. Following these procedures will help you maintain your engraver’s (...)
CO2 Laser Replacement Checklist / No Output
These items should be checked before replacing a CO2 laser tube with no output. If the laser has been inactive for more than one (1) month, follow the Extended Cold Start Guide first. The goal of this document is to determine the operational status of the CO2 laser in a (...)
Edge Stand Assembly
The Fusion Edge Stand is an essential accessory designed to support your laser system with stability and ease of mobility. Whether you’re setting up a new machine or replacing an existing stand, this guide provides step-by-step instructions to help you assemble the stand safely and efficiently. By carefully following each (...)
Quick Guide: Calibrating the Joystick for Accurate Movement
Steps to Calibrate the Joystick Open the Settings Menu On the display panel, press the gear icon in the top-right corner to open the Settings menu. Image 1: Home screen with gear icon in top-right corner Access Advanced Settings Press and hold the word “Settings” on the screen until the (...)