
We’re going to walk you through replacing the Y Motor on the Epilog Fusion Edge laser system.
Note: Some early machines were built using Phillips screws to secure the motor to the chassis. Later machines use Allen screws. If you find that your machine was built using Allen screws to secure the motor, you will need the 9/64 Allen Wrench to remove these screws.
Another note: While this document highlights the removal of the left-hand Y Motor, the process is the same for either side.
Before beginning, jog the laser head toward the very front of the machine. This will ensure easy access to the Y motor on both sides of the machine.
Remove Panels
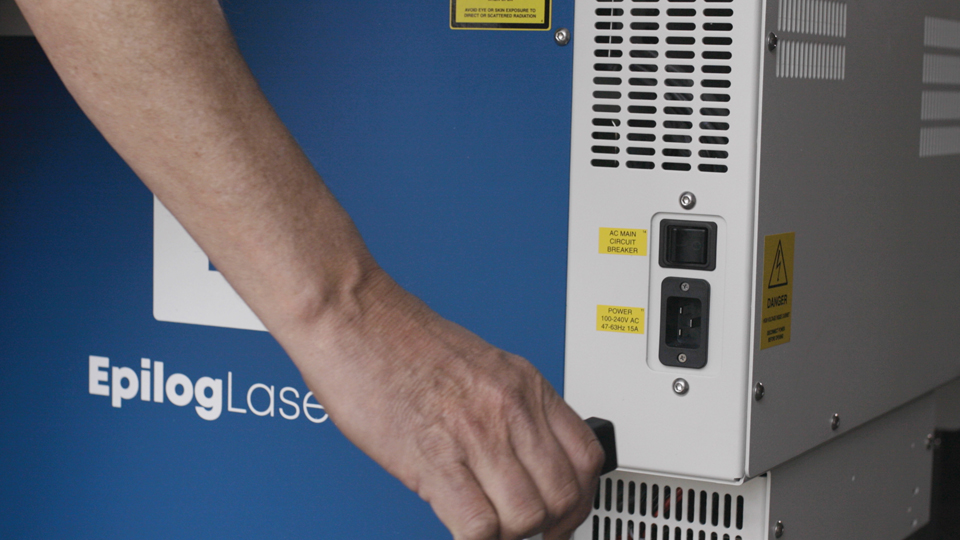
Turn off and unplug the machine.
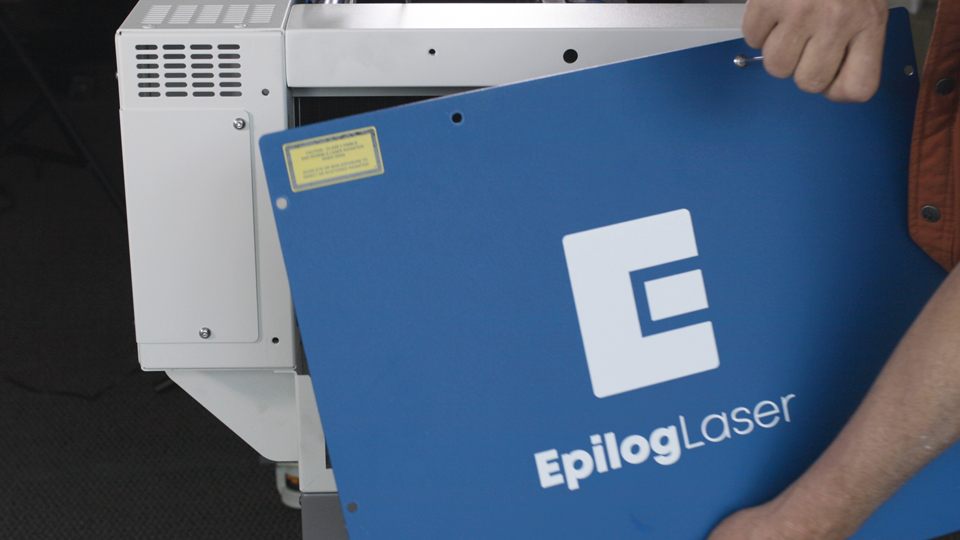
Each Fusion Edge is fitted with two Y motors. Determine which Y Motor, left or right-hand side, you will be replacing and remove that side panel from the machine. Using a 5/32″ Allen wrench, remove the 8 screws that secure the left or right-side access panel and set them to the side.
Remove Old Motor
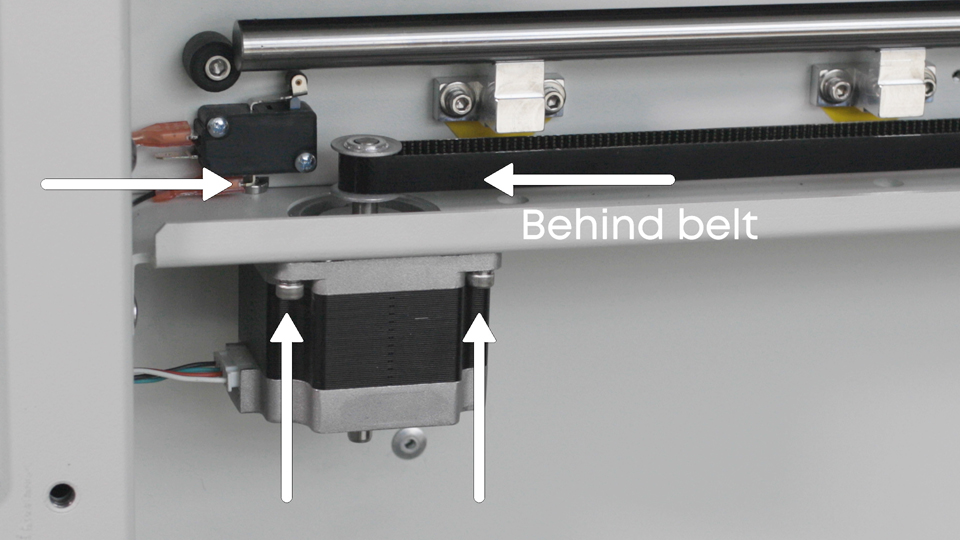
Locate the Y-Motor toward the rear of the machine. Note: There is no need to loosen the Y belts before removing the motor.

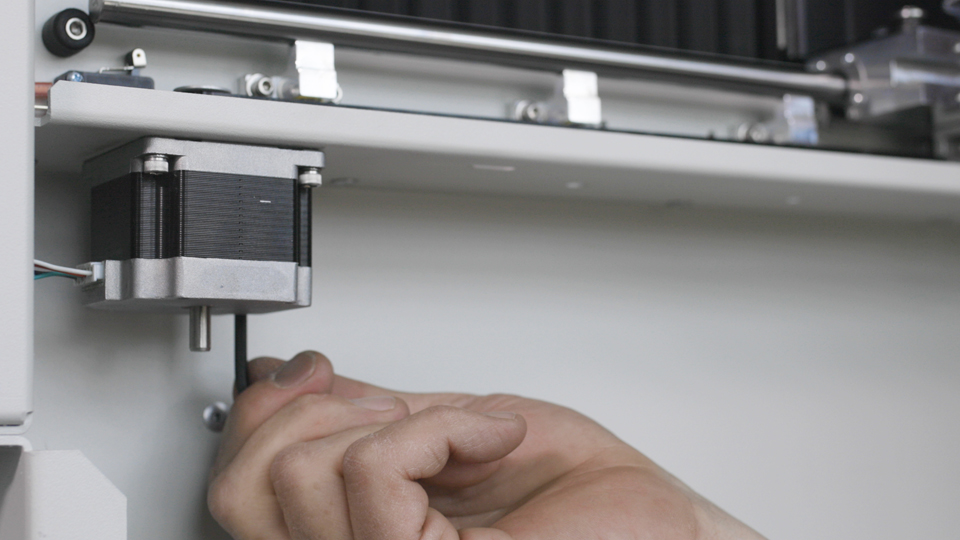
There are 4 screws that secure the motor to the machine, 1 in each corner of the motor.
Using the #1 Phillips Screwdriver, remove the 4 screws securing the motor to the machine.
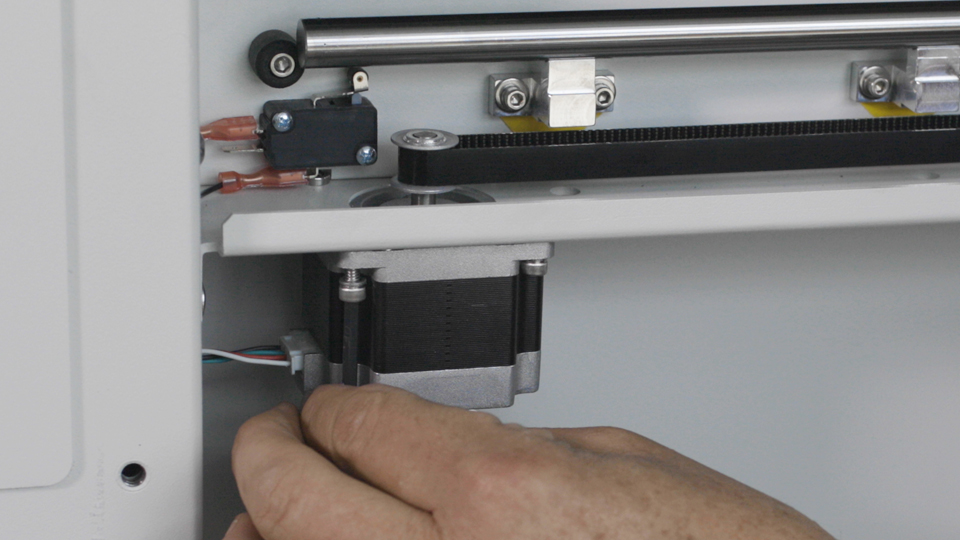
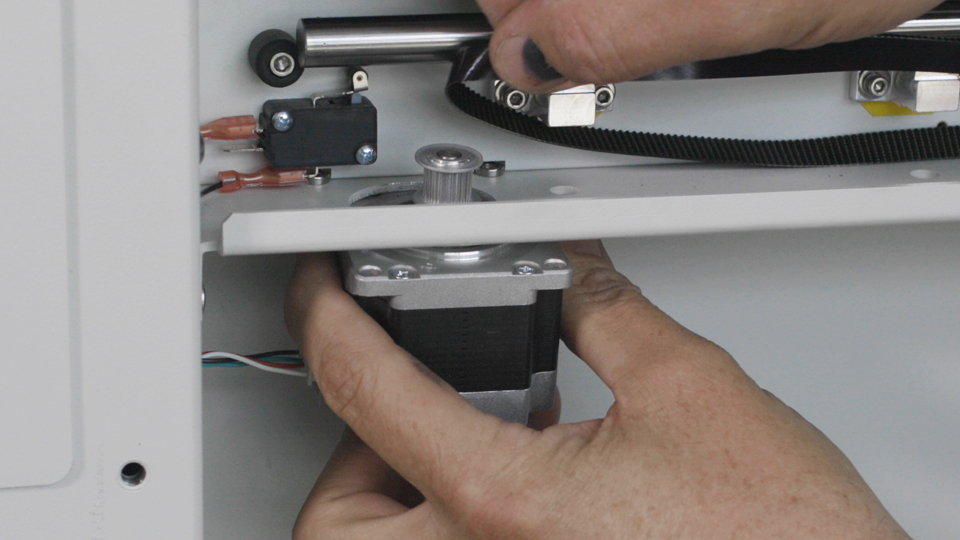
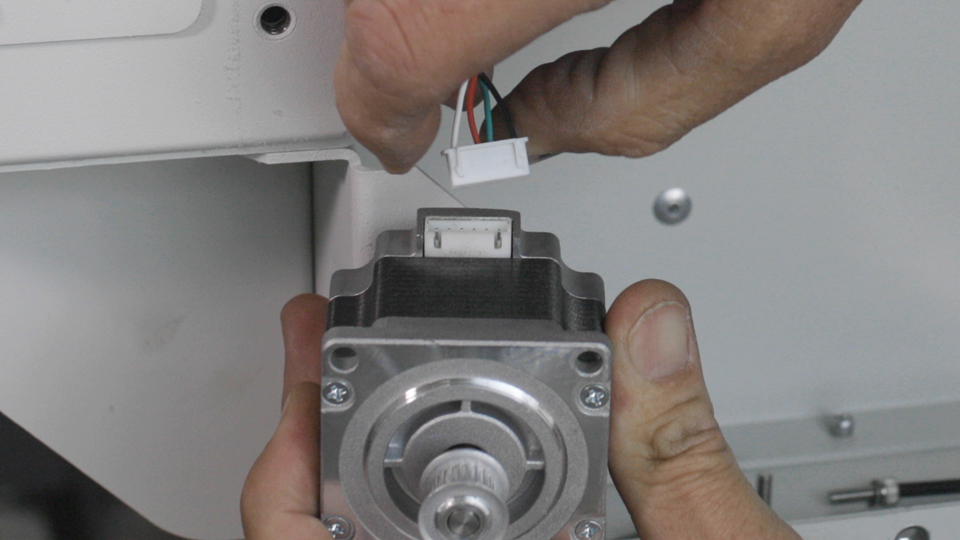
Once the motor has been removed, disconnect the harness from the motor by pulling on the tabs on the outer edge of the connector. Be careful not to unplug it by pulling on the wires, as you could pull the wires from the connector entirely.
Install New Motor
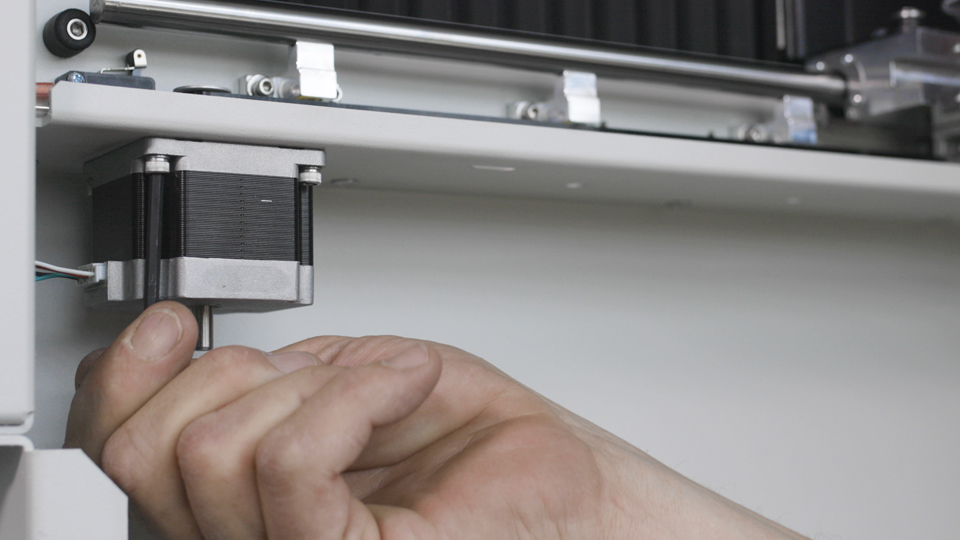
Once the harness is disconnected, it’s time to install the new Y motor.
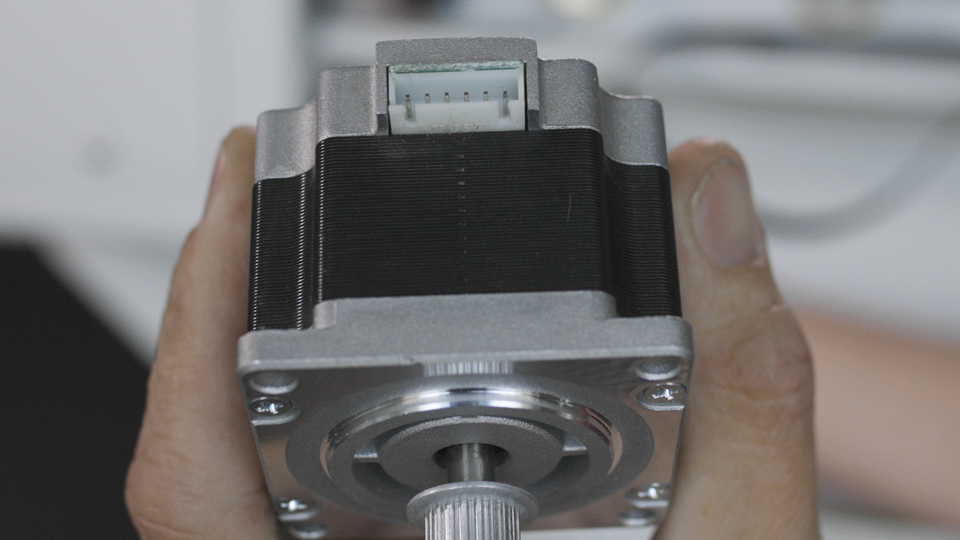
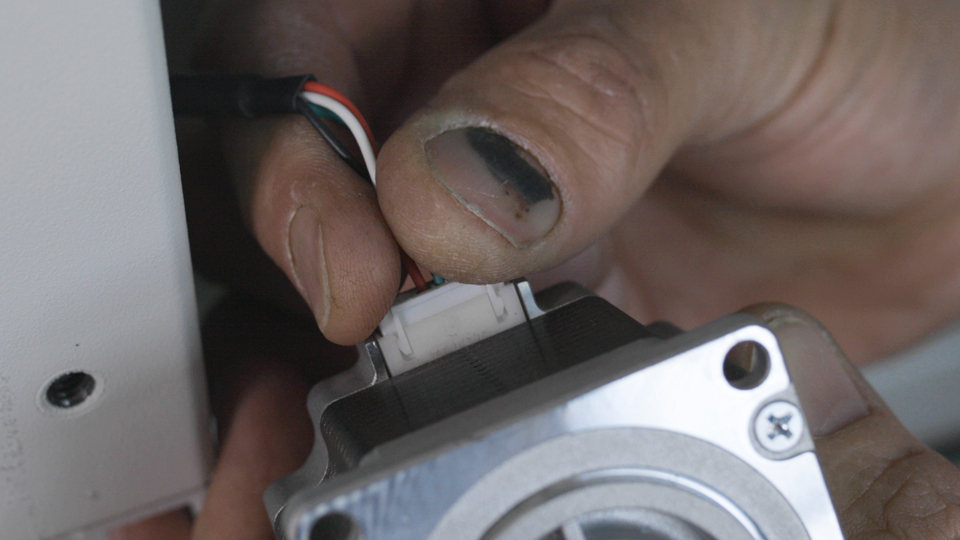
Reconnect the wiring harness to the motor. Note the small guides on the connector, and make sure they fit in to the socket on the motor.
Position the motor in the machines chassis and loop the Y belt over the pulley.
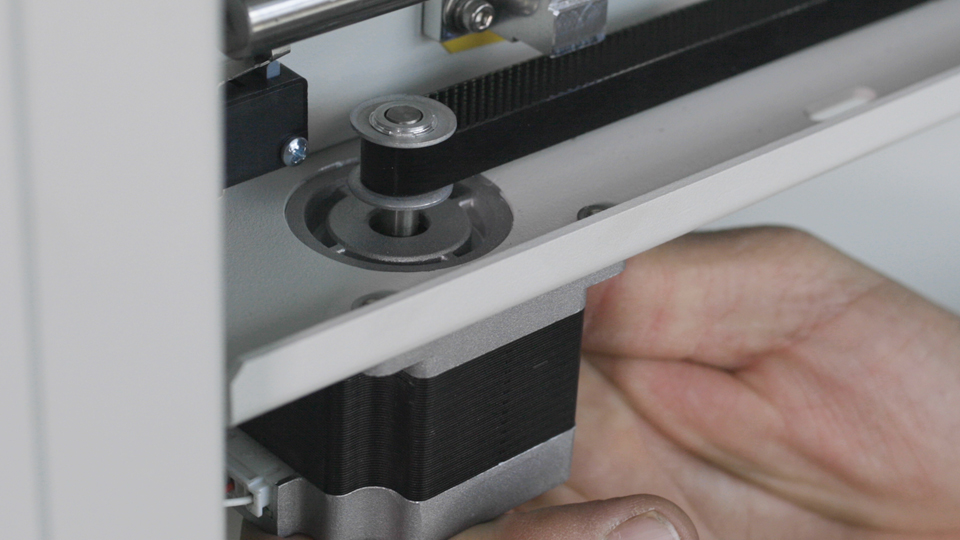
When fitting the motor in to the chassis, it is important that the ring around the top of the motor fits into the opening in the chassis
Loop the Y belt back around the Y motor while placing it in the opening.
Install the 4 screws that secure the motor to the machine. Since the motor’s inner mounting screws are more difficult to access, it is easiest if the outer screws are installed first.
Note: There is no need to tighten the Y motor belt during this procedure.
Replace the side panel using the 8 screws that were removed earlier.
This completes the Y-Motor installation process.
