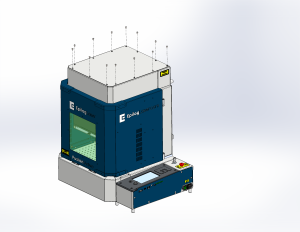
This guide provides step-by-step instructions for removing and replacing the overhead camera assembly in the G100 laser system. Follow all instructions carefully and ensure power is disconnected before performing any maintenance.
Camera Removal
-
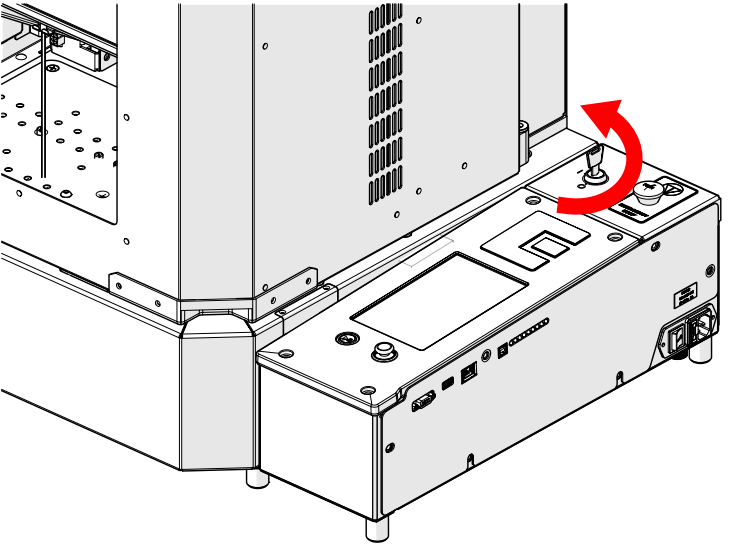
Turn off the machine.
-
Disconnect the machine from power.

-
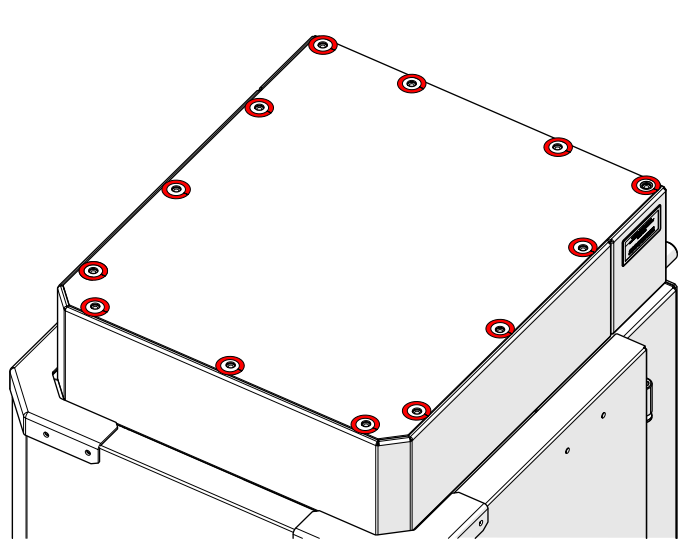
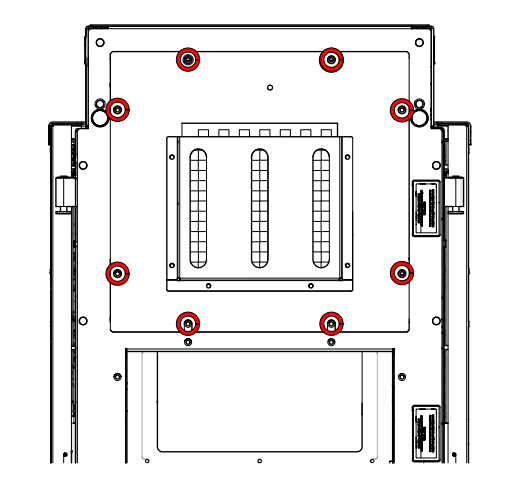
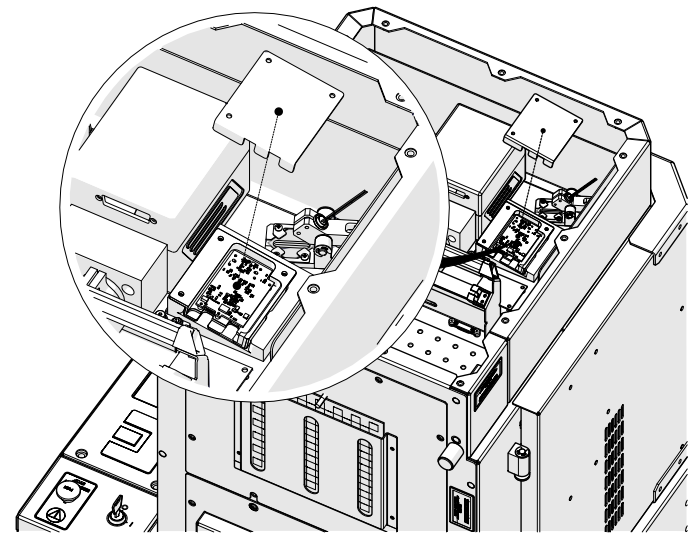
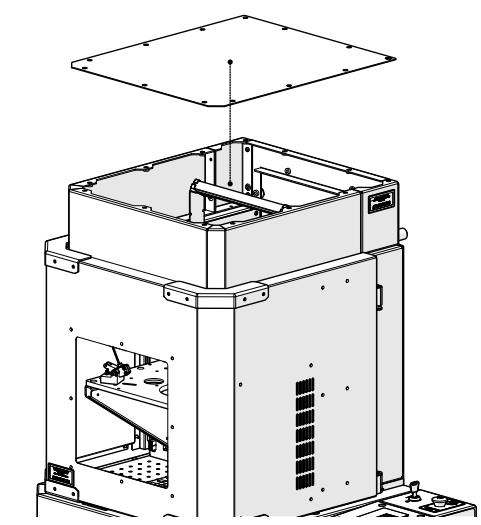
Loosen and remove the top screws.
-
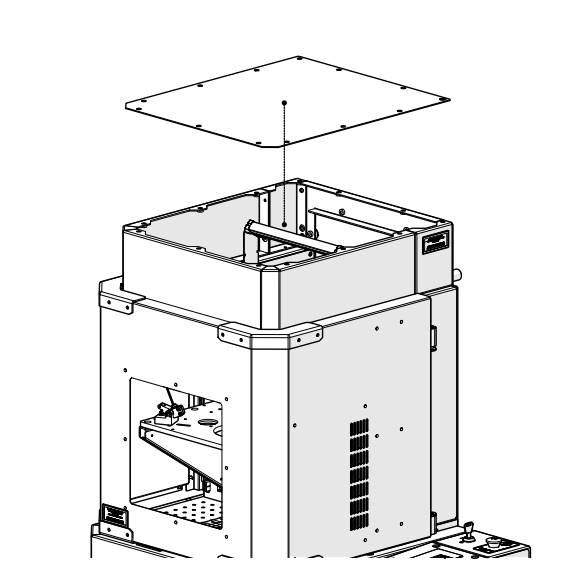
Remove the top panel.
-
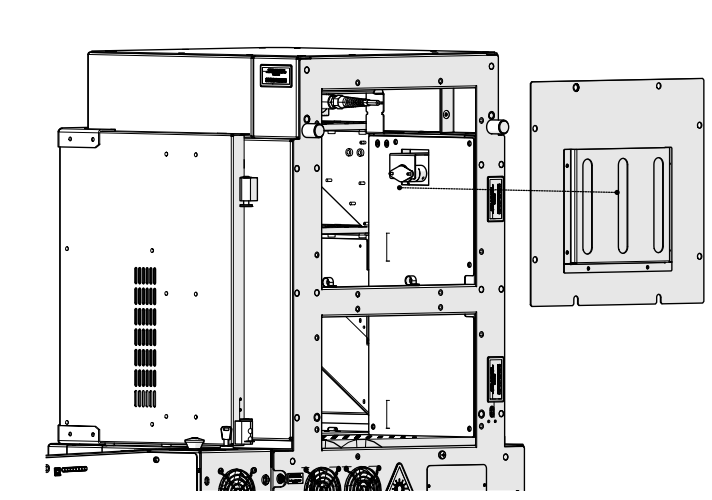
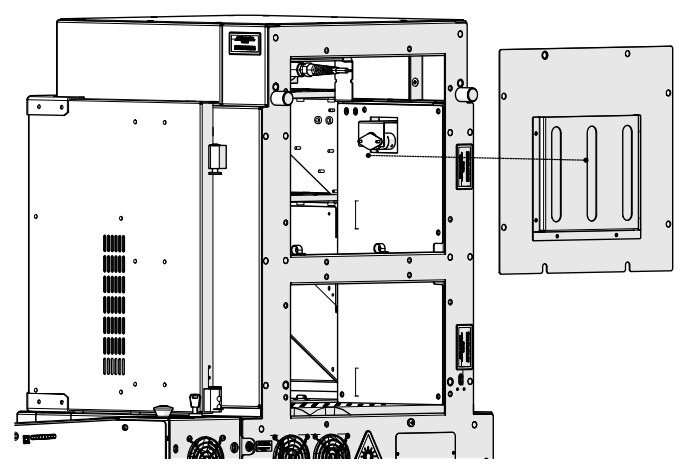
Loosen and remove rear panel screws.
-
Remove the rear panel.
-
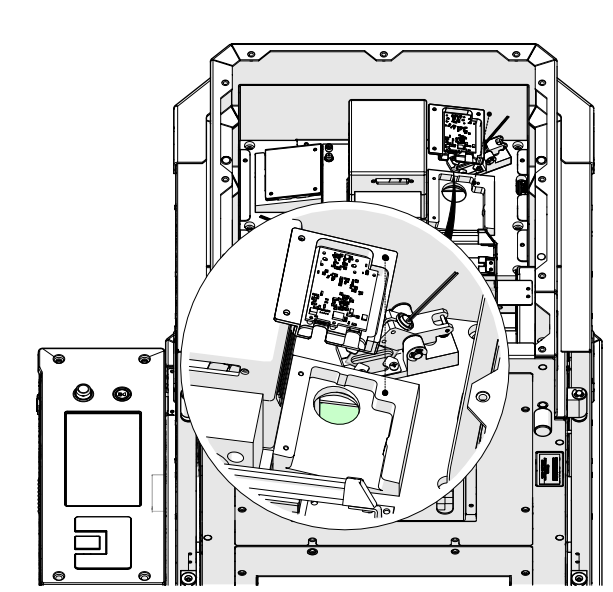
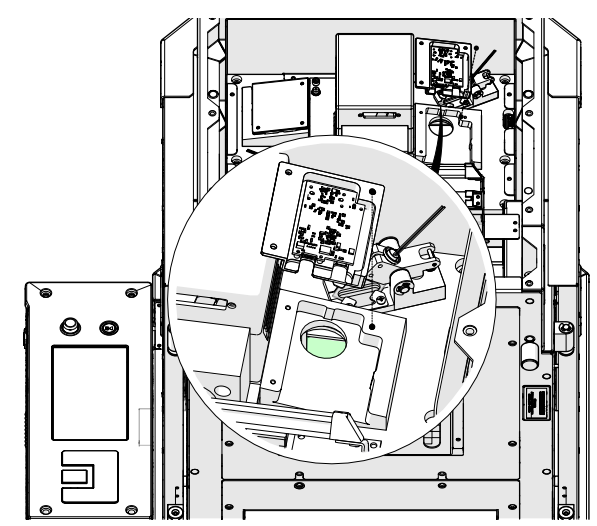
Disconnect the USB cable from the existing camera assembly.
-
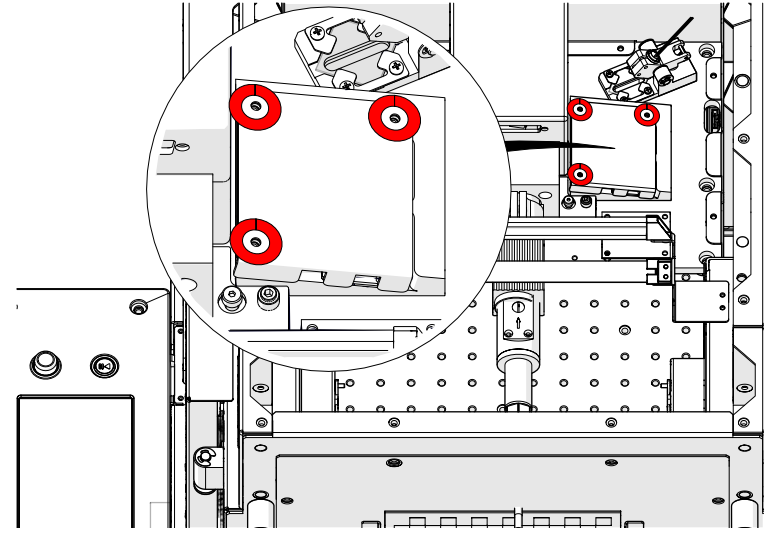
Loosen and remove screws.
-
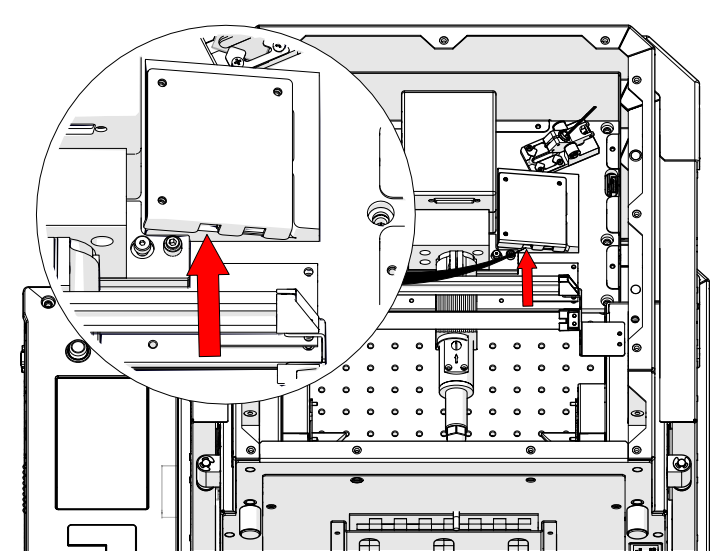
Remove the camera cover.

-
Carefully remove the existing camera assembly.
Camera Installation
-
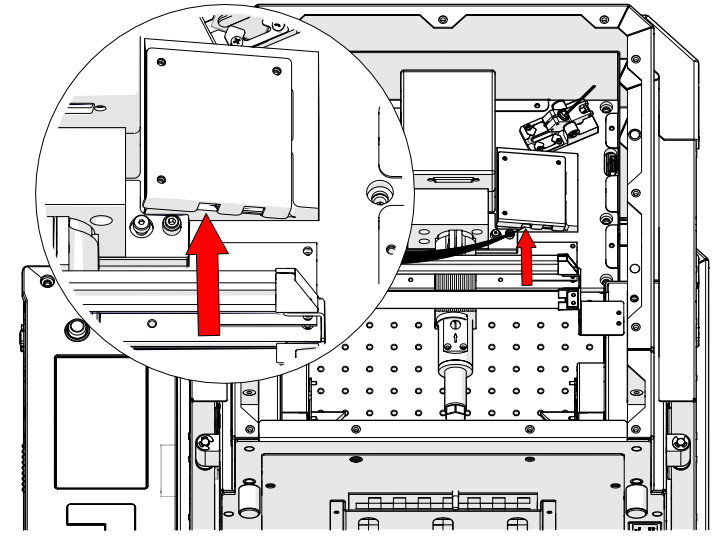
Install the new camera assembly in place.
-
Install the camera cover.
-
Install and tighten the screws to secure the camera cover.

-
Reconnect the USB cable to the camera.
-
Install the rear panel.
-
Install and tighten all screws to secure the rear panel.

-
Install the top panel.
-
Install and tighten all screws to secure the top panel.

-
Reconnect the machine to power.