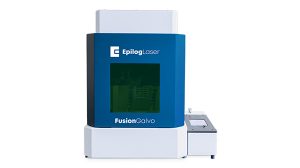
In this video we’ll walk you through unpacking the Epilog Fusion Galvo G100 laser system.
For this procedure you will need a pair of scissors or a utility knife/box cutter.
Please be sure to hold on to all packing materials and crating in case you need to move the system in the future.
Open the Packaging
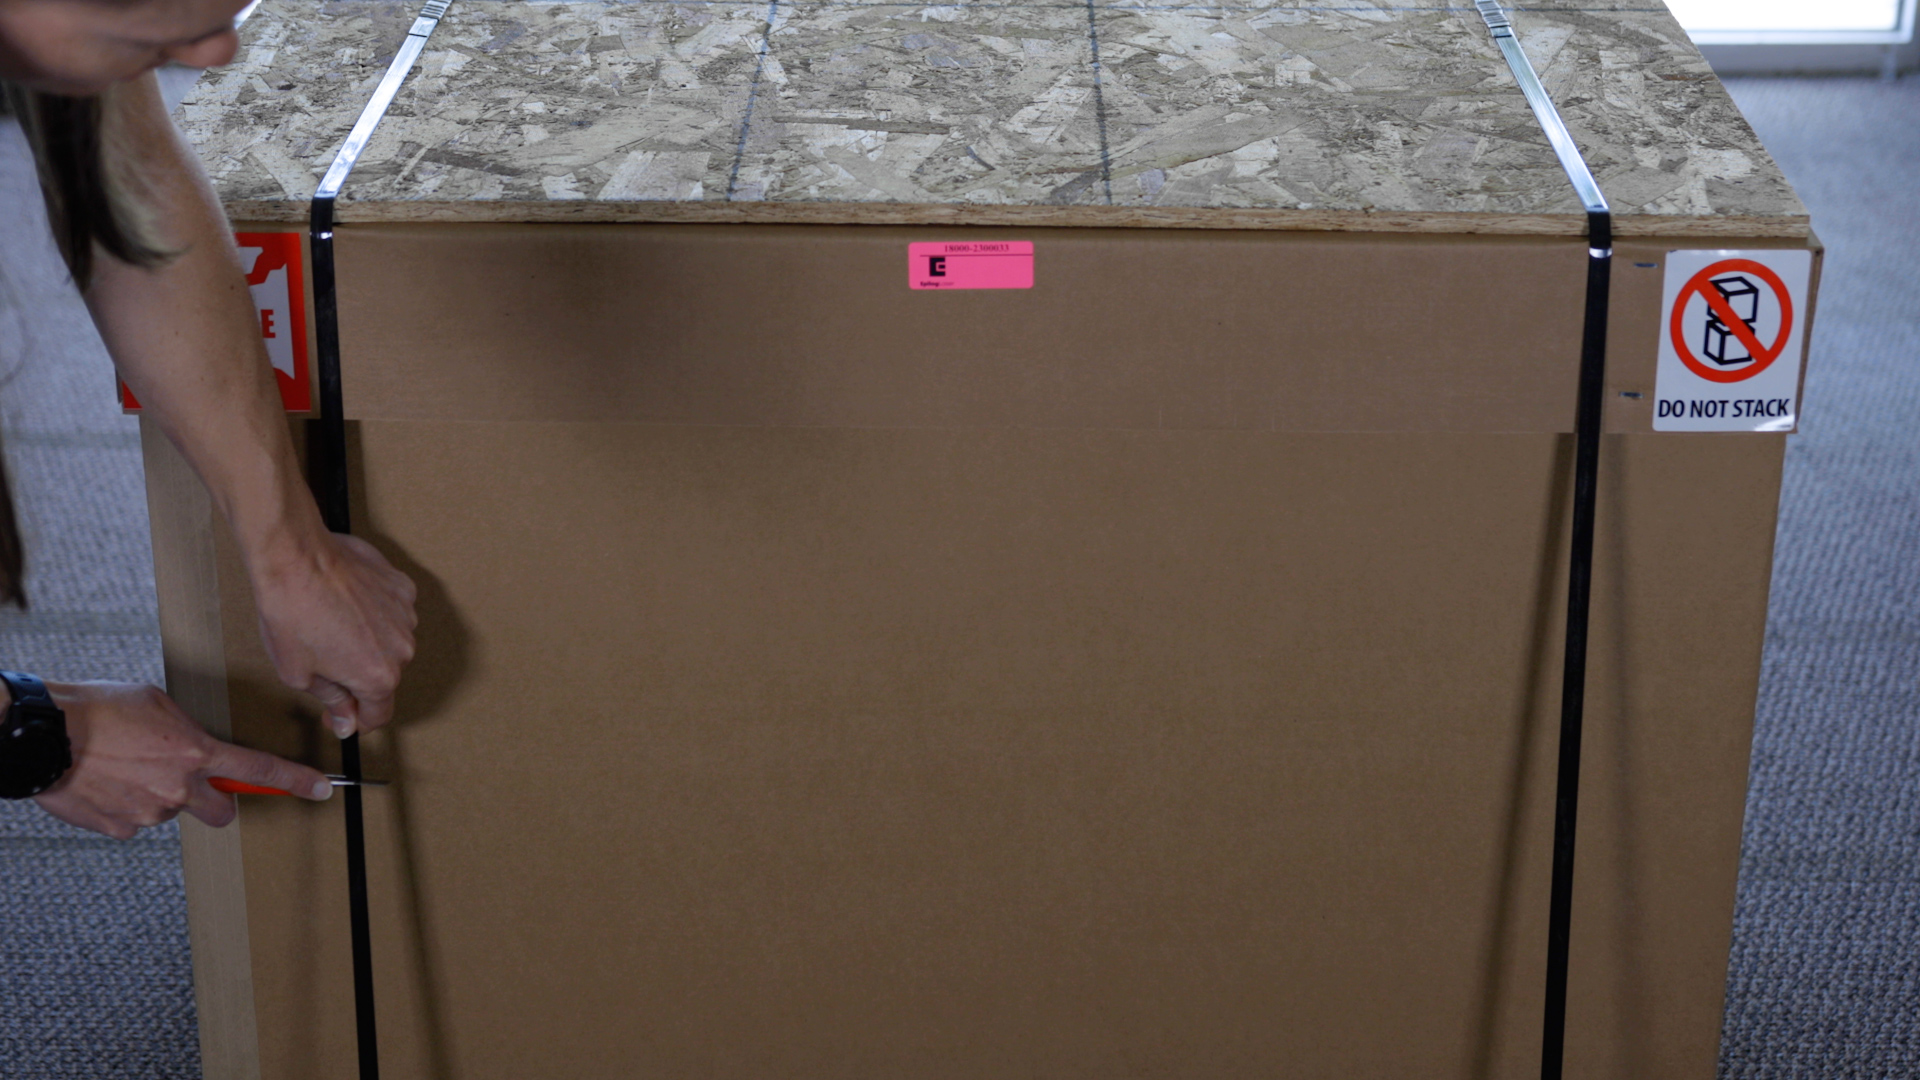
Start by using scissors or a utility knife to cut the box straps. Stand clear of the straps, as they are under high tension and may pop out at high speed when cut.
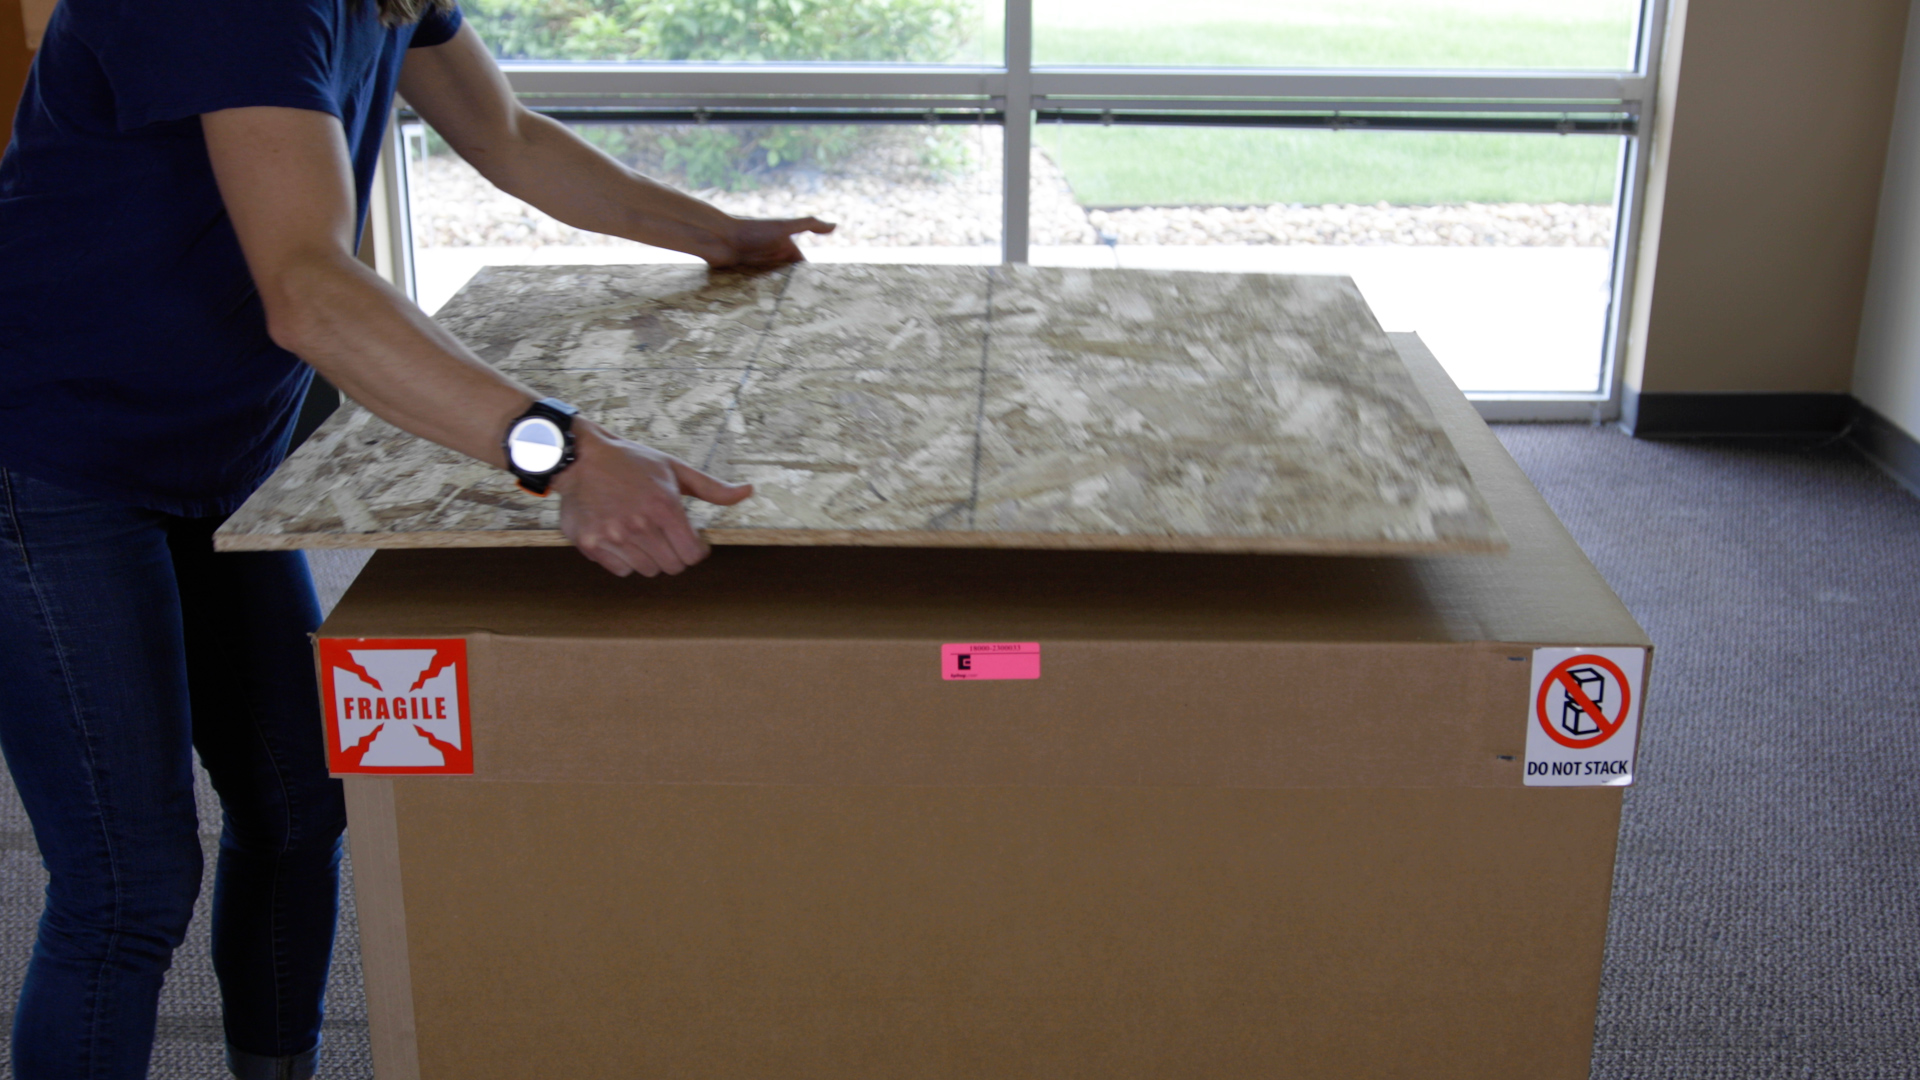
Remove the wooden board sitting on top of the box and set it to the side.
Remove the top lid and set it to the side.
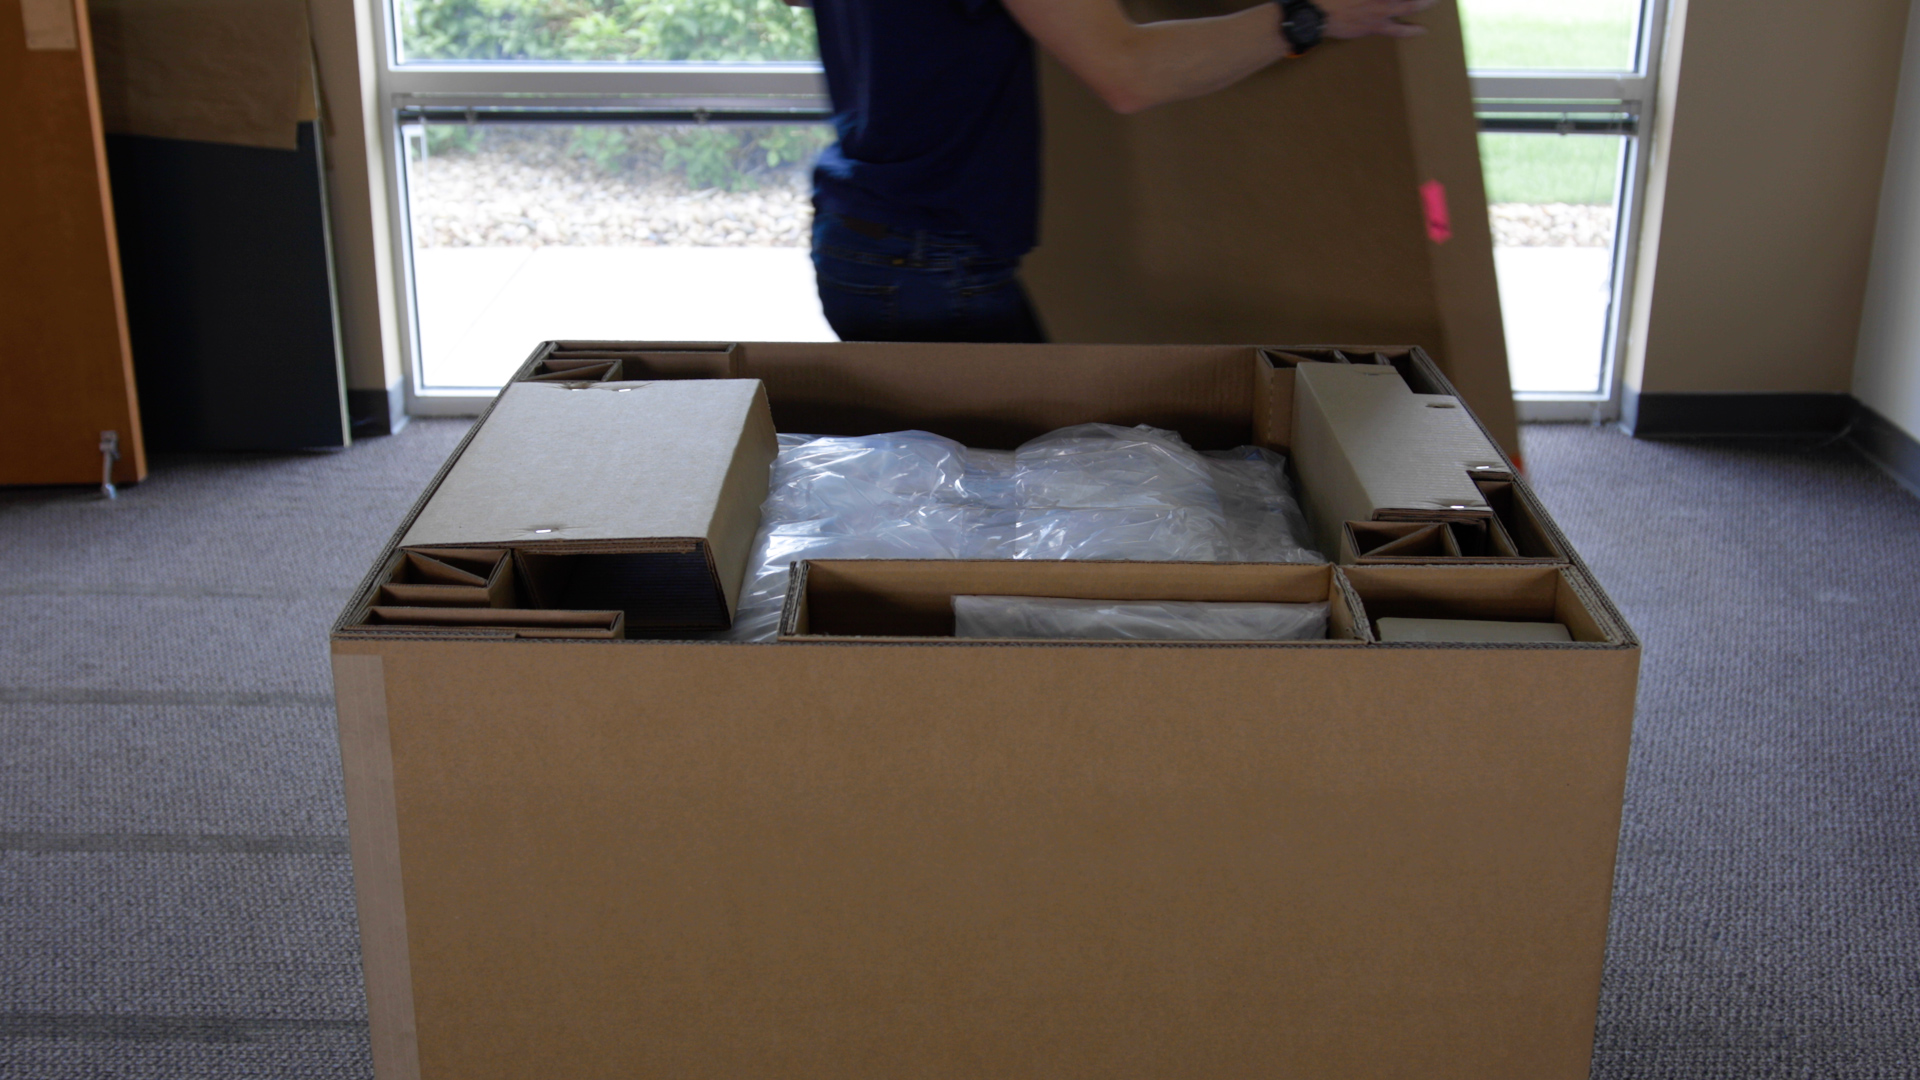
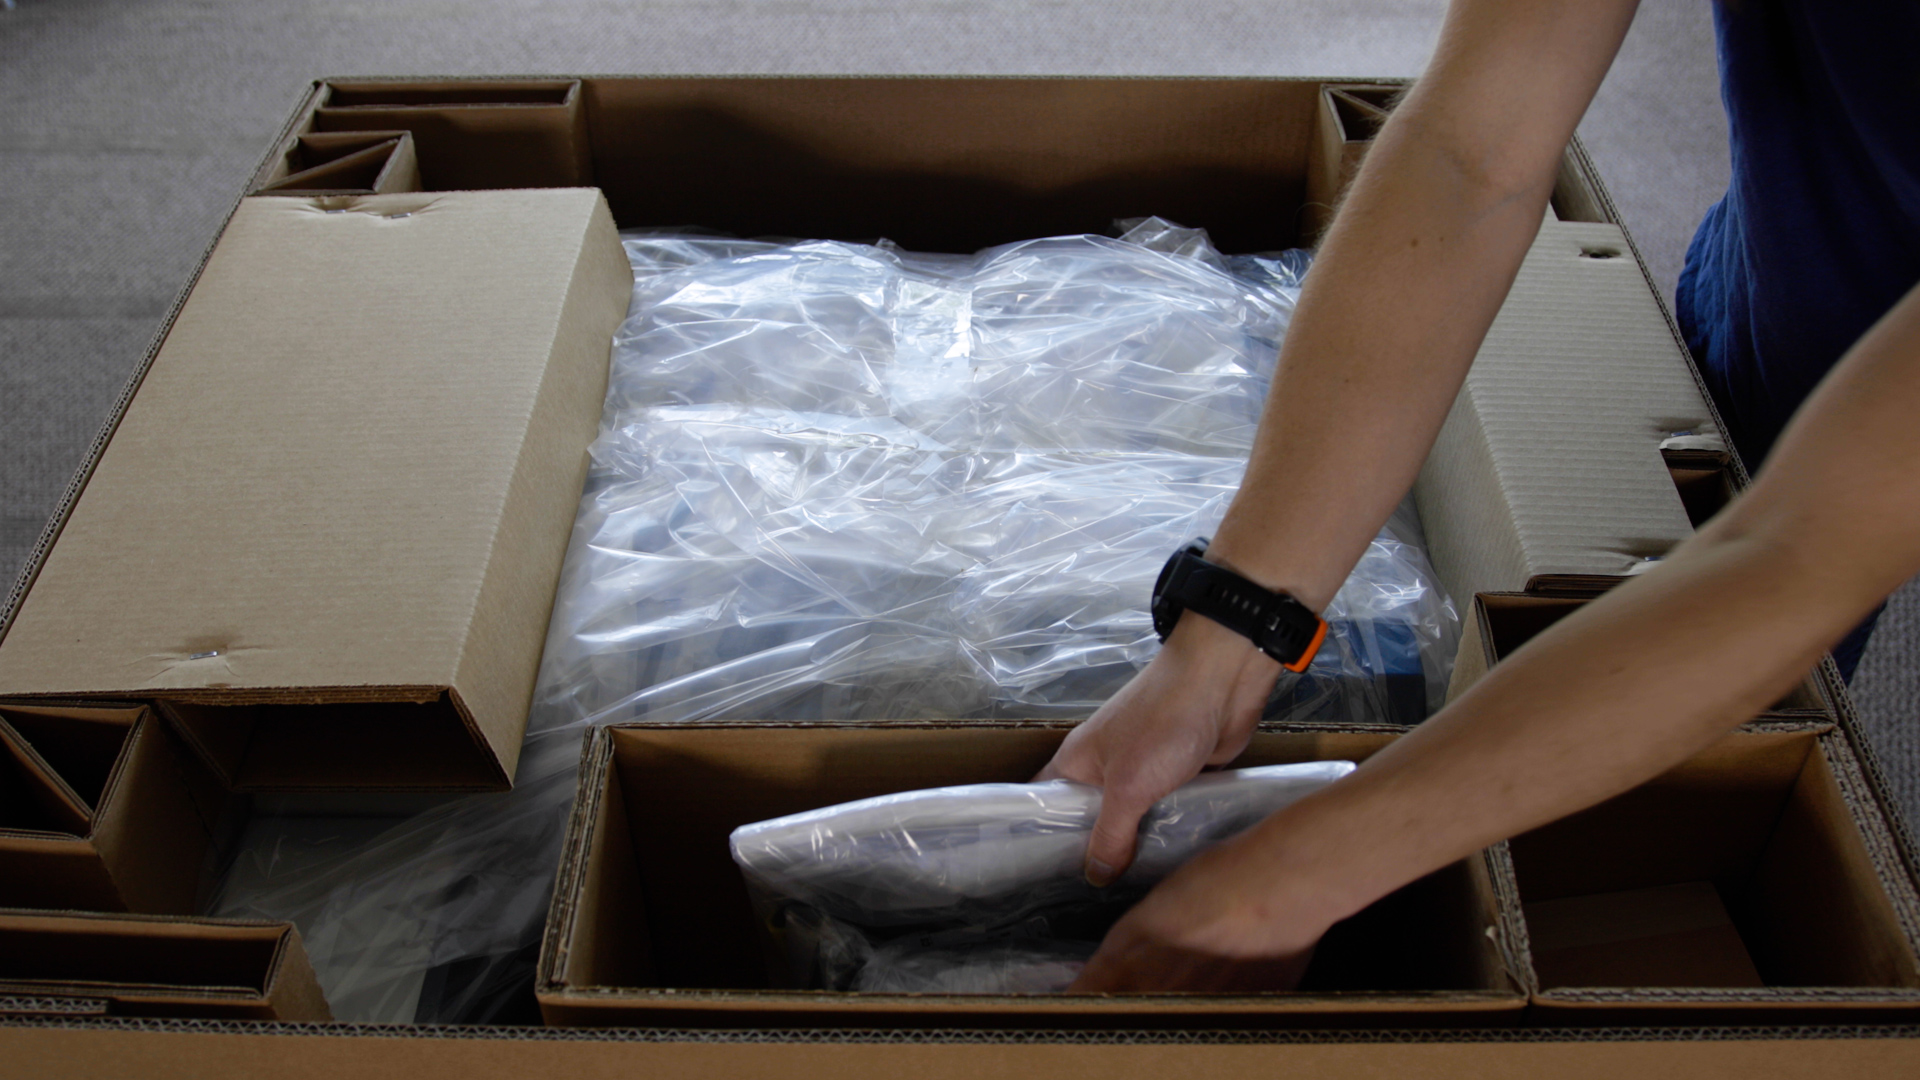
Remove the included accessories from the side compartments inside of the box, then remove the packaging padding surrounding the machine.
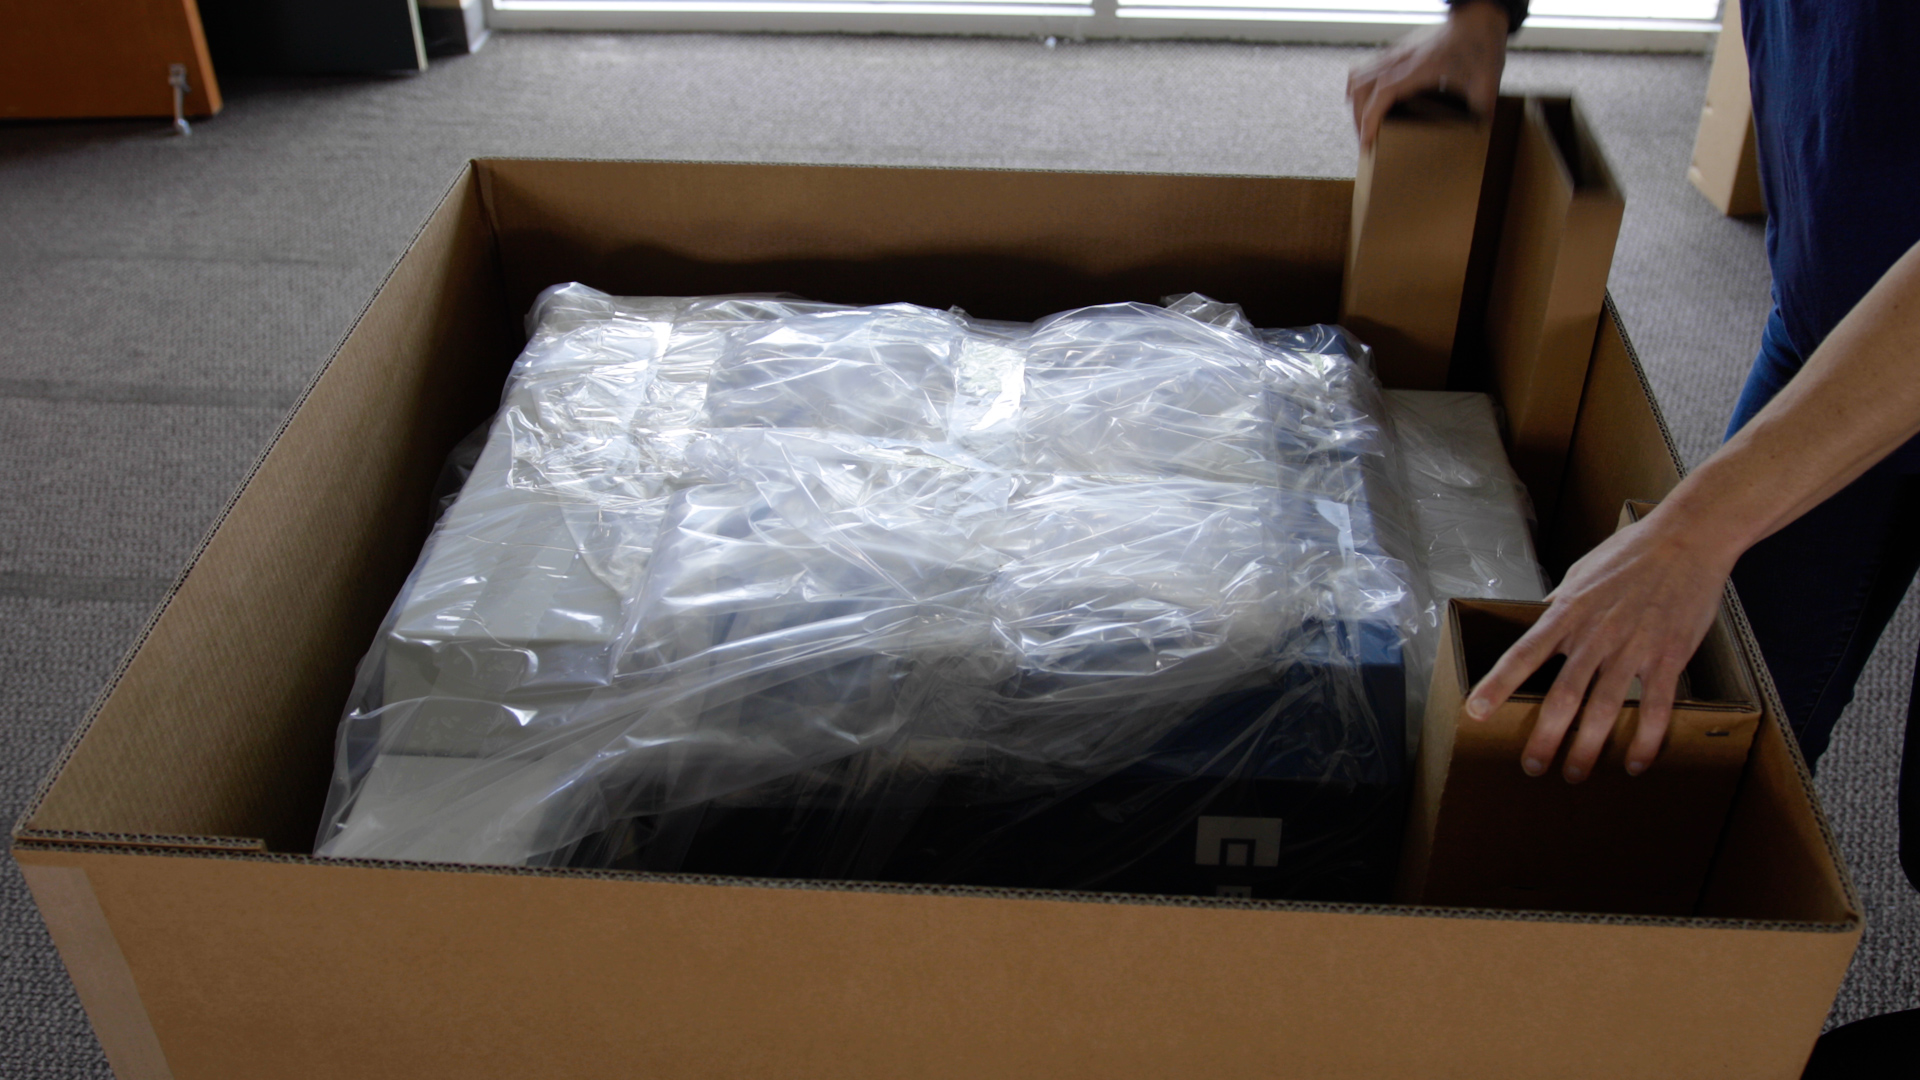
Now pull the outer box up and away from the machine and set it to the side.
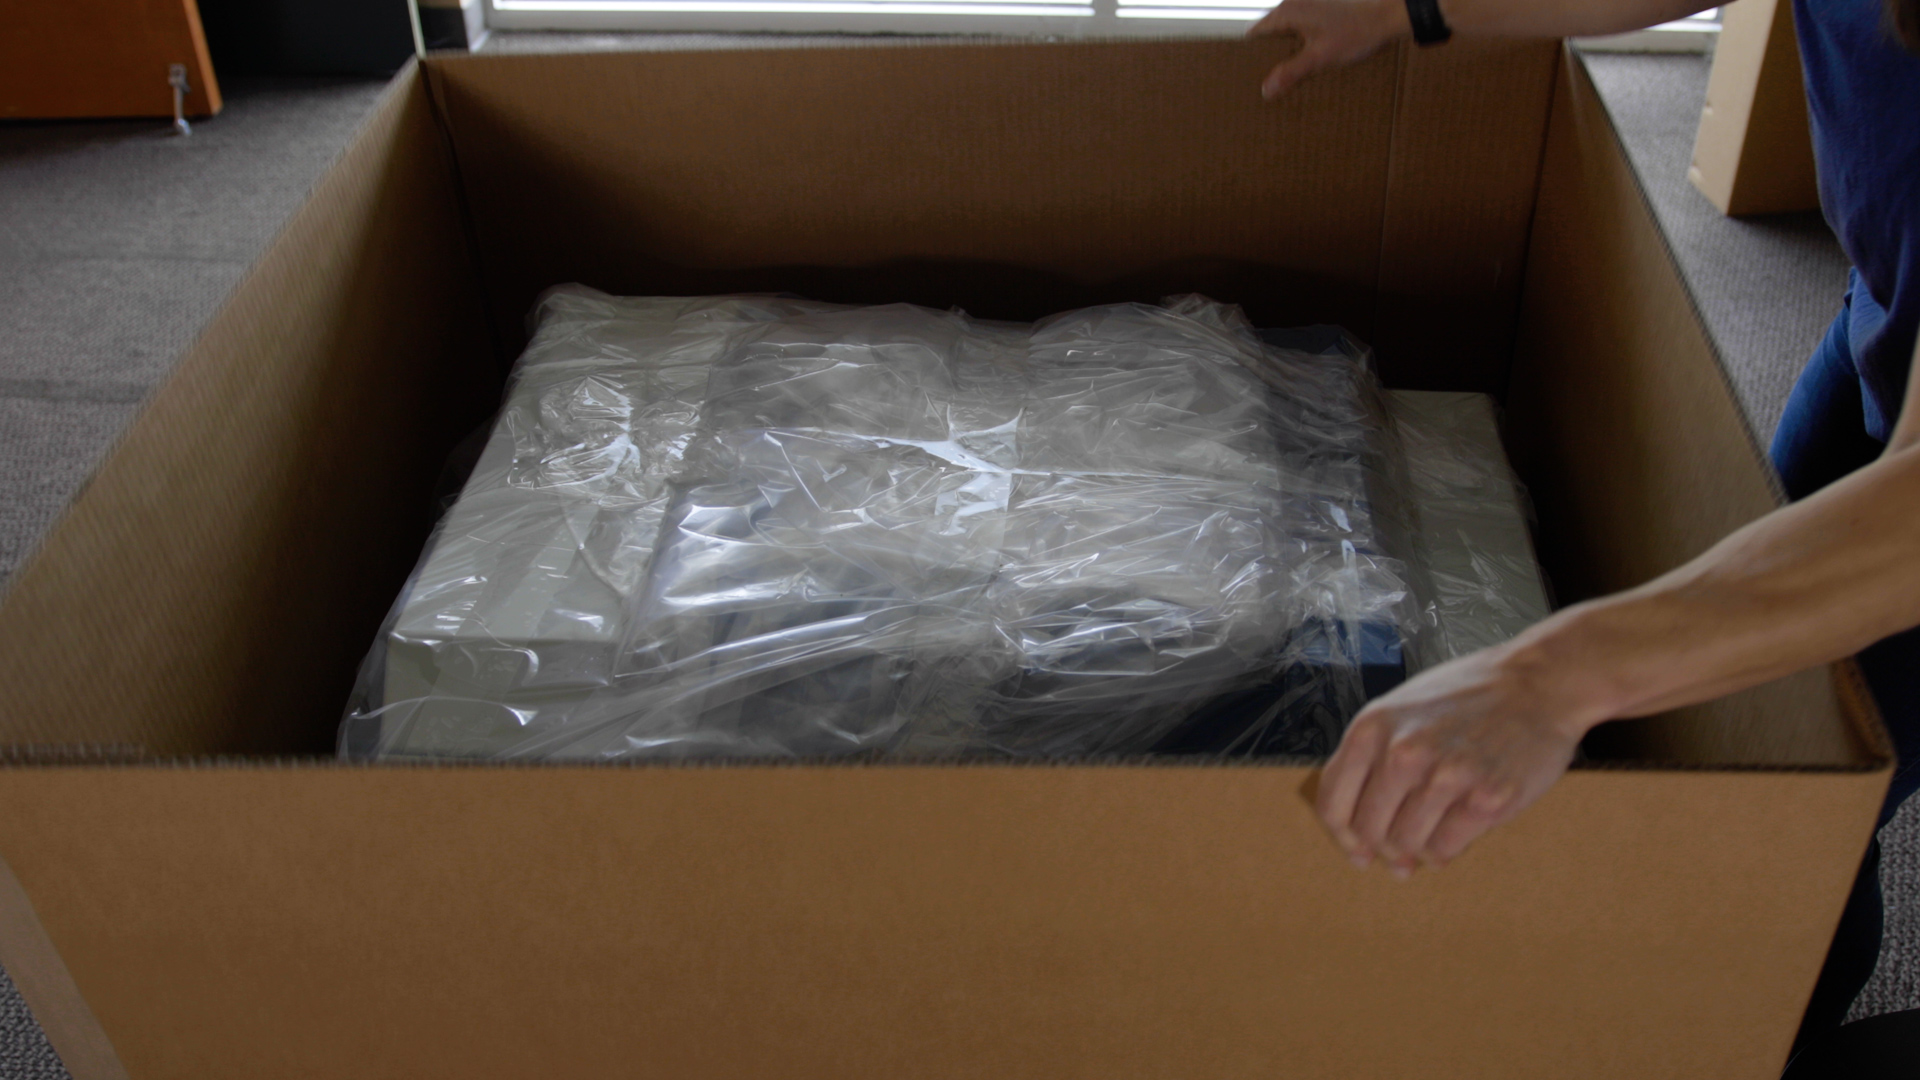
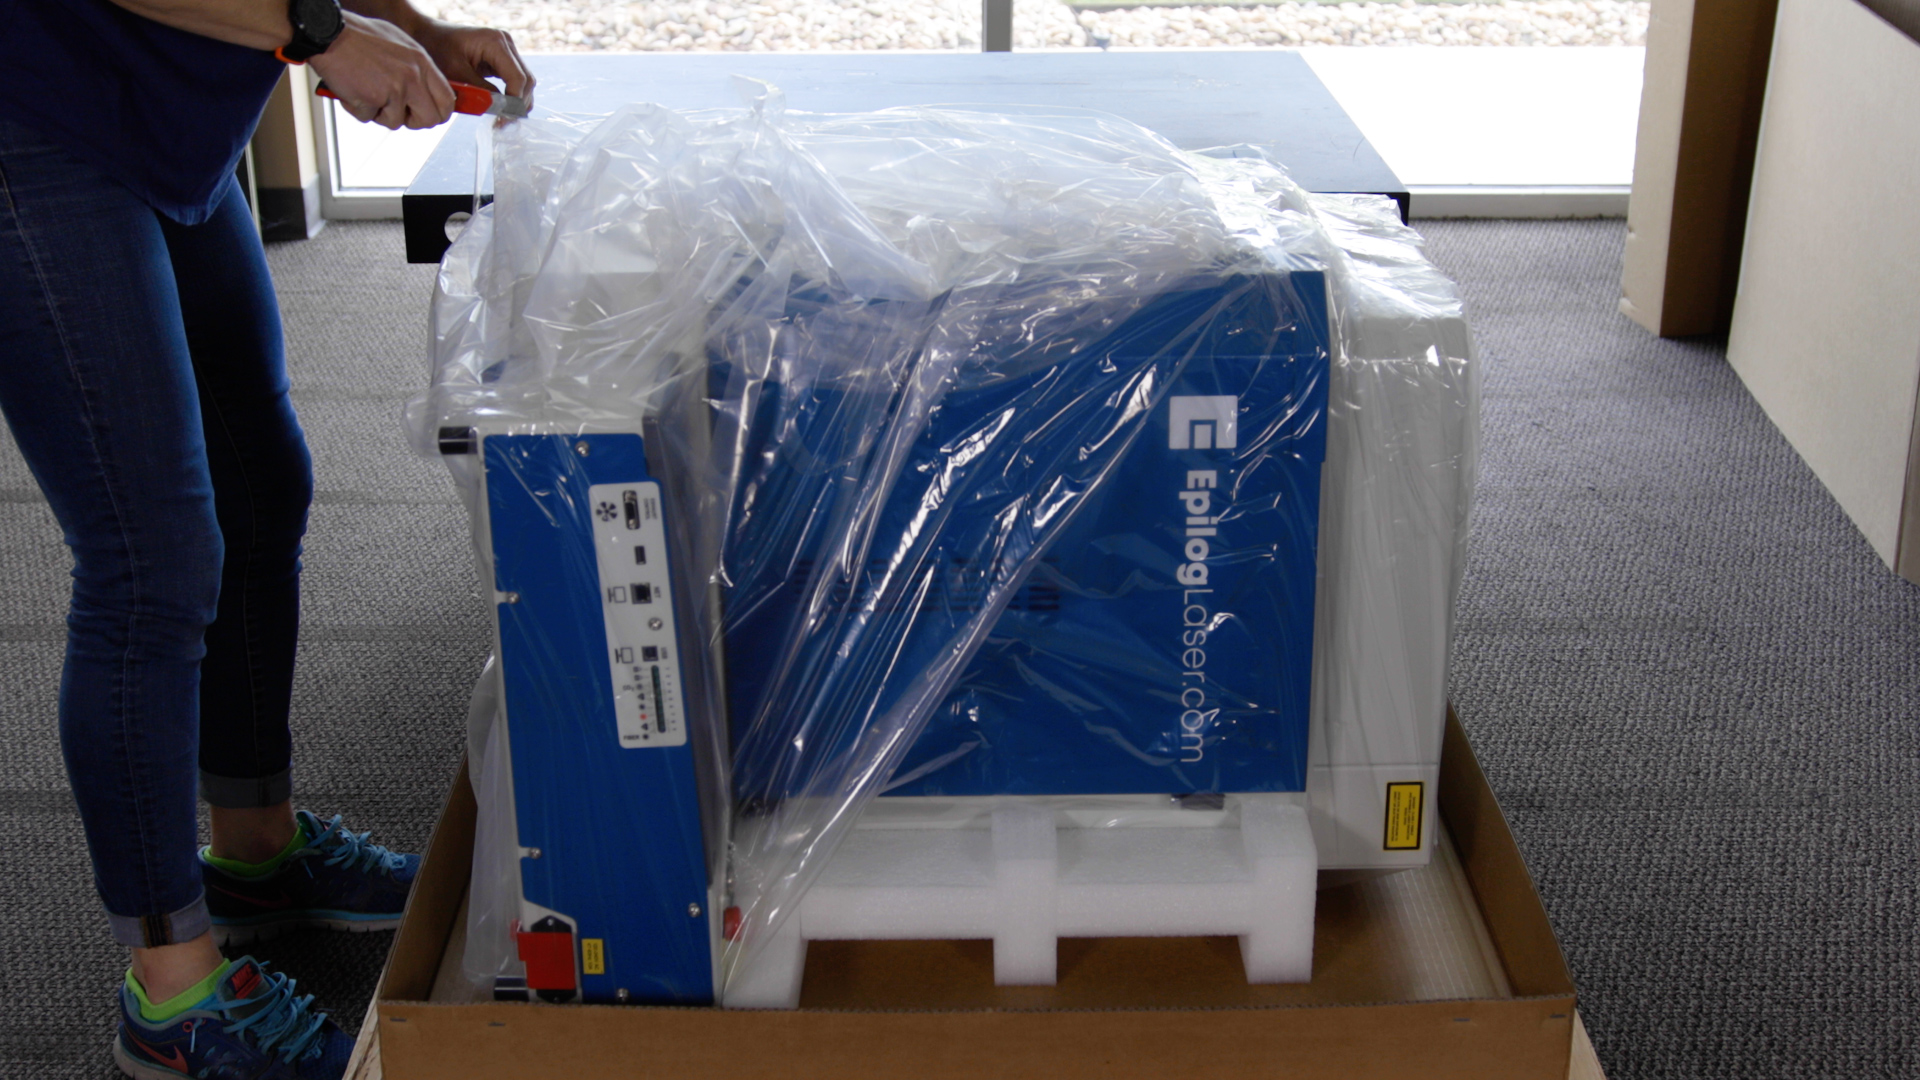
Using scissors or a utility knife, cut the tape sealing the plastic cover around the machine, then unwrap the plastic cover from the machine.
Remove Machine
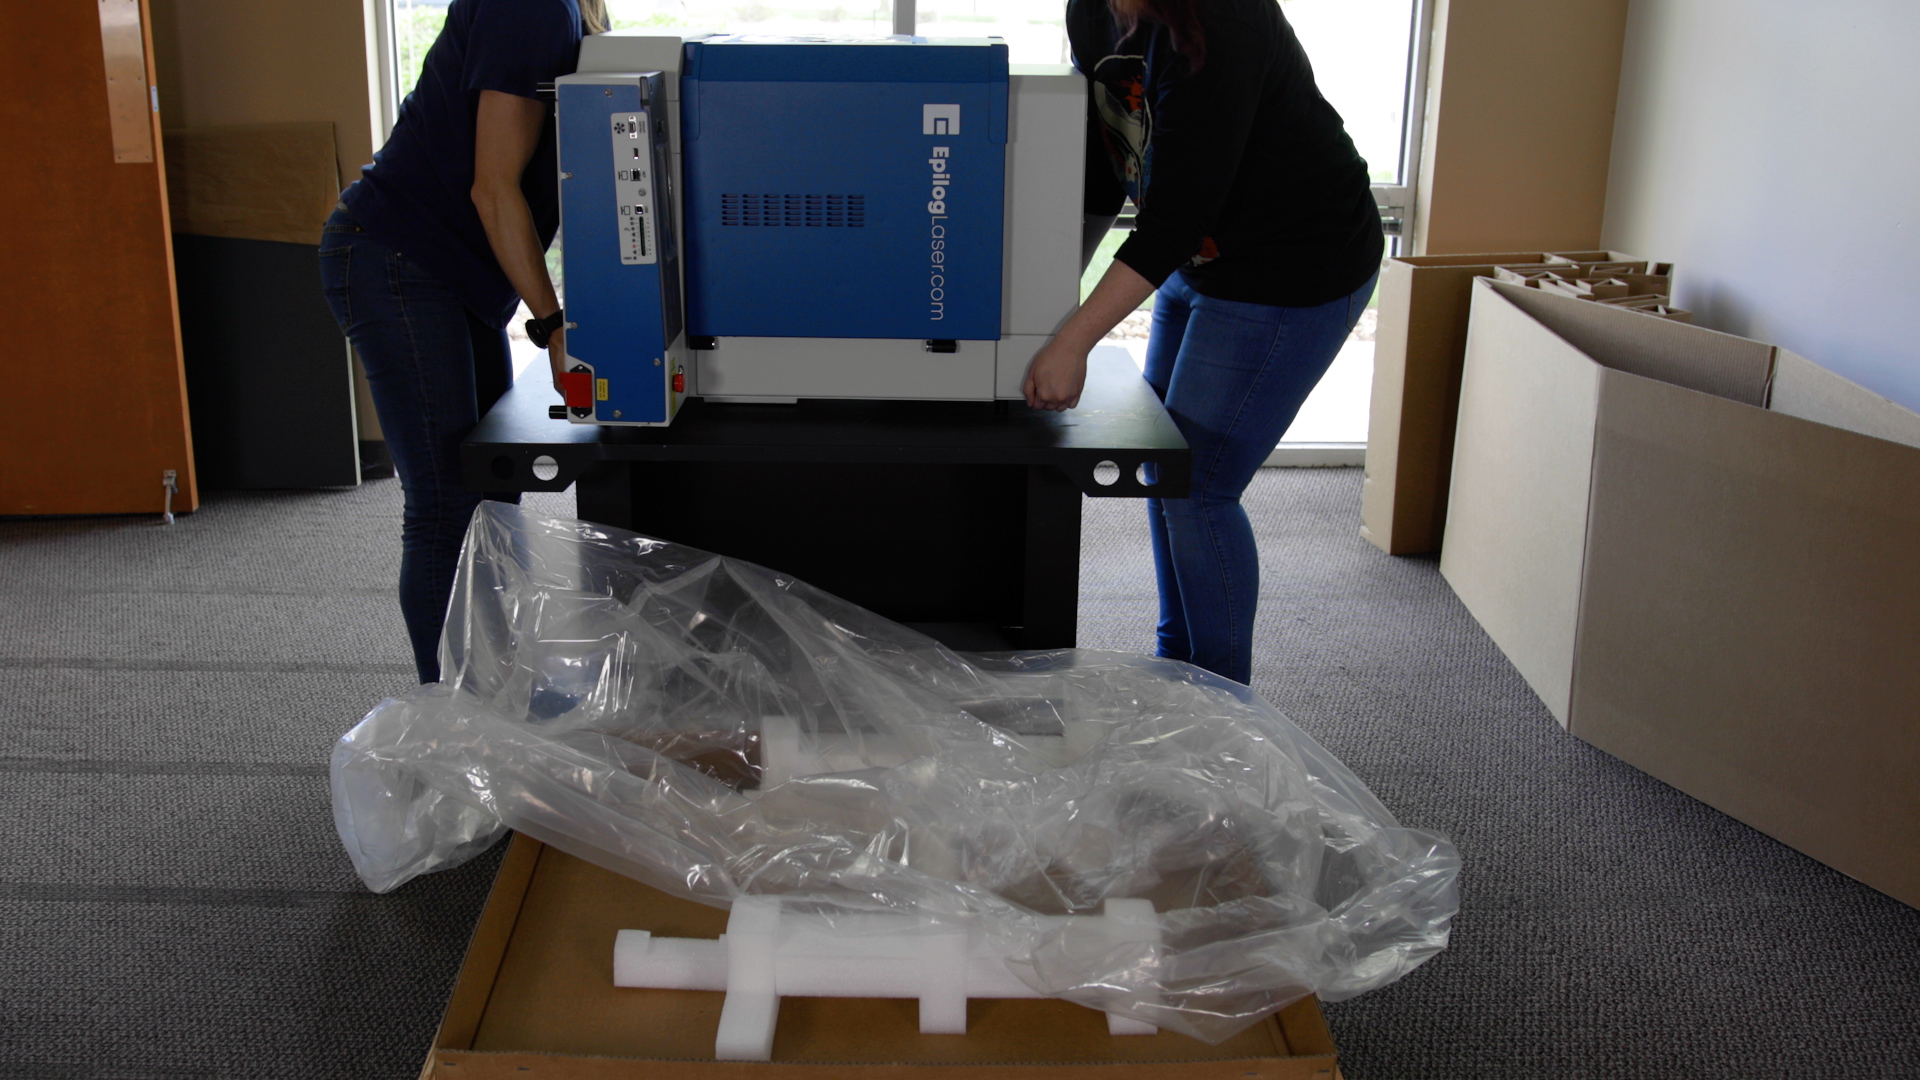
The Fusion Galvo G100 systems weigh approximately 131 lbs (59.5 kg). You will need the help of an additional person when lifting the Fusion Galvo off the pallet and placing it on a stand or table. You will need to place it upright on a suitable surface allowing enough room for easy access to the back of the unit for the exhaust setup.
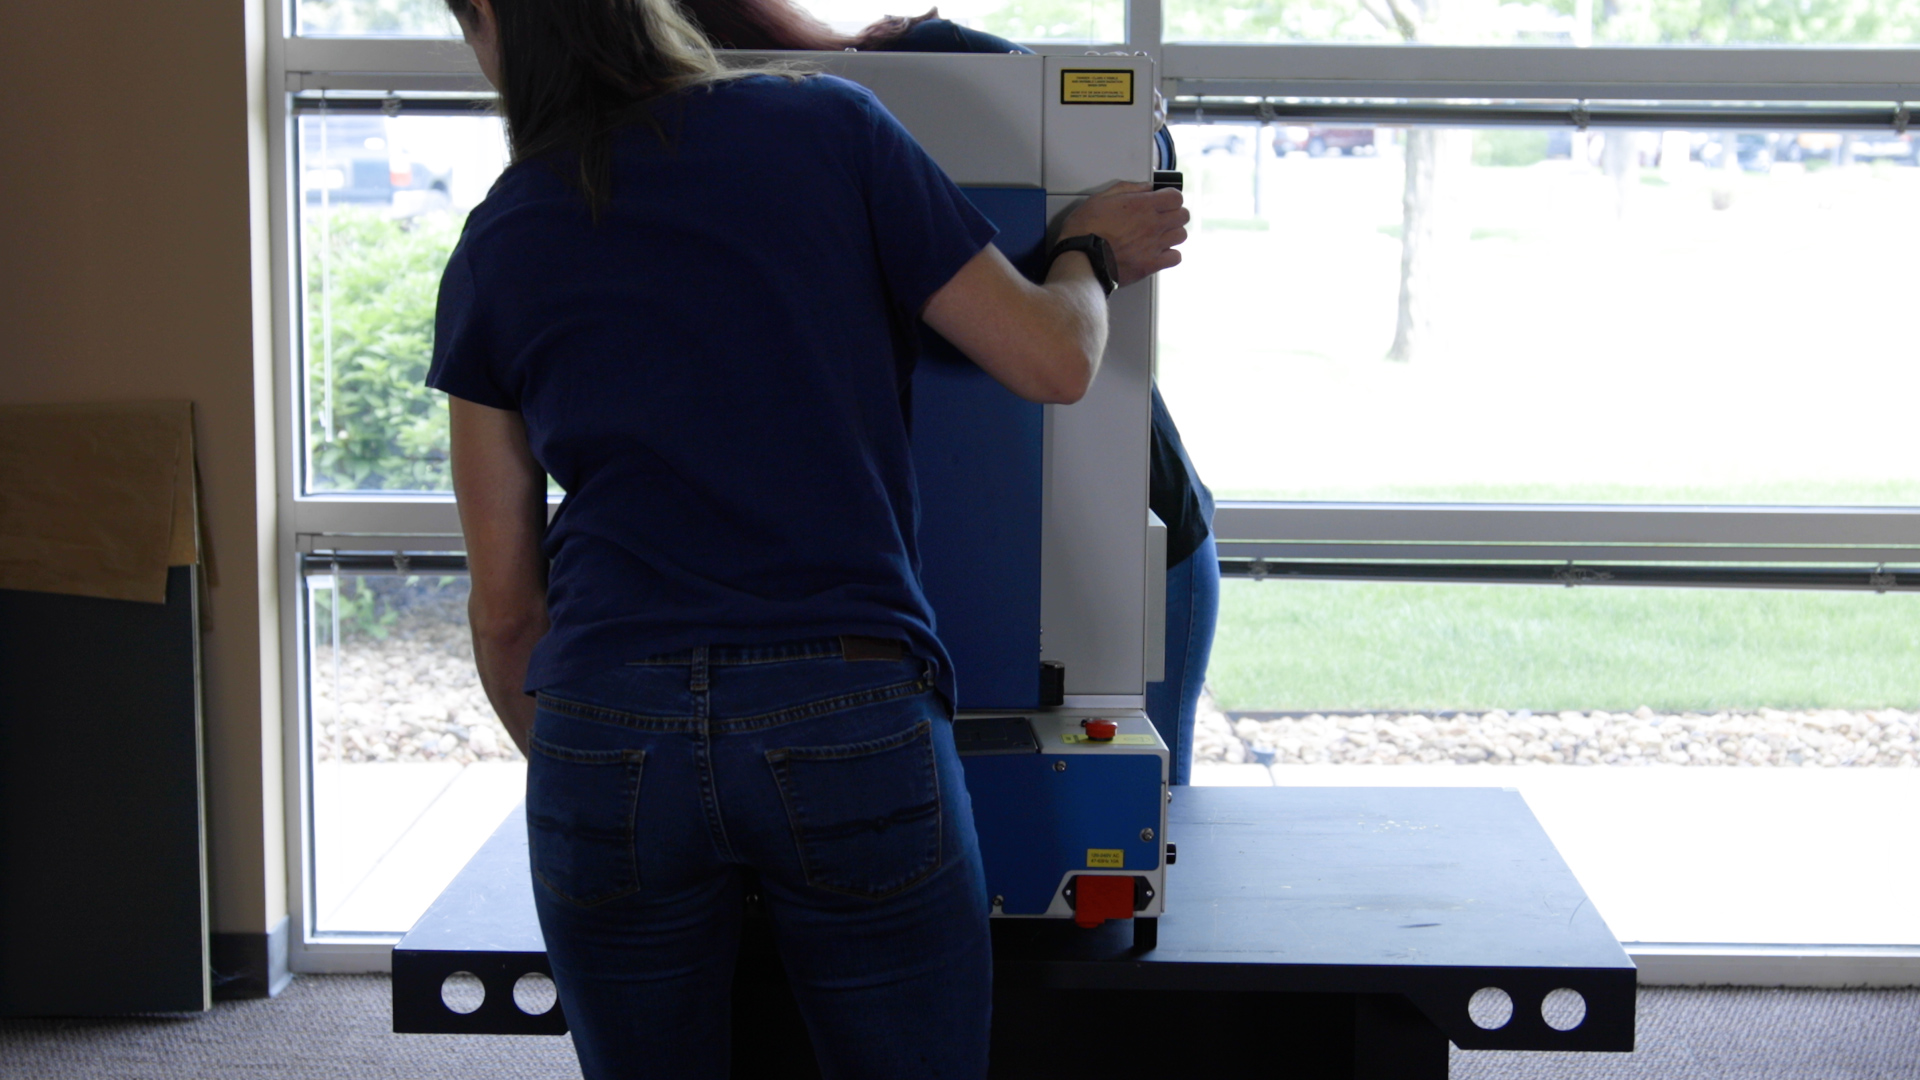
With another person, carefully lift the machine from the box and place it on its back first. Once it is on a stable surface, tilt the machine upward and onto its bottom feet until fully vertical and level.
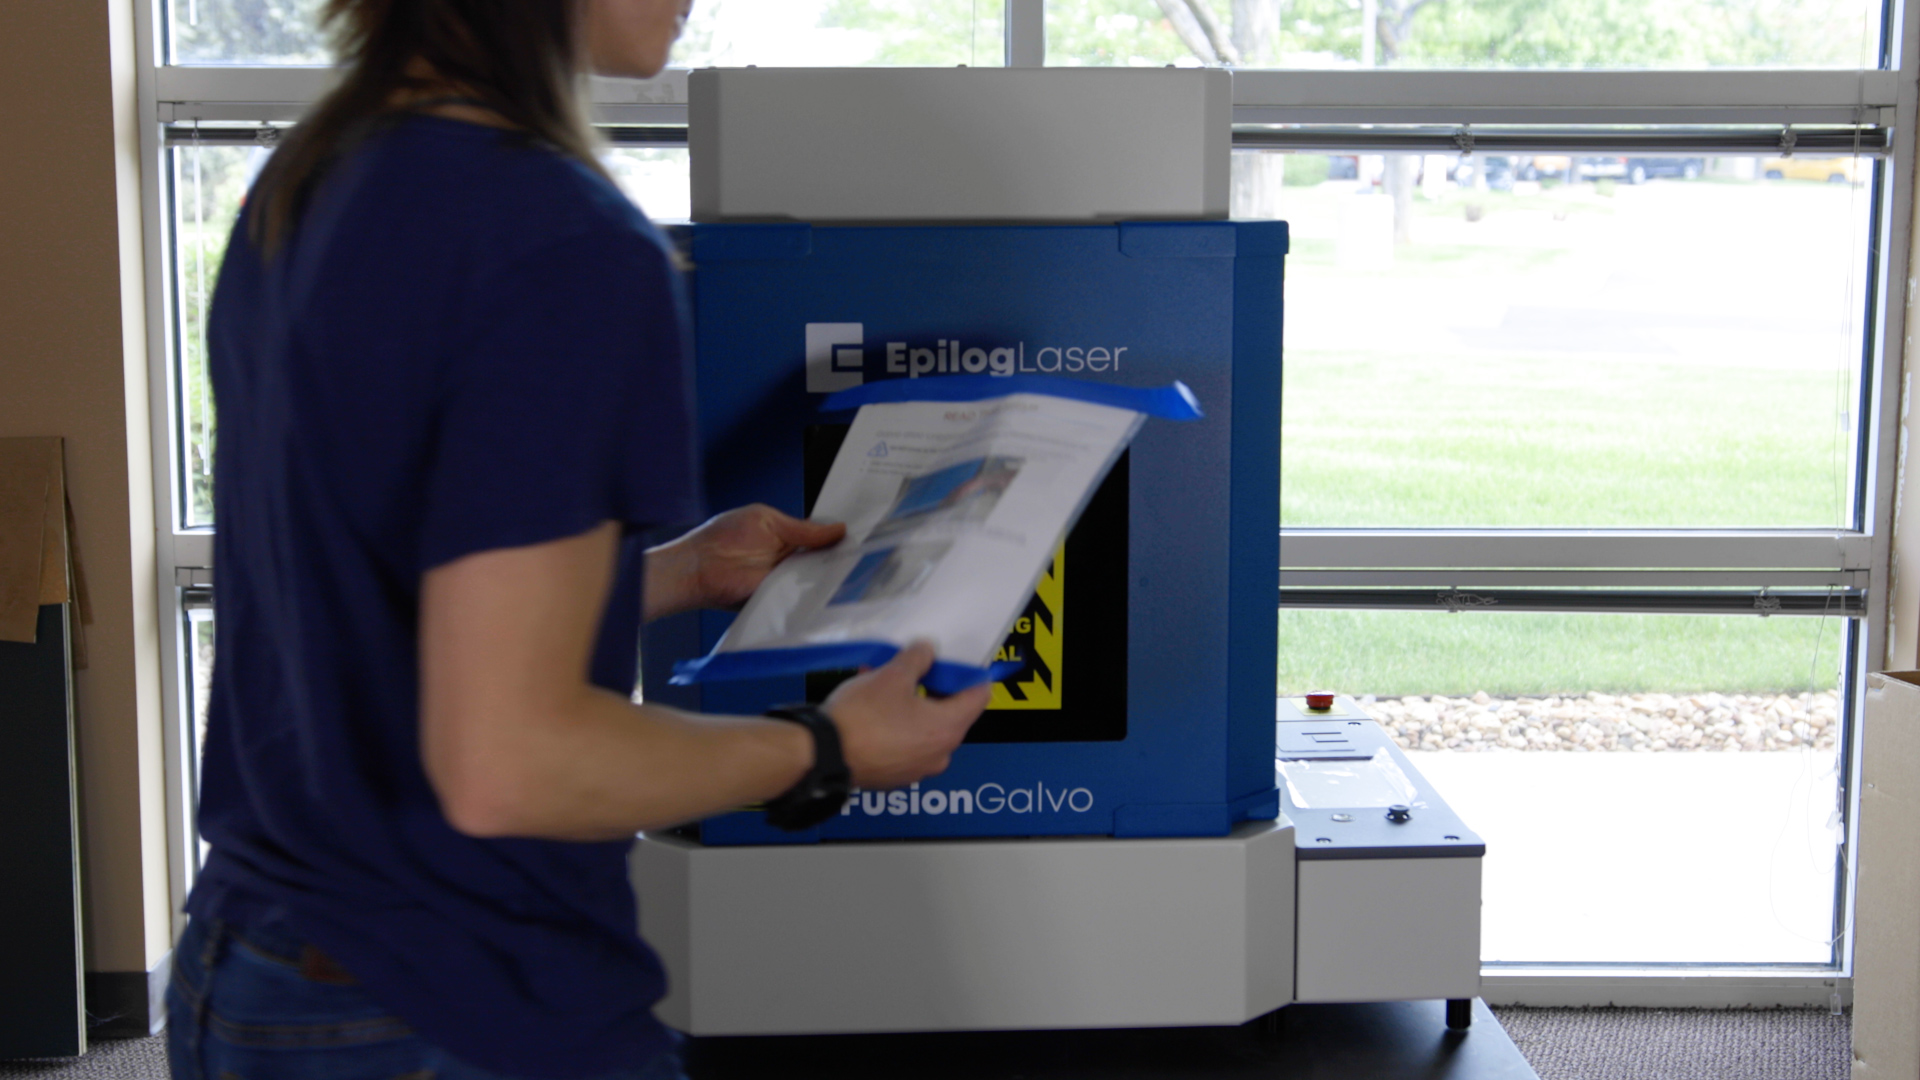
Remove the unboxing instructions from the front of the machine and read them carefully before proceeding.
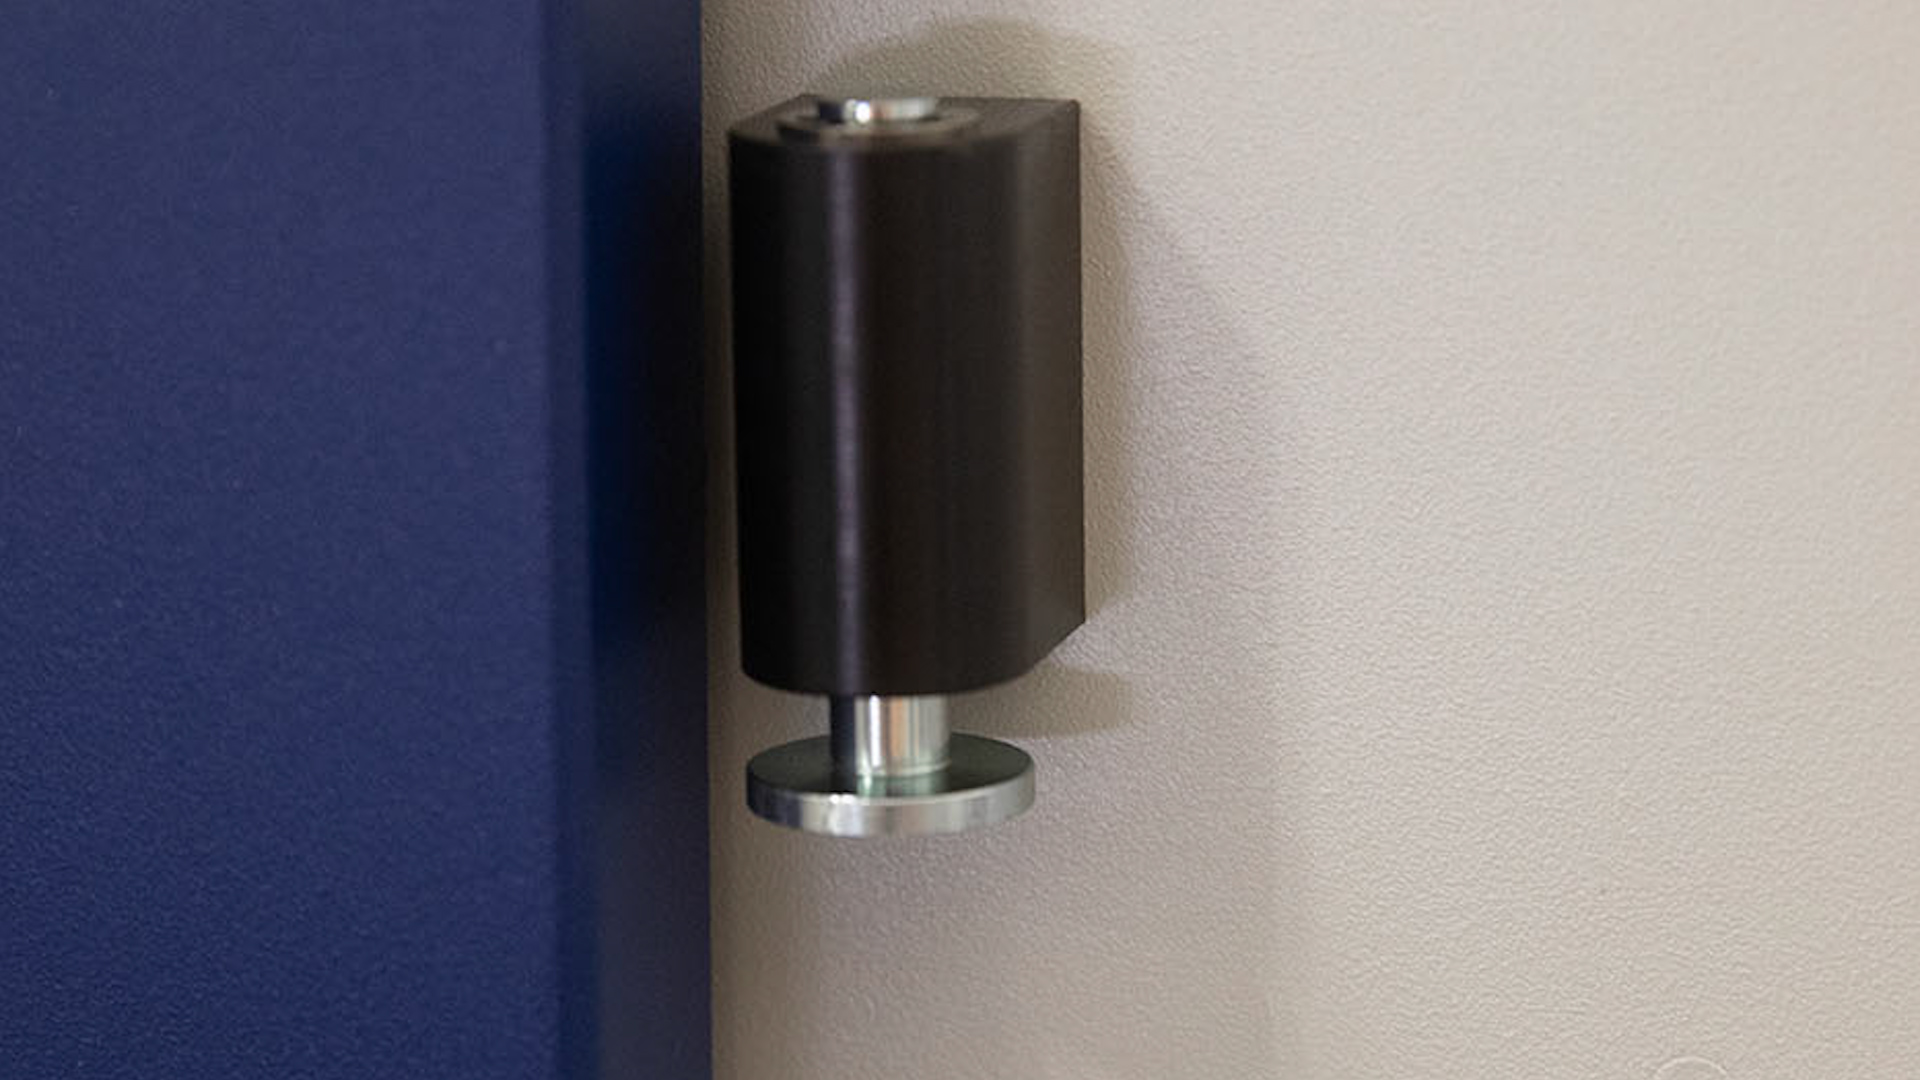
The front door will need to be manually opened. Using the indents at the bottom corners of the front door, manually raise the door as high as it will go until the magnets on both sides of the machine engage. The side magnets are designed to keep the door open when the G100 is powered off.
Remove Brackets
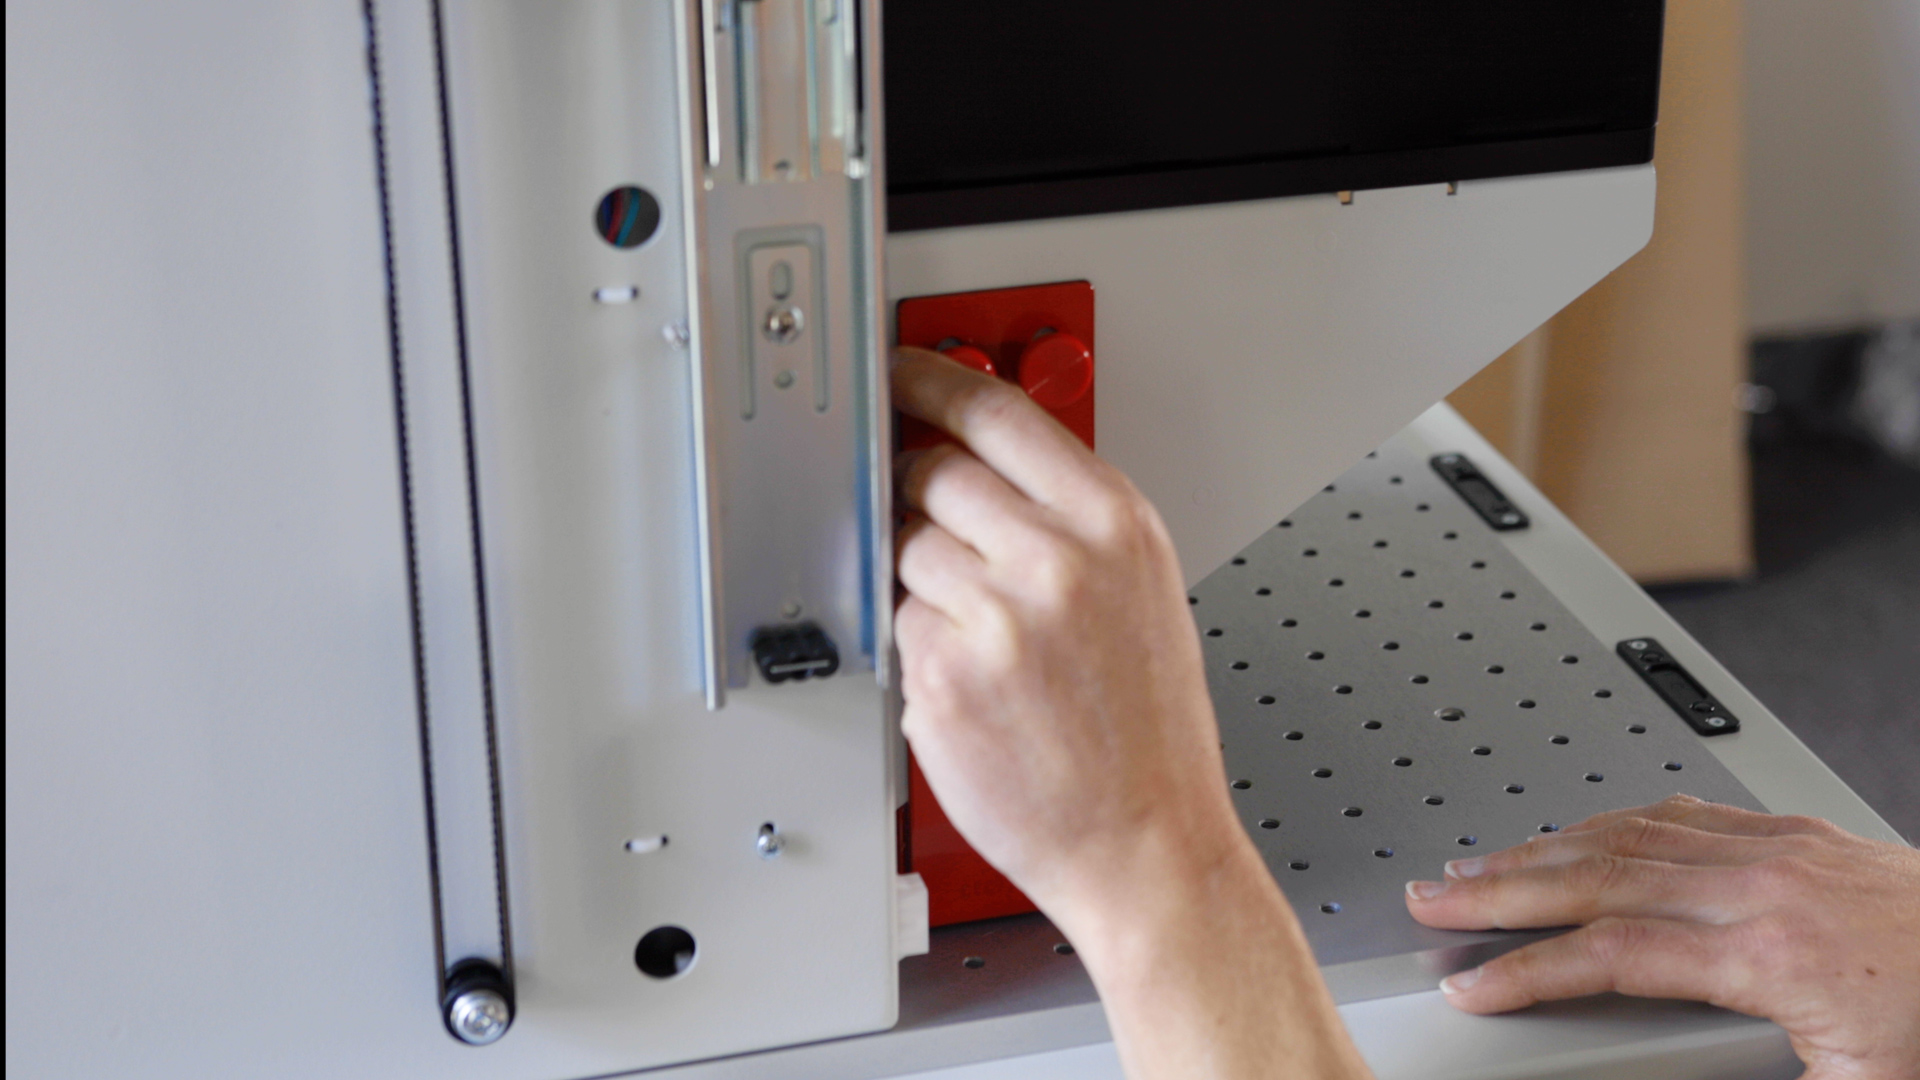
There are two red brackets holding the lens platform in its shipping mode. Remove the red thumbscrews from both brackets and then remove the brackets from the interior of the machine. The lens platform will remain in place after removing the red thumbscrews.
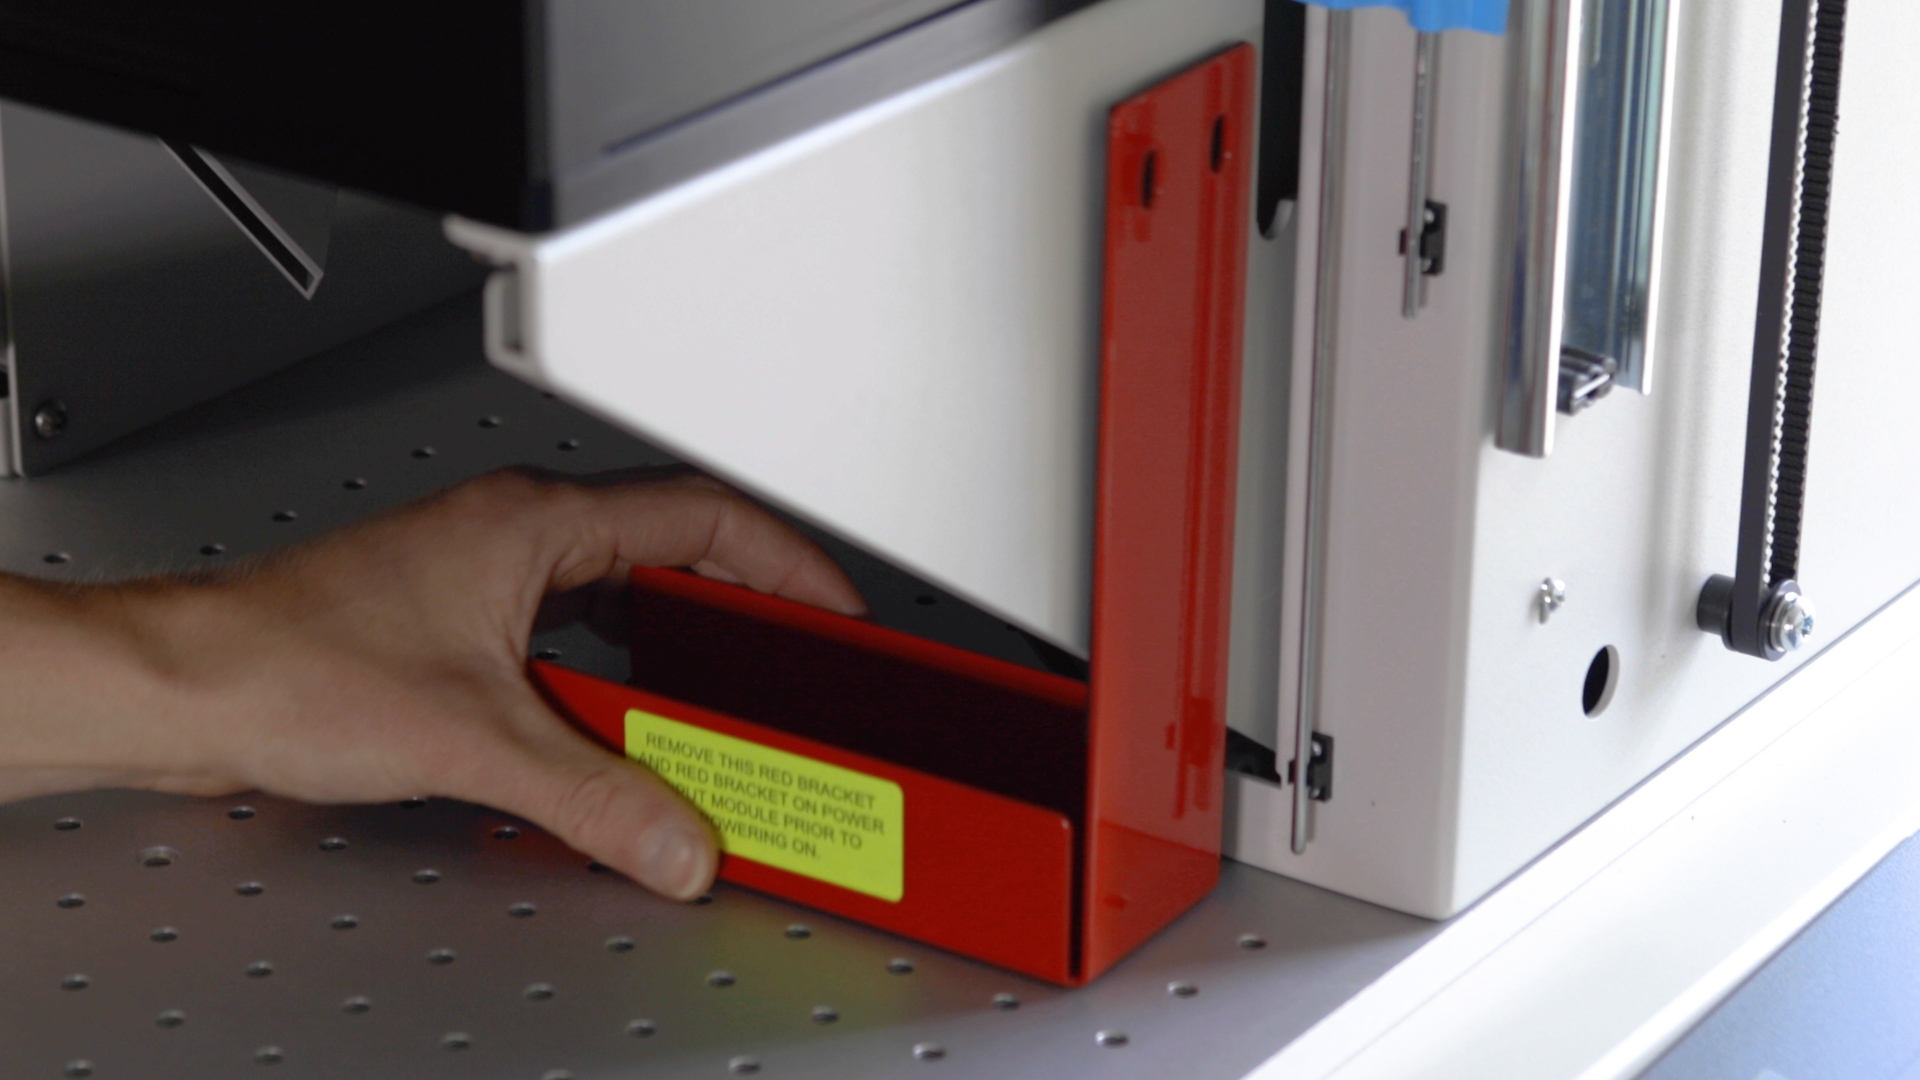
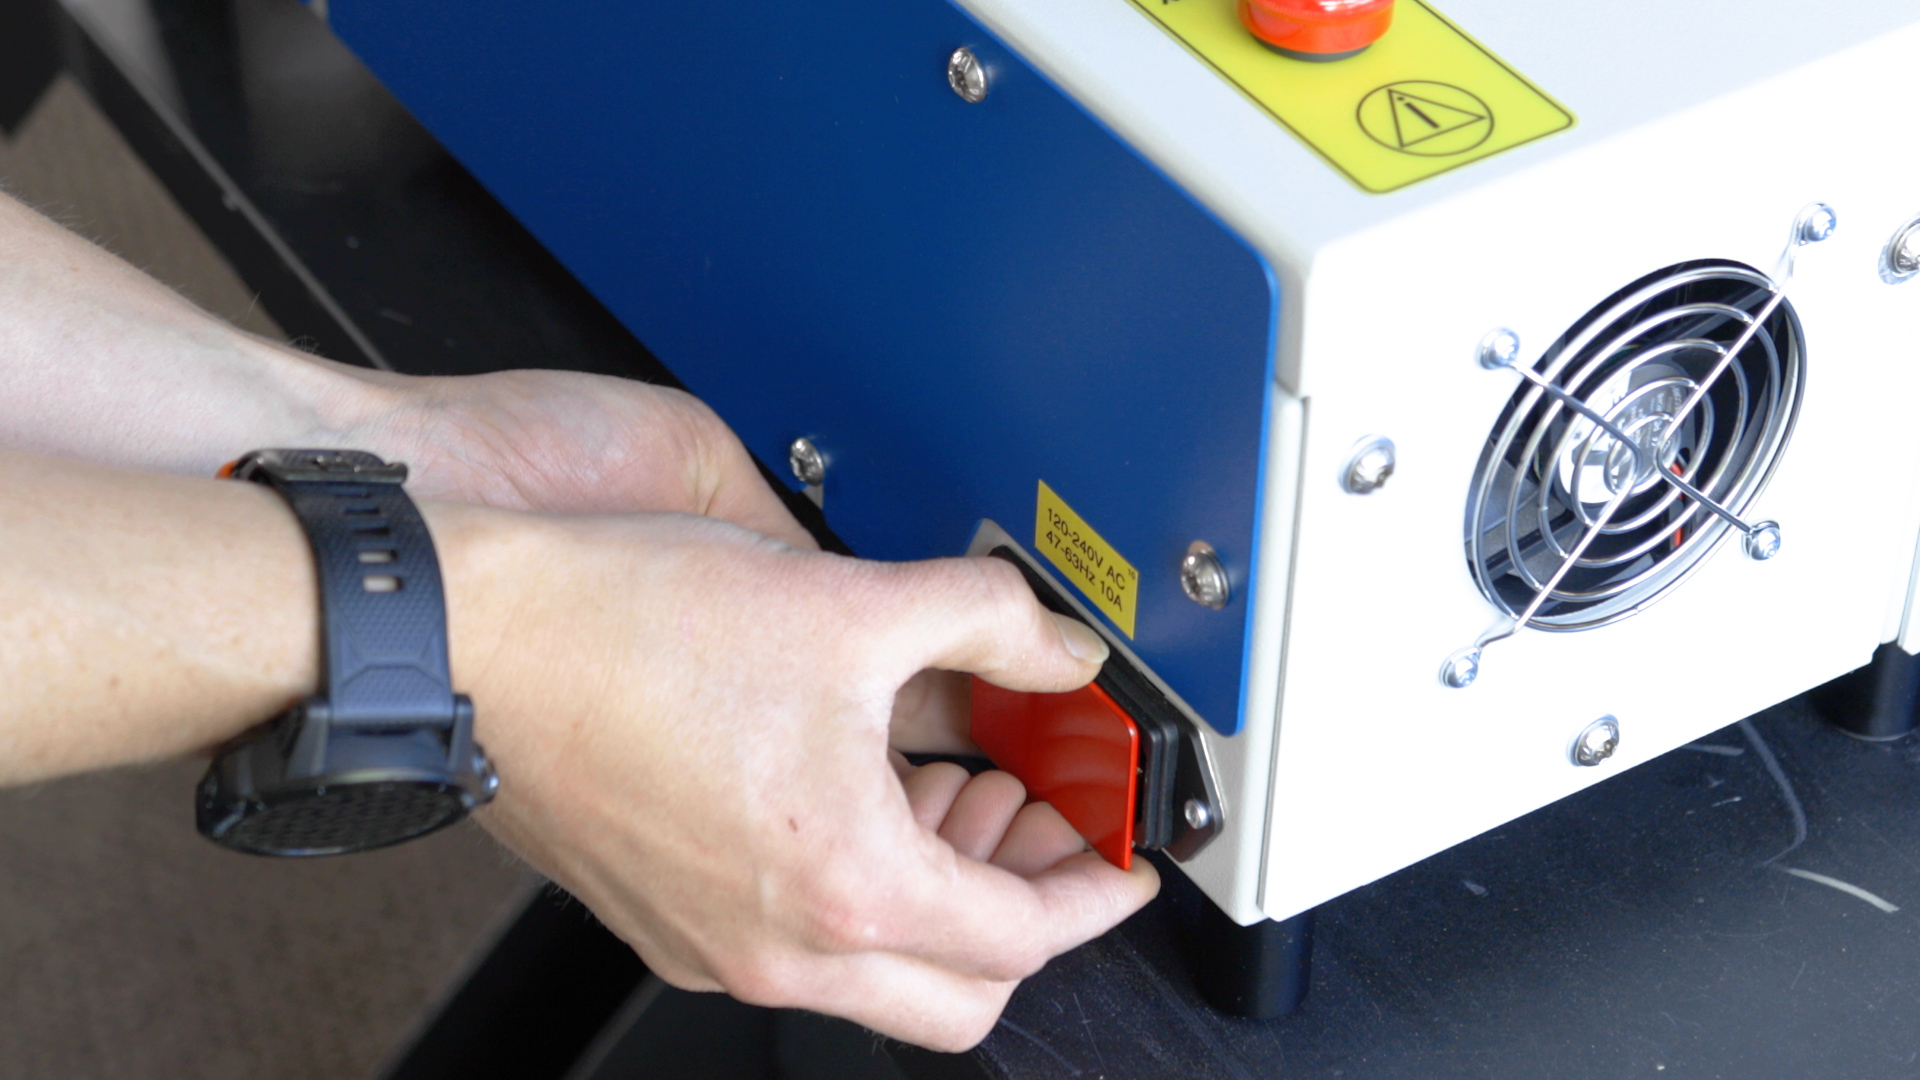
Remove the red bracket covering the power input receptacle.
Again, be sure to save the packaging material so you can use it when moving the system in the future.
Included Items
Next, open the accessories box and we’ll look at the included items.
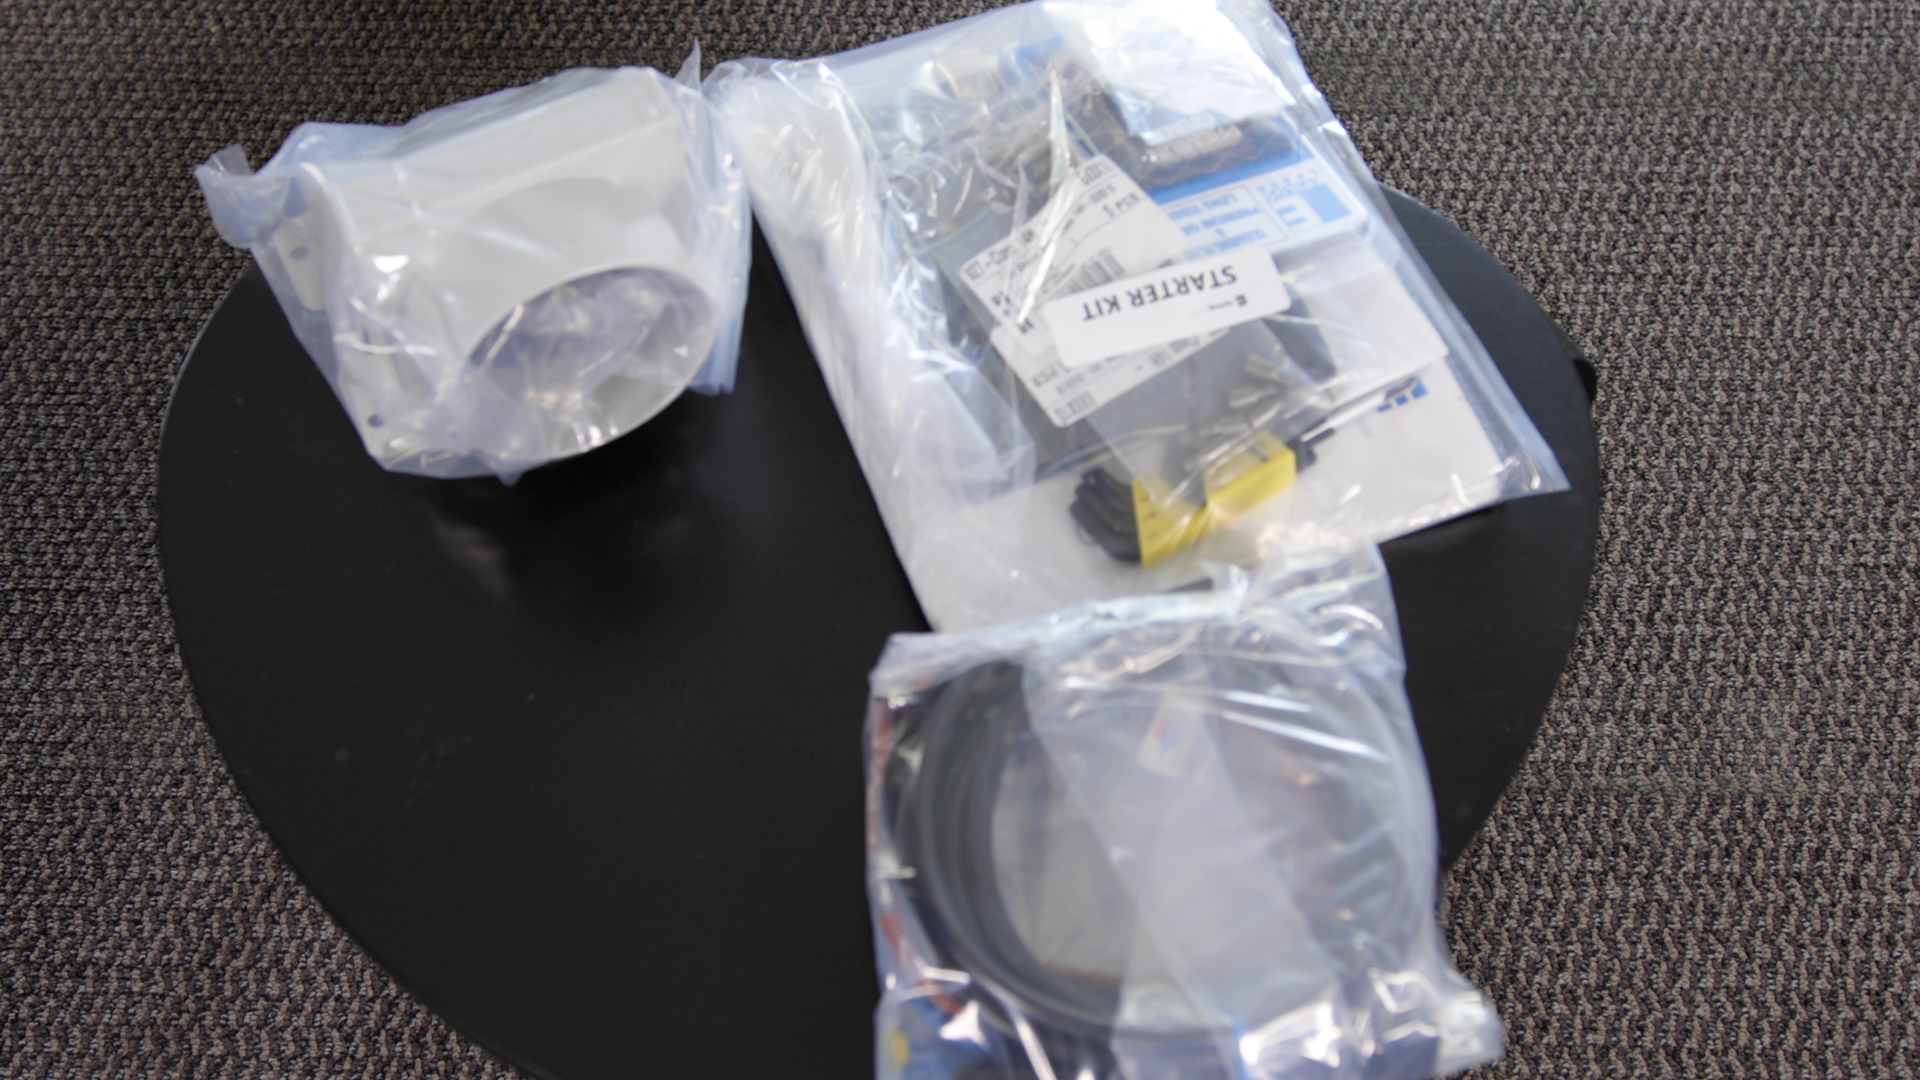
Your Fusion Galvo G100 laser system includes:
- Power cord
- Ethernet cord
- USB cord
- Exhaust Port
- F254 Lens
- Driver Install USB
- Quick Start Guide
- Owner’s Manual
- Training Suite Signup Card
- Laser Beam Alignment Target (not 100% sure this is included)
- Lens Cleaner
- Camera Calibration Mat
Power On
The G100 is now ready to be powered on.
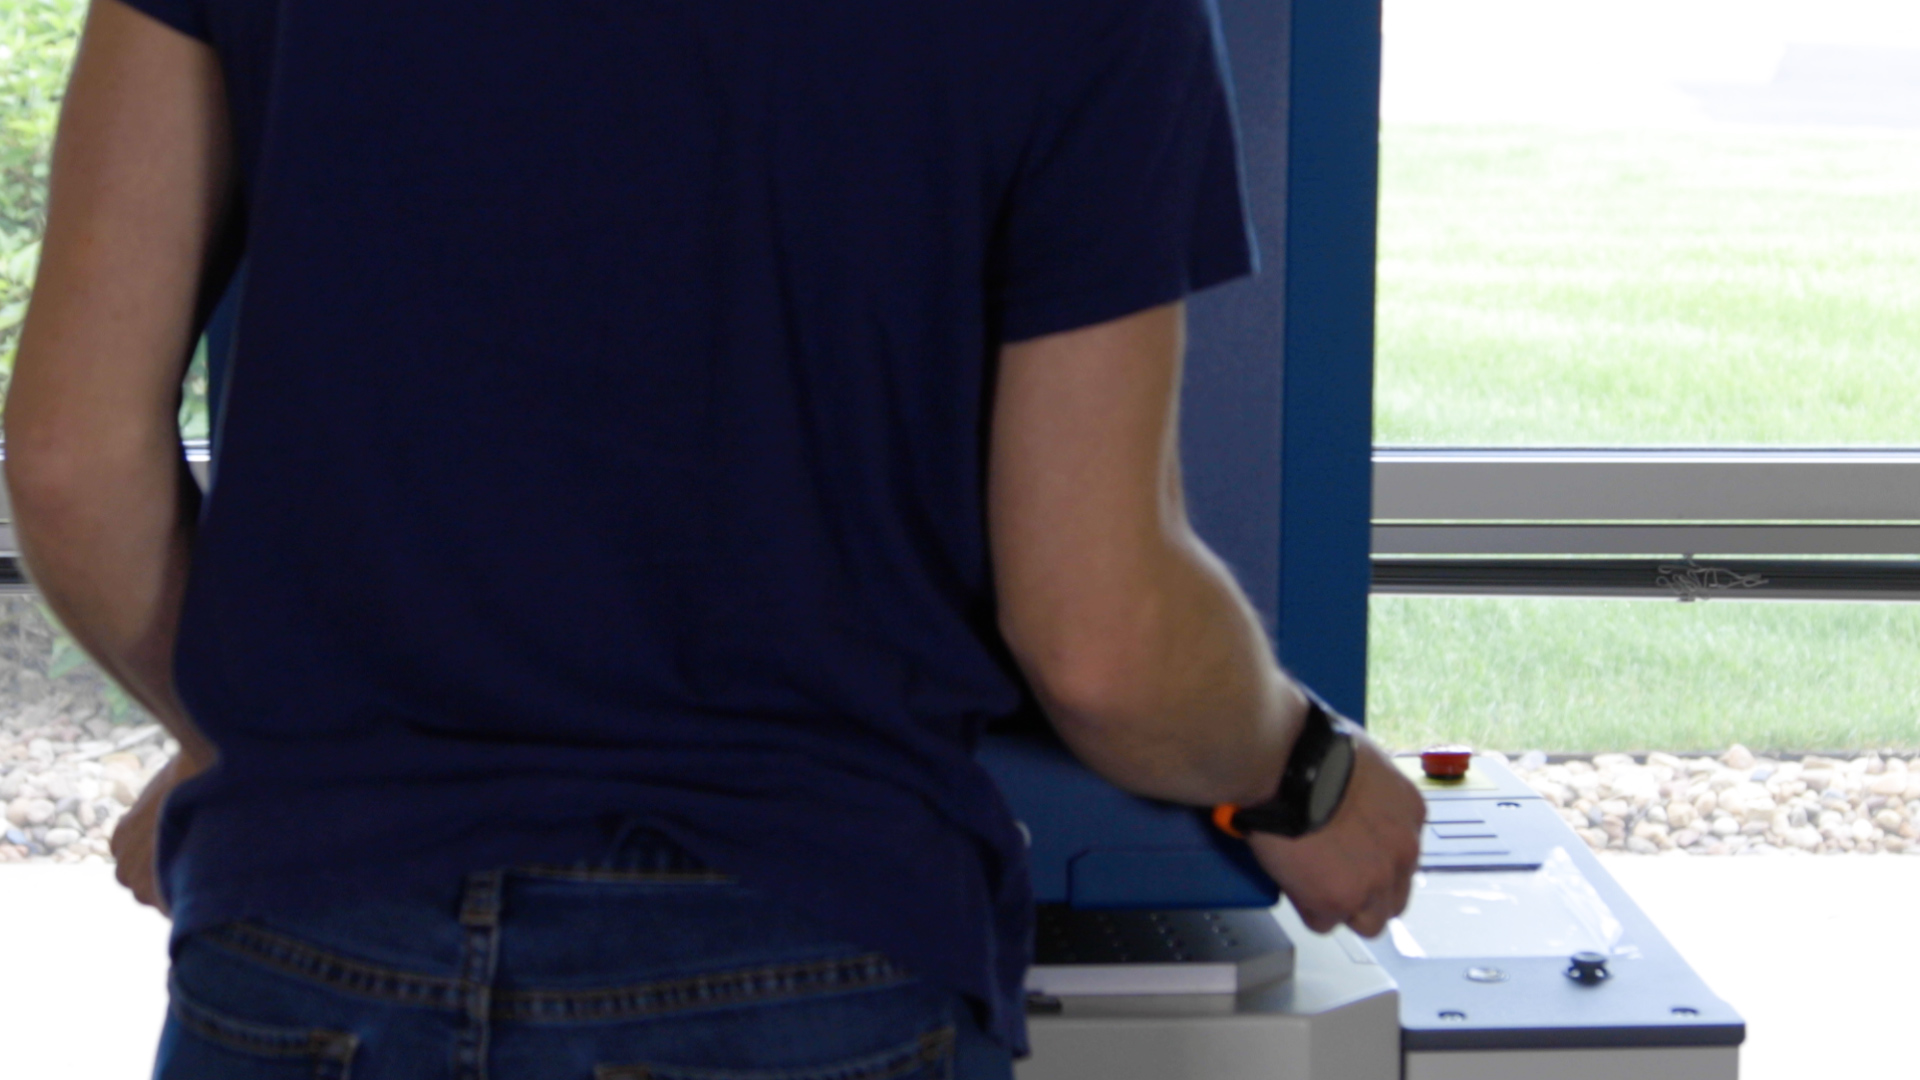
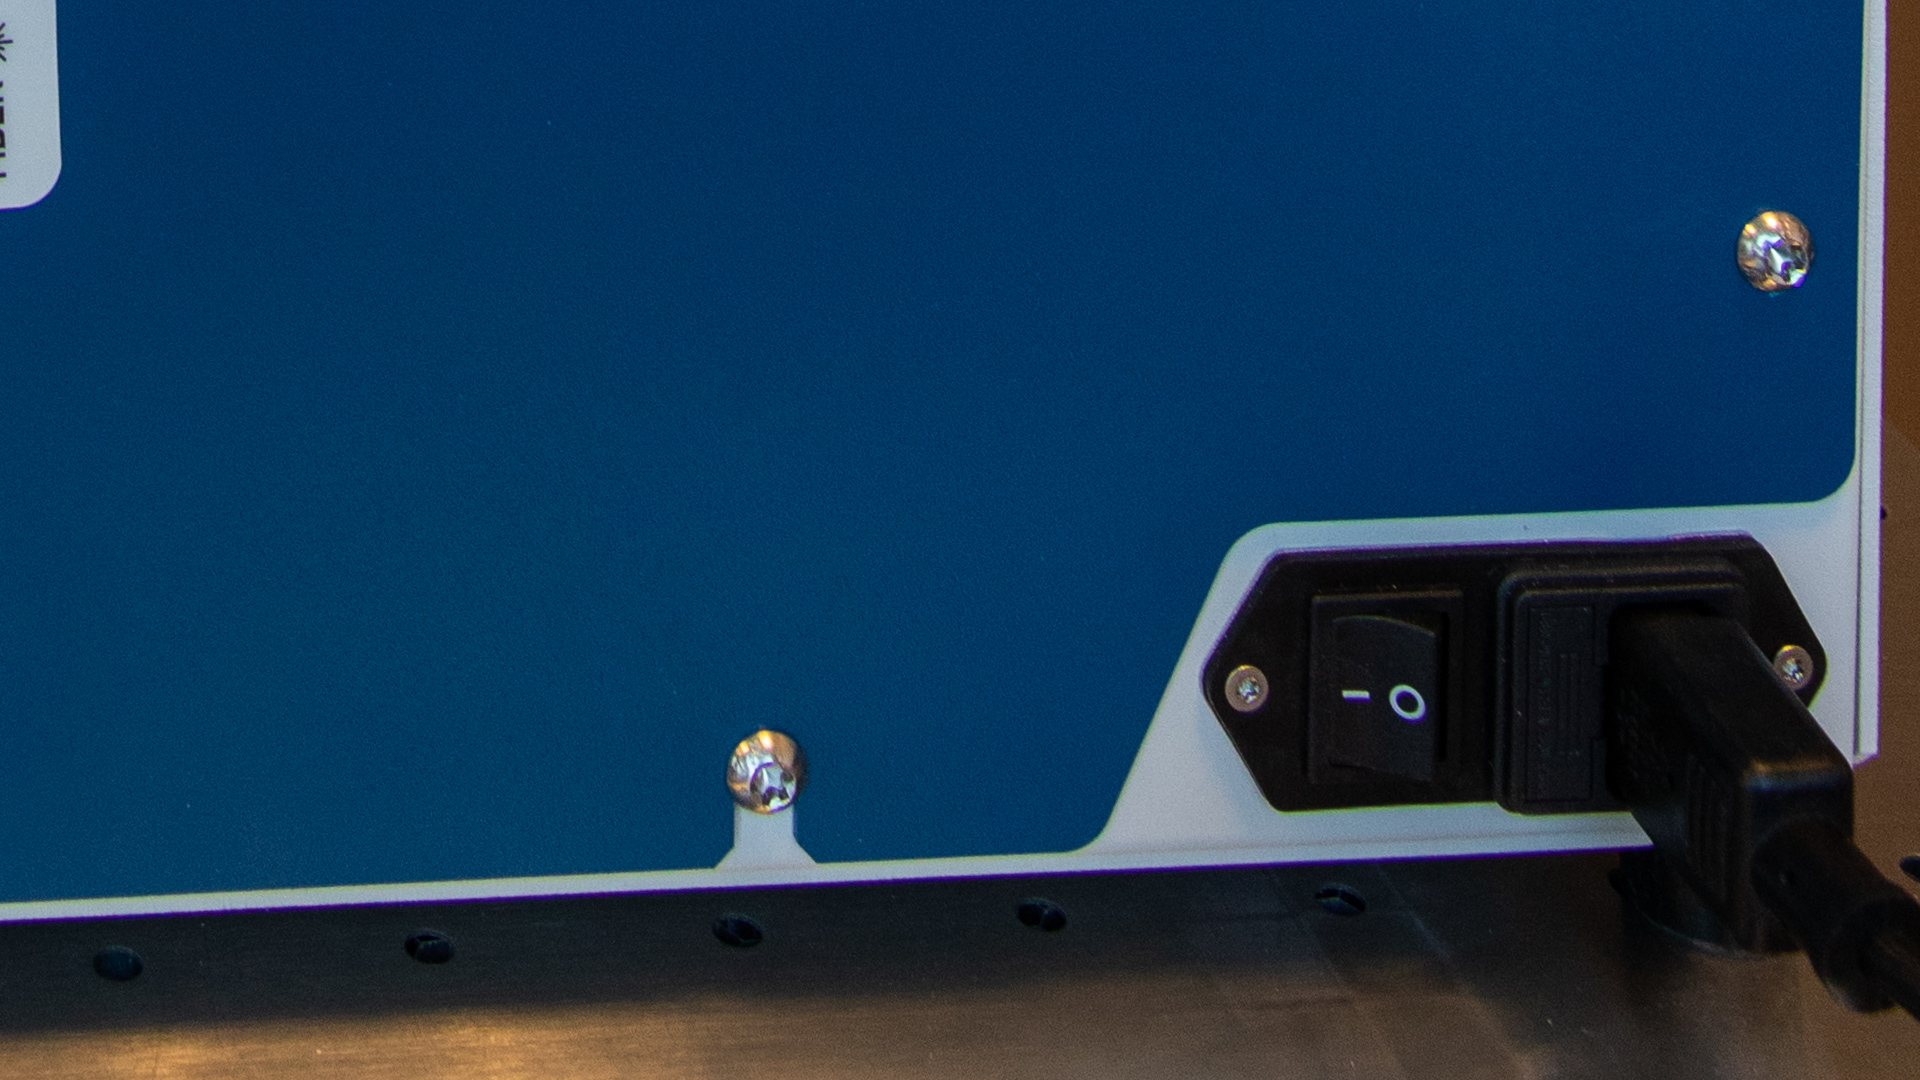
Plug in the power cord and insert the key into the key slot to power up the machine. Remember, both the power switch and the key must be in the “On” position for the machine to power up.
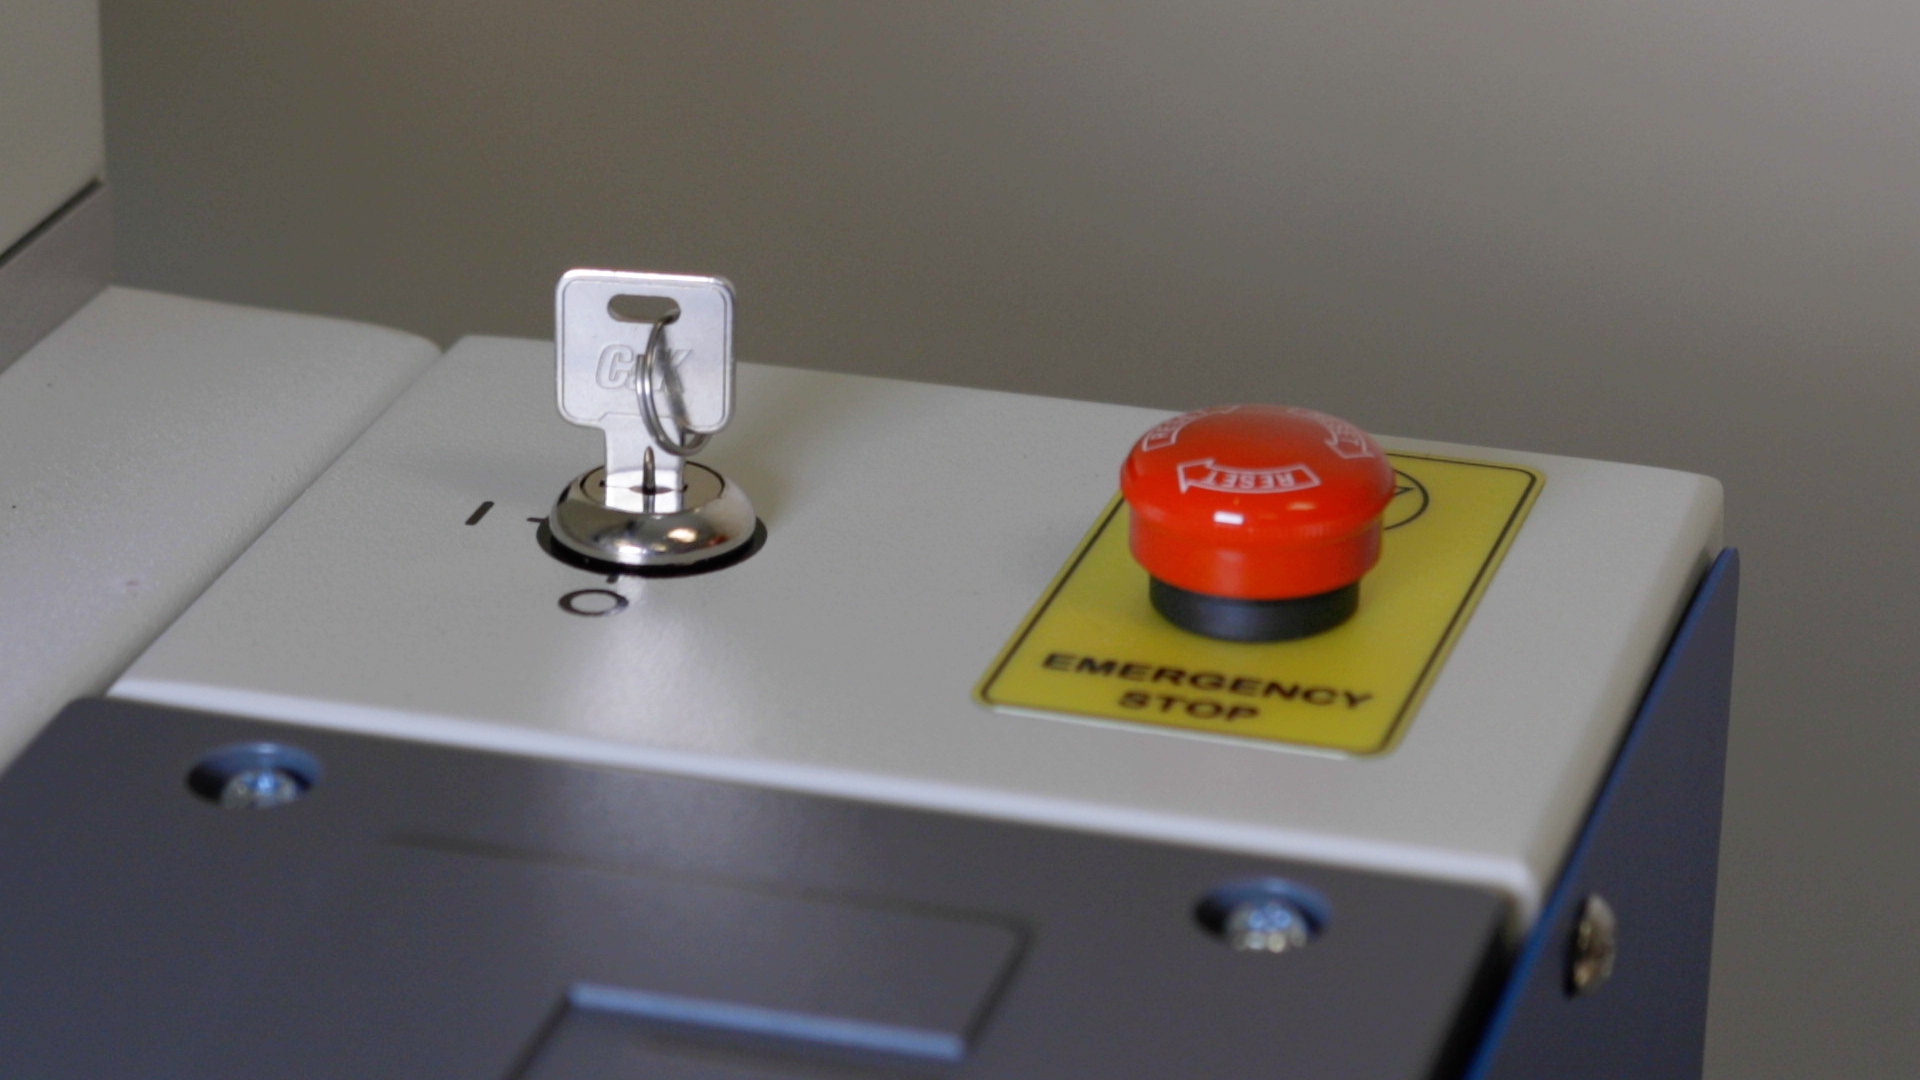
Ensure the Emergency Stop button has not been engaged by twisting it in the clockwise direction. The G100 will not power up if the Emergency Stop button has been engaged.