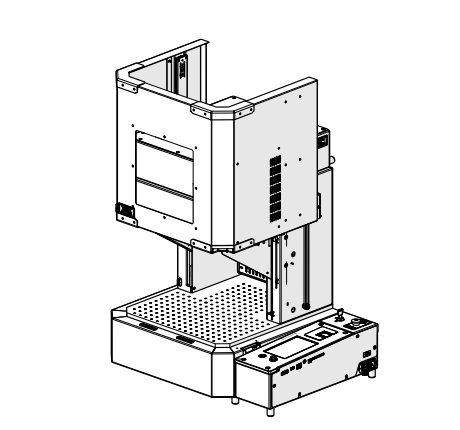
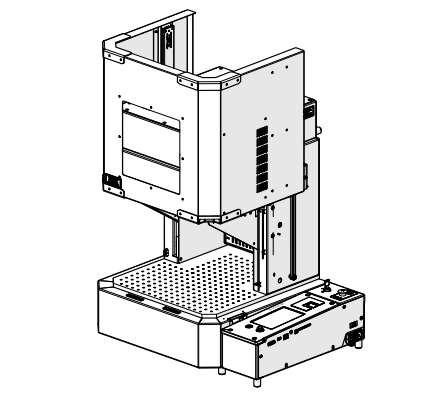
This technical guide provides step-by-step instructions for removing and installing the Galvo Assembly in the G100 laser system.
Part 1: Removal Procedure
Safety First: Ensure the machine is fully powered down and disconnected before beginning service.
Turn off the engraver.

Disconnect from power.
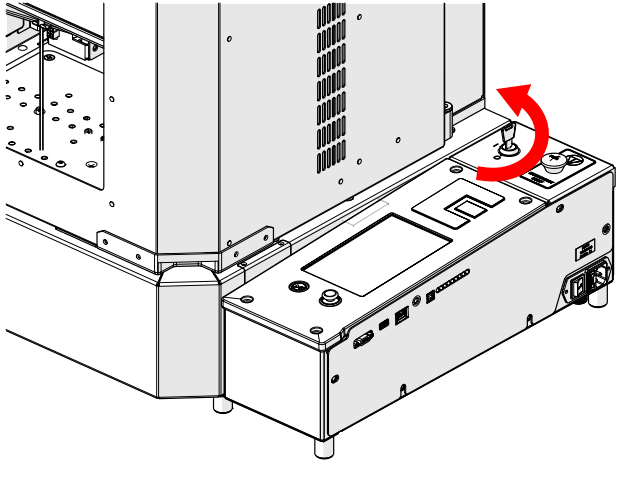
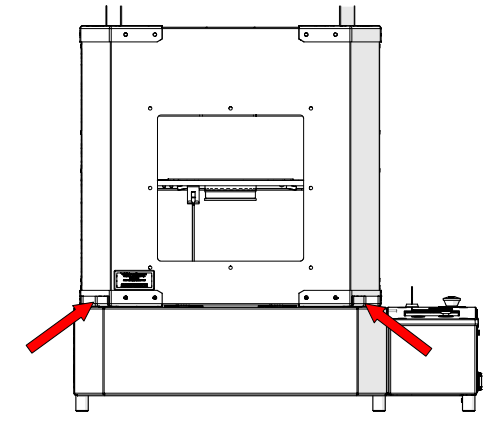
Locate the door handles.
Open the door.
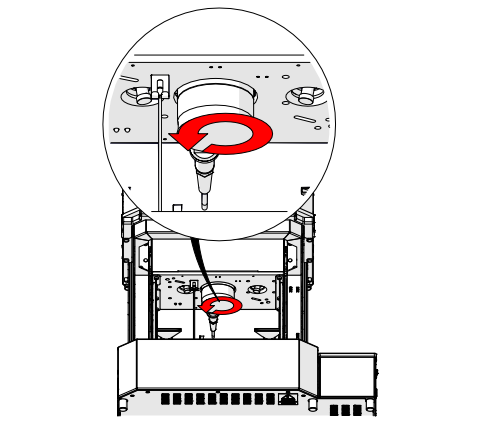
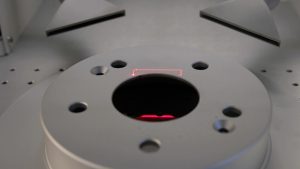
Loosen lens assembly.
Remove lens assembly.
Lower the door.
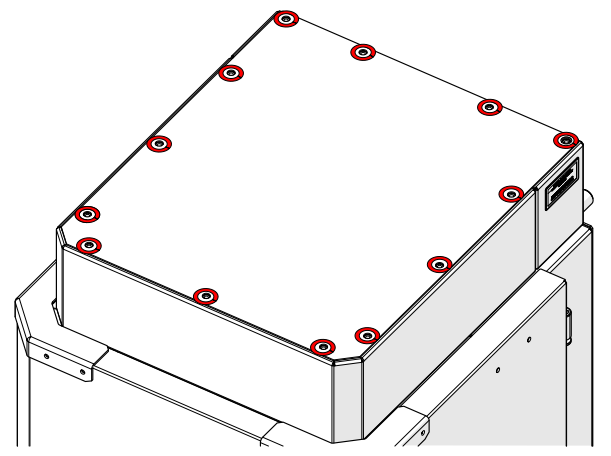
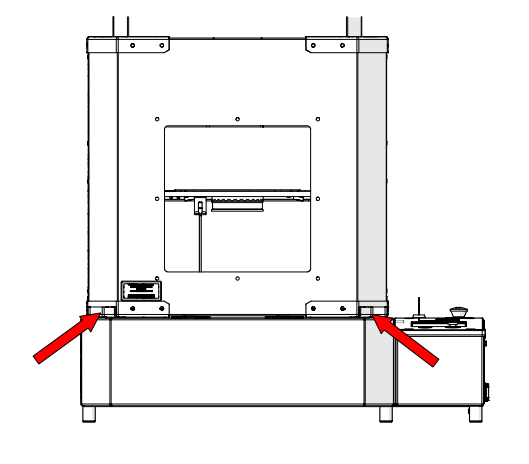
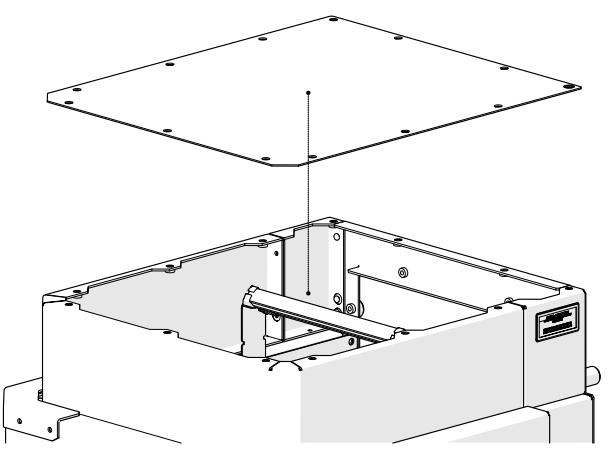
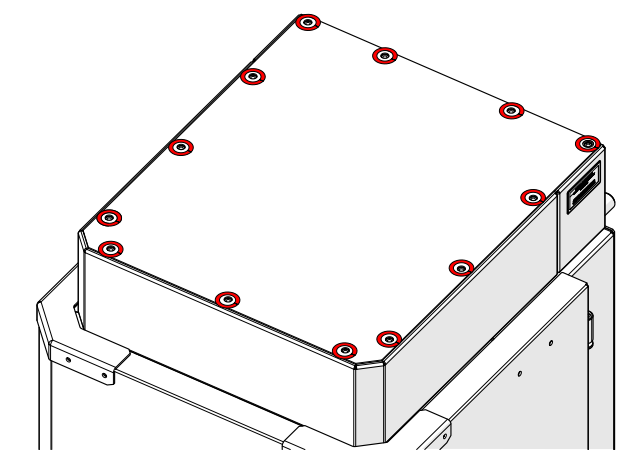
Loosen and remove the top panel screws.
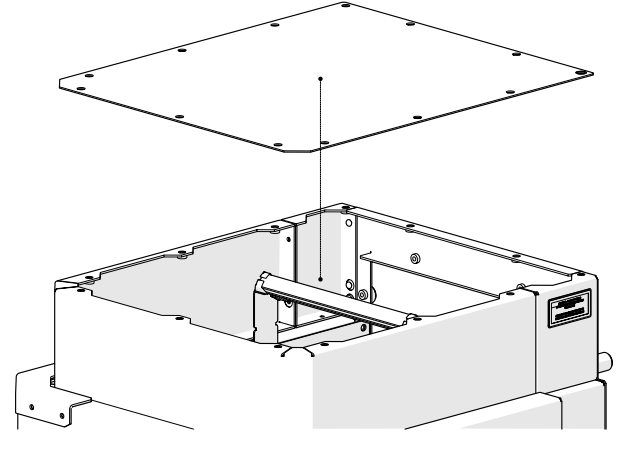
Remove the top panel.

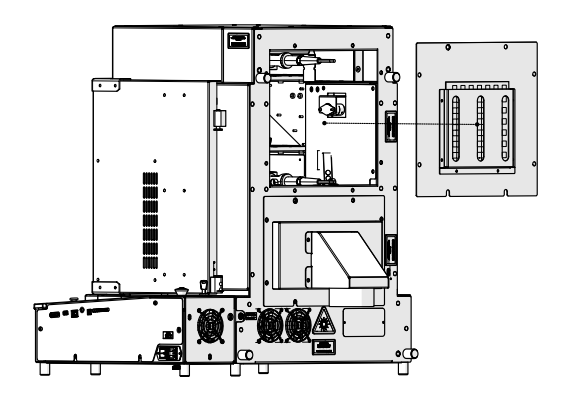
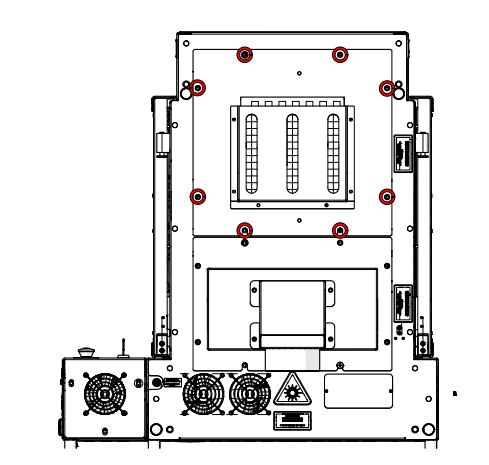
Loosen and remove the rear access panel screws.
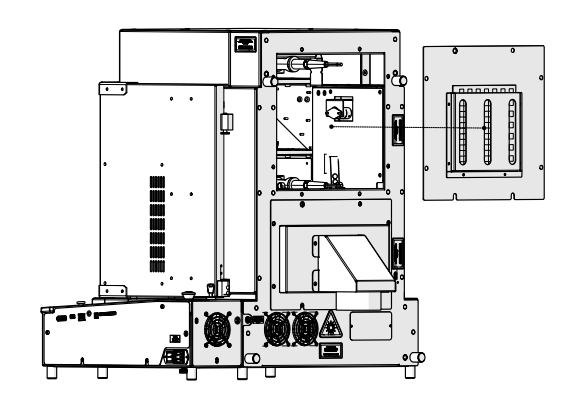
Remove rear access panel.
Loosen and remove the galvo scanner cable.
Loosen, but do not remove, the fiber head clamp screw.
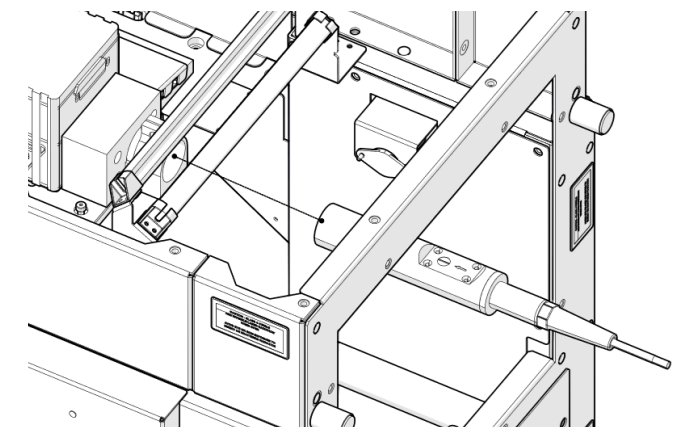
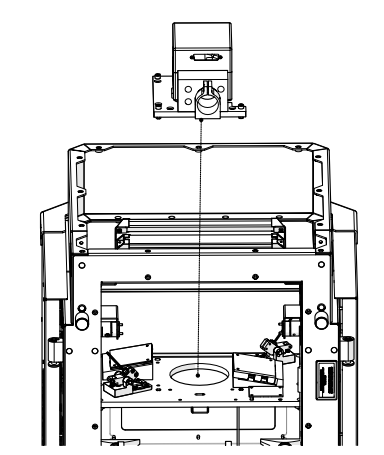
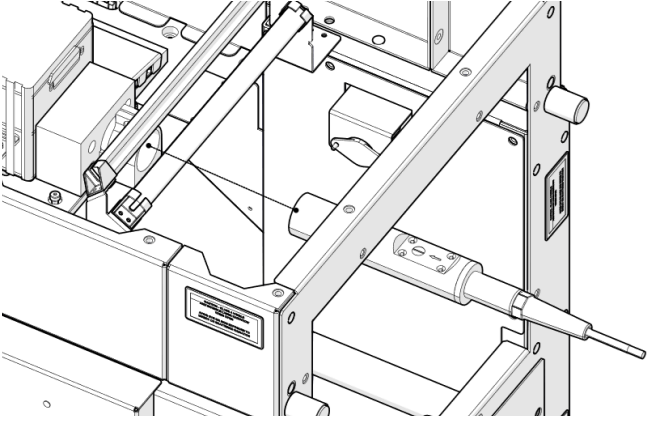
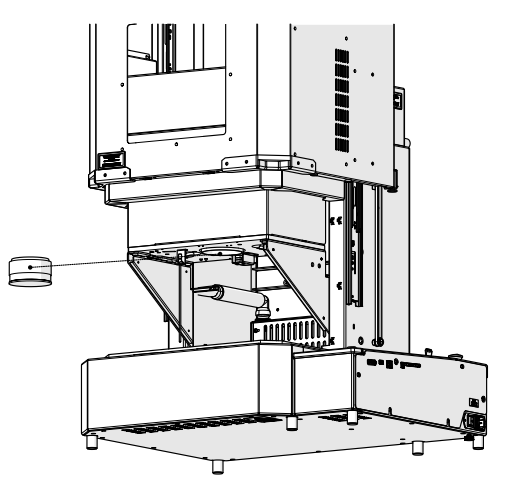
Remove the fiber laser head.
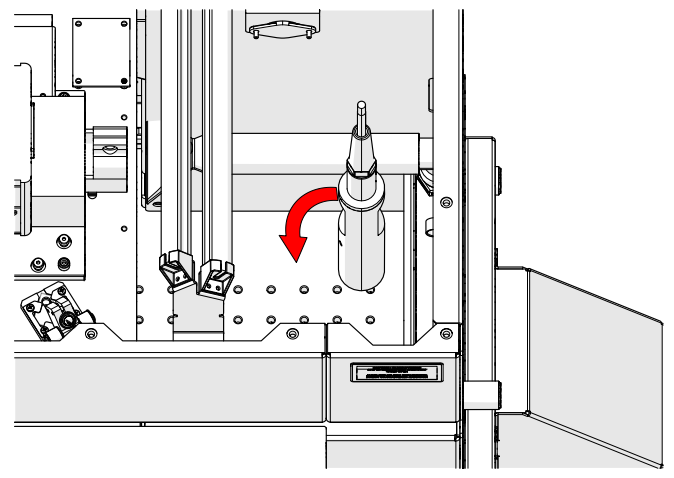
Rotate the fiber laser head.
Gently place the fiber laser head on the table.
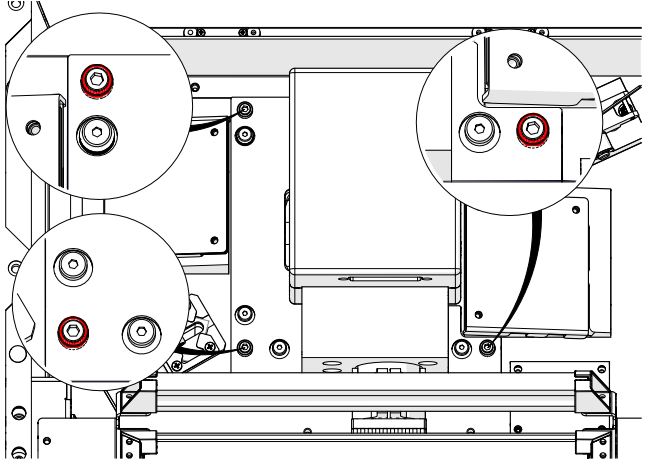
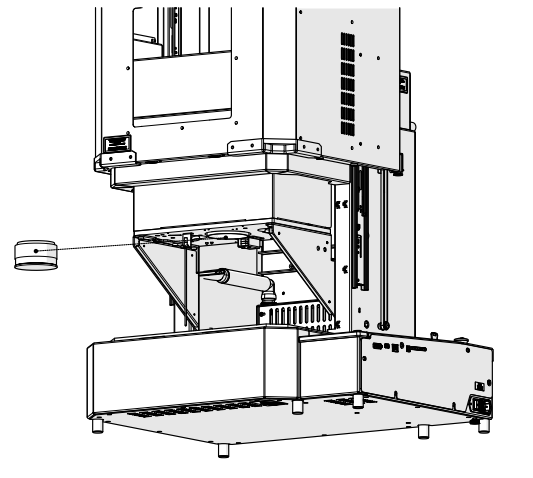
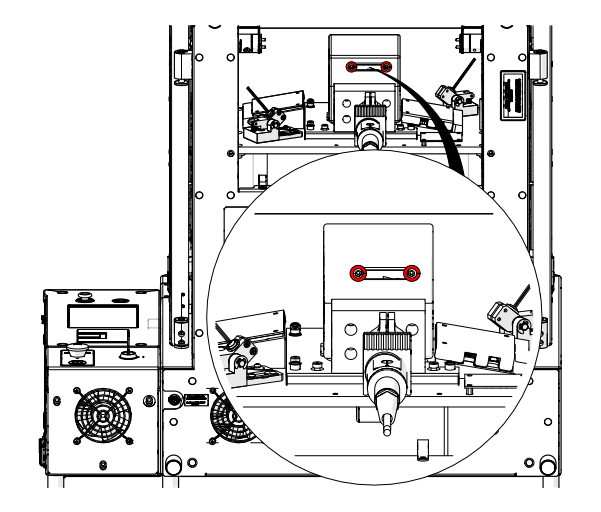
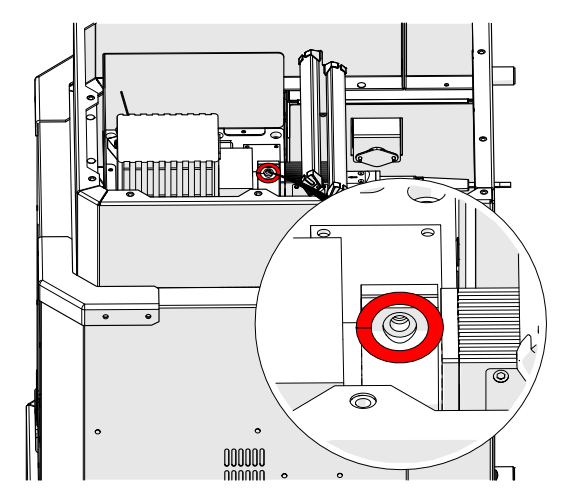
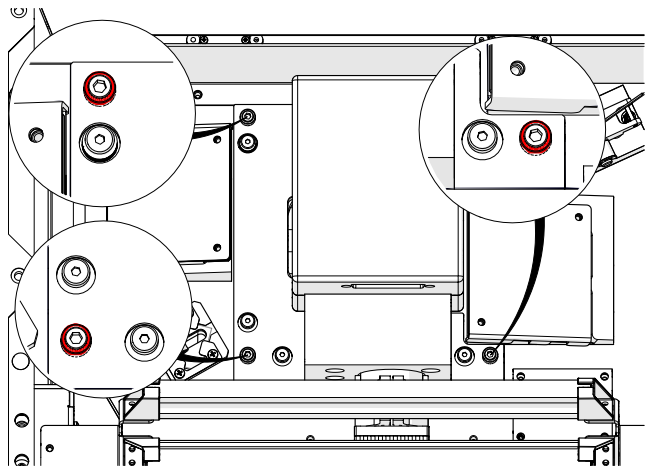
DO NOT ADJUST the screws shown in red.
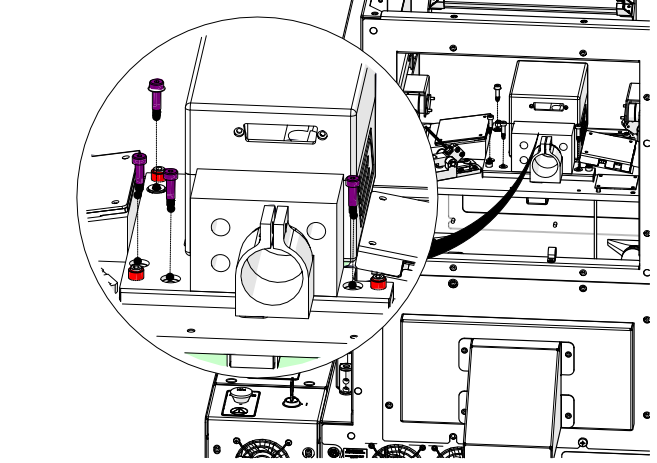
Loosen and remove the mounting screws shown in purple.
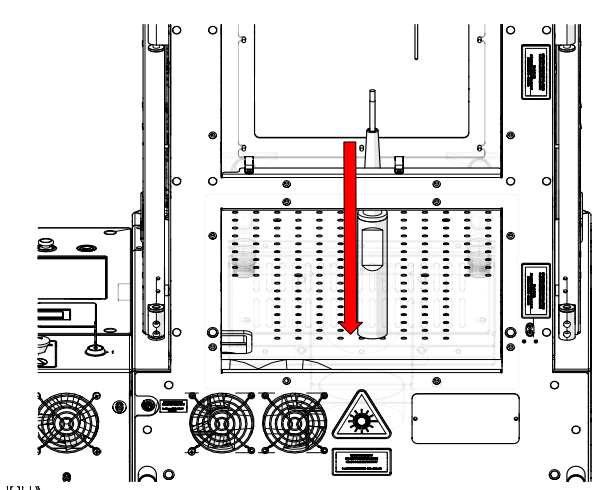
Remove the galvo assembly.
Part 2: Installation Procedure
Install the galvo assembly.
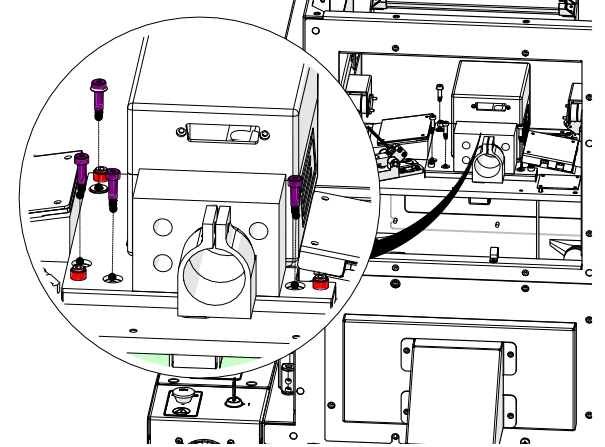
Install and tighten the screws shown in purple.
DO NOT ADJUST the screws shown in red.
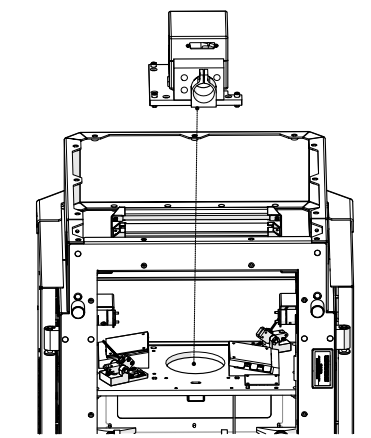
Install the fiber laser head.
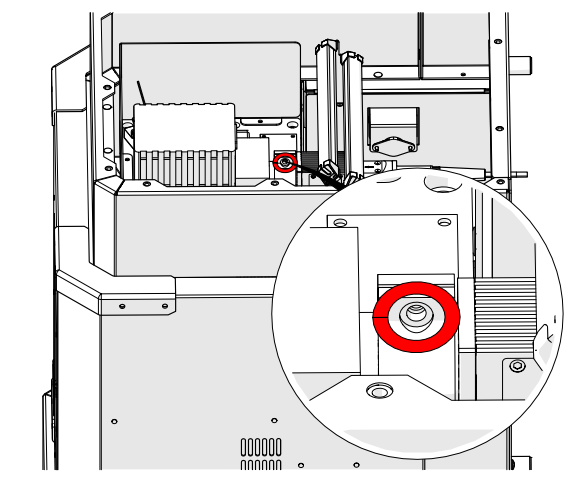
Tighten the fiber head clamp screw.
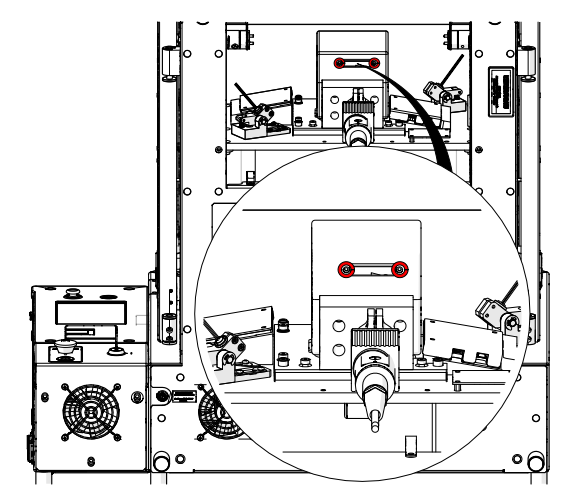
Install the scanner cable.
Install the top cover.
Install and tighten the top cover screws.
Install the rear access cover.
Install and tighten the rear access cover screws.
Locate the door handles.
Open the door.
Install the lens assembly.
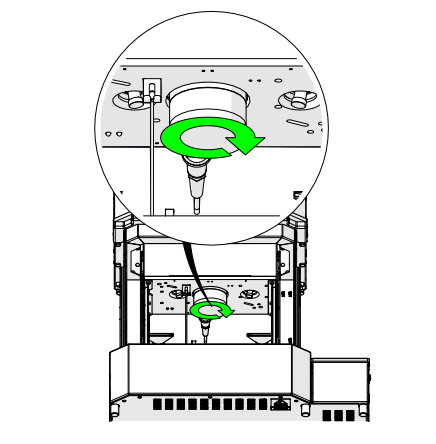
Tighten the lens assembly.

Connect to power.