This guide provides step-by-step instructions for replacing the control board in the G100 system. Always wear an anti-static strap and disconnect power before beginning any maintenance procedure.
Control Board Removal
-
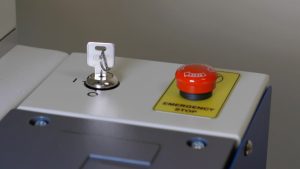
Turn off the engraver.
-
Disconnect the power cable.

-
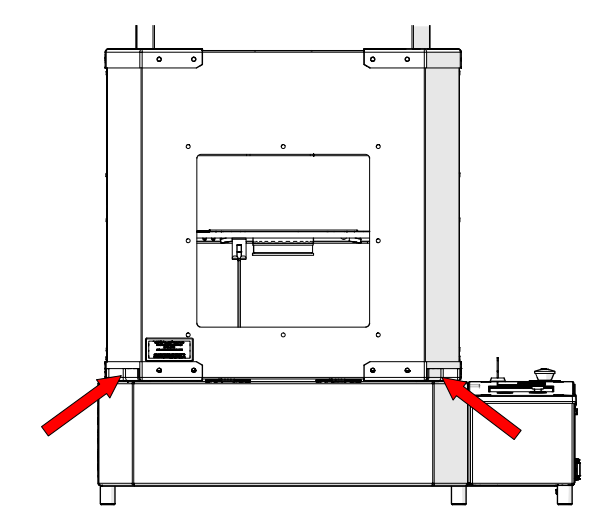
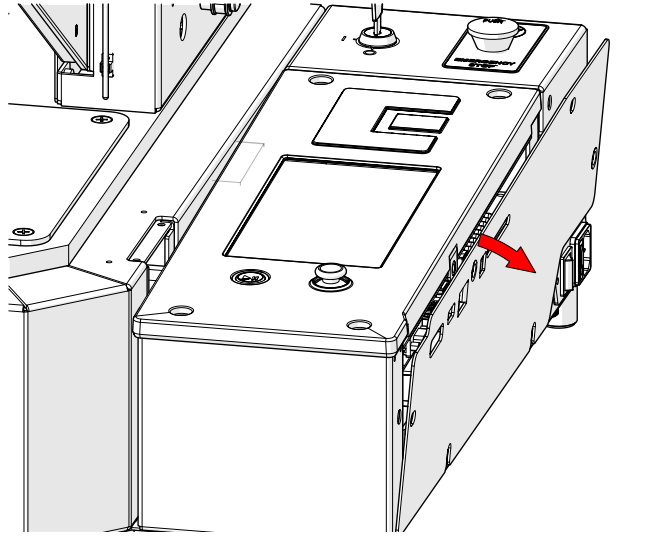
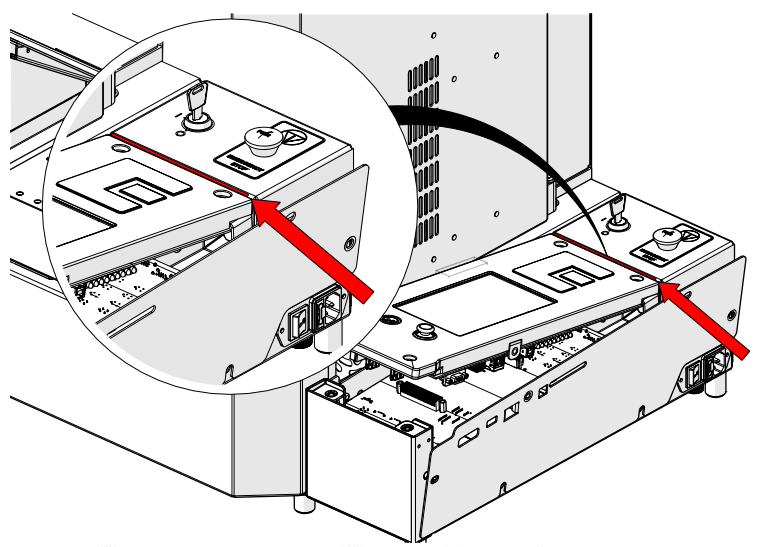
Locate the door handles.
-
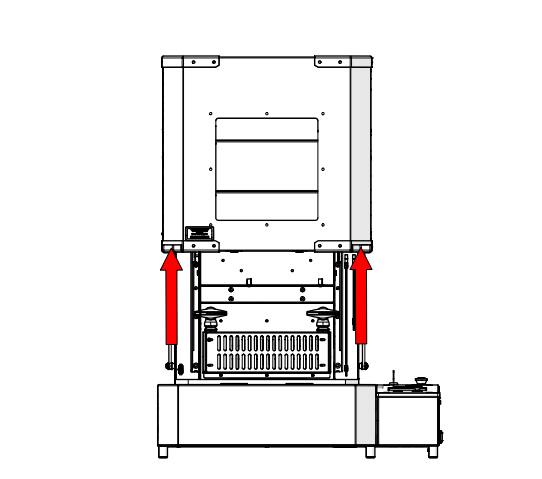
Open the door.
-
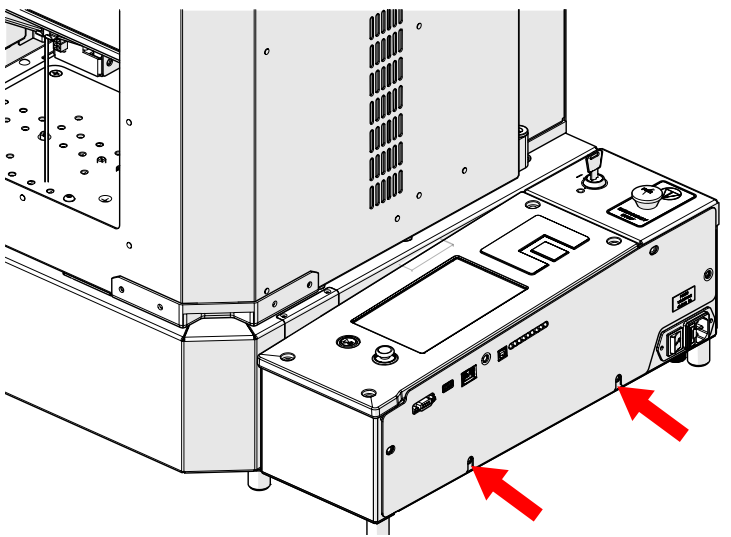
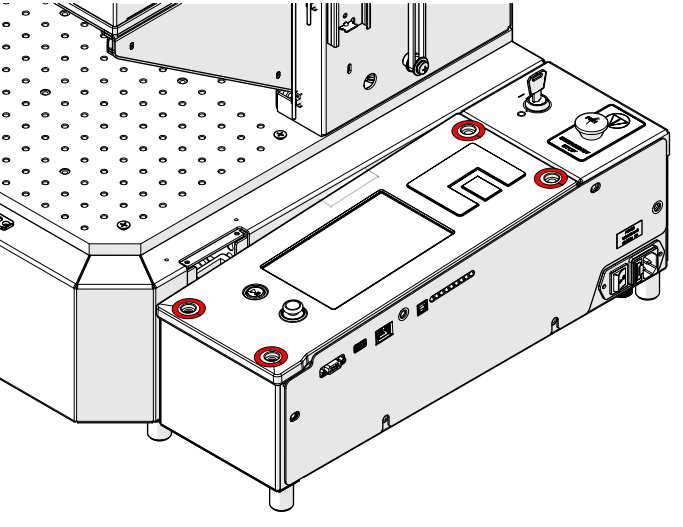
Loosen and remove screws.
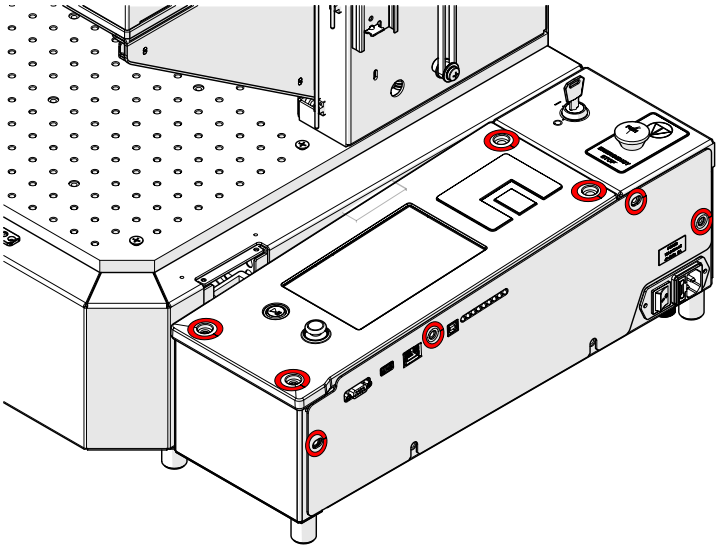
-
Loosen, but do not remove, the remaining screws.
-
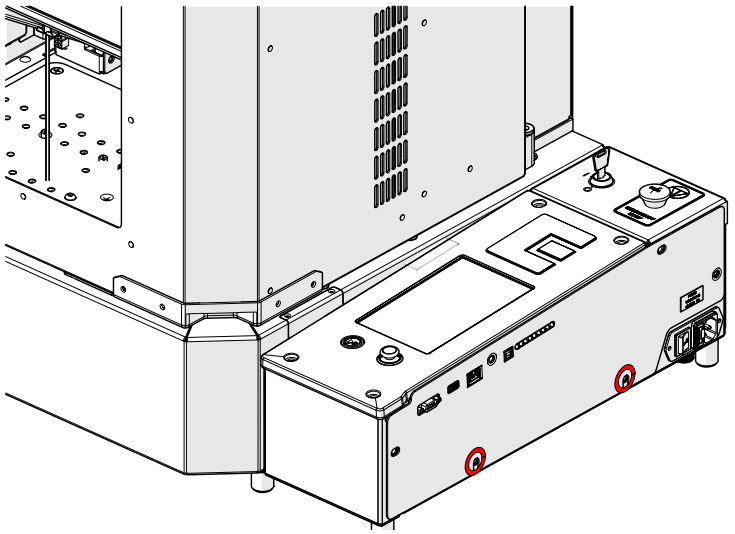
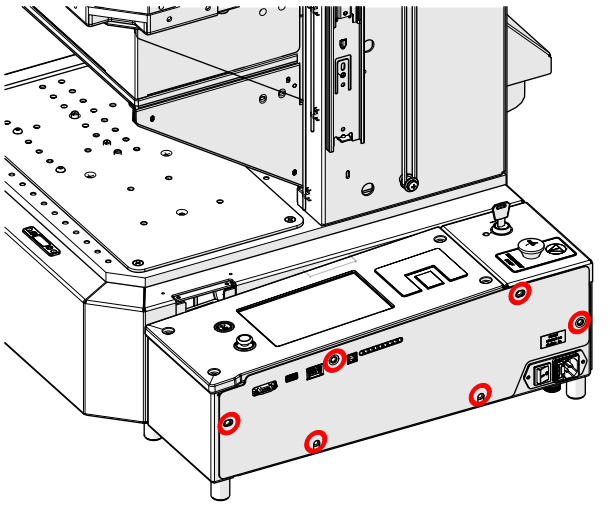
Remove screws and cover.
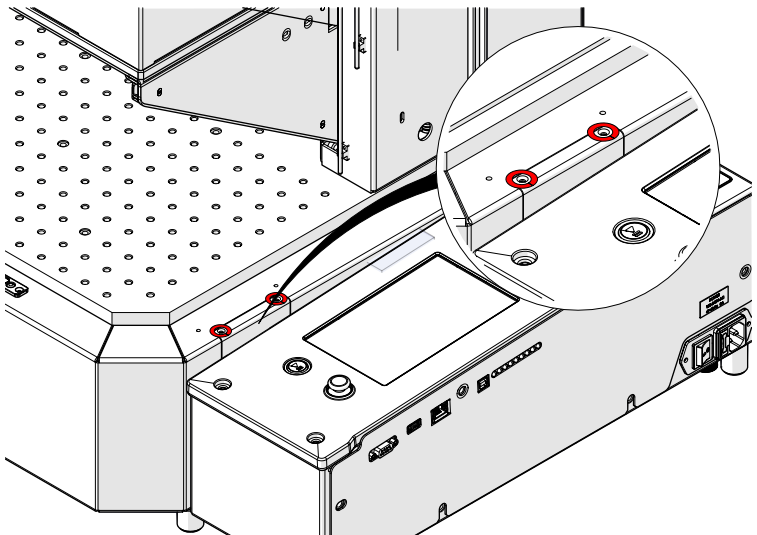
-
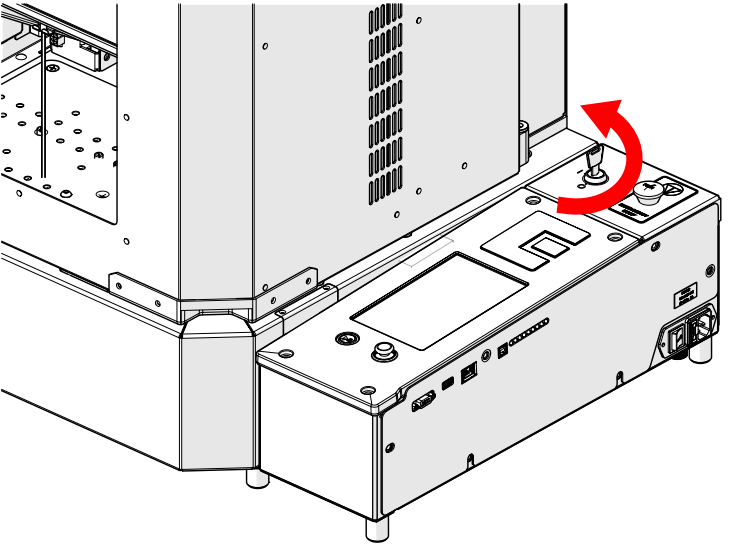
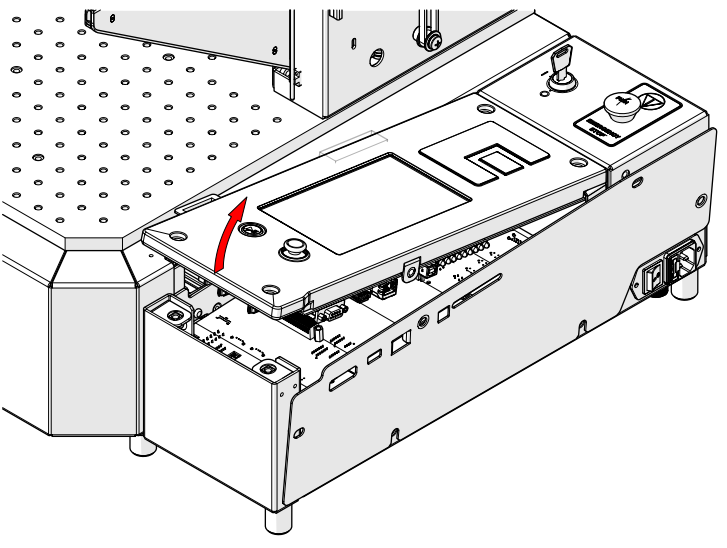
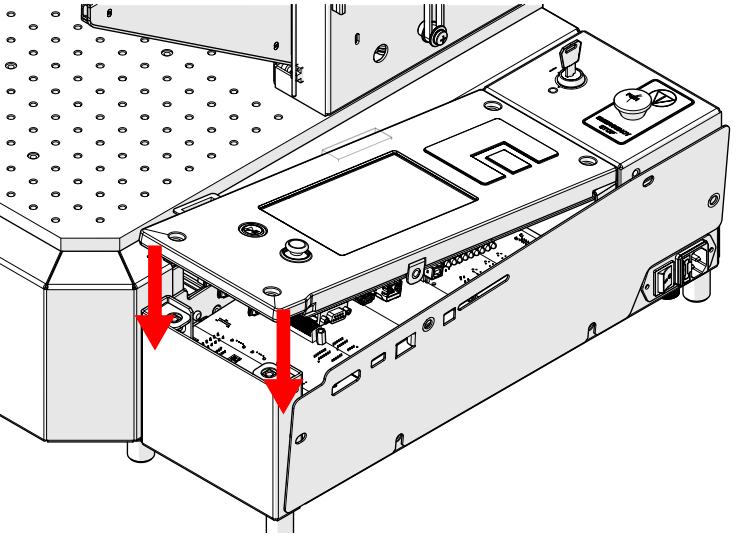
Tilt panel away from engraver.
-
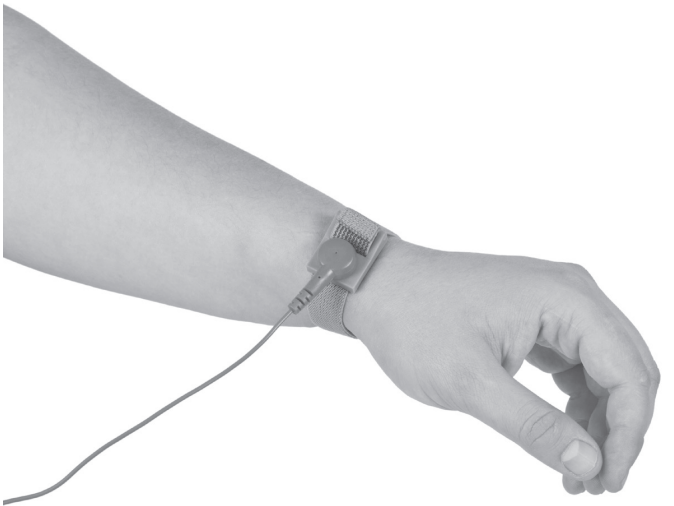
Put the anti-static strap on your wrist and attach the clamp to a side panel screw.
-
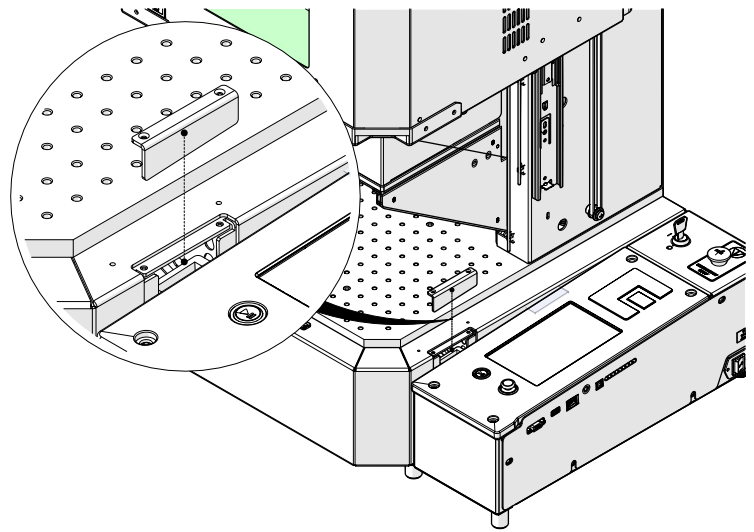
Gently lift the control board to remove it from the engraver.
Control Board Installation
-
Align the new control board with the engraver chassis.
-
Slowly press down to seat the board’s connector.
-
Secure the board using the two longer screws in the rear and tighten.
-
Install and tighten all remaining screws.
-
Reinstall the cover.
-
Reconnect the power cable.