Welcome to your first project on your Fusion M2 laser! In your training site packet you received with your machine, you’ll find three sample pieces to work with – a piece of wood, a square of glass, and a wood keychain. We’ll start with the wood square for this project.
We’re going to walk you through how to set up your first file in CorelDRAW. We’ll cover several concepts in this tutorial, including:
- Importing images
- Centering images
- Resizing images
- Adding and formatting text
- Zooming in and out on the workspace
- Keyboard shortcuts
- Printing to the laser
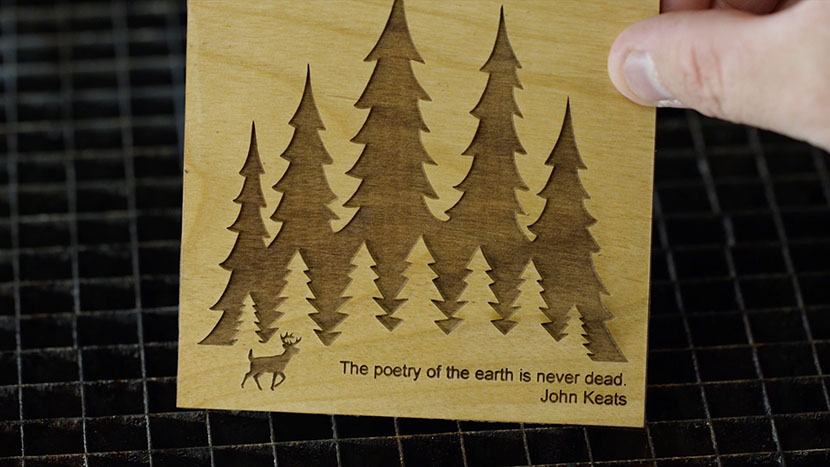
Let’s get started on your Wood Square sample.
Setting Up Your Page for the Wood Square
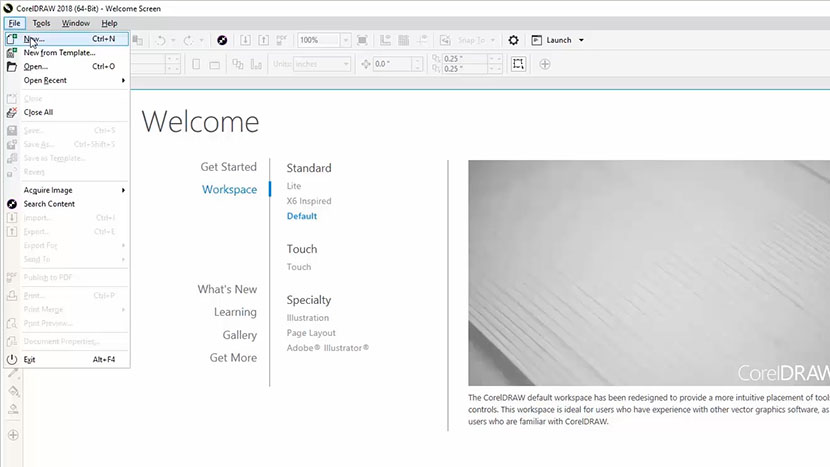
We’ll start by creating a new file in CorelDRAW. Click File in the menu bar at the top of the screen. Then select New from the drop-down list.
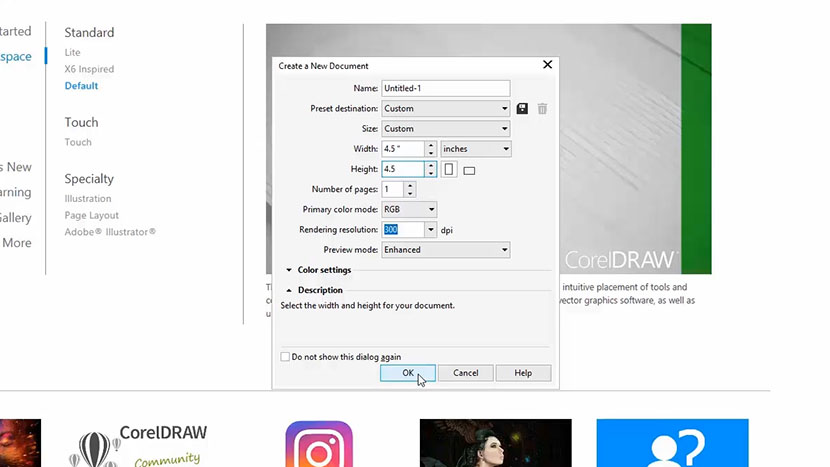
Now enter your page size. Enter 4.5” for the page width and 4.5” for the page height. Then click OK.
Importing and Resizing a Graphic
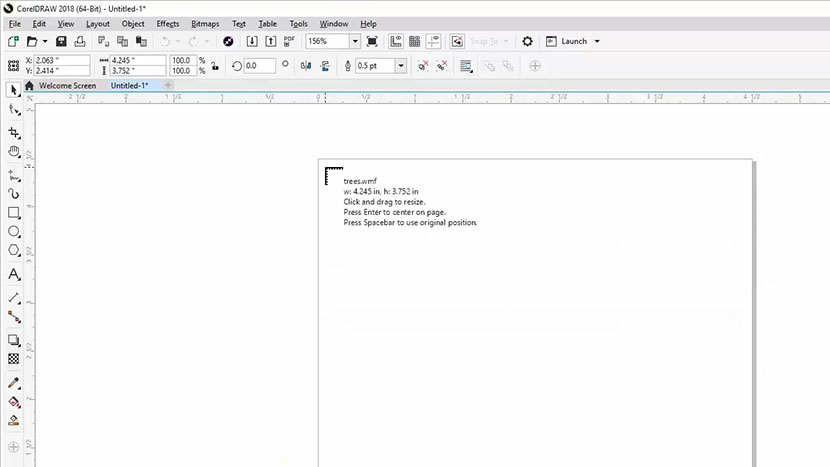
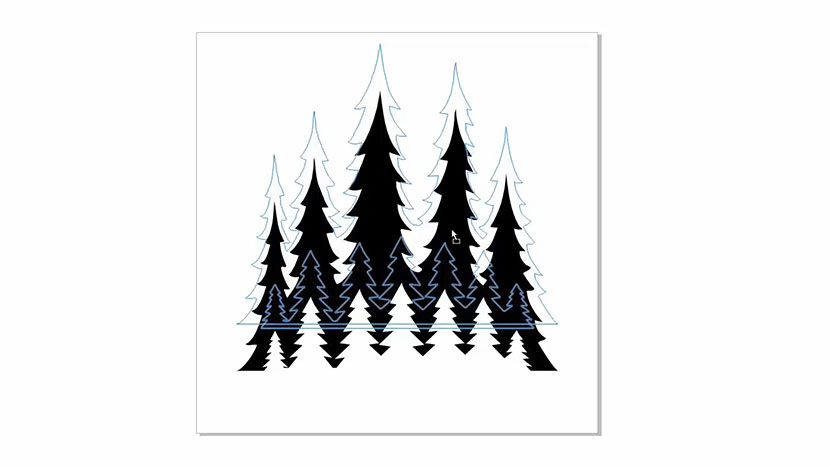
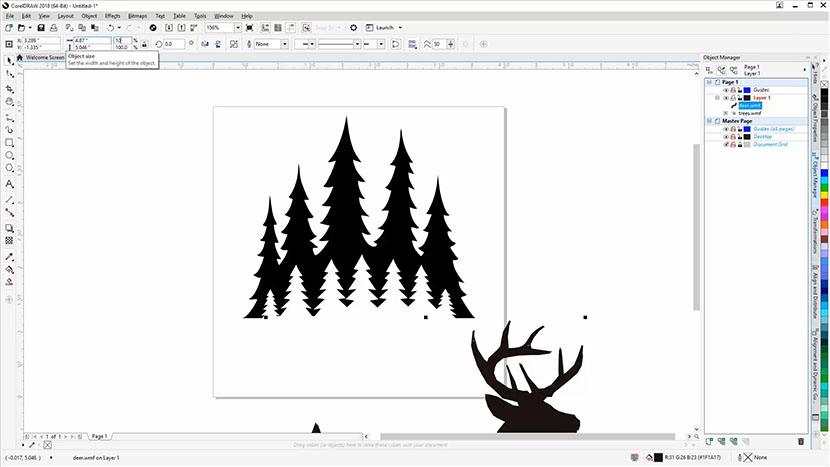
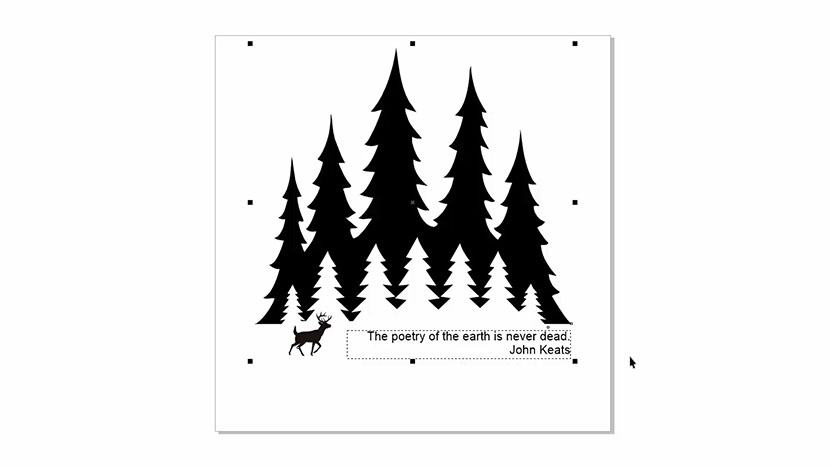
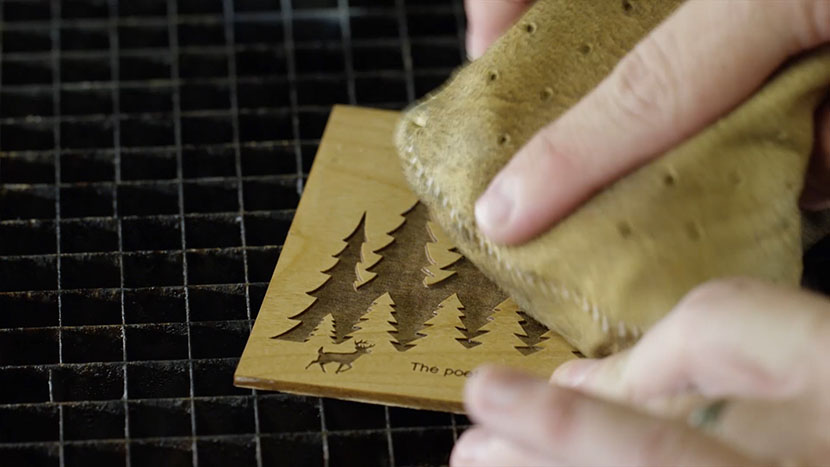
Now we’re going to import a graphic onto the page. For this example we will use trees.wmf , but you can use any graphic you prefer.
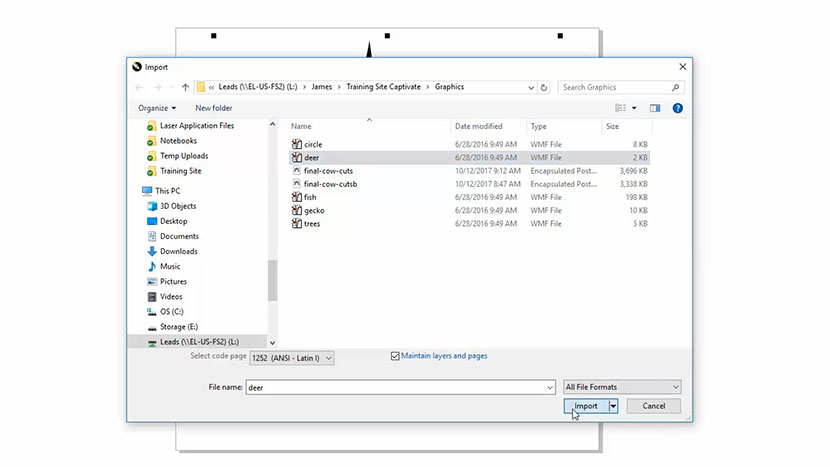
Start by clicking File at the top of the screen, then select Import from the dropdown menu.
Navigate to the file you’d like to Import and select the file, then click the Import button.
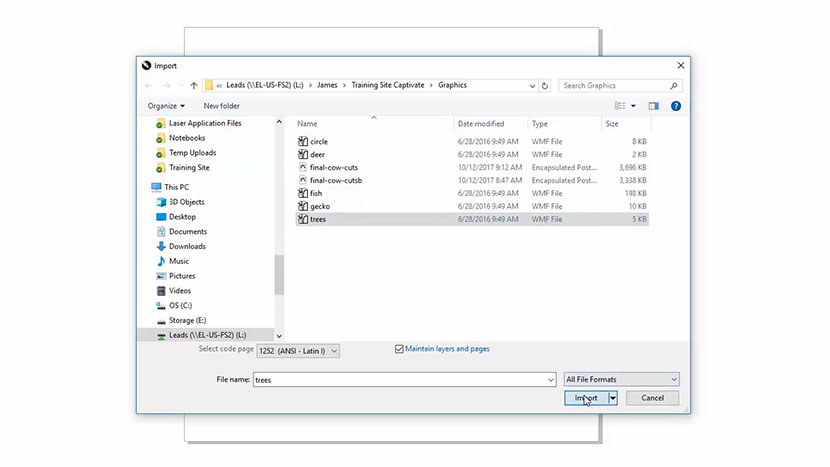
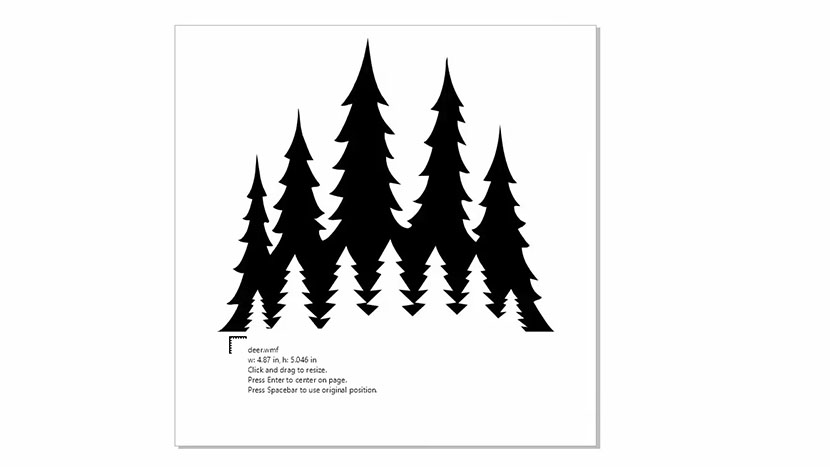
Now, click anywhere on the page to place your graphic.
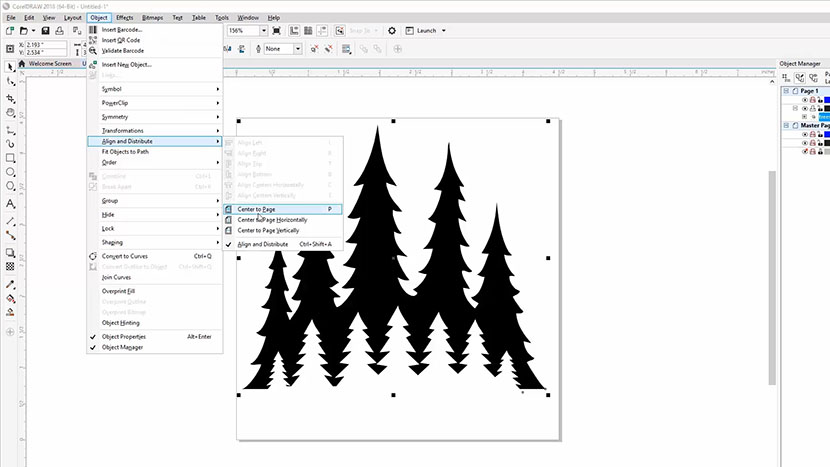
To center the image on the page, select Object from the menu bar.
Then select Align and Distribute, then Center to Page.
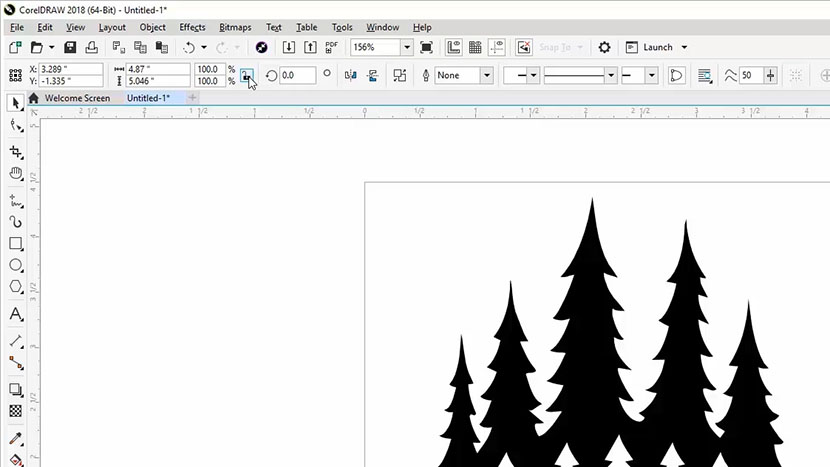
Now we’ll click and drag on the bottom right sizing handle to resize the image, and make it smaller. By holding down the shift key then clicking on the handle and dragging, we can keep the proportions of the image the same.
Next we’ll reposition the image by moving it up by about 1” on the page by clicking on the graphic and dragging it up.
Importing a Second Graphic
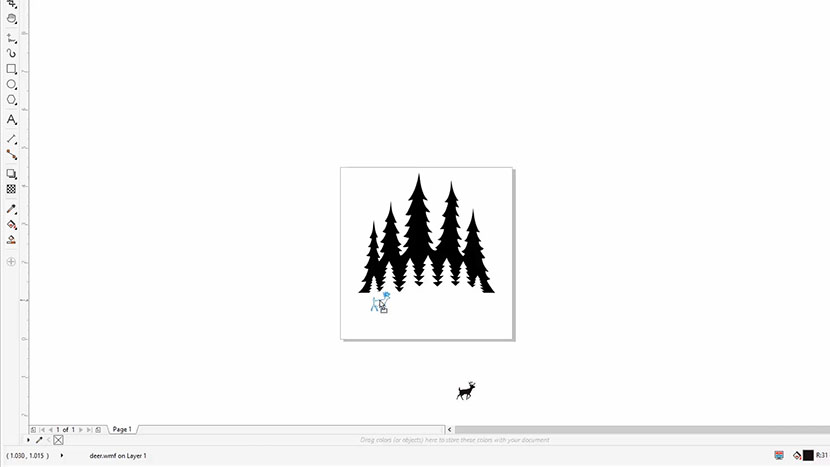
Now let’s import another image. Go to File > Import, and we’ll choose the deer file (deer.wmf ). Then Press the Import button.
Click anywhere on the page to place the graphic.
This time we’ll use another way to resize the deer. Click the lock ratio button to keep the dimensions the same as we resize the graphic.
Enter 10% as the scale factor and press Enter to resize the image to 10% of its original size.
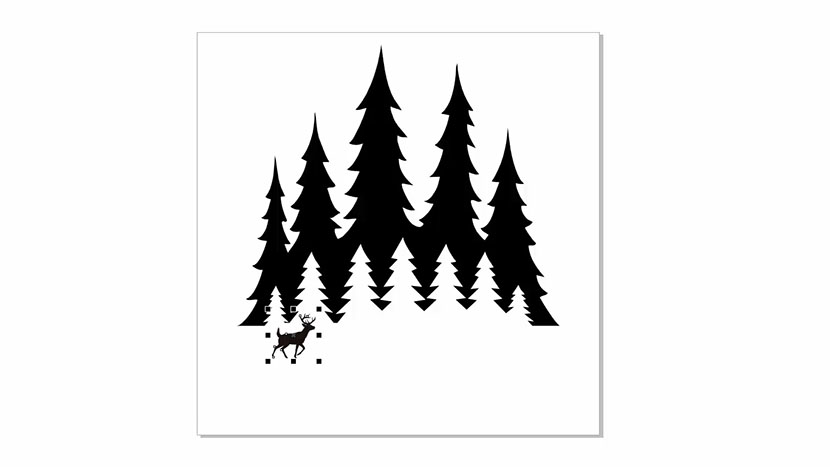
We’ll position the deer image to the bottom left side of the trees.
Adding Text to the Artwork
Now we’re ready to add text. Click on the text tool in the tool bar on the left.
Create a text box by clicking and dragging a rectangle next to the deer.

We’ll enter our text “The poetry of the earth is never dead.” Then press Enter and type “John Keats”.
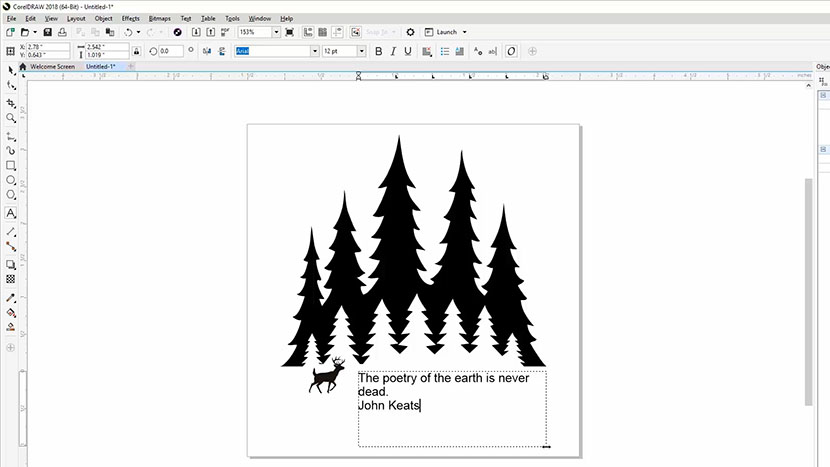
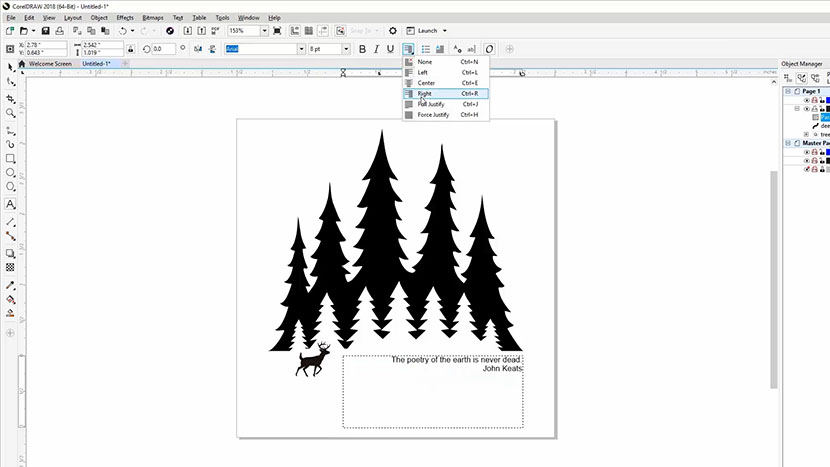
Select the pick tool, select the text, and then change the font size to 8 pt.
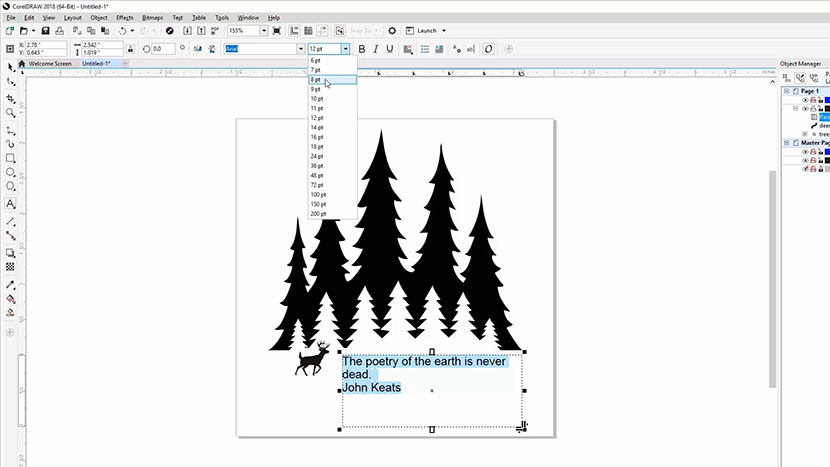
Next select the right justify option to align the text to the right side of the text box.
8 pts. is a little small so we’ll go ahead and change that to 10 pts.
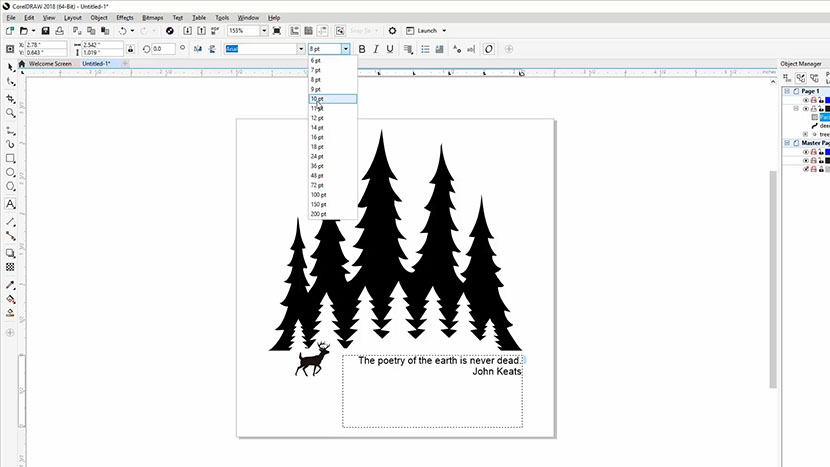
Before we move on let’s make the text box a little smaller. Select the Pick Tool, then click on the text box. Now click on the bottom middle sizing handle and drag it up to make the text box a little smaller.
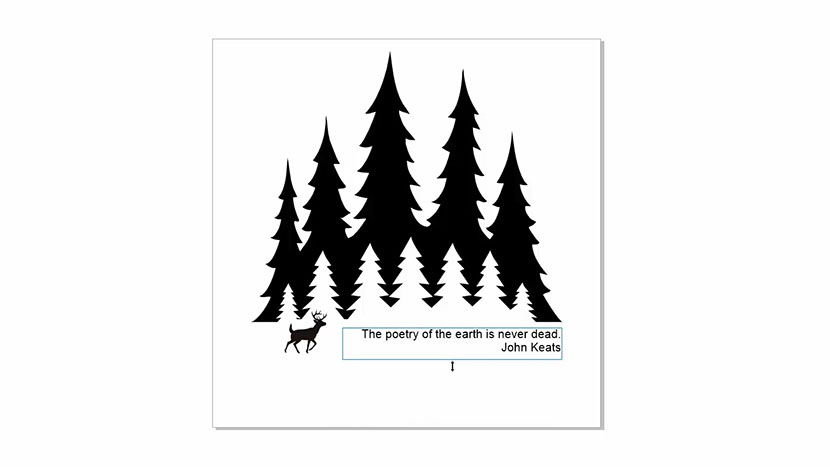
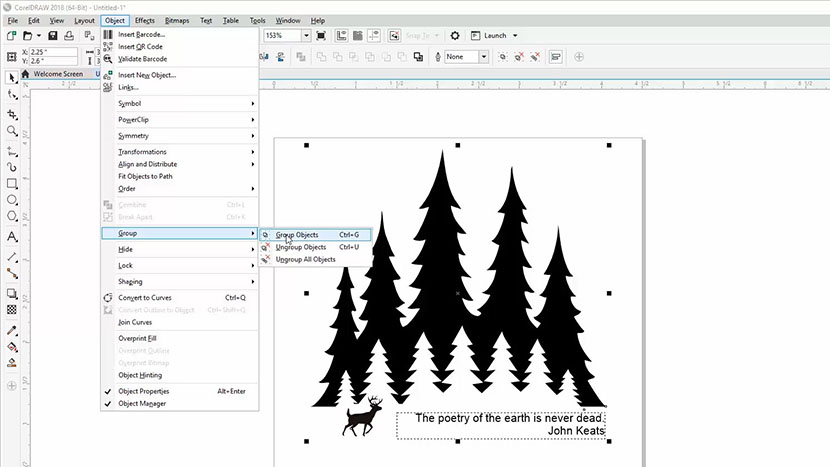
Selecting, Grouping, and Resizing
Press Ctrl and A to select everything on the page.
Next we’ll group the items so they all stay together when we make changes. Click Object in the menu bar, then Group, then Group Objects.
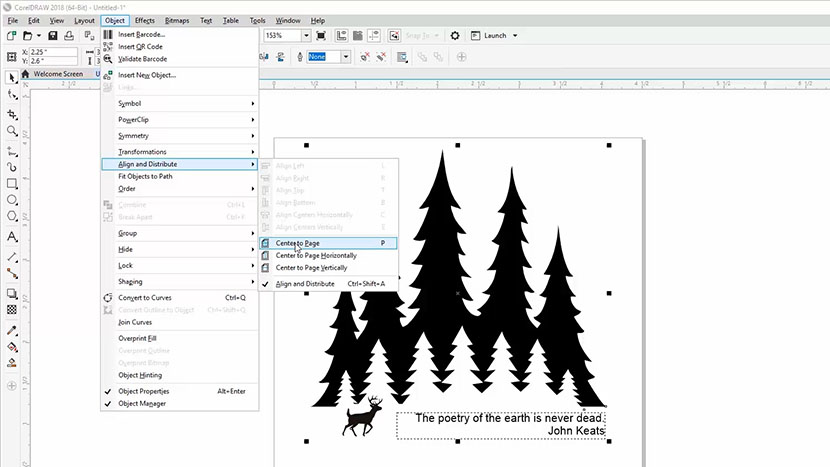
Now we’ll center the images. Click Object, Align and Distribute, Center to Page.
Creating a Cut Line
Now let’s create a cut line. Click the rectangle tool, and then click and drag a rectangle around the image. We’ll center the box we’ve drawn by using the shortcut of pressing the letter P on the keyboard. This will center the box to the page.
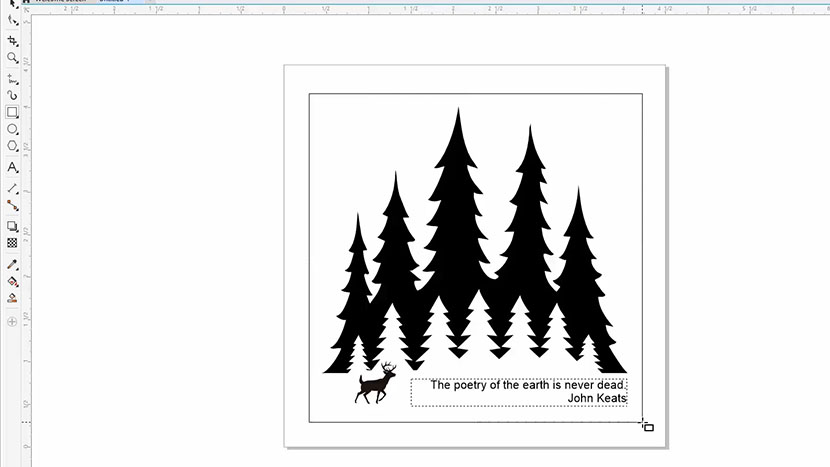
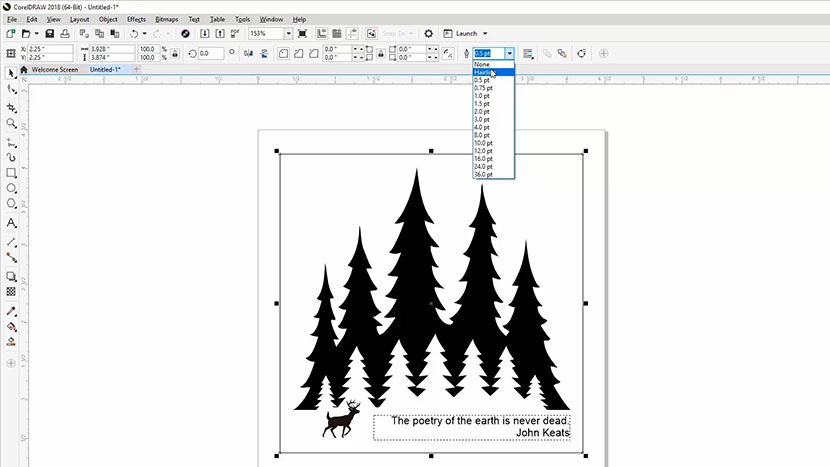
Now select the pen tool drop down box at the top of your screen to set the line thickness. We’ll select ‘hairline’ from the dropdown menu. This is important; to laser cut a line you need to set the line width to under .004”. In Corel, hairline thickness will always cut.
Printing to the Laser
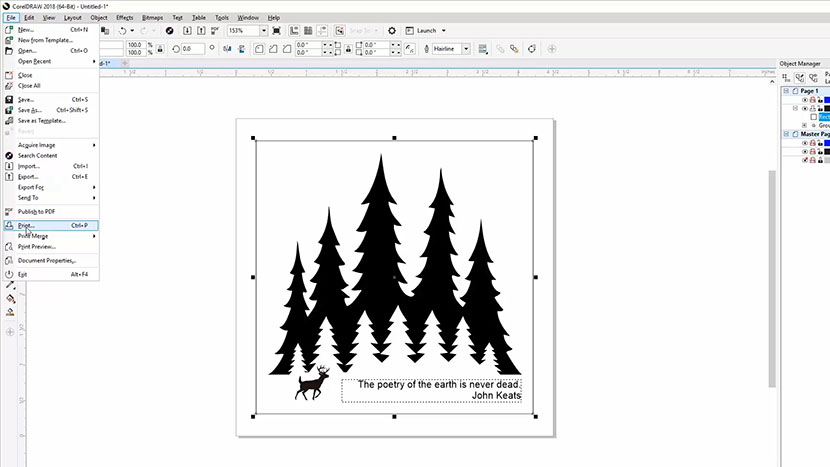
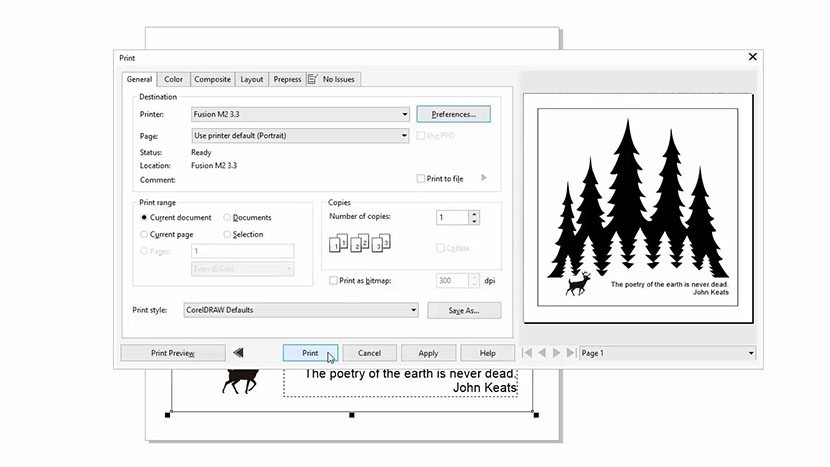
Next we’ll print the file to the laser. Select File, then Print from the drop-down menu.
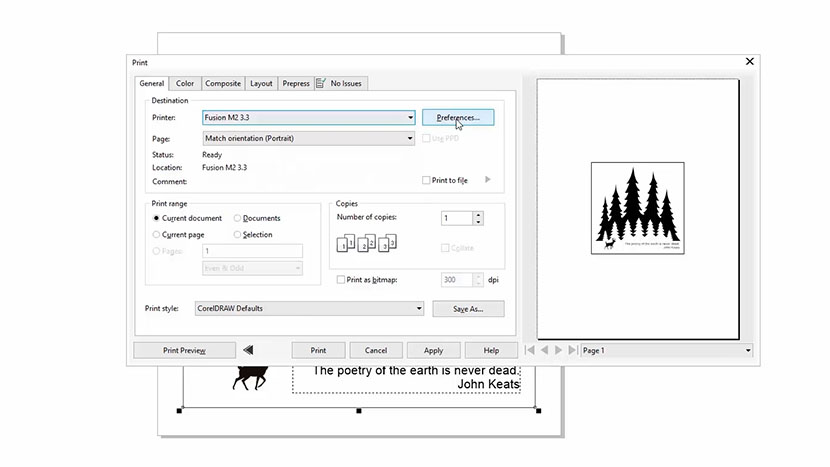
Set your Zing laser as your printer and then click the Preferences button.
In the print driver, first set your resolution to 500 dpi.
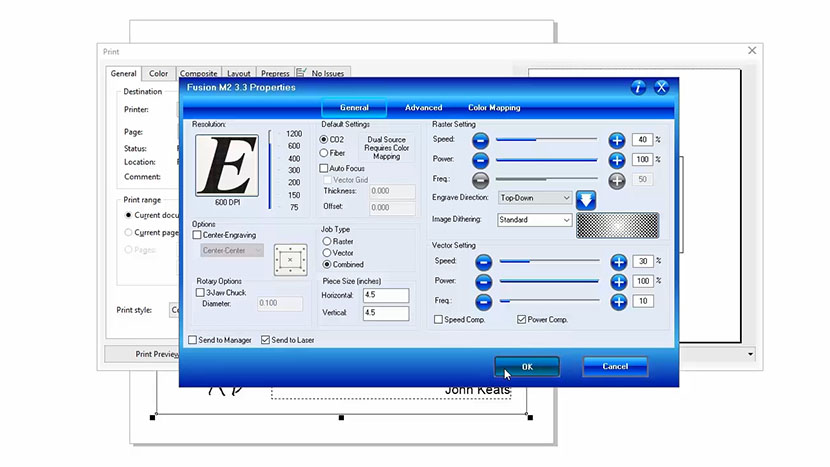
Since we have both engraving (raster) and cutting (vector) parts of this file, choose combined as the job type.
Now we’ll set up the speed and power settings. You can find the suggested settings for your wattage in your manual’s appendix. We’ll set the speed to 70%, then set the power of the laser to 100%.
Next set your cutting speed and power. Use the 1/8” wood vector settings in your manual. We’ll set the speed to 30% and the power to 70%
Next, set the frequency to around 500. This is the pulse rate of the laser and a lower pulse rate is preferable for wood cutting to achieve less burning on the edge of the wood.
Set the piece size to match your page size. We’ll set the horizontal size to 4.5” and the vertical to 4.5” as well.
Make sure Send to Laser is checked, and for this example, we’ll go ahead and uncheck the Job Manager option. Then click the OK button.
The print preview should now look like our Corel file.
Finally, click Print to send the job to the laser!
At the Laser
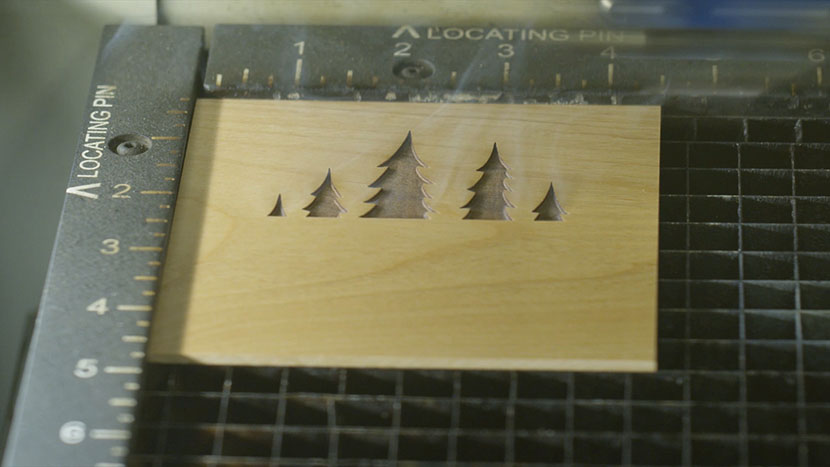
At the laser, we’ll place the 4” square wood piece into the top left corner of the work area.
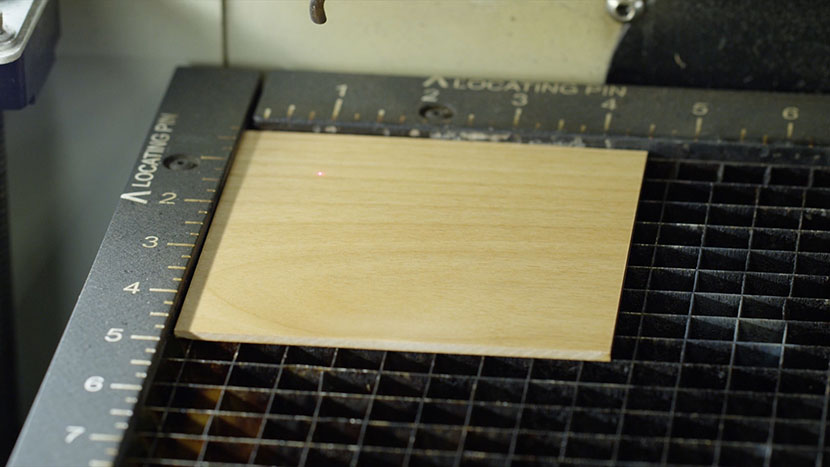
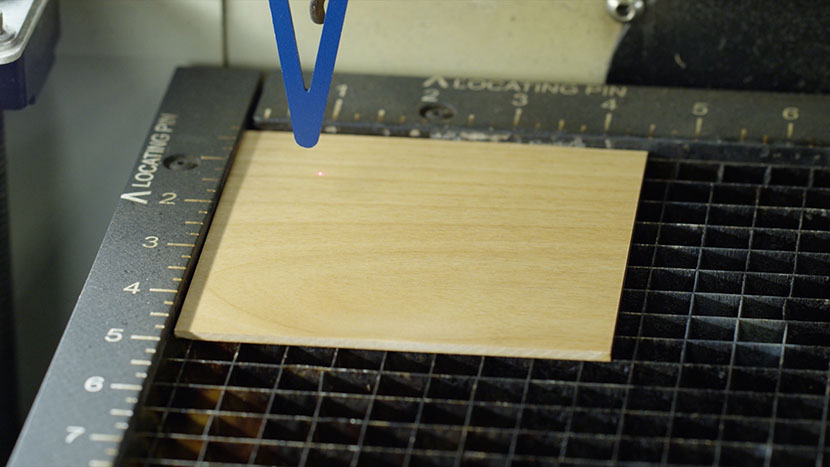
Hang your manual focus gauge on the optics assembly. Then use the down arrow on the keypad to select the Focus option. Now use the joystick to move the table up and bring the wood square into focus.
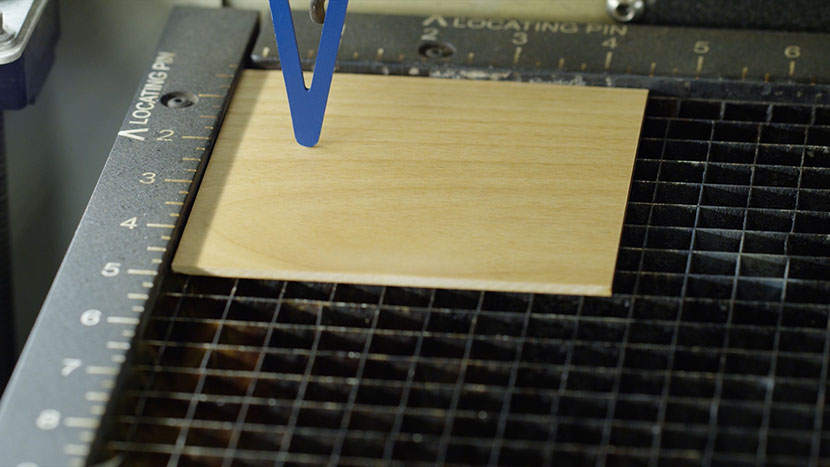
Once you’ve focused for your material, press the Reset button.
Now we’re ready to start the job. Press the Go button on the keypad to begin your laser engraving and cutting job.
Once the laser is finished, use a damp sponge or towel to remove any leftover residue or debris on the wood square.
And then you’re done!