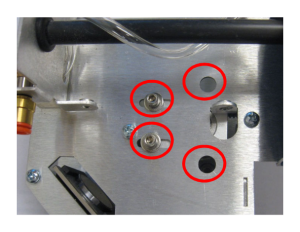
This guide covers replacing the X-axis idler assembly on the Fusion and Fusion M2.
Parts Required
- HT130 – X-Axis Idler Assembly
Tools Required
- 7/32" Allen Key
- 7/64" Allen Key
- Phillips Screwdriver
Safety First: Ensure the engraver is completely powered off and the power cord is disconnected before removing any panels or touching internal components.
Idler Removal
Power Off Engraver
Turn off the engraver.

Disconnect From Power
Unplug the power cord from the engraver.
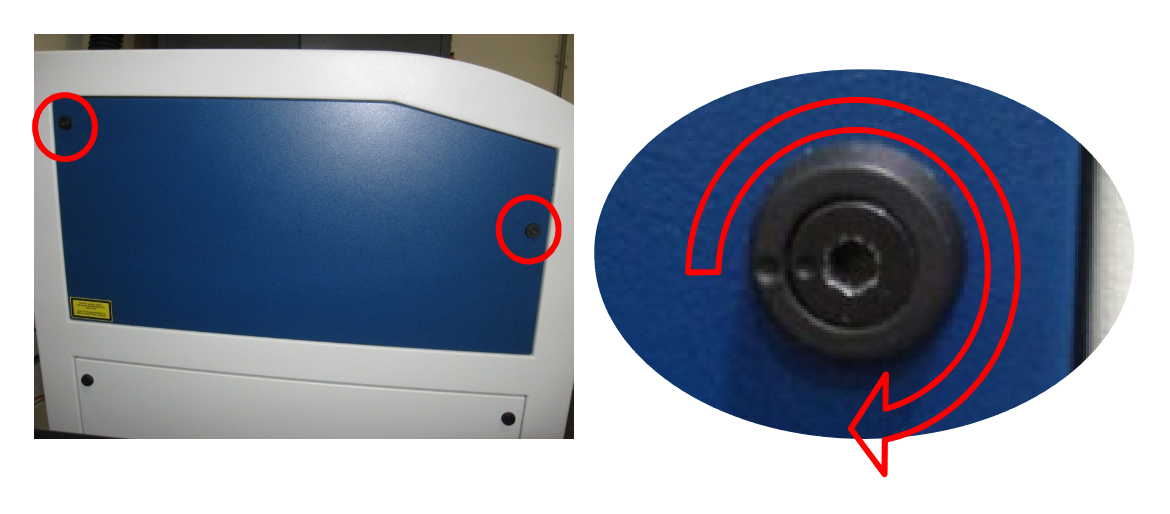
Remove the Upper Left Panel
Turn the two black Allen screws on the upper left side panel about 3/4 turn clockwise with a 7/32" Allen key and remove the panel.
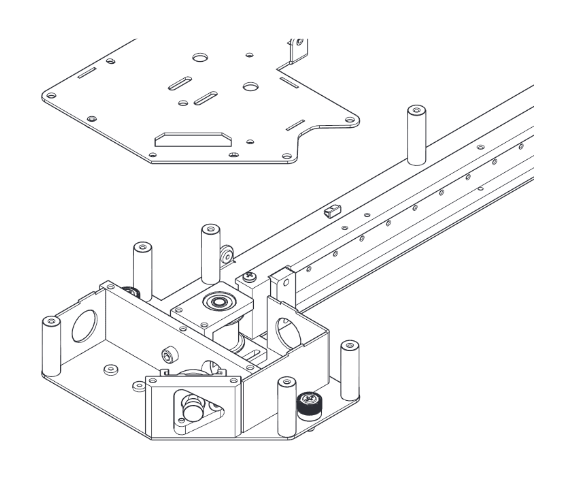
Remove the X-Axis Top Cover
Remove the top cover from the X-axis assembly.
Note: You do not need to take the X-axis assembly apart any further than this. The idler can be replaced with the X-axis in the engraver, though it is slightly easier with the rail removed.
Loosen the Idler Screws
Loosen the four Allen screws that secure the idler to the X-axis assembly.
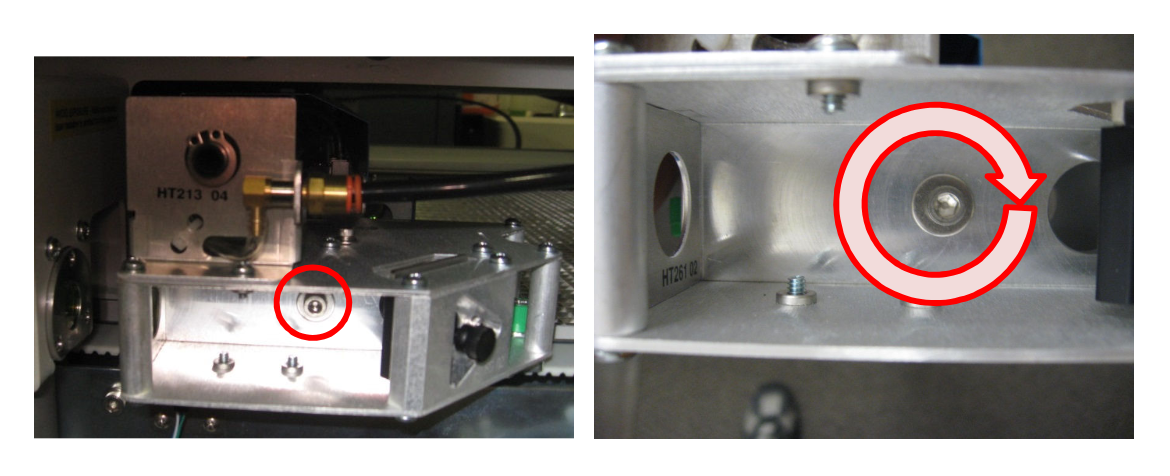
Remove the Tensioning Screw
Back off the X-axis belt tensioning screw to take the tension off the belt, then remove the screw from the X-axis assembly.
Remove the Left Belt Clamp
Remove the left side X-axis belt clamp from the lens carriage and let the belt fall free.
Pull the Belt Back
Reach to the rear of the X-axis assembly and pull the left side of the belt back until the end you just freed is clear of the idler. There is enough room behind the X-axis to feed the belt back through later.
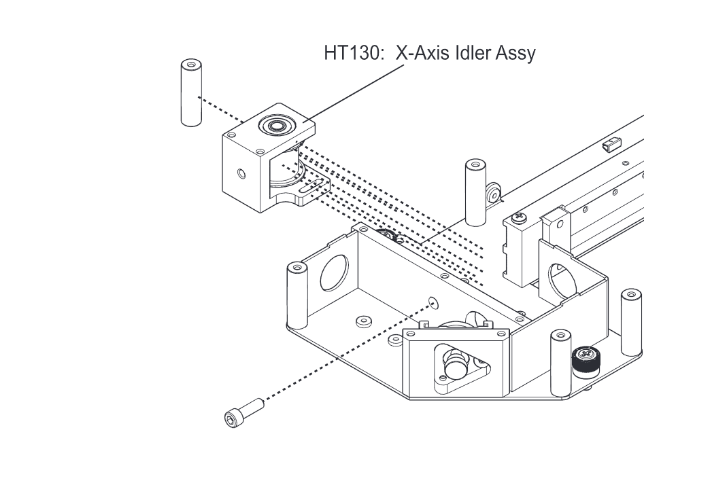
Remove the Idler
Slide the idler assembly out between the standoff posts at the rear of the X-axis assembly.
Note: If needed, a standoff post can be removed by taking out the two Phillips screws that hold it to the X-axis assembly.
Idler Installation
Feed the Belt Through the Idler
Slide the X-axis belt through the opening between the new idler frame and its pulley, making sure the idler is facing the right way for installation.
Install the Idler
Slide the idler assembly into the X-axis assembly.
Pull the Belt Through
Pull the tail of the belt through to the front of the X-axis assembly and let it hang free.
Install the Idler Screws
Install the four idler mounting screws, but do not tighten them yet.
Start the Tensioning Screw
Thread the X-axis belt tensioning screw back in, but do not tighten it yet.
Clamp the Belt
Fit the loose end of the belt into the lens carriage, then install and tighten the belt clamp.
Reinstall the Top Cover
Reinstall the standoff post if you removed it, then install the X-axis top cover.

Reconnect Power
Plug the power cord back in.
Set the Belt Tension
Set the X-axis belt tension as described in X-Axis Belt Tension – Fusion / Fusion M2. That procedure also tightens the idler mounting screws.
Test the Engraver
Turn on the engraver and check that the X-axis moves and homes correctly.
Replace the Upper Left Panel
Reinstall the upper left side panel.