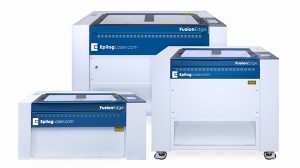
In this lesson we’ll walk you through unpacking the Epilog Fusion Maker laser system.
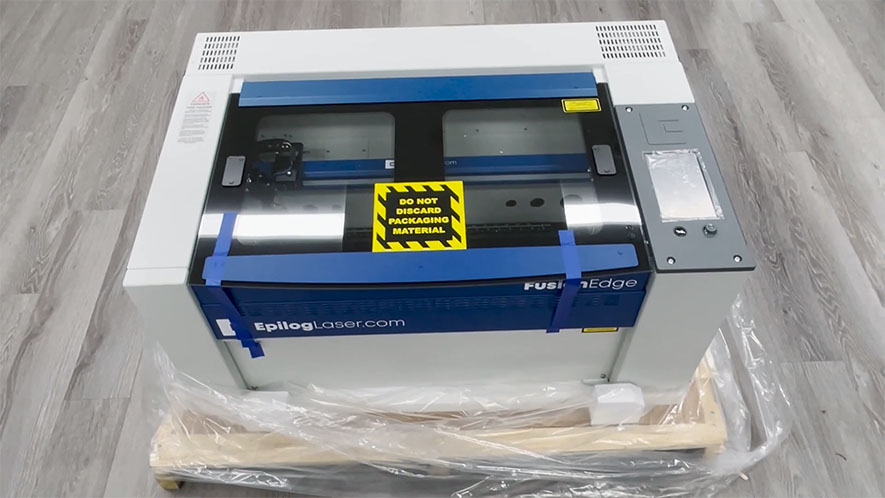
Please be sure to hold on to all packing materials and crating in case you need to move the system in the future.
Open the Packaging
Begin by moving the pallet and machine into the center of a room or open space.
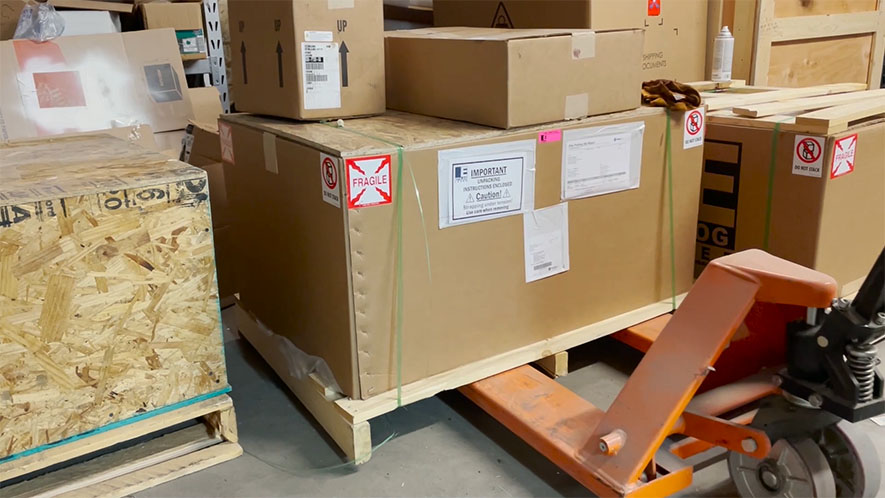
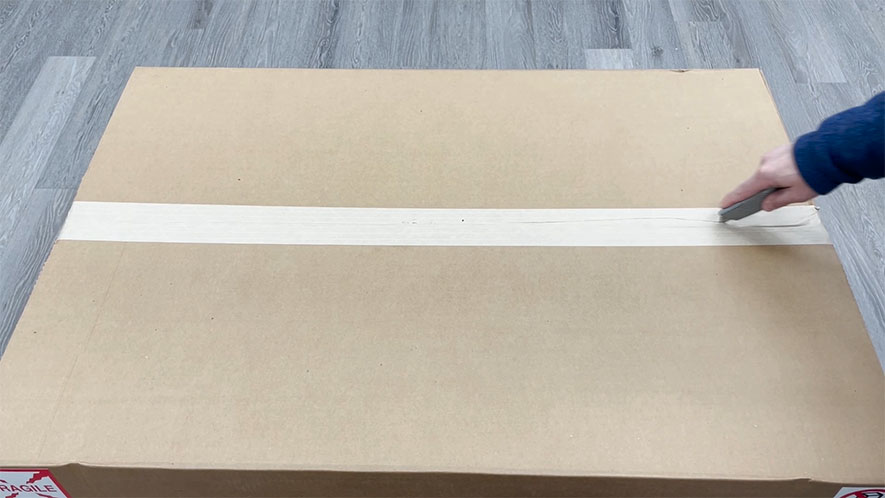
Start by using scissors or a utility knife to cut the box straps. Stand clear of the straps, as they are under high tension and may pop out at high speed when cut.
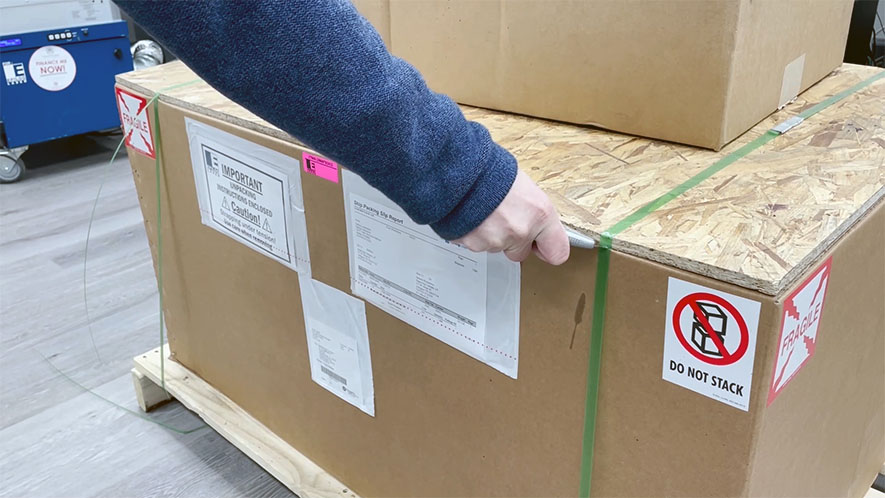
Remove any smaller boxes from the top of the large, primary box (which contains your Fusion Maker). These smaller boxes will contain any optional accessories you purchased with your machine. Set them aside for later use.
Now remove the strapping and the wooden box topper.
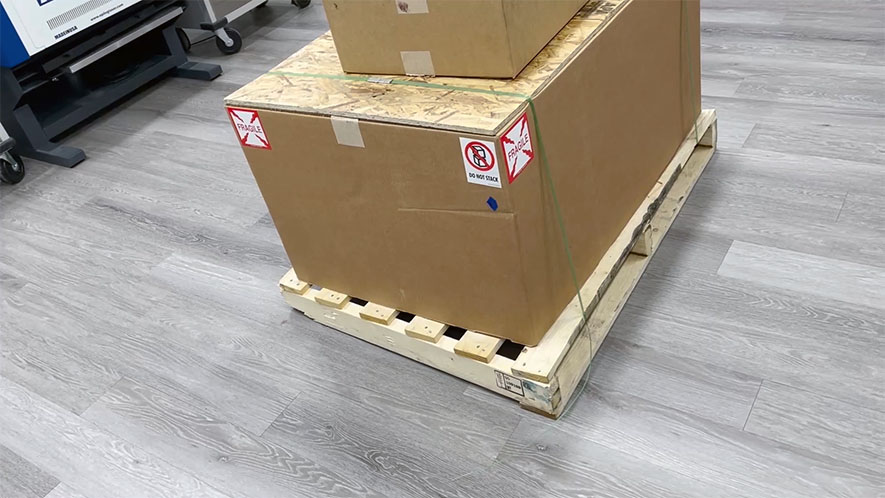
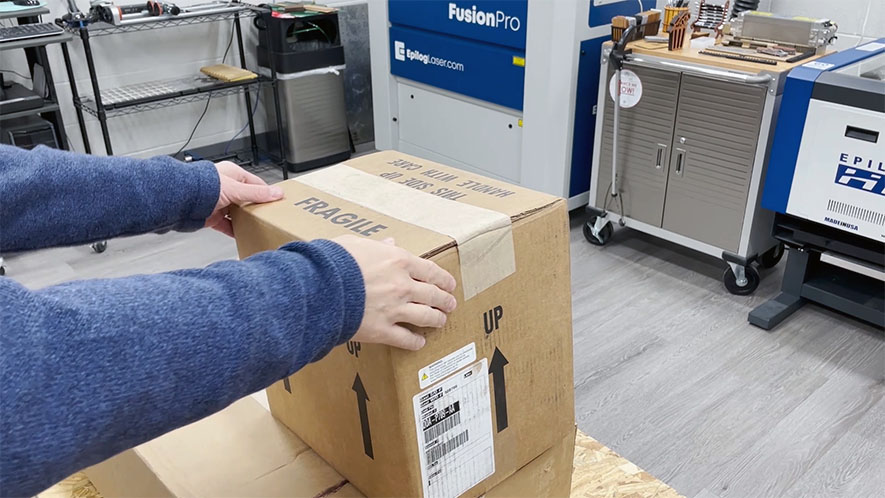
Cut the tape that is securing the box, then open the box.
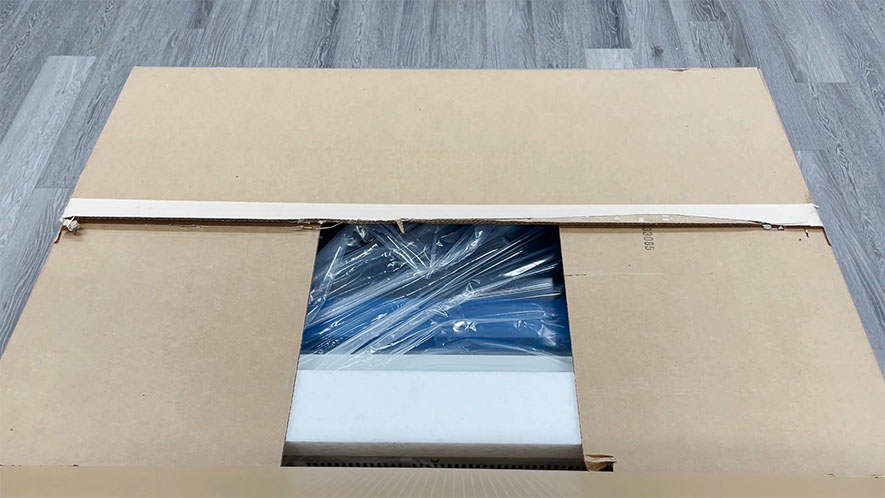
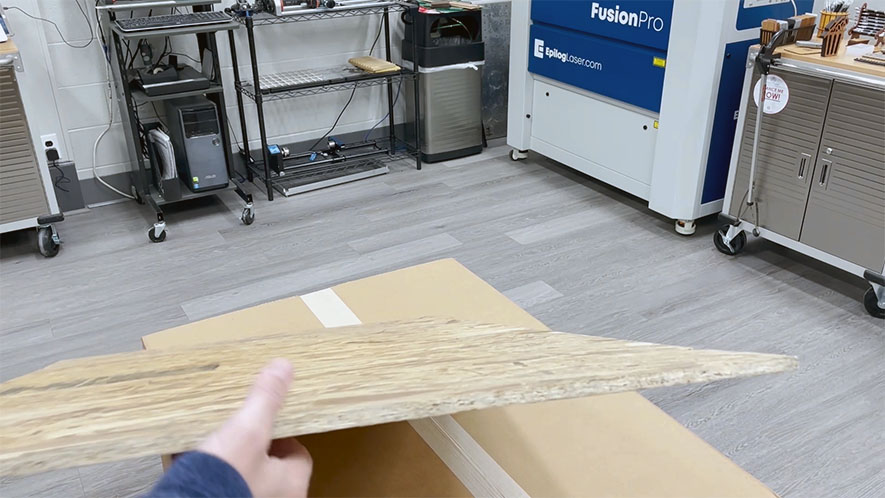
Remove the foam topper and the foam corner inserts.

With the foam inserts removed, pull the box up and away from the pallet.
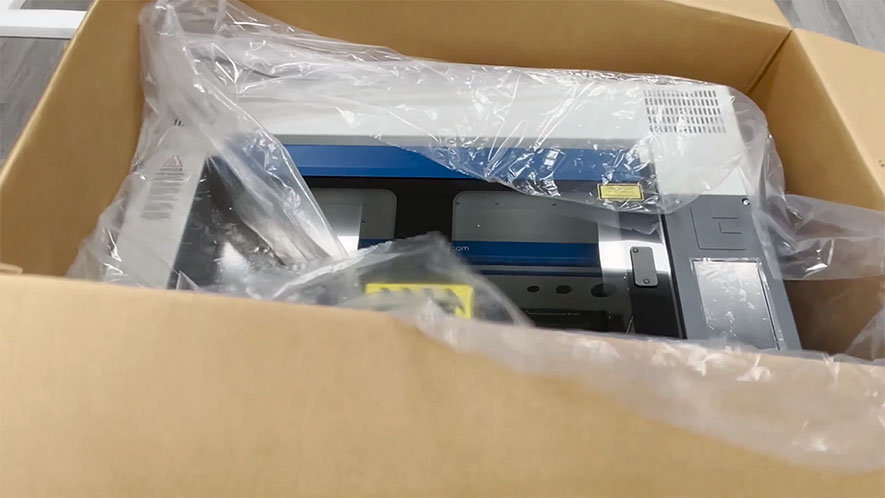
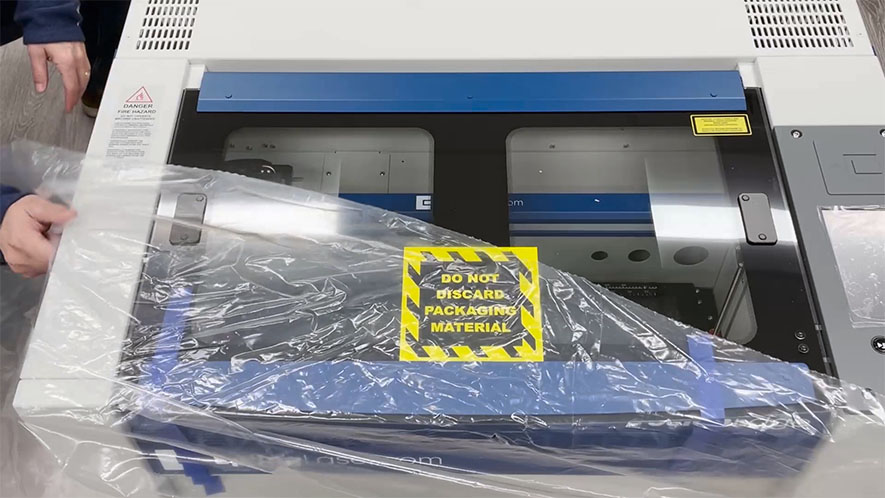
Cut the tape that’s holding the bag closed, then spread the bag over the sides of the machine.
Remove the Machine
If you purchased the Fusion Maker 12 stand with your machine and you’d like to use it as the base for your Fusion Maker machine, assemble the stand now, before continuing on with this lesson.
The Fusion Maker 12 weighs approximately 138 lbs (63 kg). With the help of an additional person, lift your Fusion Maker laser system from the pallet and place it on a sturdy, level surface.

Included Items and Materials
Once you’ve removed the machine from the pallet, remove the plastic bag

You’ll find the included items and materials stored underneath.

Your Fusion Maker laser system includes:
- Power cord
- Ethernet cord
- USB cord
- Software Installation USB
- Quick Start Guide
- Owner’s Manual
- Training Suite Signup Card and Kit
- Vendor Material Sample Kit
- Lens Cleaner
- Laser Beam Alignment Target
- Bearing Lubrication Grease, and
- Camera Calibration Sheet