This document outlines the step-by-step procedure for removing and replacing the X-Axis motor in the Epilog Maker laser system. Proper handling and installation are crucial to maintaining optimal performance and avoiding damage to internal components. Please follow the instructions and diagrams carefully to ensure a smooth and successful motor replacement.
Procedure
-
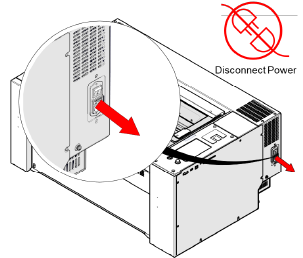
Disconnect power.
-
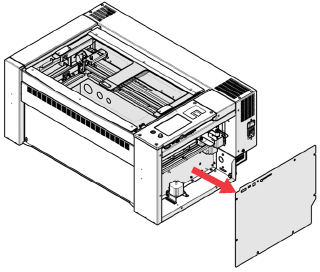
Remove right-side panel.
-
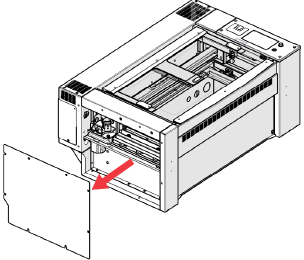
Remove left-side panel.
-
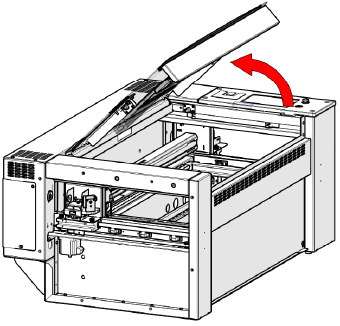
Open top door.
-
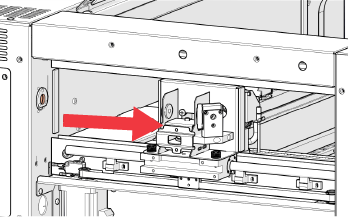
Move the X-Axis rail to the middle.
-
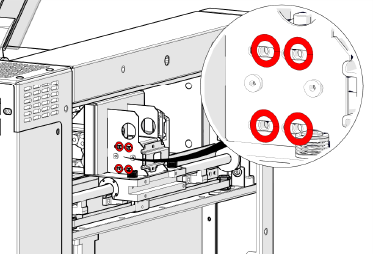
Loosen the four (4) 7/64″ screws.
-
Loosen the four (4) 7/64″ screws.
-
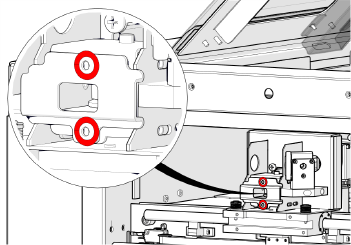
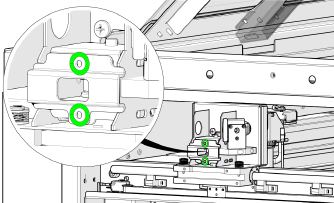
Loosen the two (2) 7/64″ screws.
-
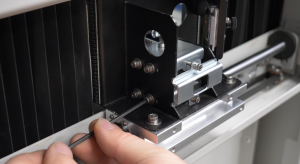
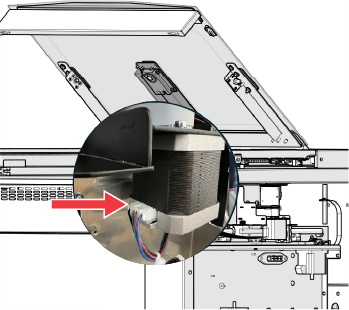
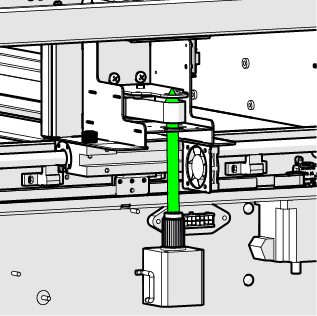
Unplug the X-Axis motor.
Note: When disconnecting the motor, do not pull the wires from the harness. You must pull the connector out from the motor.
-
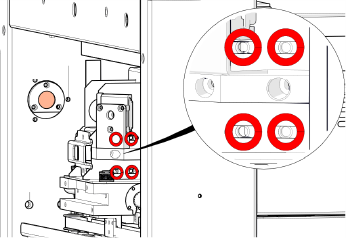
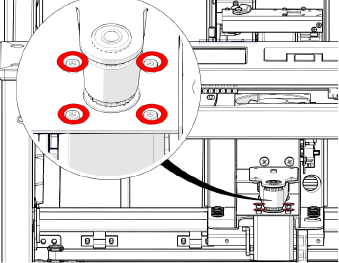
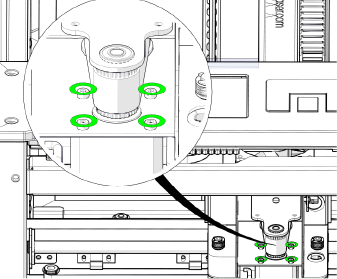
Remove the four (4) 2.5mm screws.
-
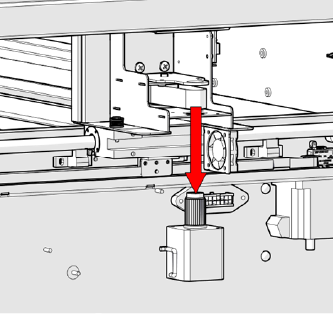
Remove the X-Axis motor.
-
Install the replacement motor.
-
Install the four (4) 2.5mm screws.
-
Tighten the two (2) 7/64″ screws.
Note: Once the motor is installed, you must follow the belt tensioning procedure below to ensure the proper belt tension is set.