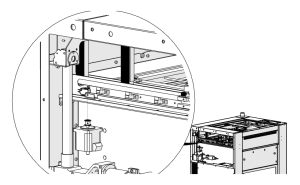
This guide covers replacing a y-axis home switch on the Fusion Maker, Fusion Edge and Fusion Pro 24 and 36. The roller-lever home switch is mounted at the rear of each y-axis assembly.
Parts Required
- LC0047 – Switch, Y-Home, Roller Lever
Tools Required
- 5/32" Allen Wrench
- Phillips Screwdriver
Safety First: Ensure the engraver is completely powered off and the power cord is disconnected before removing any panels or touching internal components.
Y-Axis Home Switch Removal
Turn Off Engraver
Turn off the engraver.

Disconnect from Power
Unplug the engraver from its power source.
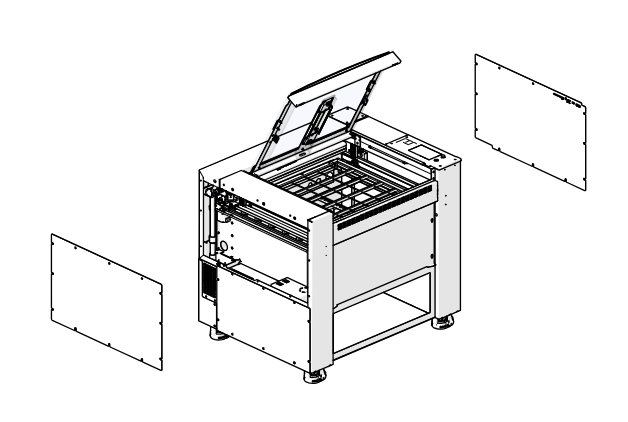
Remove Side Panel
Remove the left or right panel of the engraver, on the side of the home switch you are replacing.
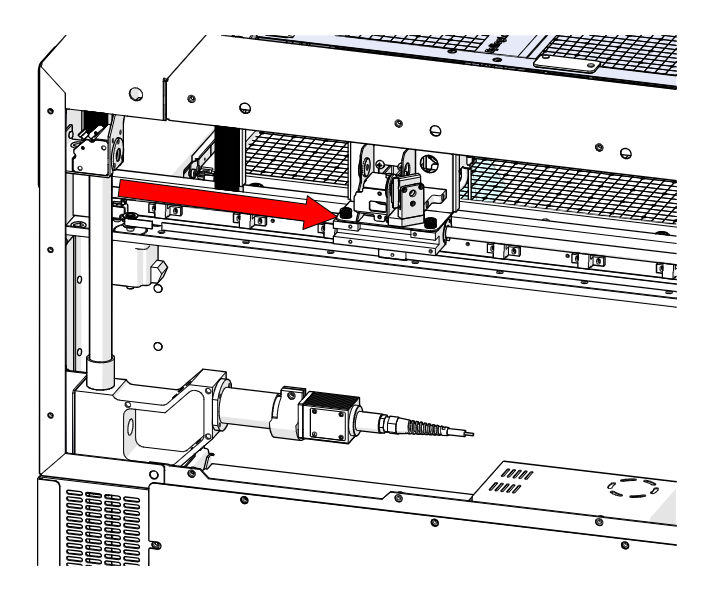
Center the X-Axis Assembly
Manually move the x-axis assembly to the middle of the engraver.
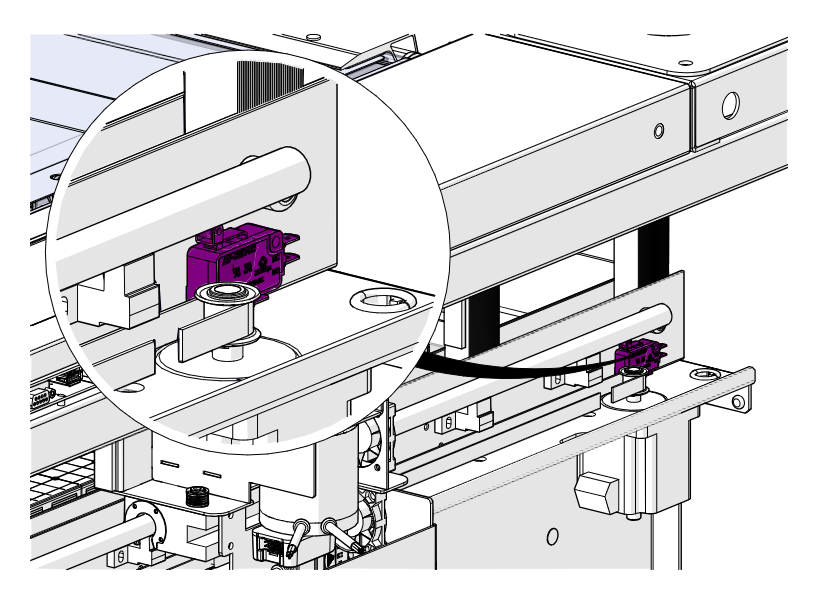
Locate the Home Switch
Locate the y-axis home switch at the rear of the y-axis assembly (highlighted in purple).
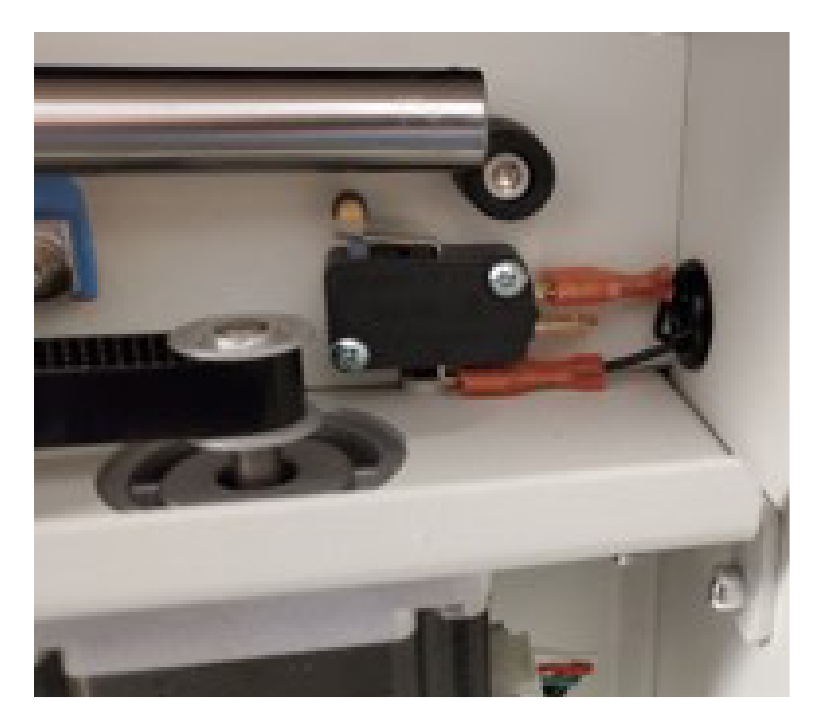
Disconnect the Wires
Disconnect the two wire connections from the y-axis home switch.
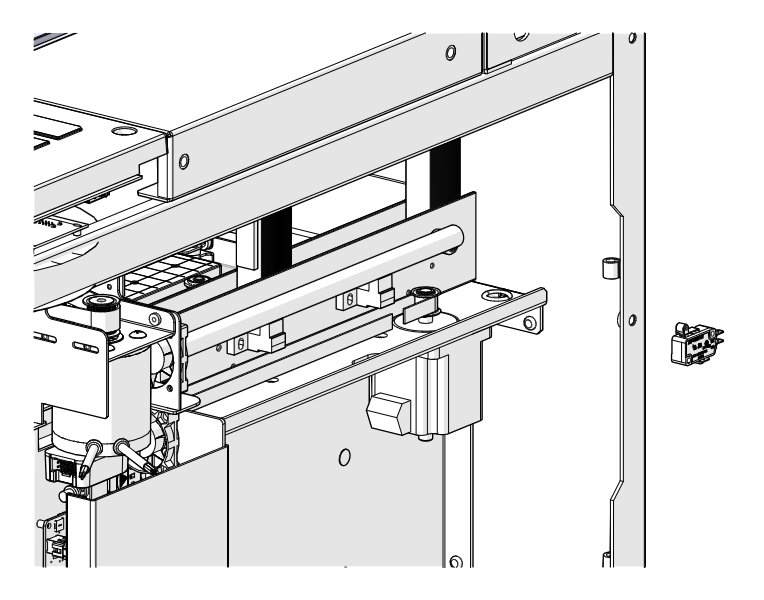
Remove the Home Switch
Loosen and remove the two Phillips screws that secure the home switch to the engraver chassis, then remove the switch.
Y-Axis Home Switch Installation
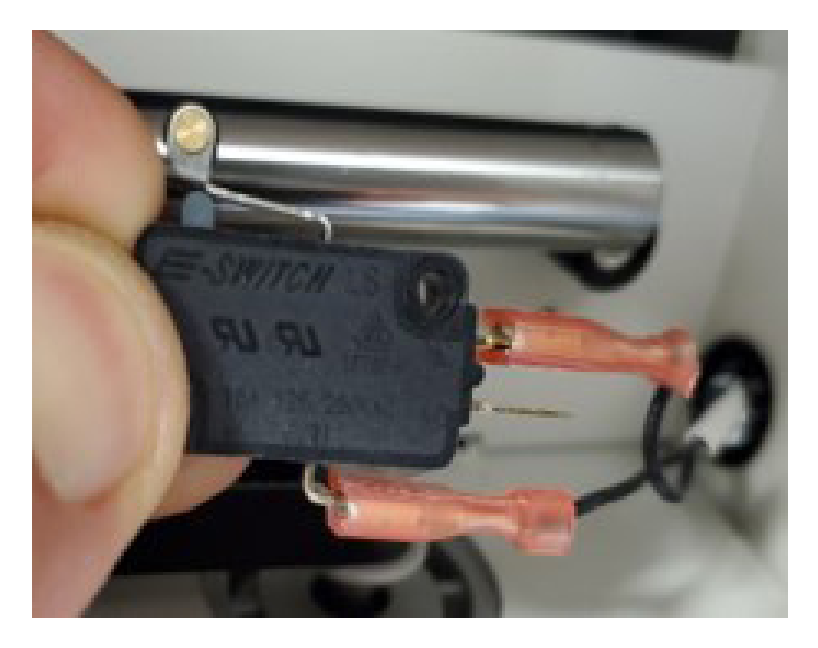
Connect the Wires
Connect the two wire connections to the new LC0047 y-axis home switch.
Install the Home Switch
Position the home switch over the mounting holes on the engraver chassis. Install and tighten the two Phillips screws.
Install Side Panel
Install the side panel of the engraver.

Power On
Reconnect the engraver to power and turn it on.