In this lesson we’ll walk you through cleaning the optics on the Epilog Fusion Pro laser system.
You will need a Philips head screwdriver, a 5/32” hex key, cotton swabs, and lens cleaning solution for this procedure.
Cleaning the Lens Tube Optics
To begin the procedure of cleaning your optics, with the machine powered on, select the Jog icon.
Then use the joystick to move the laser head toward the front and middle of the machine to provide you easier access to the lens assembly.
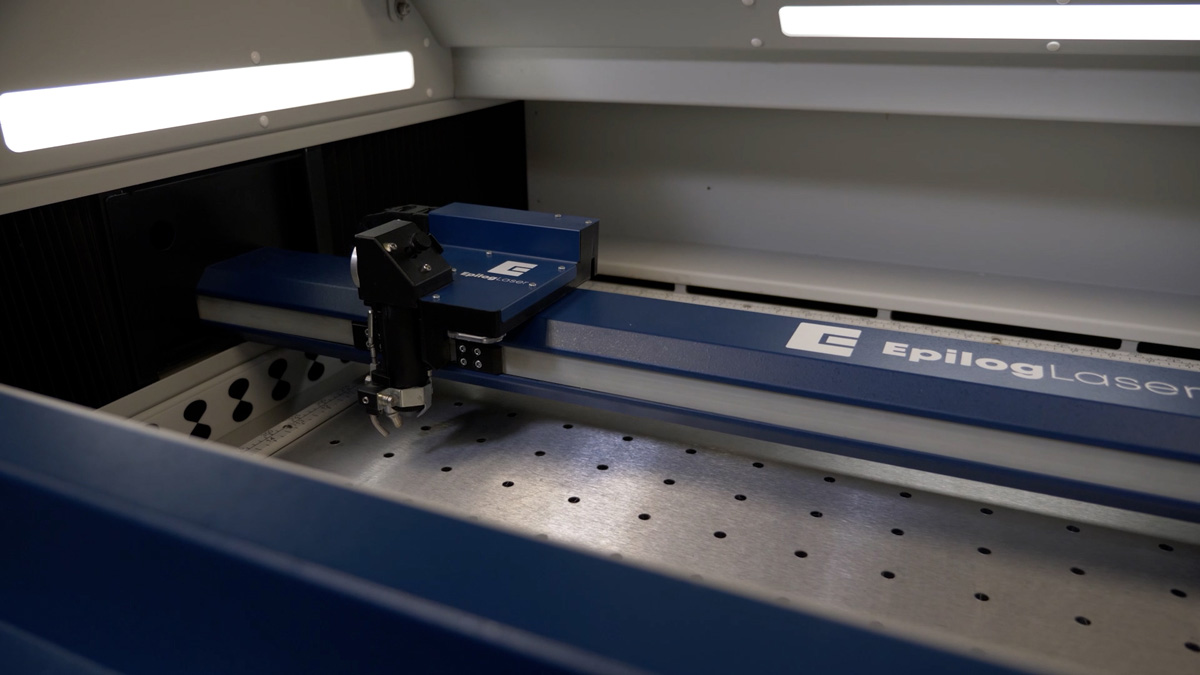
Select the Focus icon, then use the joystick to lower the table to give you a little room to work.
Open the top and front doors.
Shut off the laser and remove the power cord from the machine.
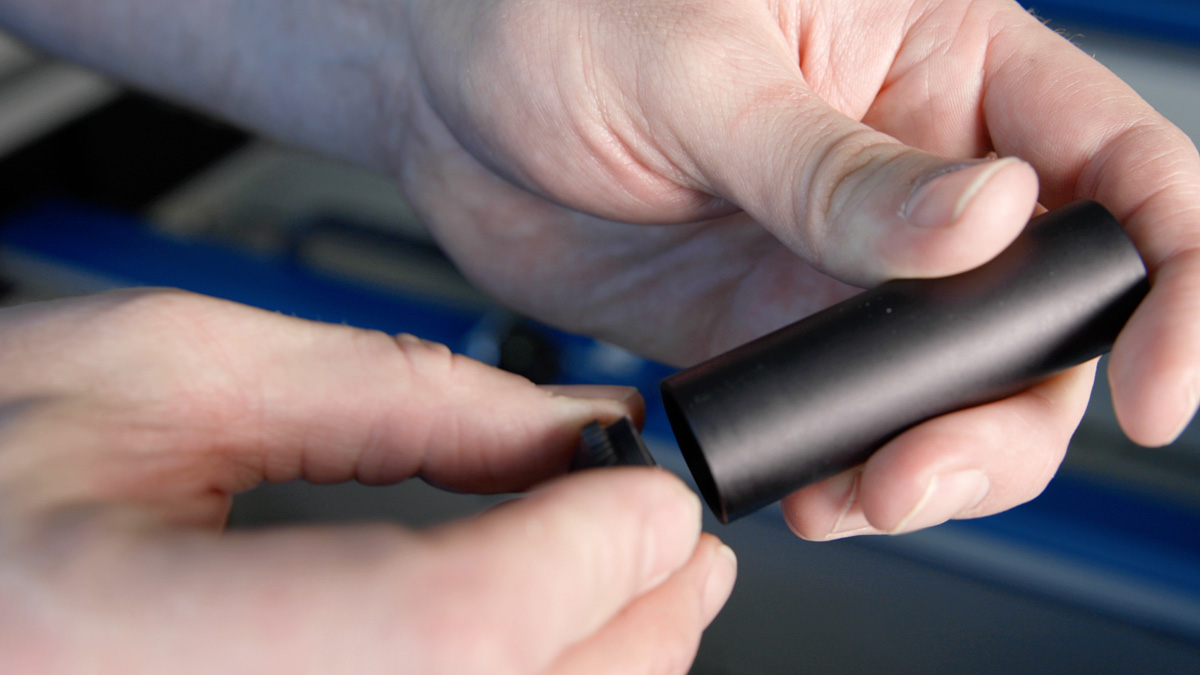
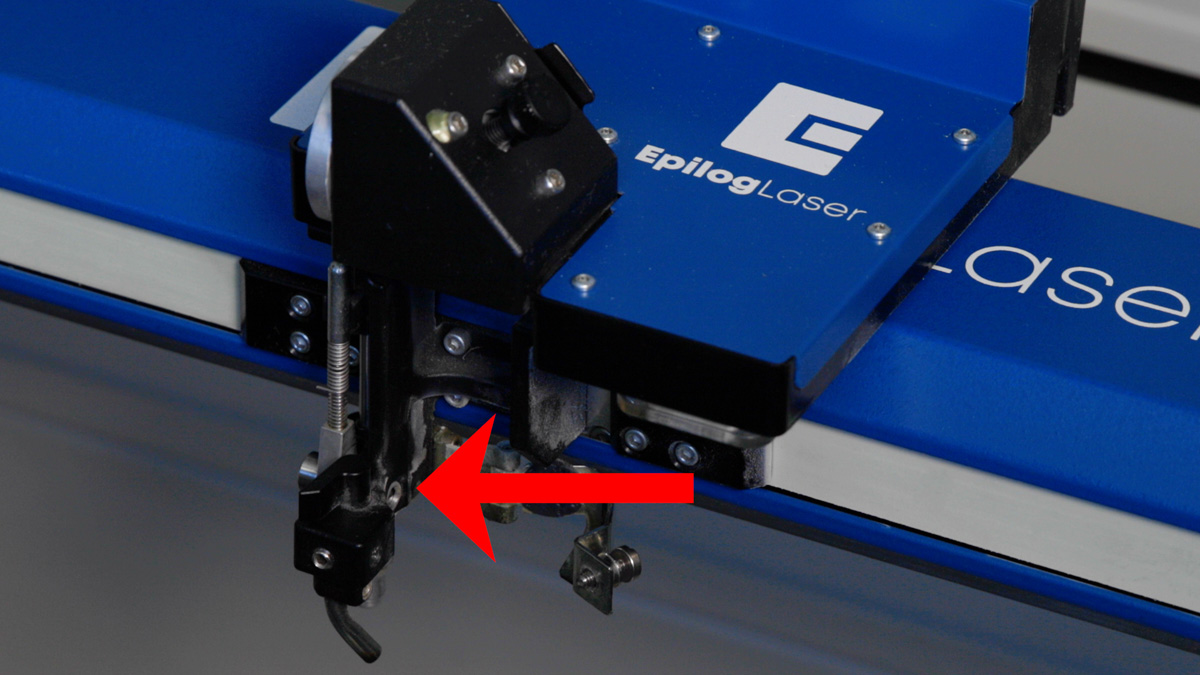
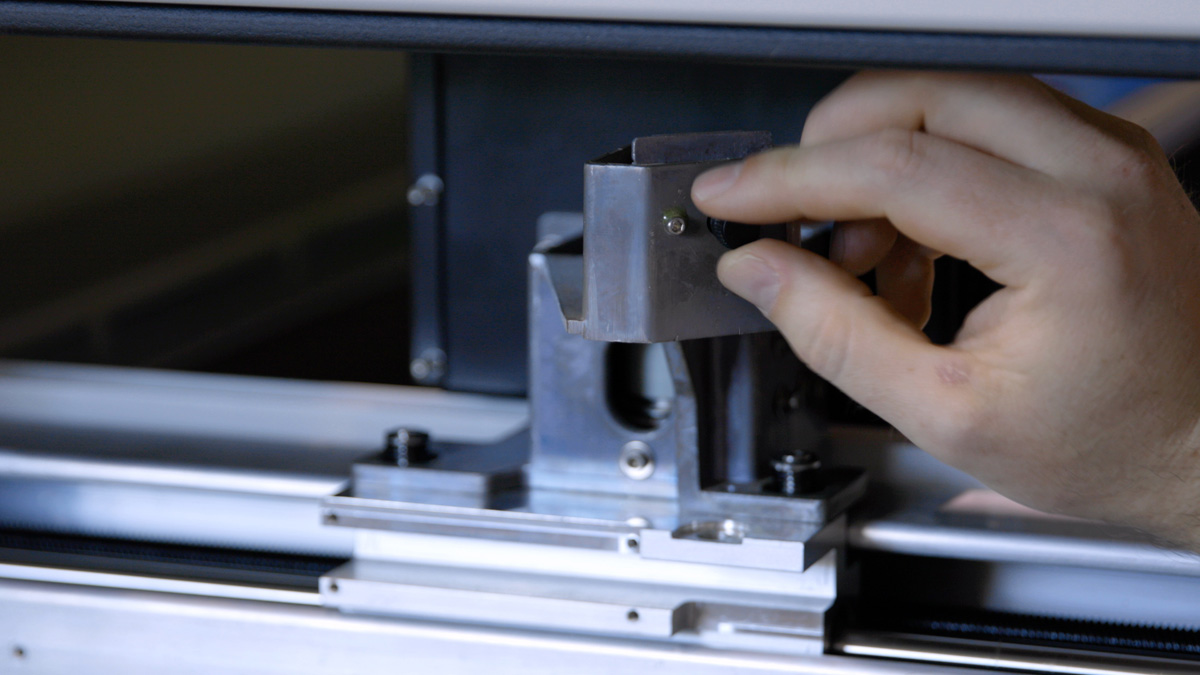
Remove the lens tube by using a Philips head screwdriver to unscrew the captive screw securing the front lens clamp.
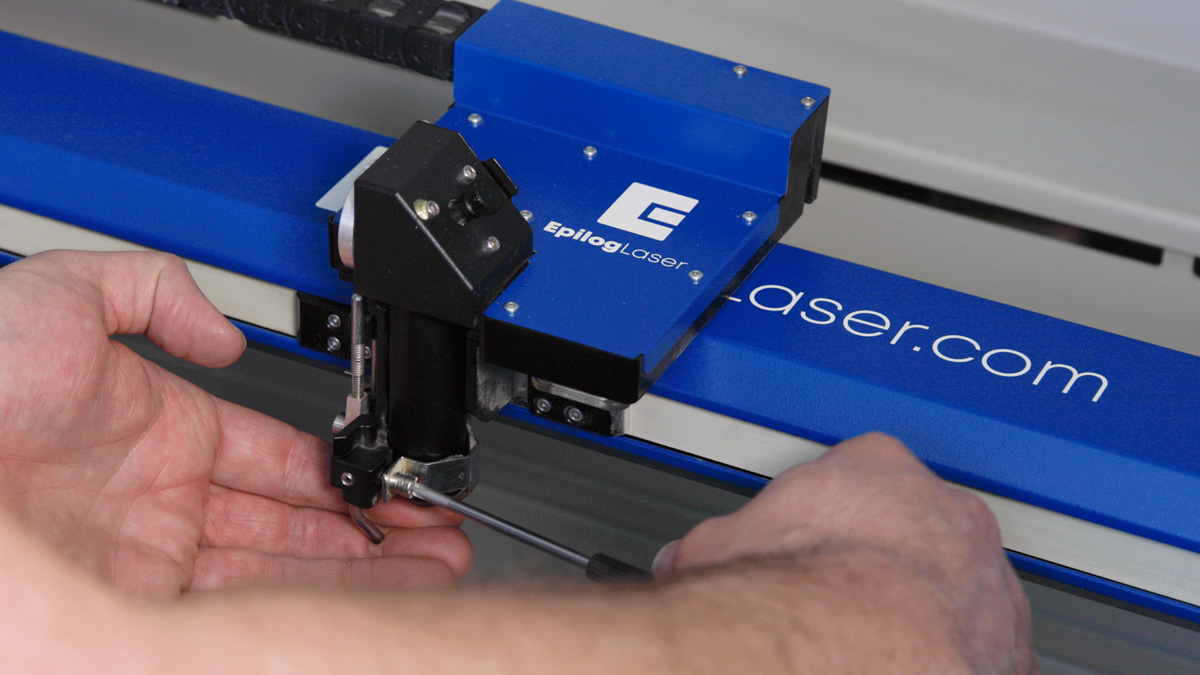
Support the lens tube from the bottom, as the tube may come out easily.

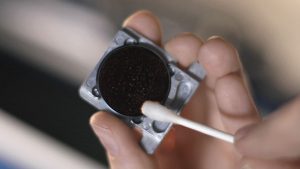
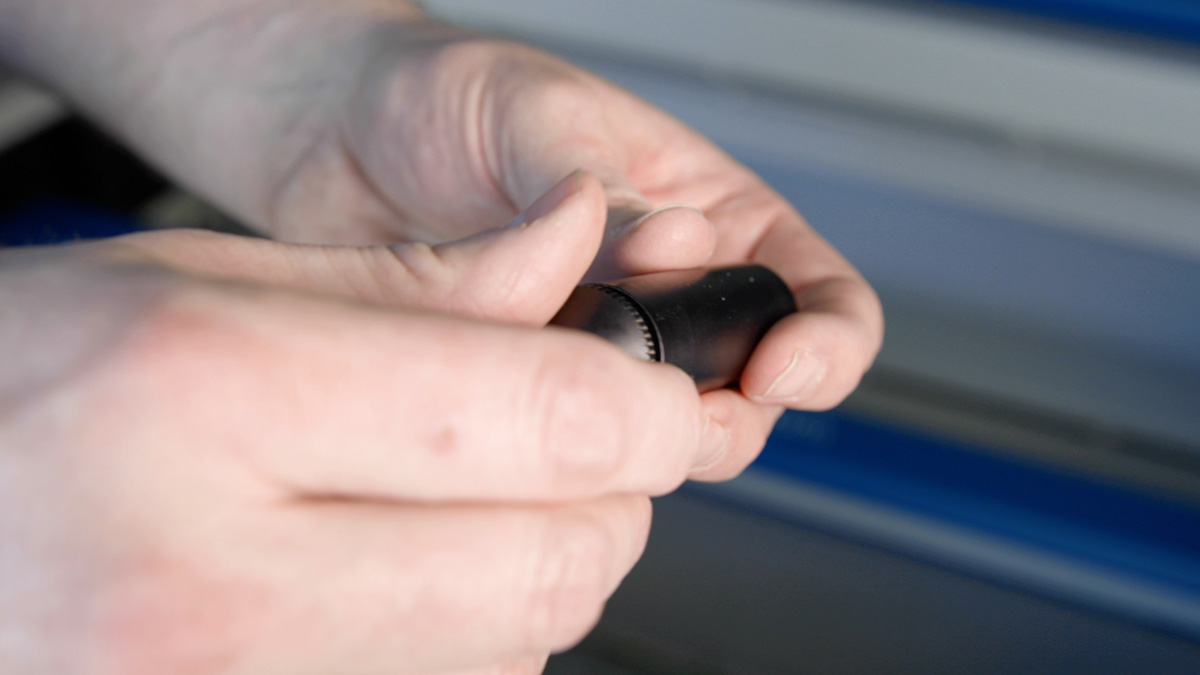
Unscrew the lens tube cap on the end of the lens tube to give you access to one side of the lens inside the tube.
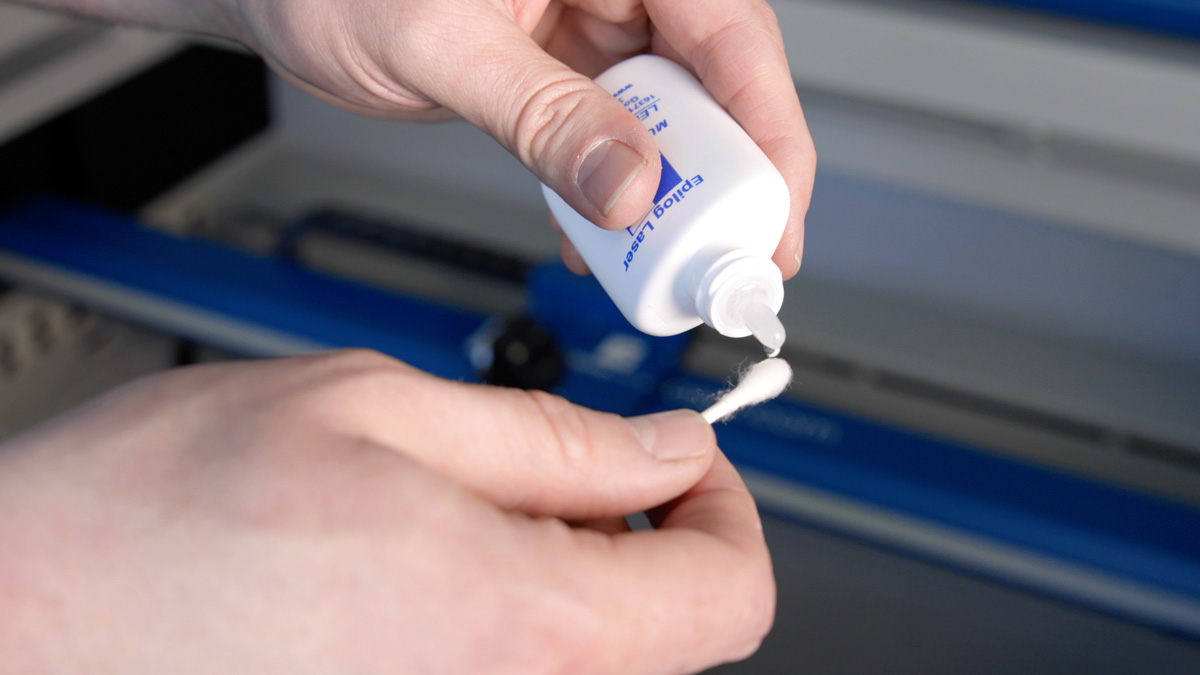
Apply some lens cleaning solution to a cotton swab, then use it clean the side of the lens you just exposed. Use a dry cotton swab to dry the lens.
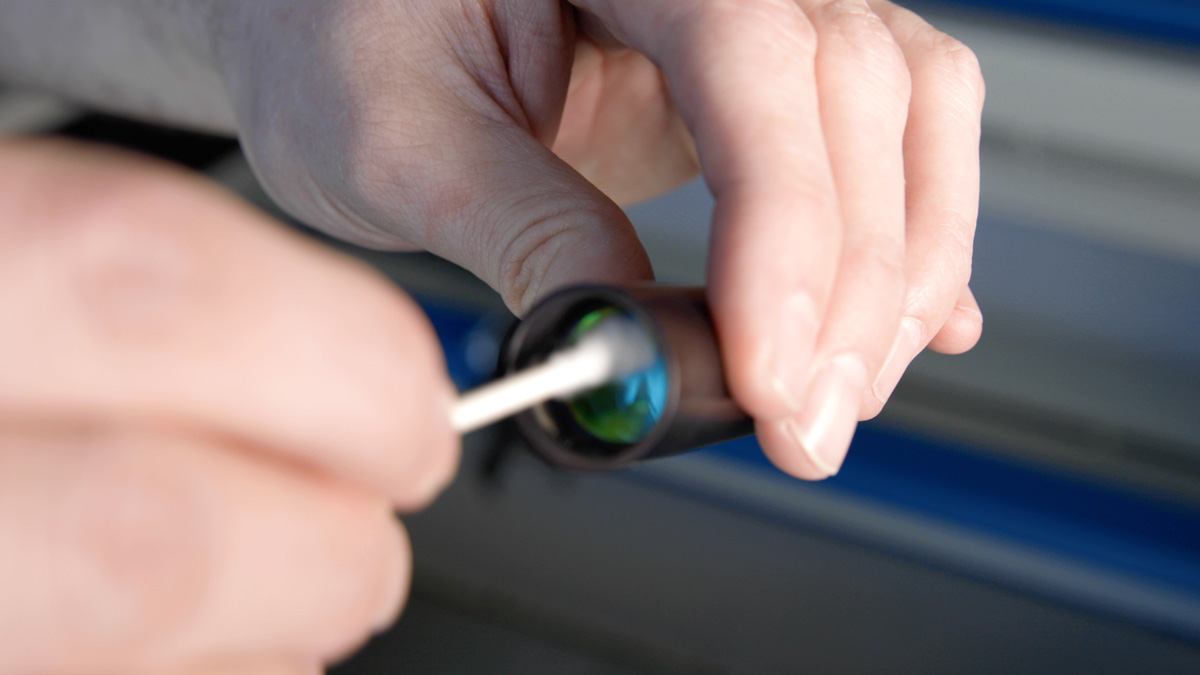
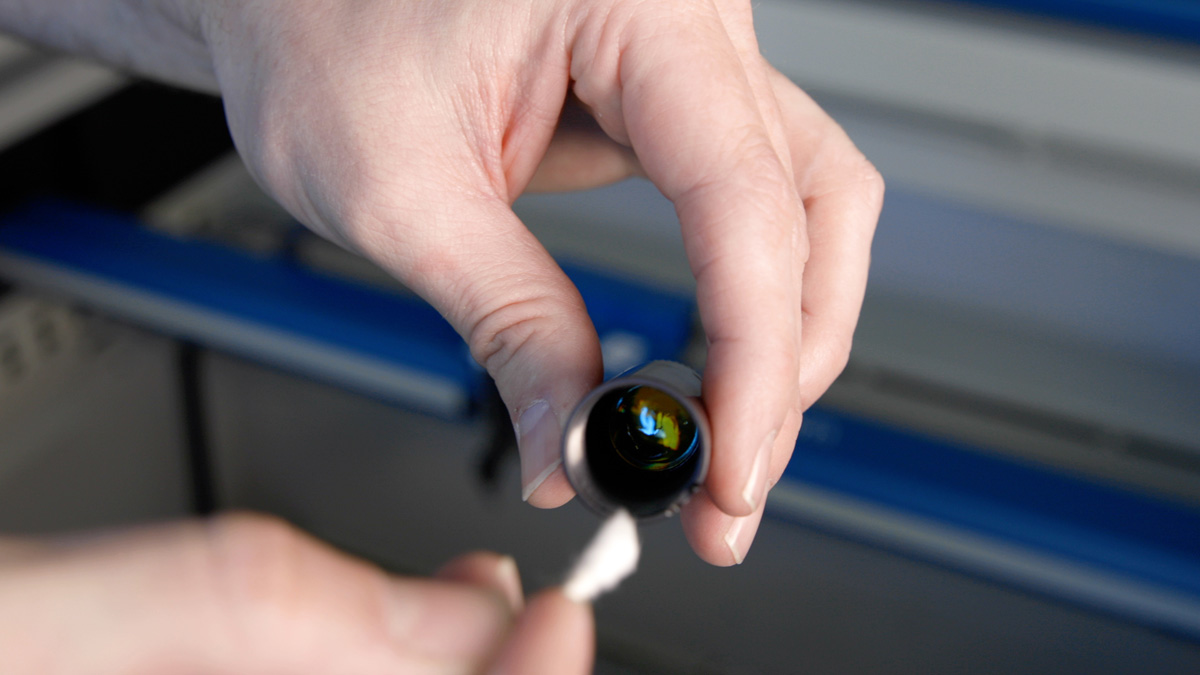
Turn the lens tube around and clean and dry the other side of the lens.
Screw the lens tube cap back onto the lens tube.
Place the tube back into the assembly, making sure that the hole near the bottom of the tube lines up with the air assist hole on the assembly.
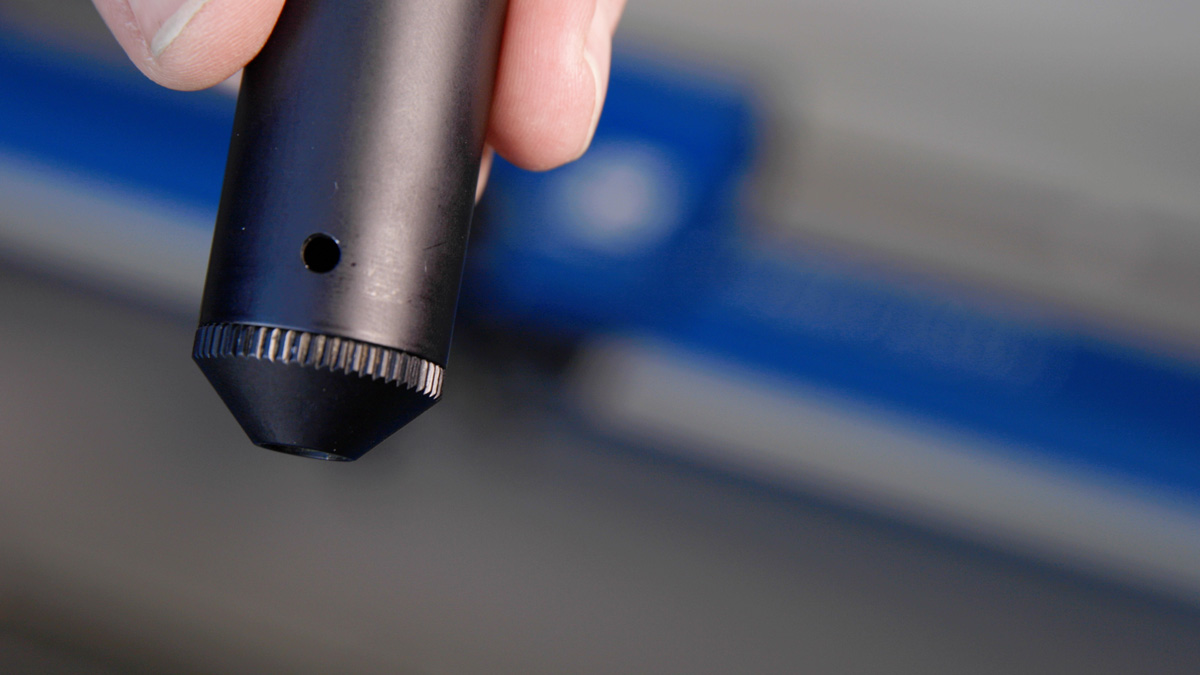
Make sure the notch at the top of the lens tube lines up with the insert on the assembly as well.
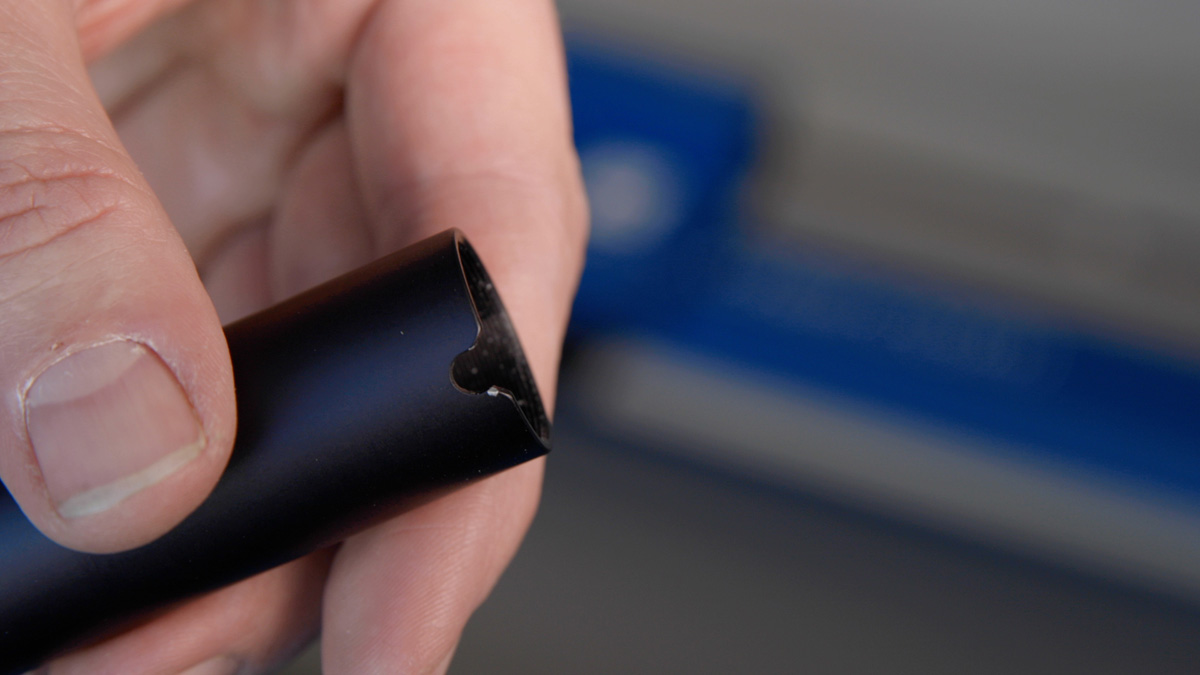
When the tube is in place it should only shift slightly when twisted side to side.
Secure the front lens clamp using a Philips screwdriver.
Cleaning Your Lens Assembly Optics
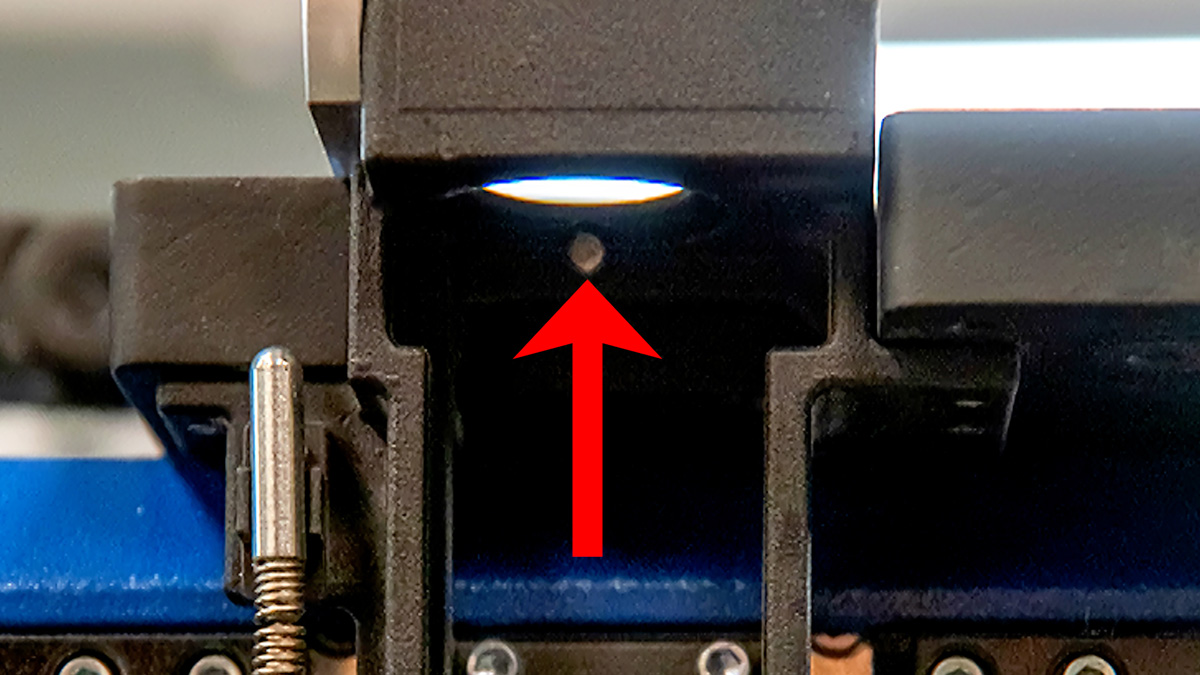
Next, open the housing at the top of the lens tube by pivoting the plate located on the back side of the housing.
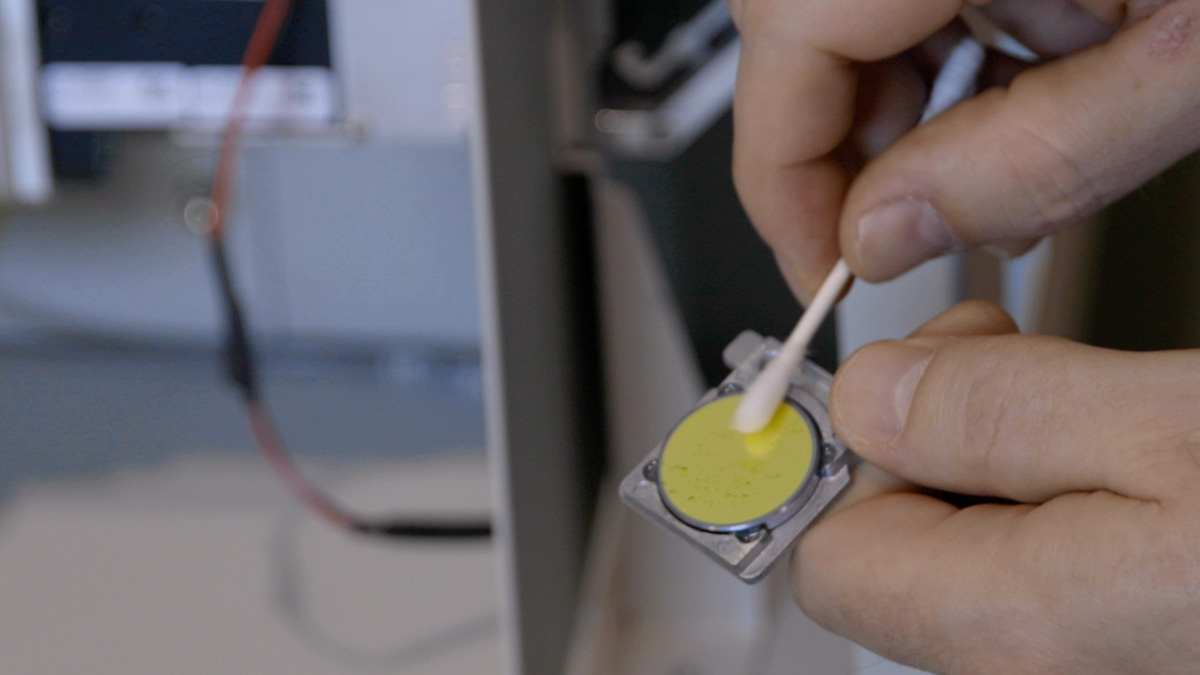
Loosen the mirror screw, then carefully slide the mirror out of the housing.
Clean and dry the mirror.
While the housing is open, clean and dry the interior and exterior of the lens assembly window.
Carefully reinsert the mirror, tighten the mirror screw, and pivot the plate to close the housing.

The plate should click into place.
Internal Mirrors
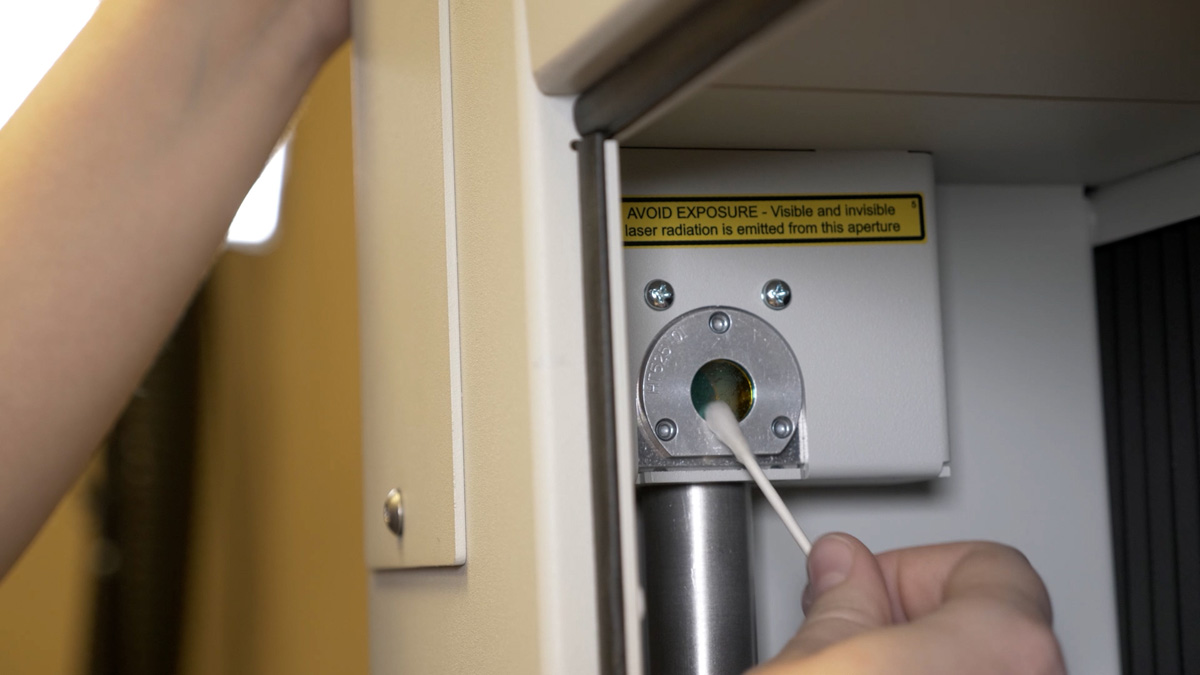
Next we’ll clean the mirrors at the top and bottom of the periscope at the rear of the machine.
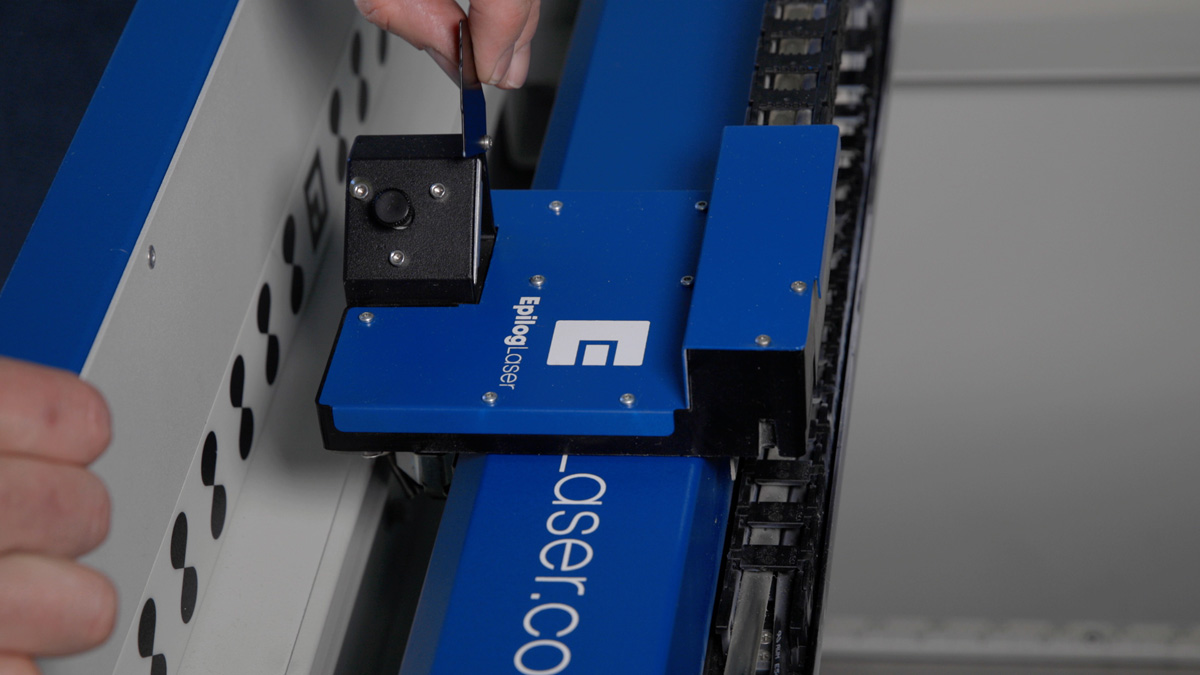
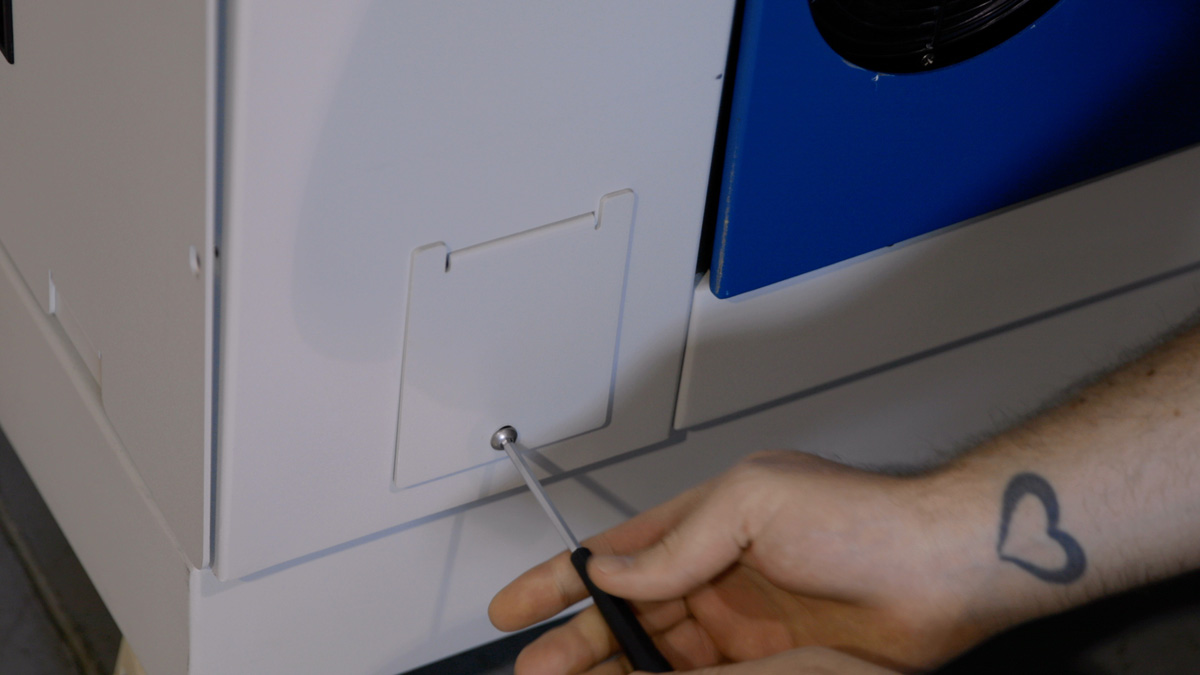
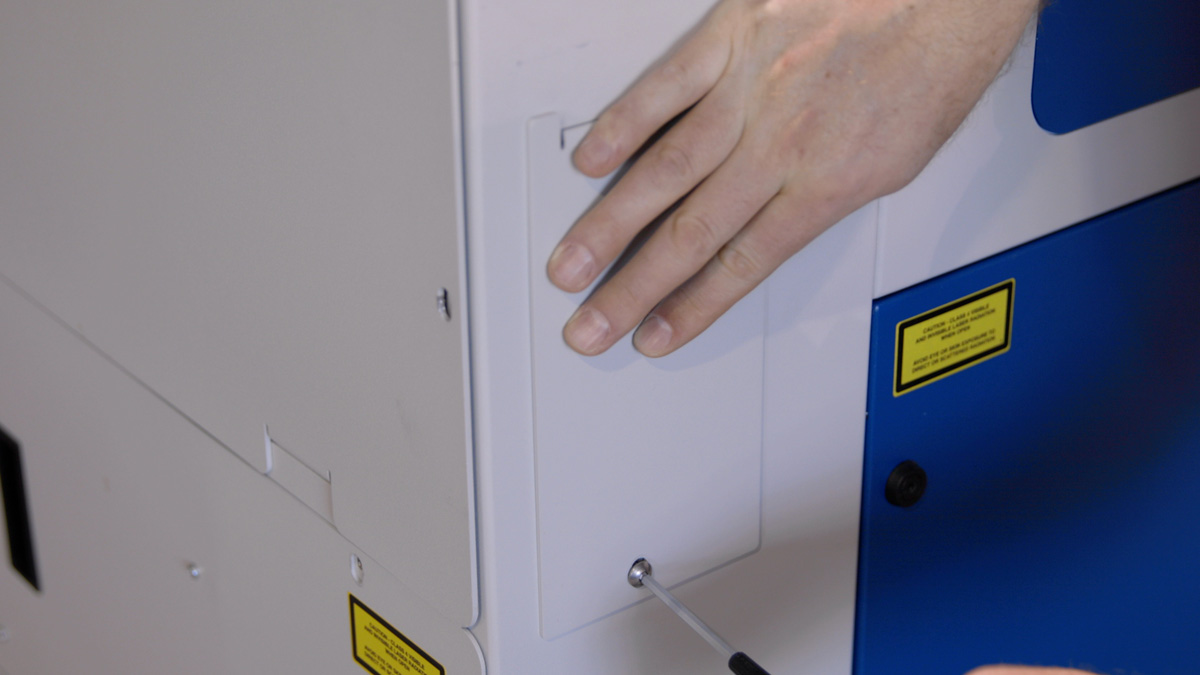
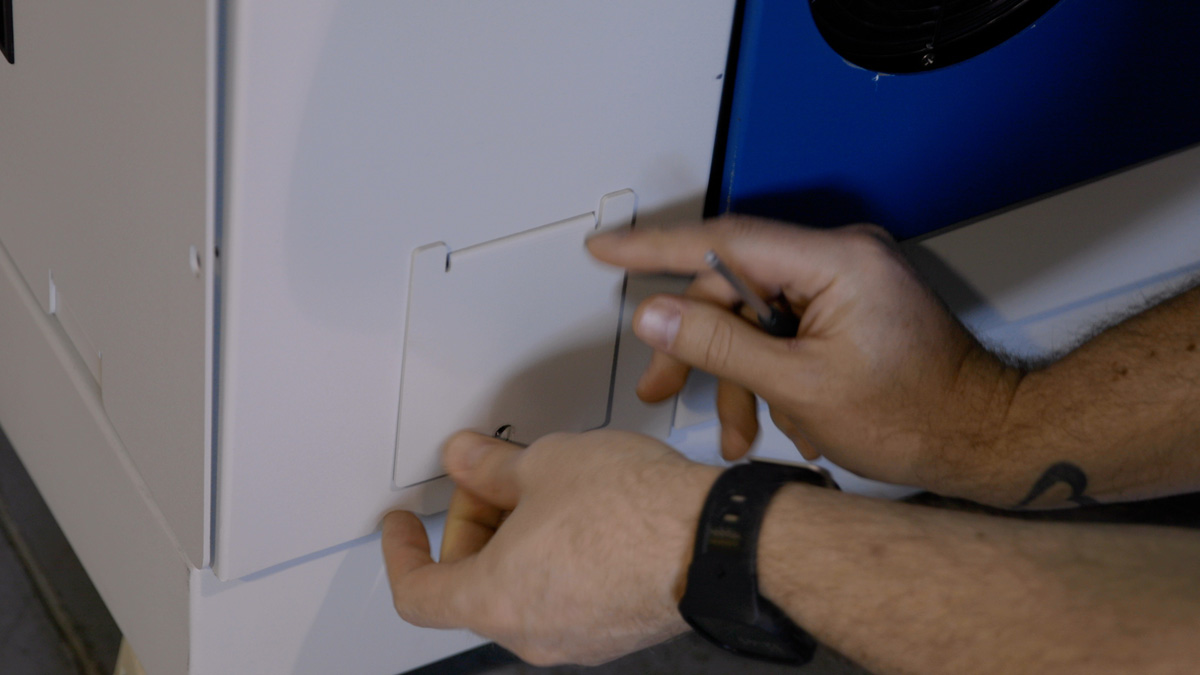
Use a hex key to remove the top access plate on the left side of the machine and reveal the top mirror housing.
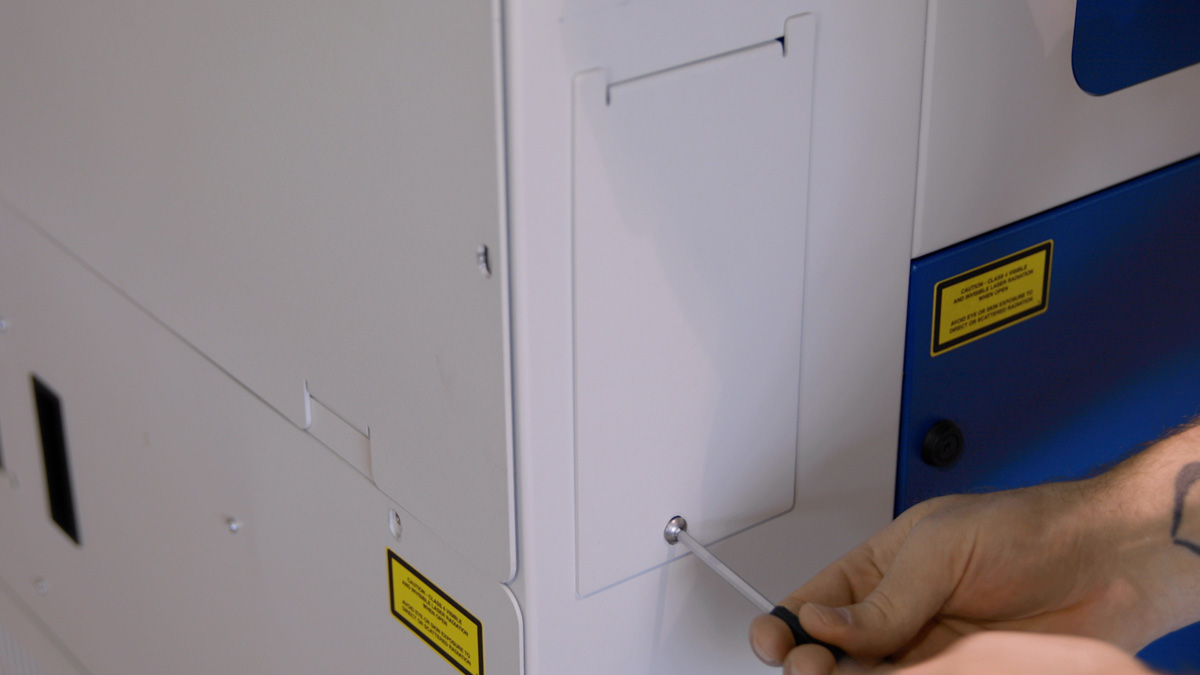
Also remove the bottom access plate to reveal the bottom mirror housing.
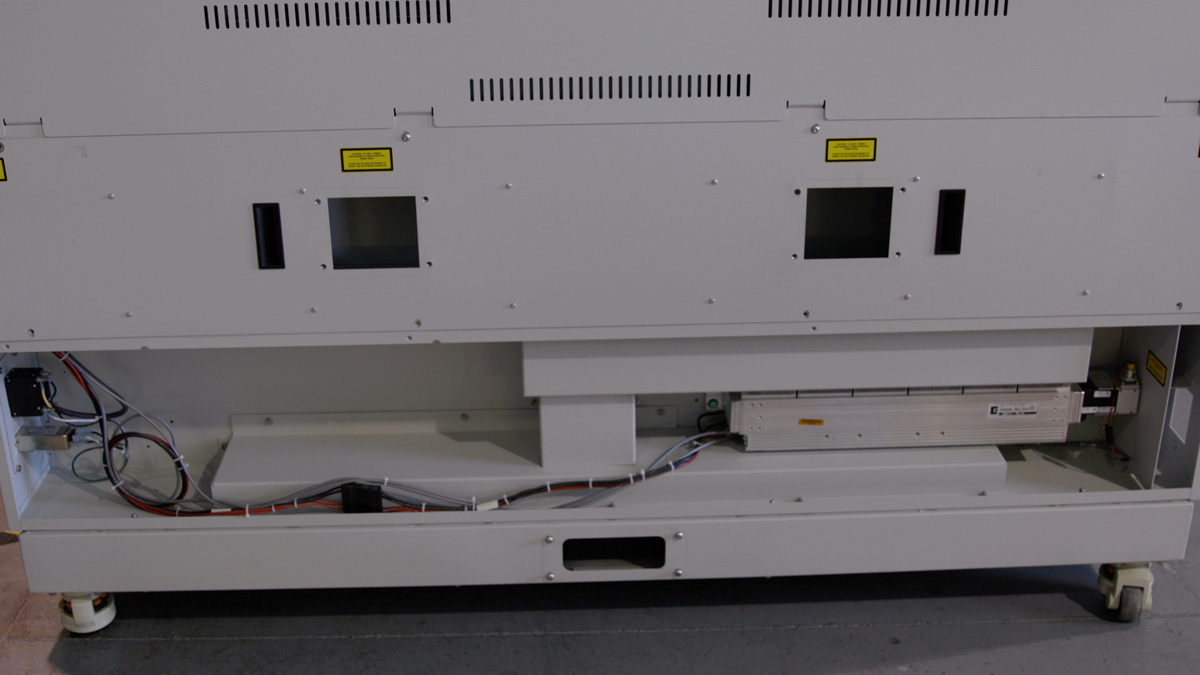
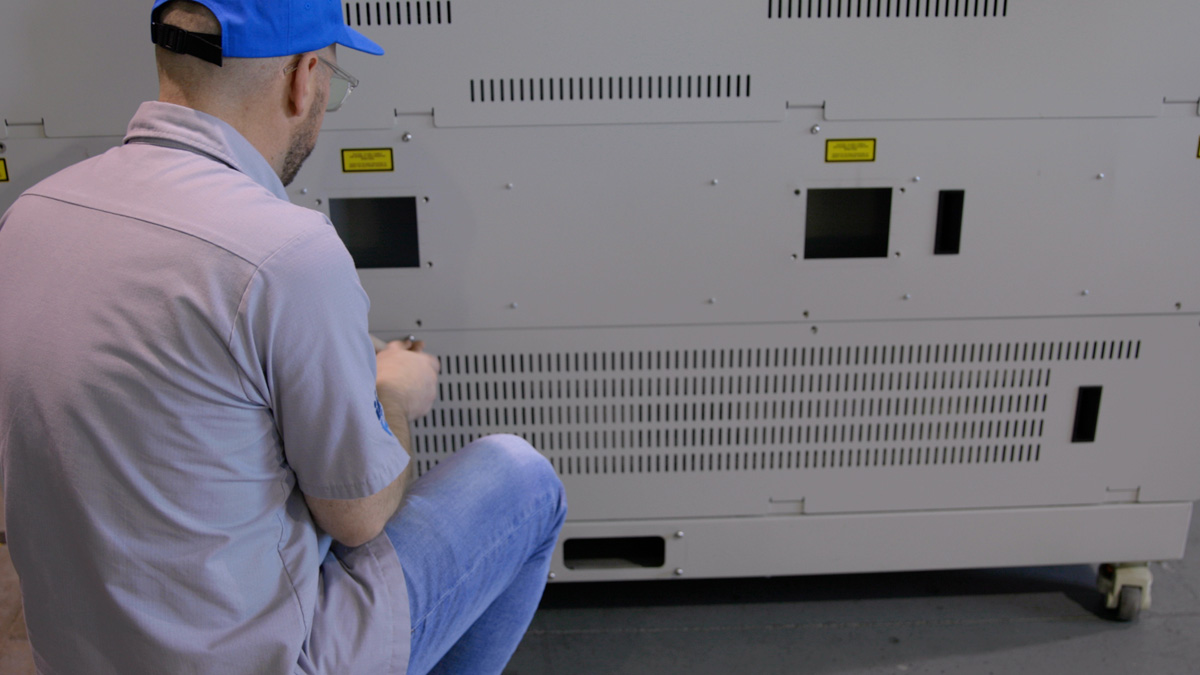
To give yourself more room to work, you may want to remove the bottom panel on the back of the machine.
Use a hex key to remove the six screws, then remove the panel and set it aside.
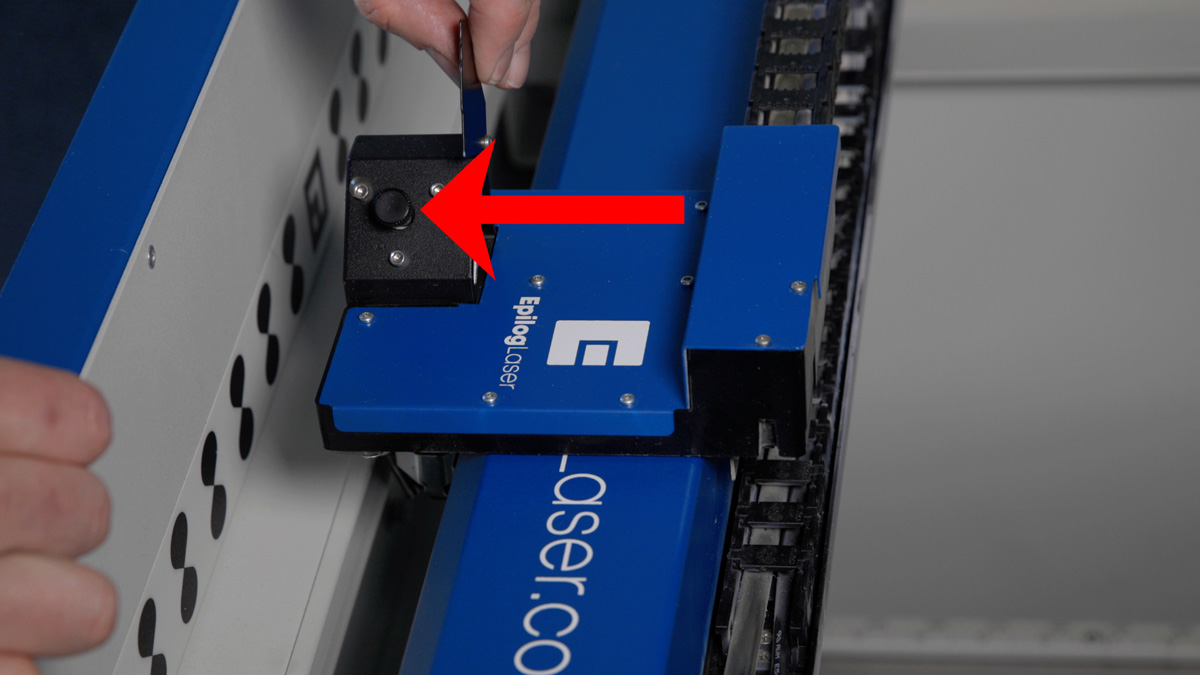
Let’s start with the top mirror.
Remove the magnetic housing plate.
Loosen the mirror screw, then carefully slide the mirror out of the housing.
Clean and dry the mirror.
Reinsert the mirror, tighten the mirror screw, and put the magnetic housing plate back in position.
Follow the same process for the bottom mirror.
Remove the magnetic housing plate.
Loosen the mirror screw, then carefully slide the mirror out of the housing.
Clean and dry the mirror.
Reinsert the mirror, tighten the mirror screw, and put the magnetic housing plate back in position.
Reattach the bottom panel on the back of the machine by reinserting the six screws.
Reattach the top and bottom access panels on the left side of the machine as well.
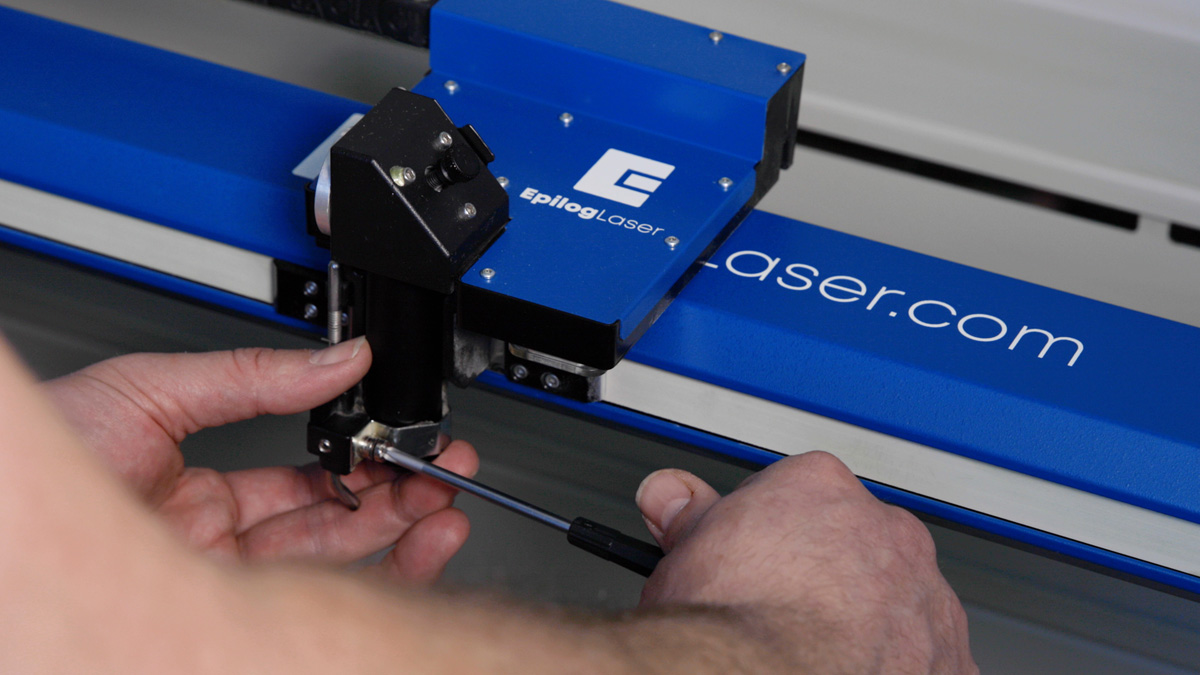
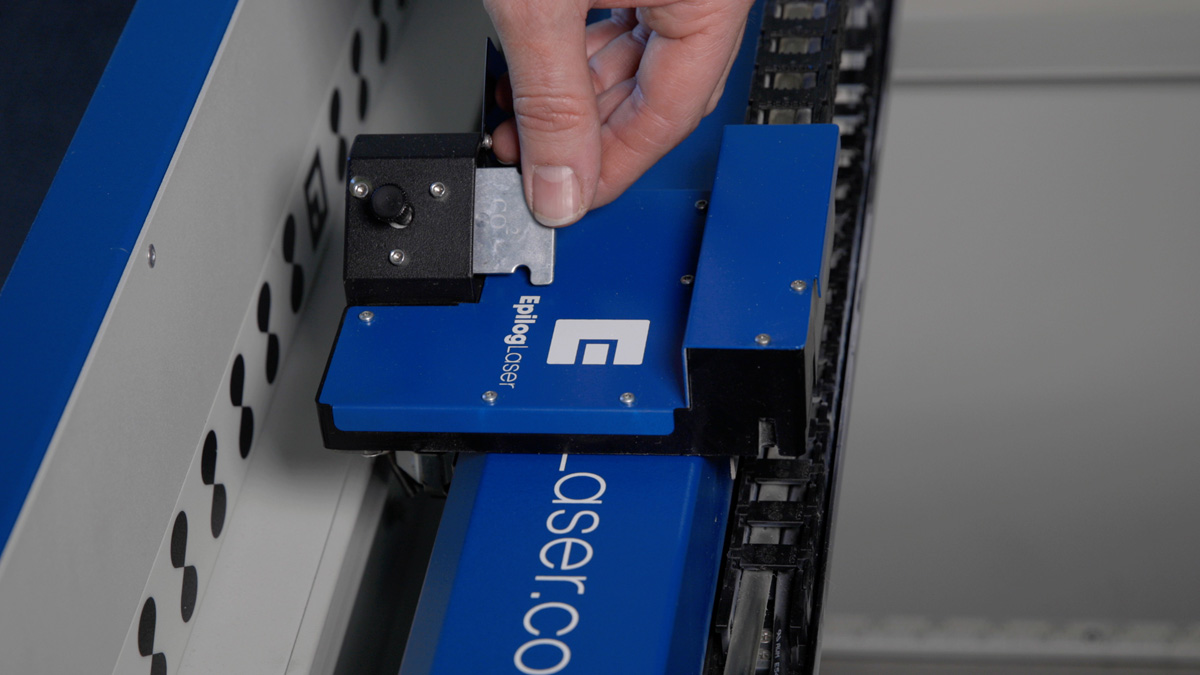
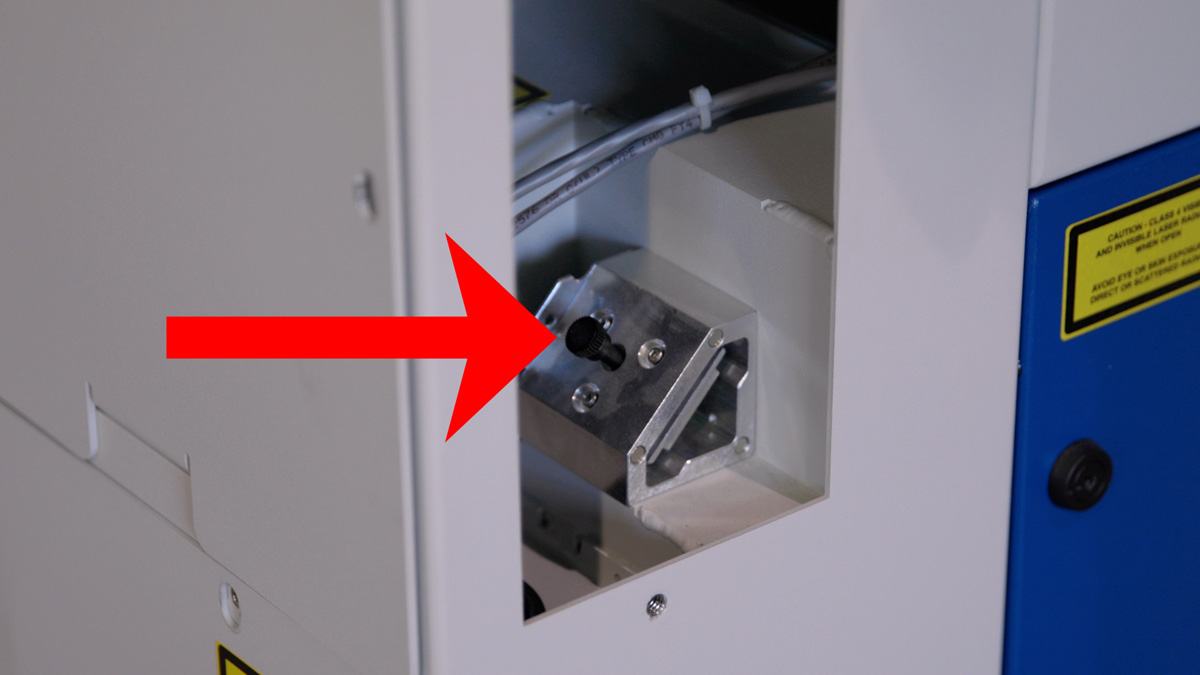
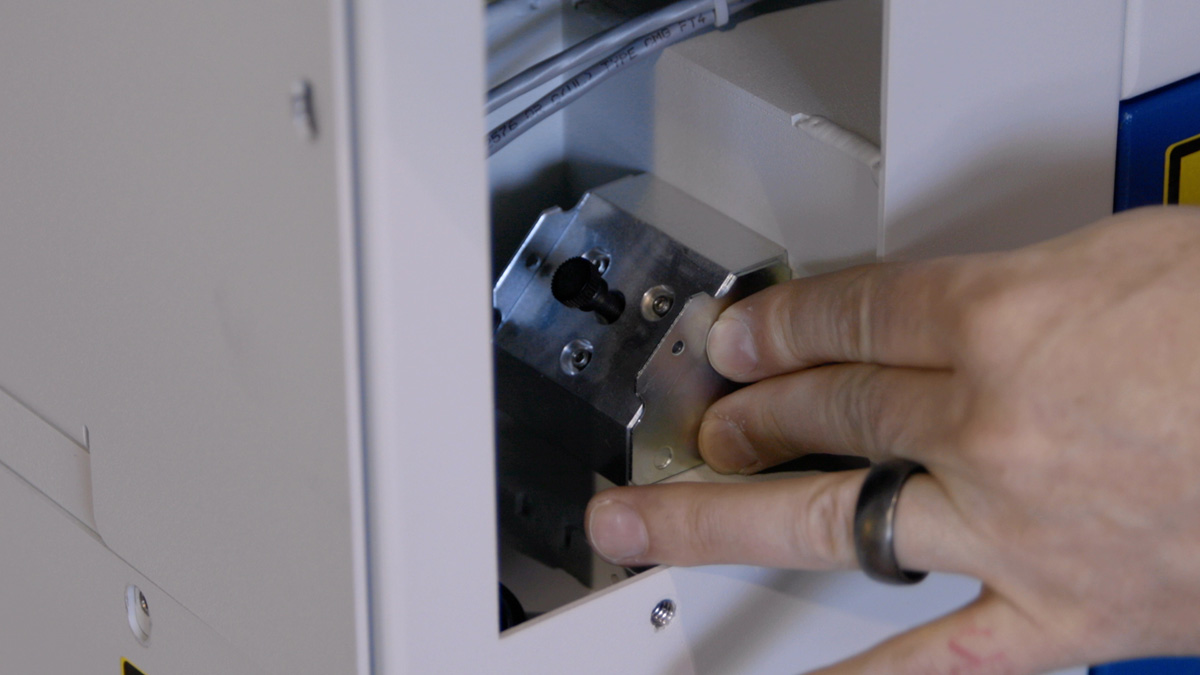
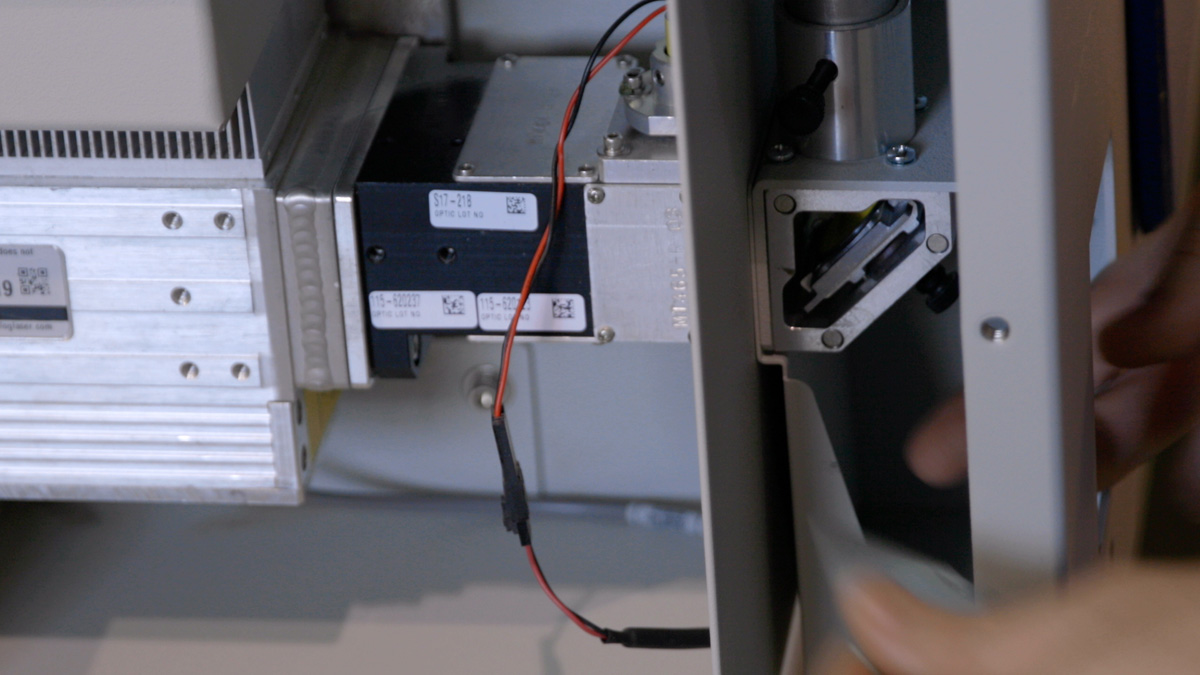
X-Axis Assembly Mirror
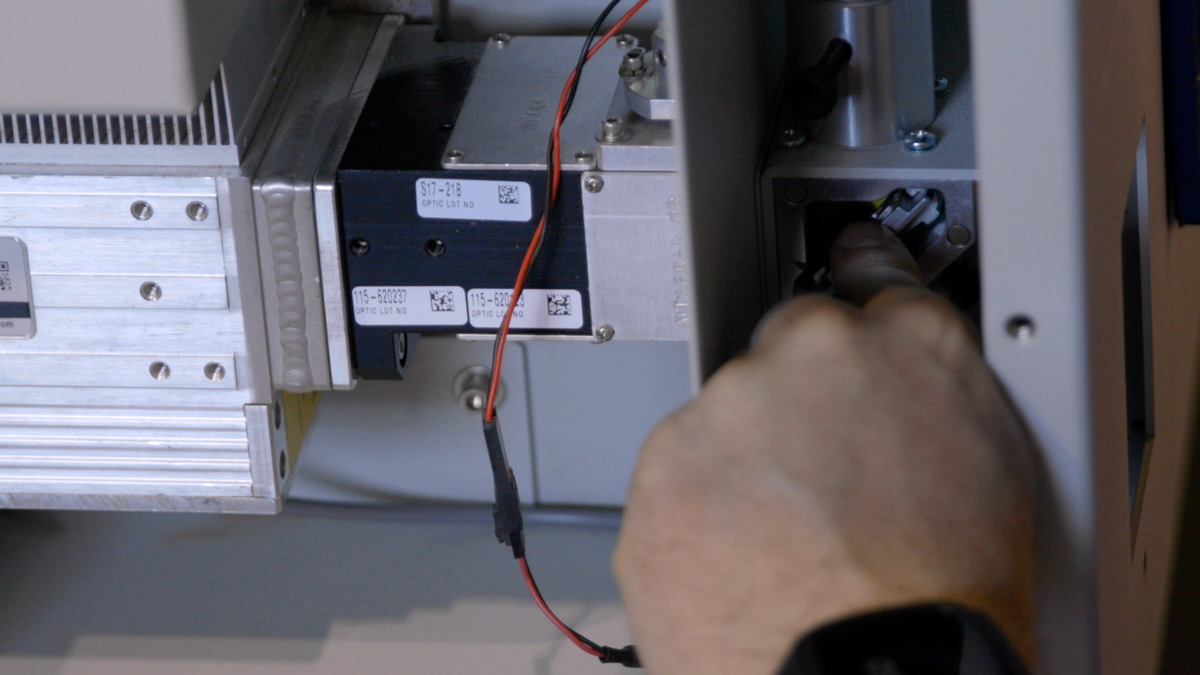
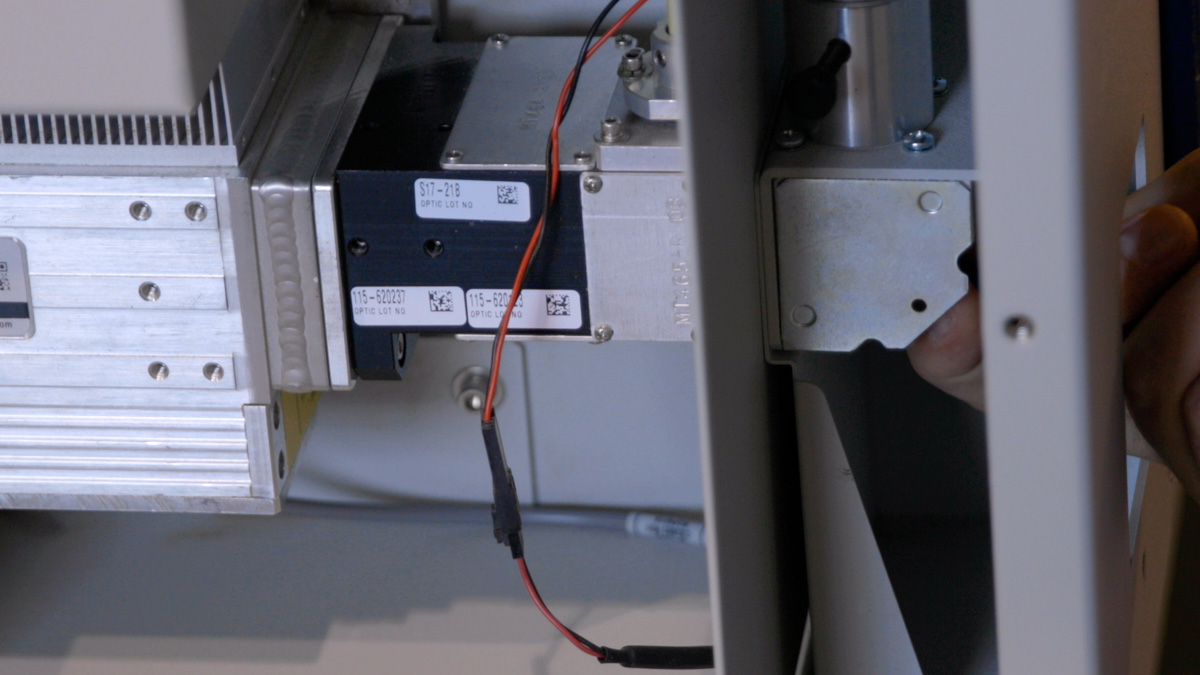
Finally, use a hex key to loosen the black panel locks on the blue side panel on the left side of the machine.
Set the panel aside.
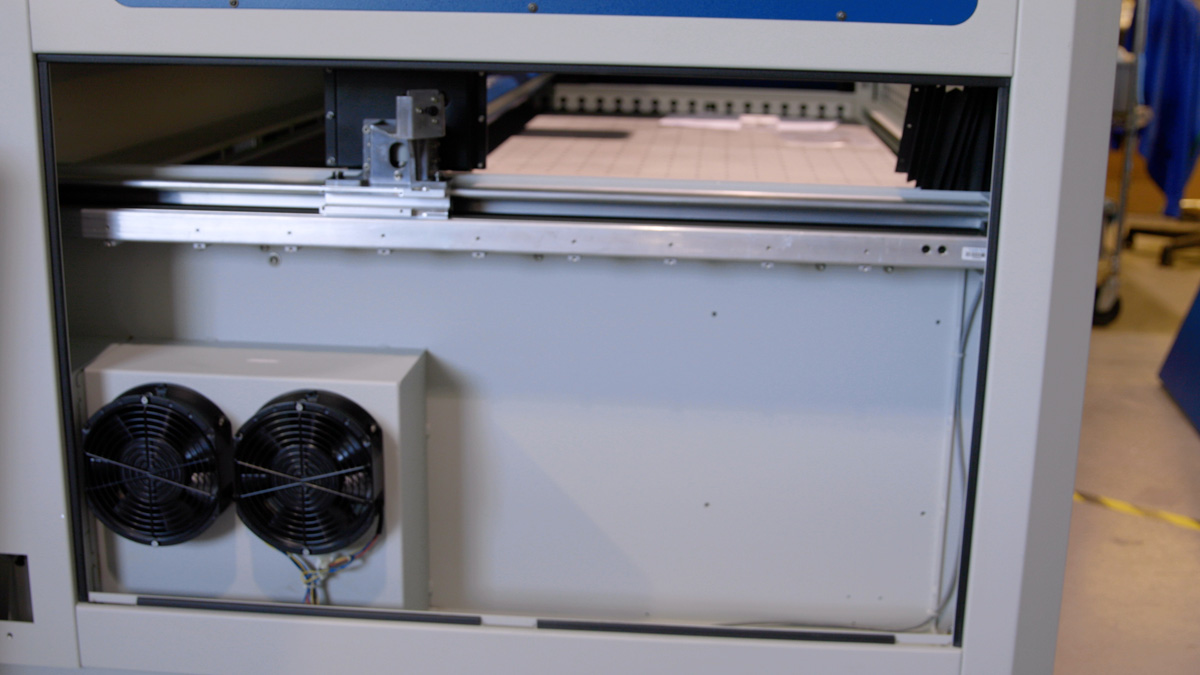
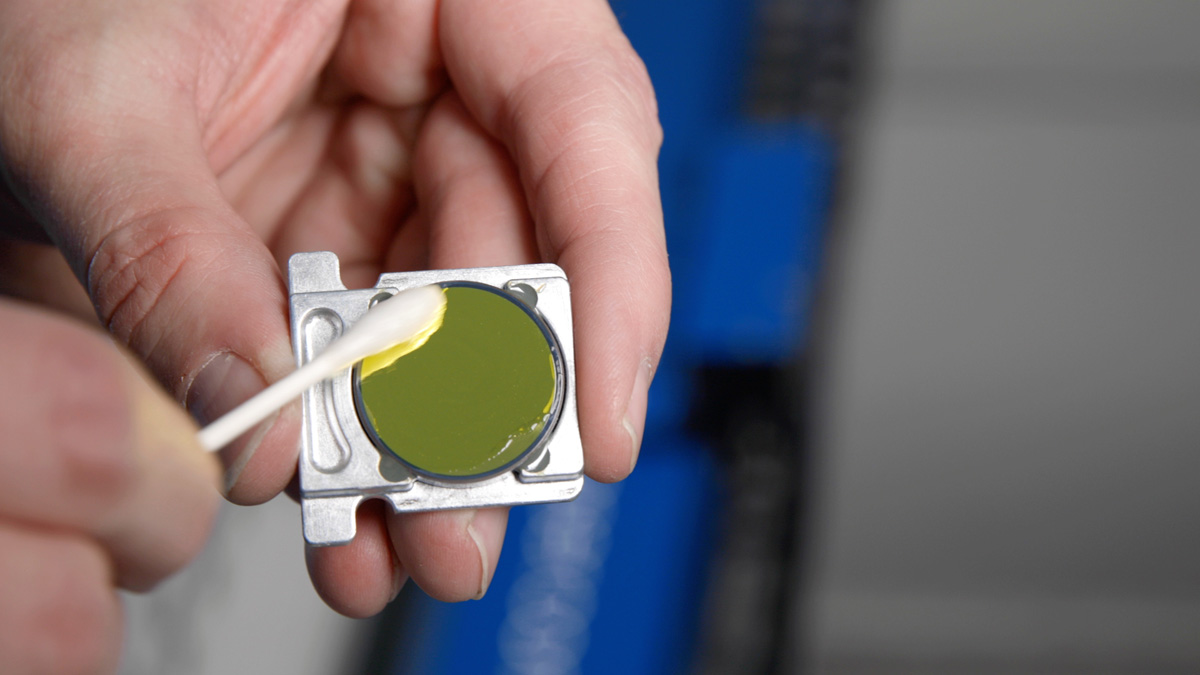
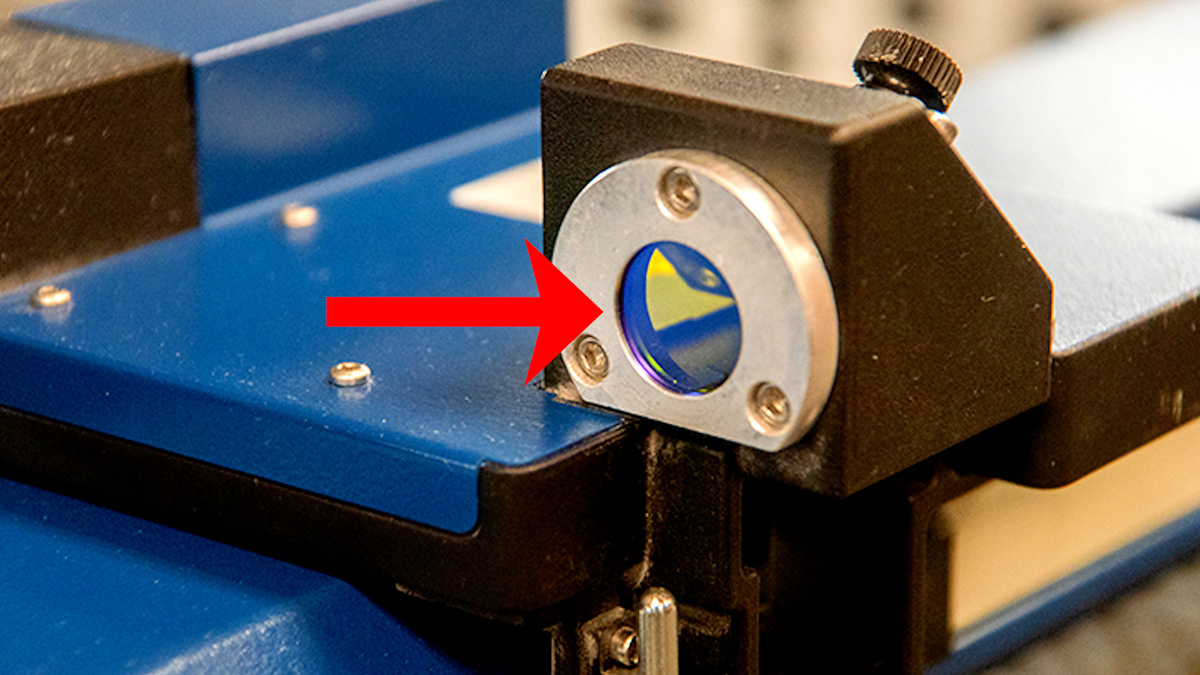
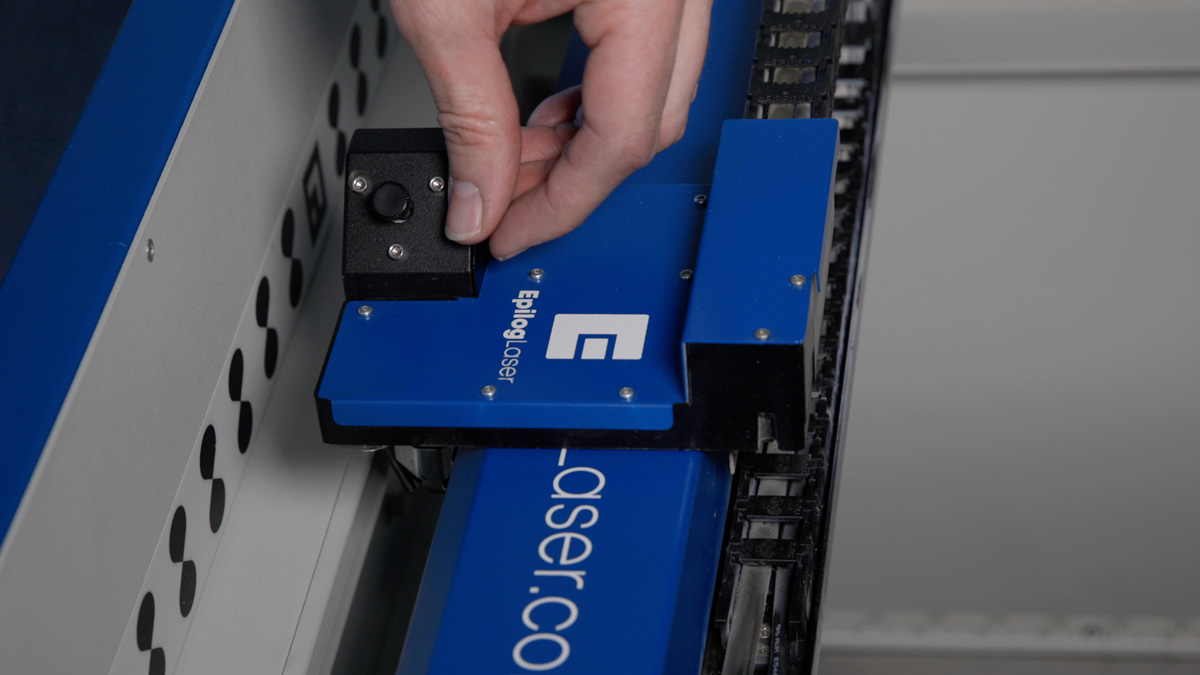
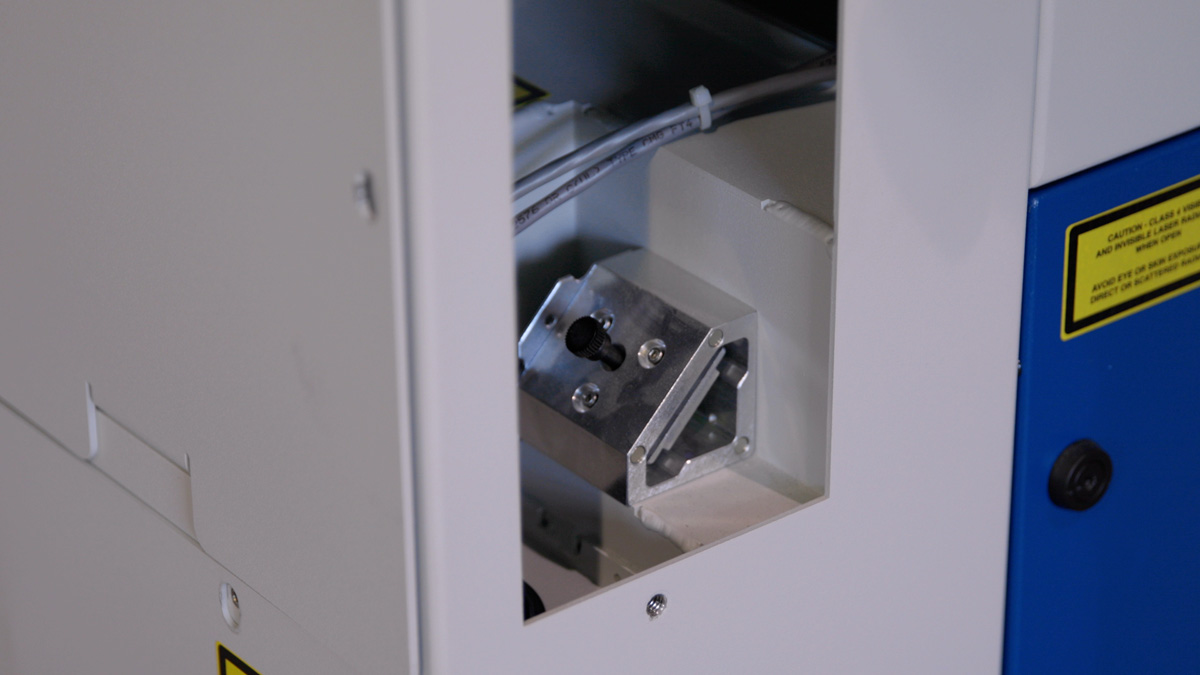
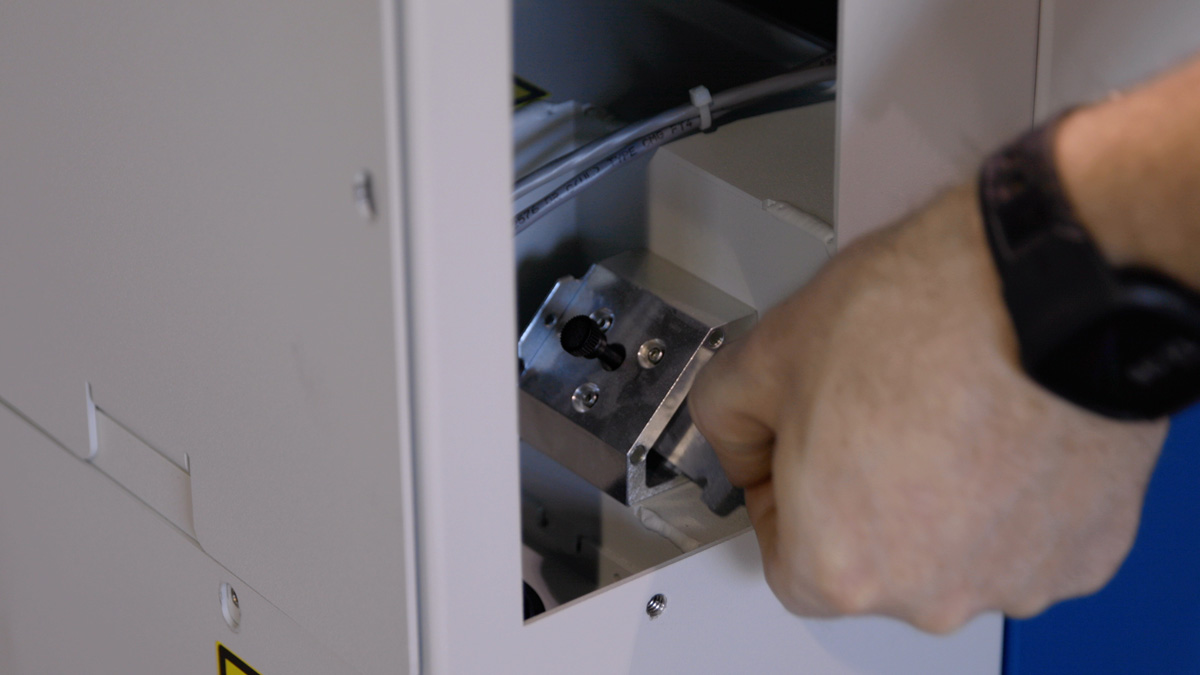
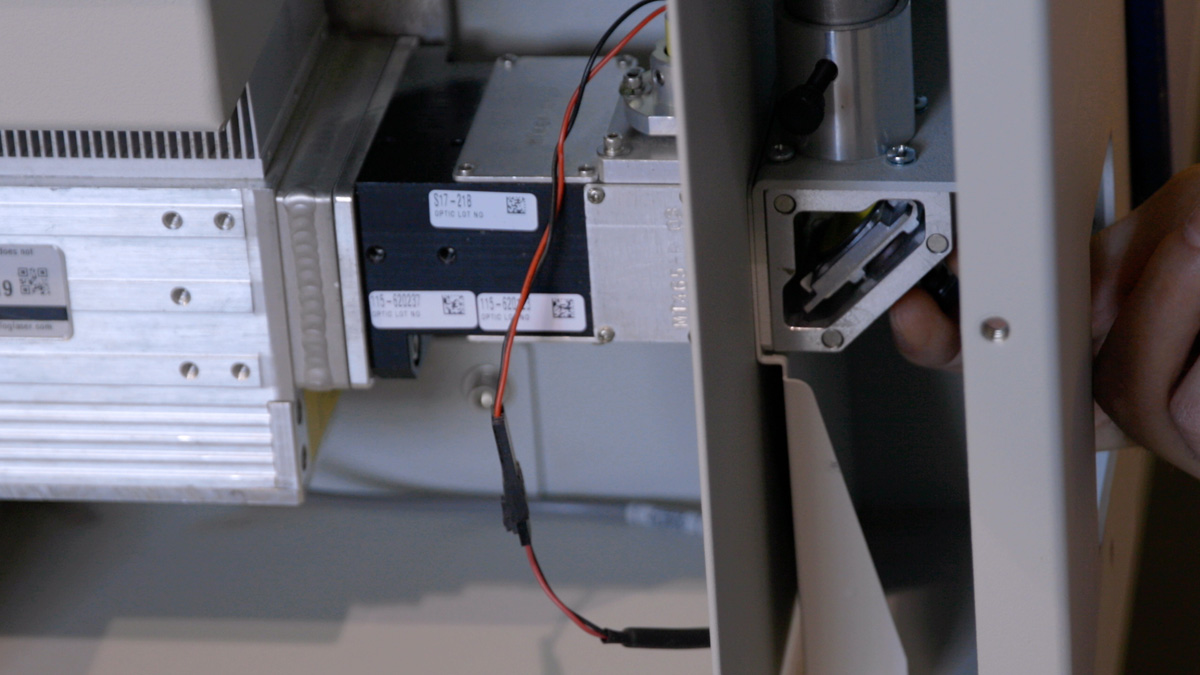
Loosen the mirror screw on the mirror housing at the end of the x-axis.
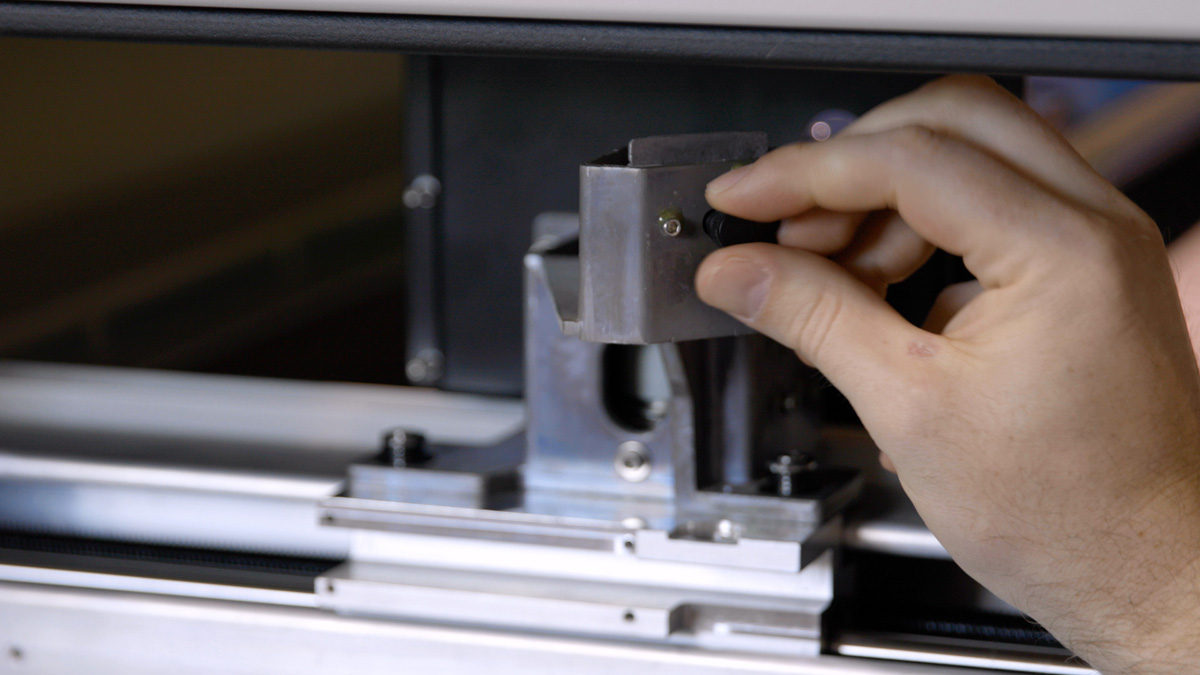
Carefully slide the mirror out of the housing.
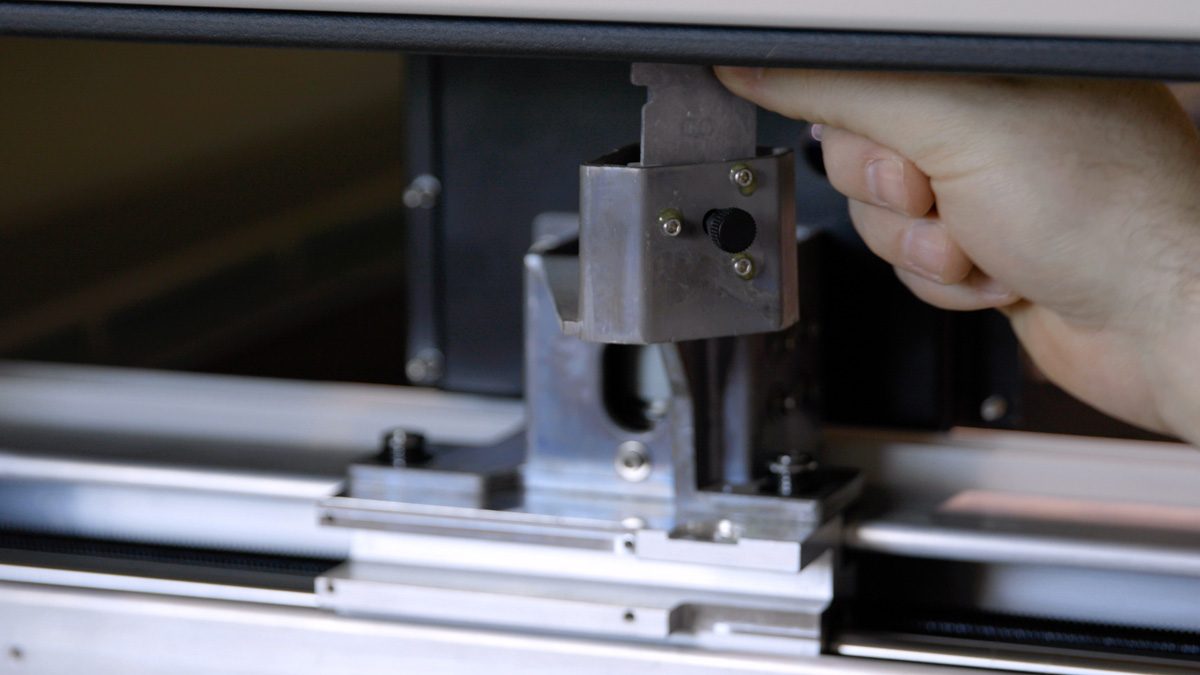
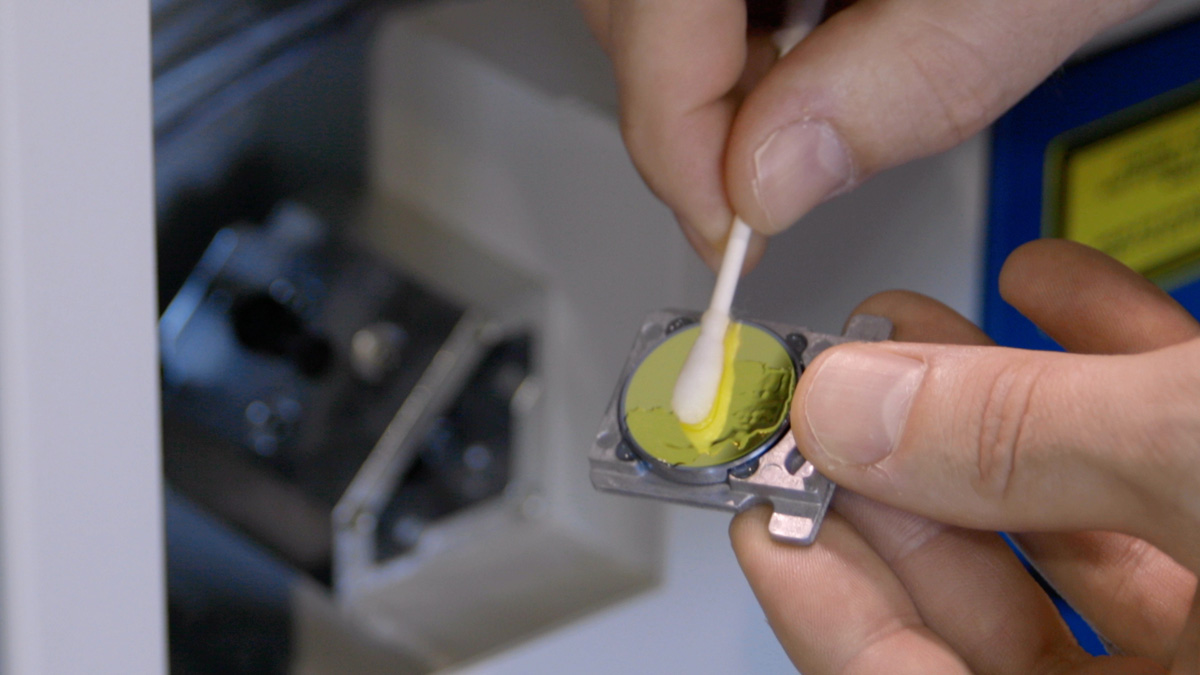
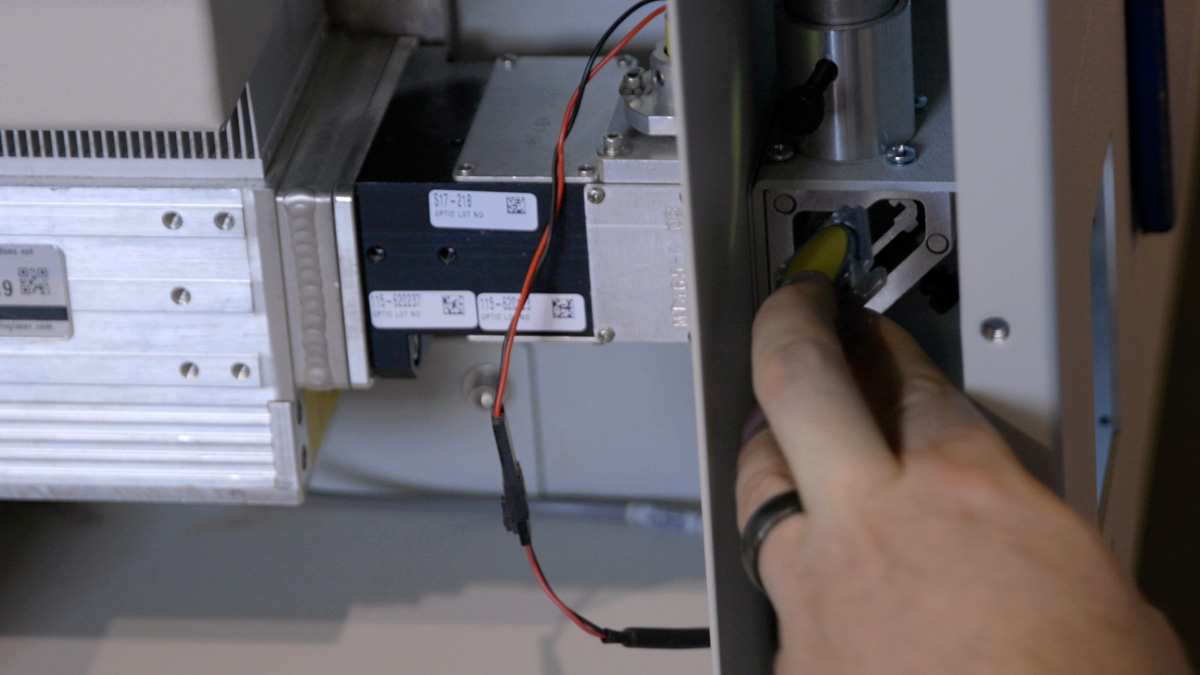
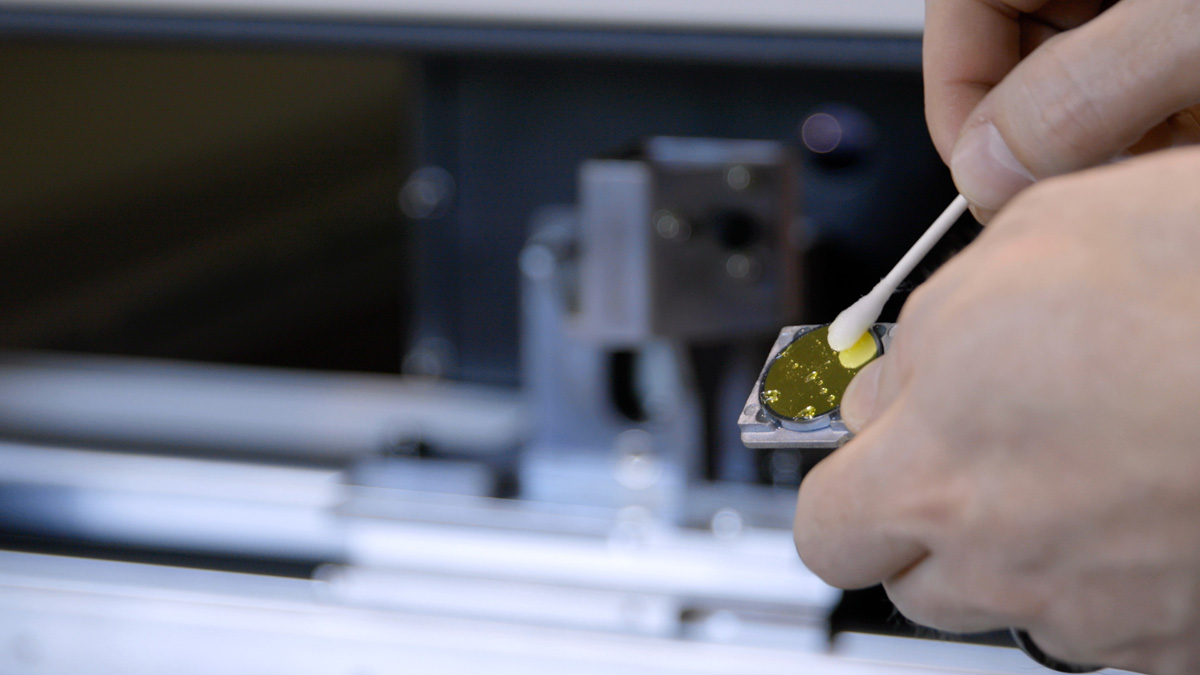
Clean and dry the mirror.
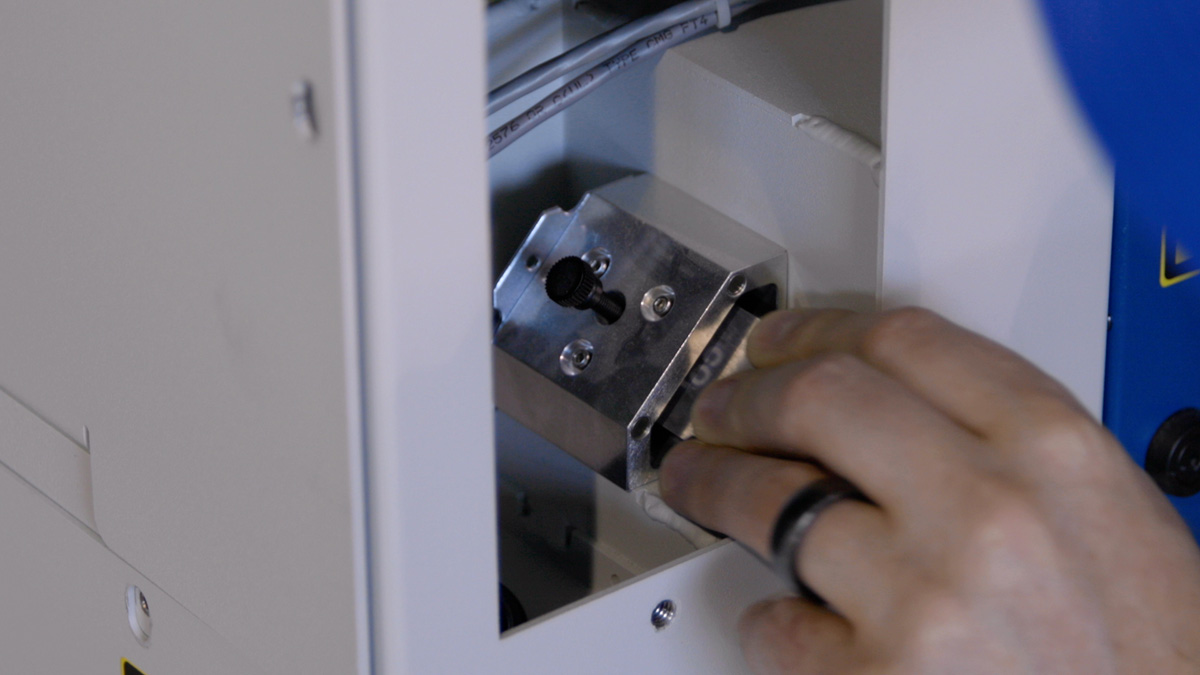
Reinsert the mirror and tighten the mirror screw.
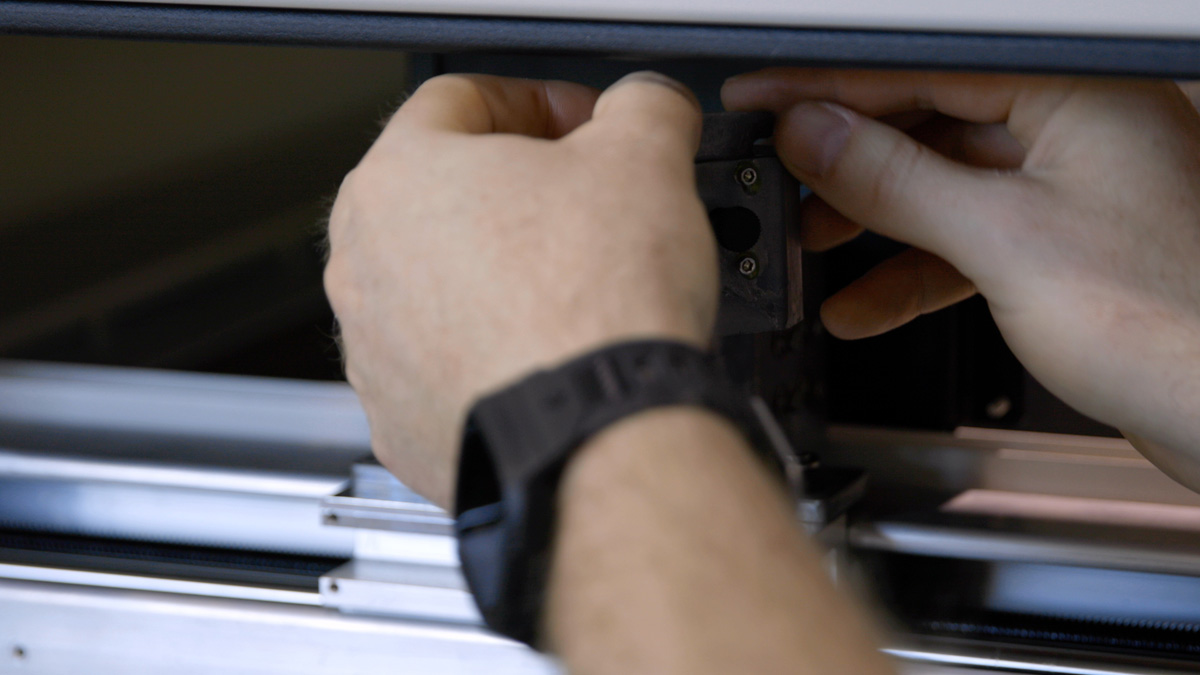
Clean and dry the outside of the window at the top of the periscope near the back of the machine.
Reattach the blue side panel by securing the panel locks.
Plug the machine in and turn it on.
Whenever you move or adjust the lens or mirrors, we suggest you run the laser alignment procedure to ensure everything is still properly aligned after cleaning your optics.