How to Install the Strain Relief Kit
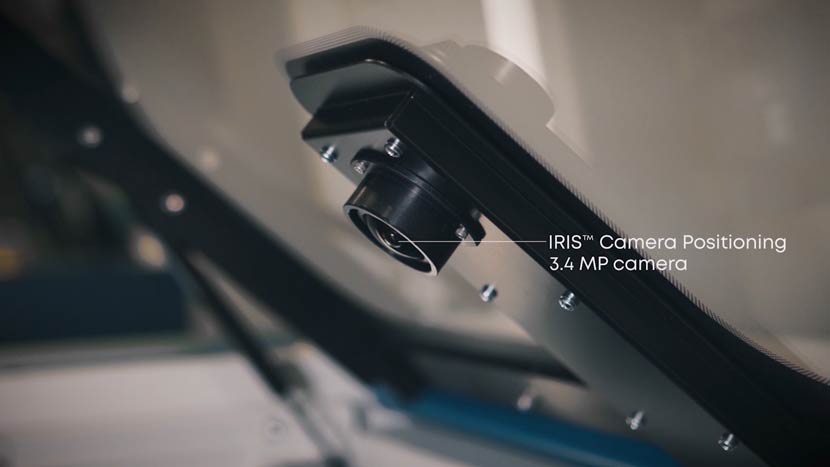
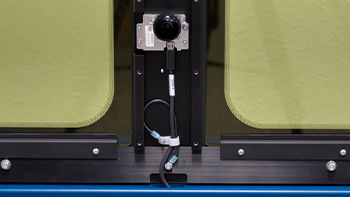
Estimated time: 10–15 minutes • Skill: Basic This guide explains how to install the strain relief kit on the lens carriage of your Epilog Laser system. The kit includes a harness clamp and mounting hardware designed to guide and secure the autofocus and camera cables as they move with the (...)
Camera Cable Replacement
Applying Thermal Compound to Large Aperture Fusion Pro Optics
On the large aperture Fusion Pro systems, the optics are designed with a thermal compound applied between the mirror and its holder. Replacement mirrors include this compound pre-applied to the backside of the mirror. For routine cleaning and maintenance, additional thermal compound is not required-the existing layer remains sufficient for (...)
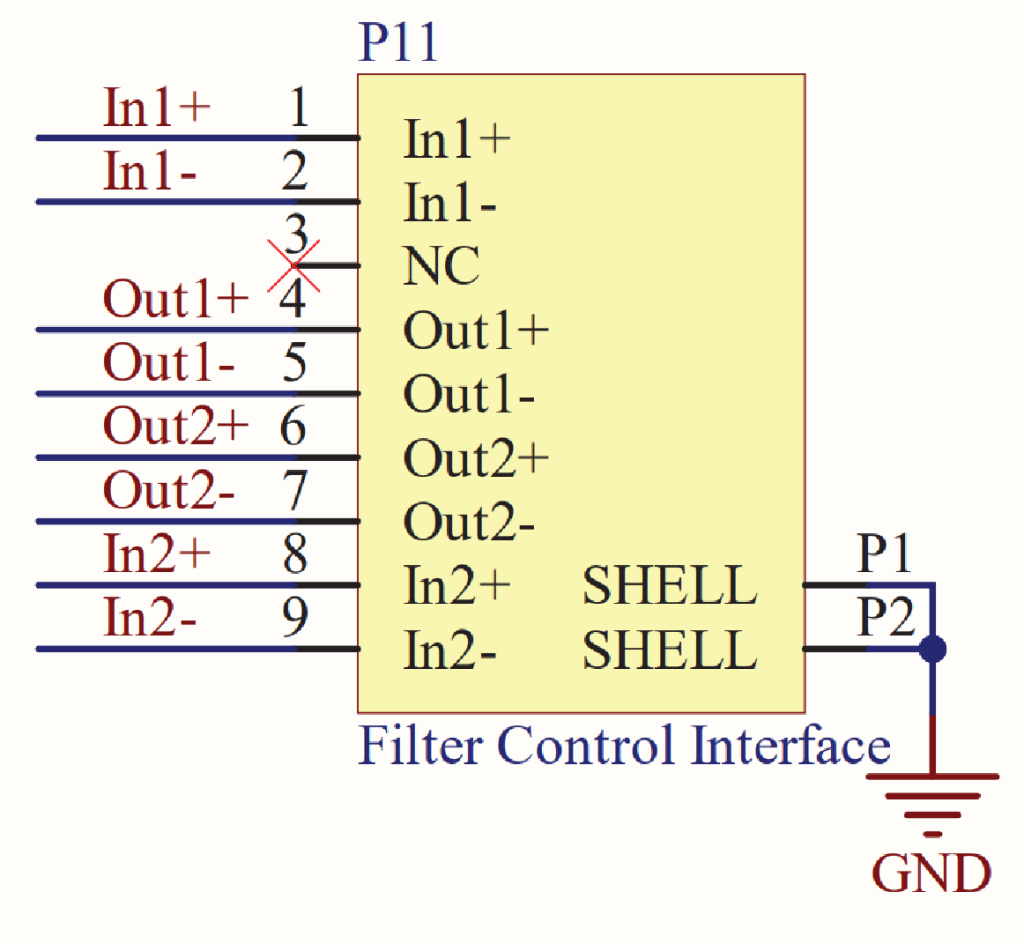
Filter Control – Connection Guide
Epilog Fusion Maker, Edge, Pro, and Galvo laser systems include a DB9 port on the right side of the control panel for managing external filtration systems. These signals are automatically assigned based on the selected filter type in the Epilog control panel. Currently, Epilog officially supports two filtration systems: Filtrabox (...)
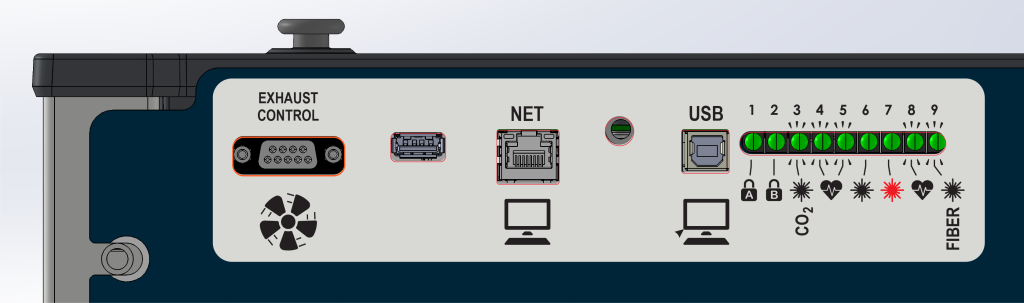
LC1000 – Control Module Port and LED Overview
The control module on Epilog laser systems provides connection points and LED indicators that offer system status and control feedback. This guide outlines each port and indicator located on the right side of the machine. Port Descriptions Exhaust Control: Connects to a compatible exhaust unit to send on/off commands. USB (...)
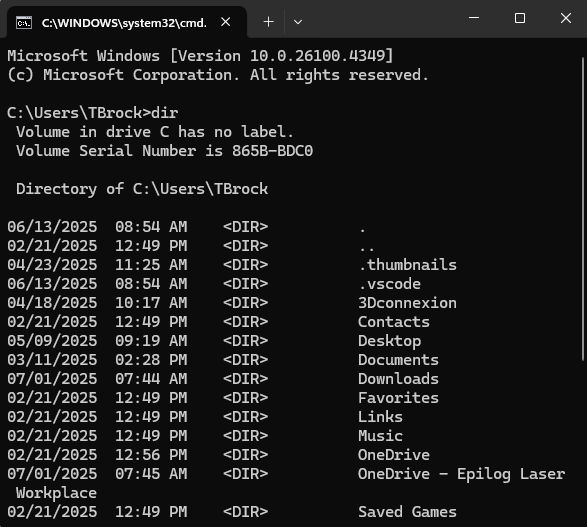
Silent Installation of Epilog Software Suite
As of version 2.2.16.2, the Epilog Software Suite installer includes support for silent installation, with some important caveats: Silent installation is supported, but this may not operate correctly in a headless mode. During installation, Windows may still prompt the user to confirm whether they trust Epilog as a driver publisher. (...)
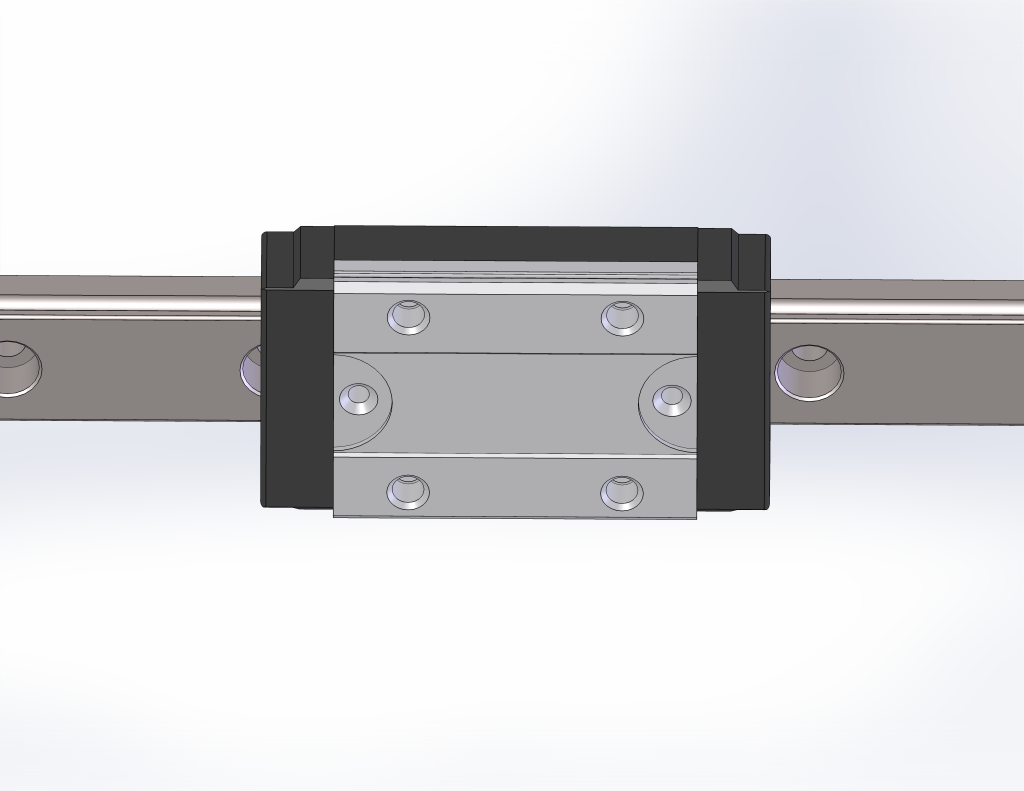
Cleaning and Greasing the Linear Guide (IKO)
This guide provides detailed instructions for cleaning and greasing the linear guide rail on your Epilog Laser system. Over time, debris and buildup can affect motion smoothness and engraving accuracy. Performing regular maintenance helps ensure optimal performance and extends the life of your equipment. Follow each step carefully, and refer (...)
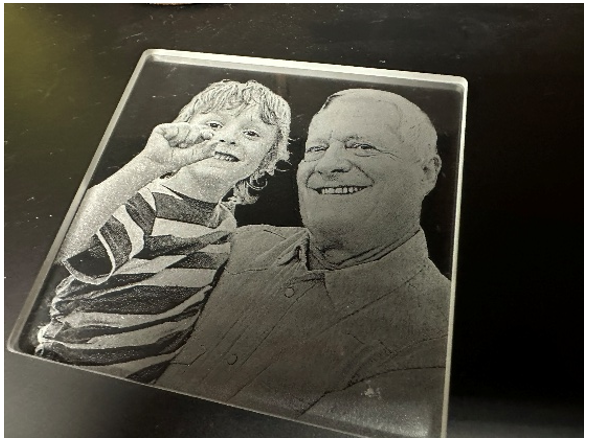
Preparing Photos for Glass Engraving in Photoshop
Glass Engraving Steps In the Channels tab, select only the Green channel. Go to Image > Calculations. Set the Blending to Overlay, adjust the opacity to approximately 80%, and set the Result to New Document. Go to Image > Mode > Grayscale. With the photo selected, click Remove Background. Right-click (...)
Cycles vs Copies vs Passes
Understanding the Copies Feature The Copies feature is designed to replicate your entire design multiple times within a single job. In this case, it will run the wood plaque two times. This is especially useful when you need additional depth to your engraving. To change the number of copies, go (...)
Custom Home Position / Center – Engraving
Laser Dashboard Setup Start by printing your file to the Epilog Engraver. The file will open in the Dashboard. In the Laser Dashboard, after choosing your settings, select the Advanced tab. Setting a temporary home position is part of the center engraving features of the laser dashboard. A center home (...)
How and When To Use the Copy Background Image Feature
Flatbed – Copying the Background Image We’ll start in the Laser Dashboard. Position your product on the engraving bed under the cameras for the most precise image. In the tool bar on the left side of the screen, select the Copy Background Image button. Artwork Setup In your design software, (...)