Replacing the power supply in a Fusion Pro 48 200-watt laser system is an essential maintenance task to ensure optimal performance and long-term system reliability. This procedure involves safely disconnecting power, accessing internal components, and removing or installing the power supply unit. Proper handling and strict adherence to safety protocols are necessary to prevent equipment damage or personal injury. Follow the steps below to complete the replacement process safely and efficiently.
WARNING: Servicing the power supply while the engraver is powered on can cause serious injury or damage to internal components. Always disconnect all power sources before beginning.
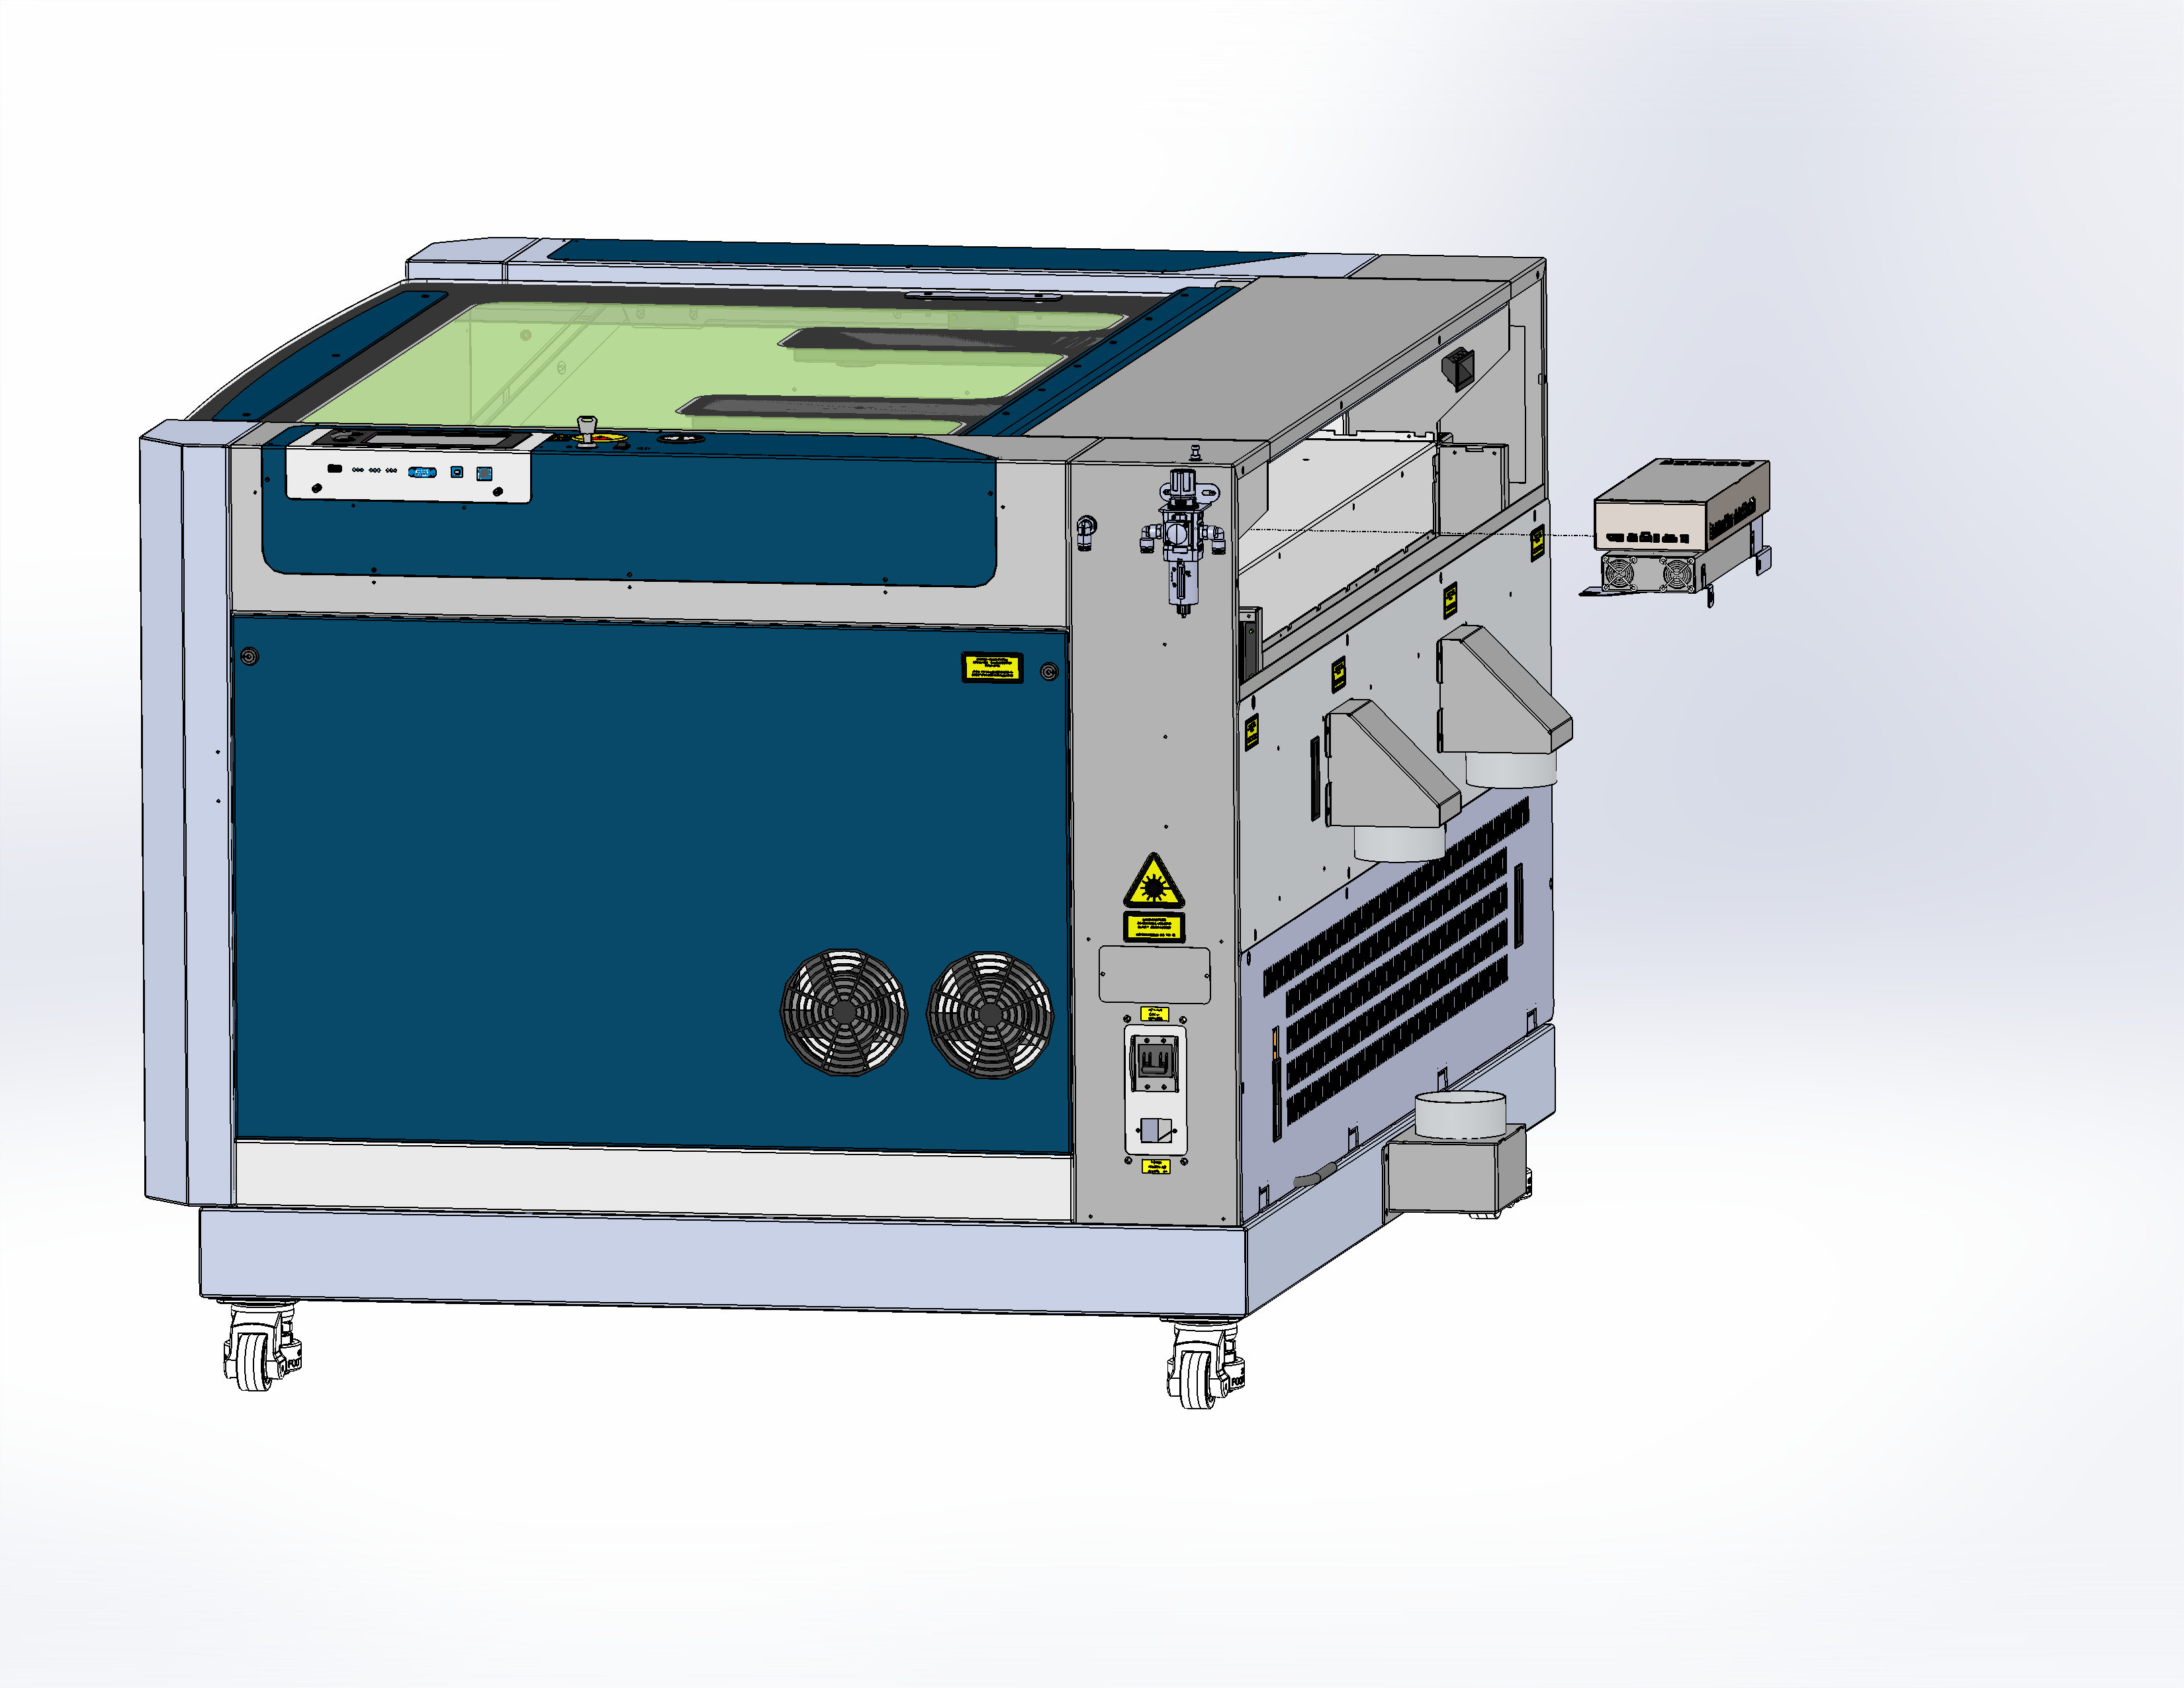
Power Supply Removal
-
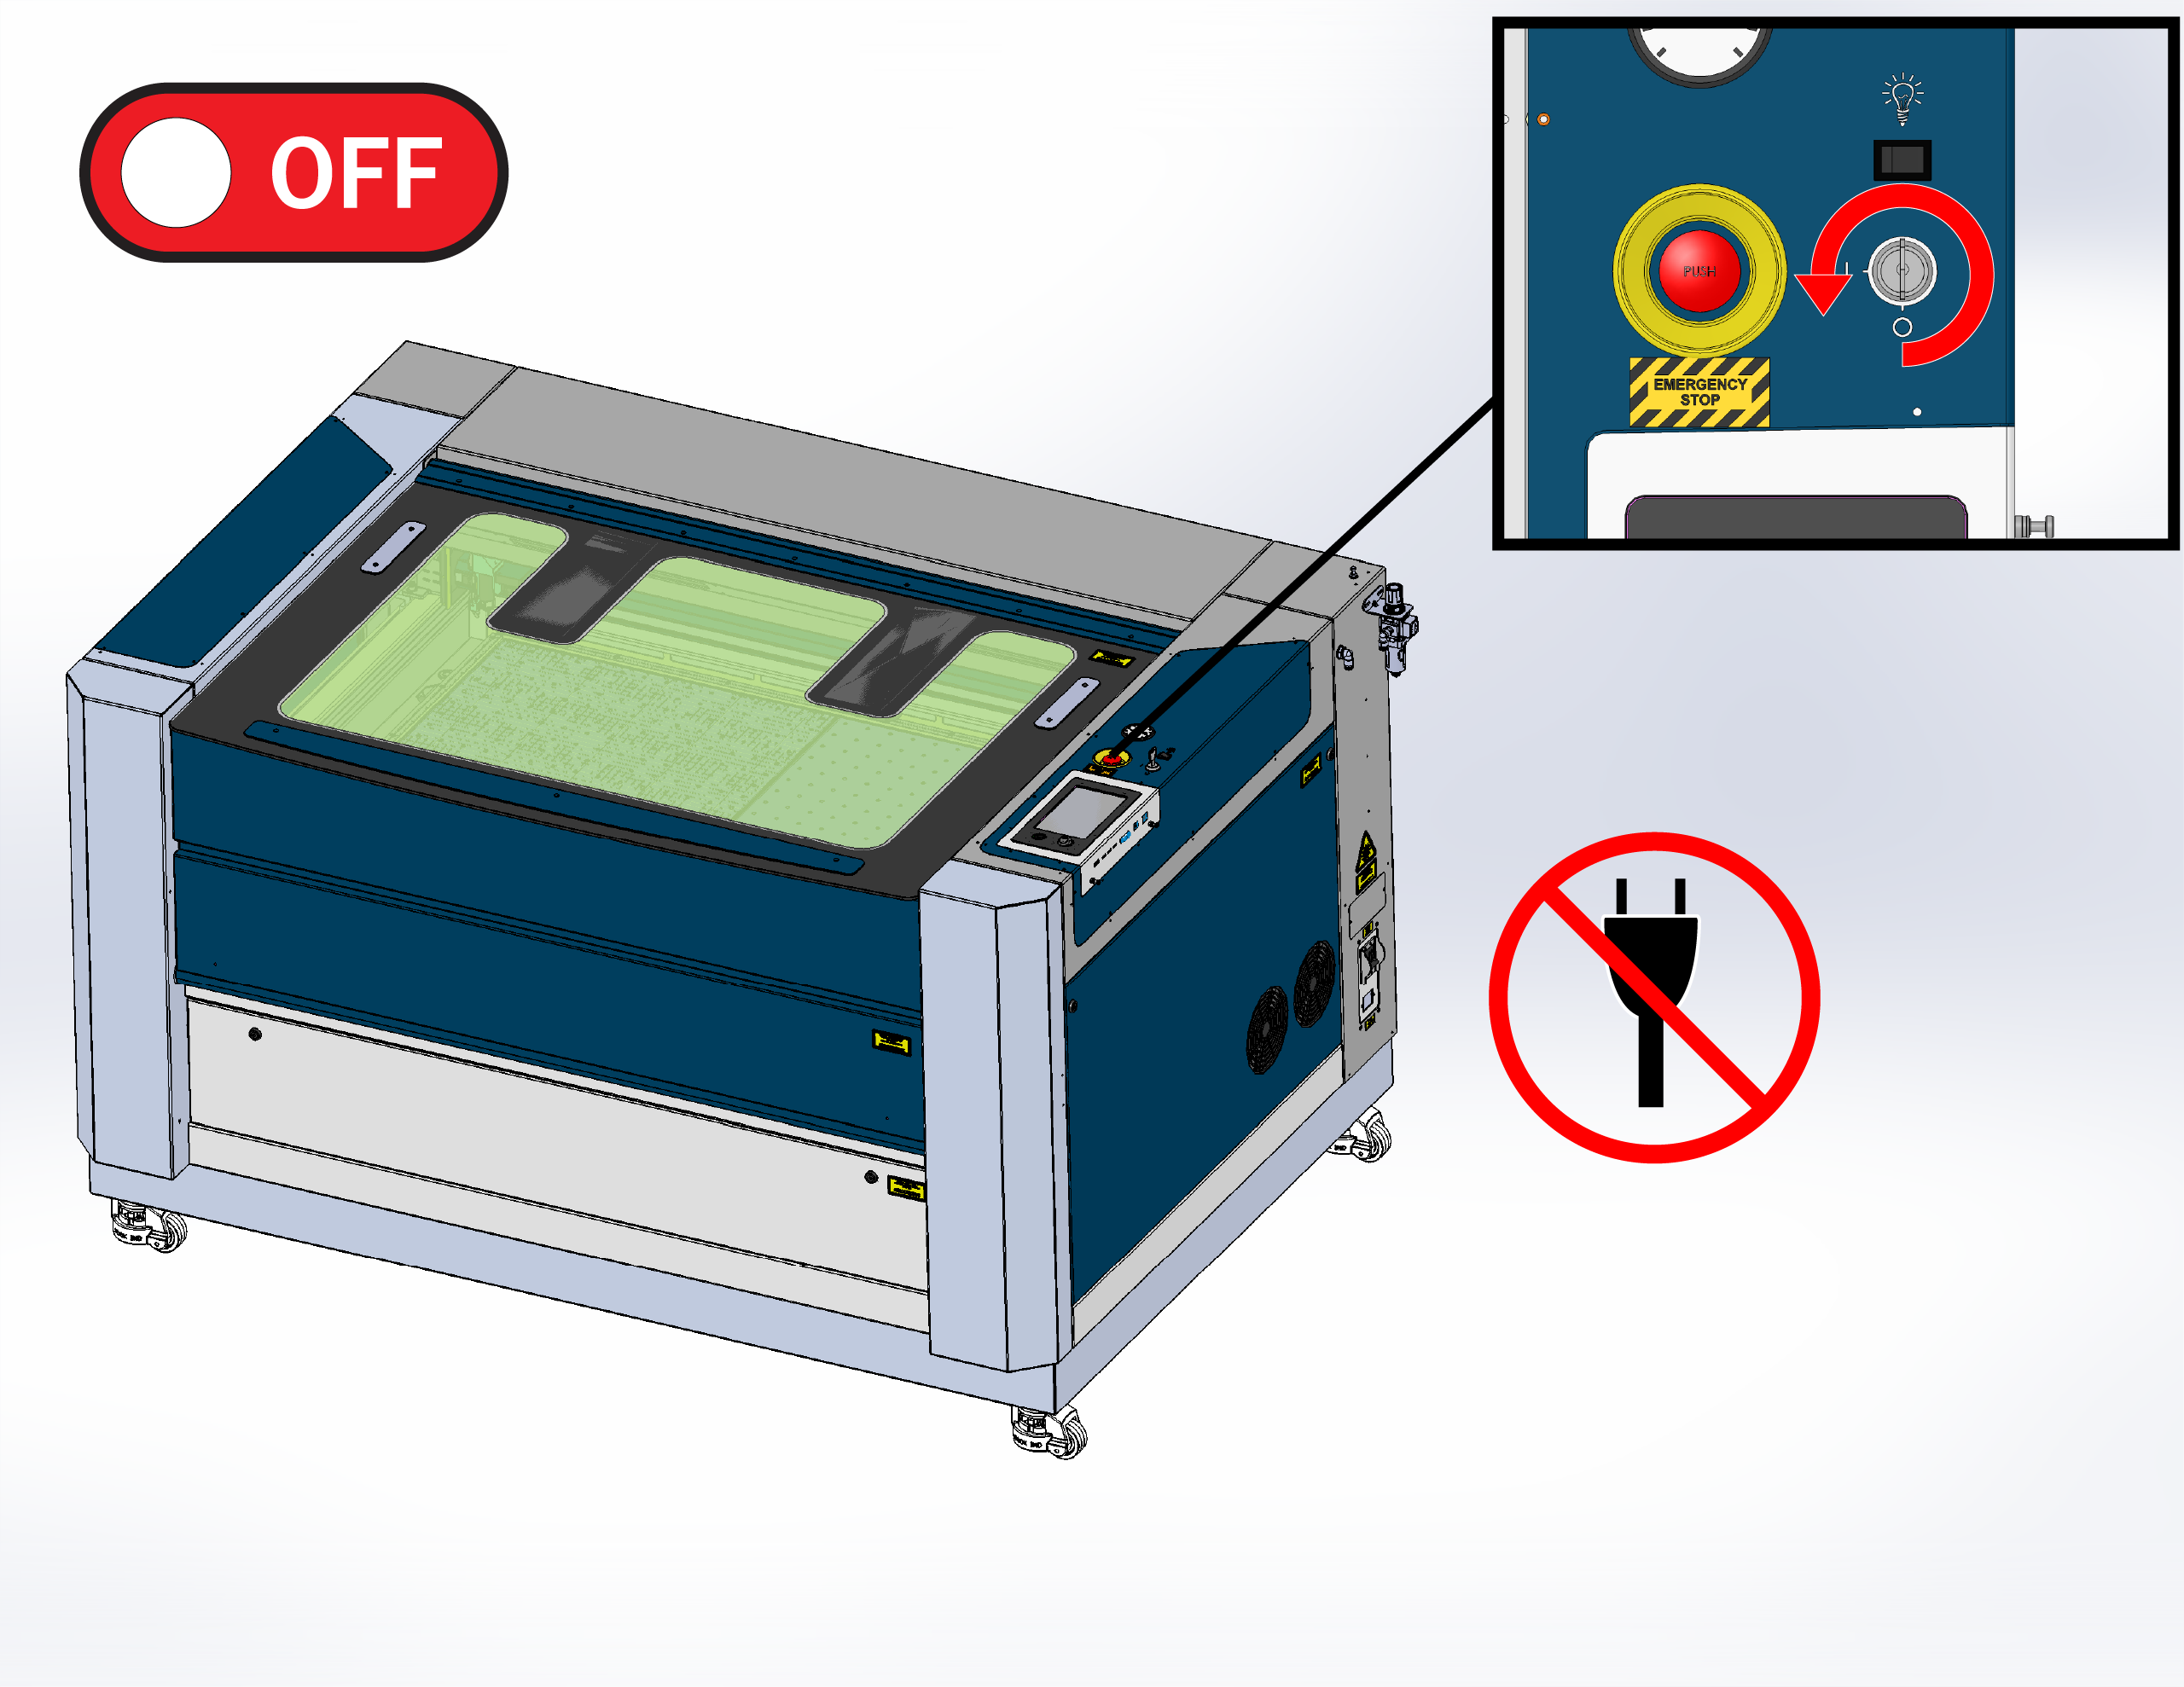
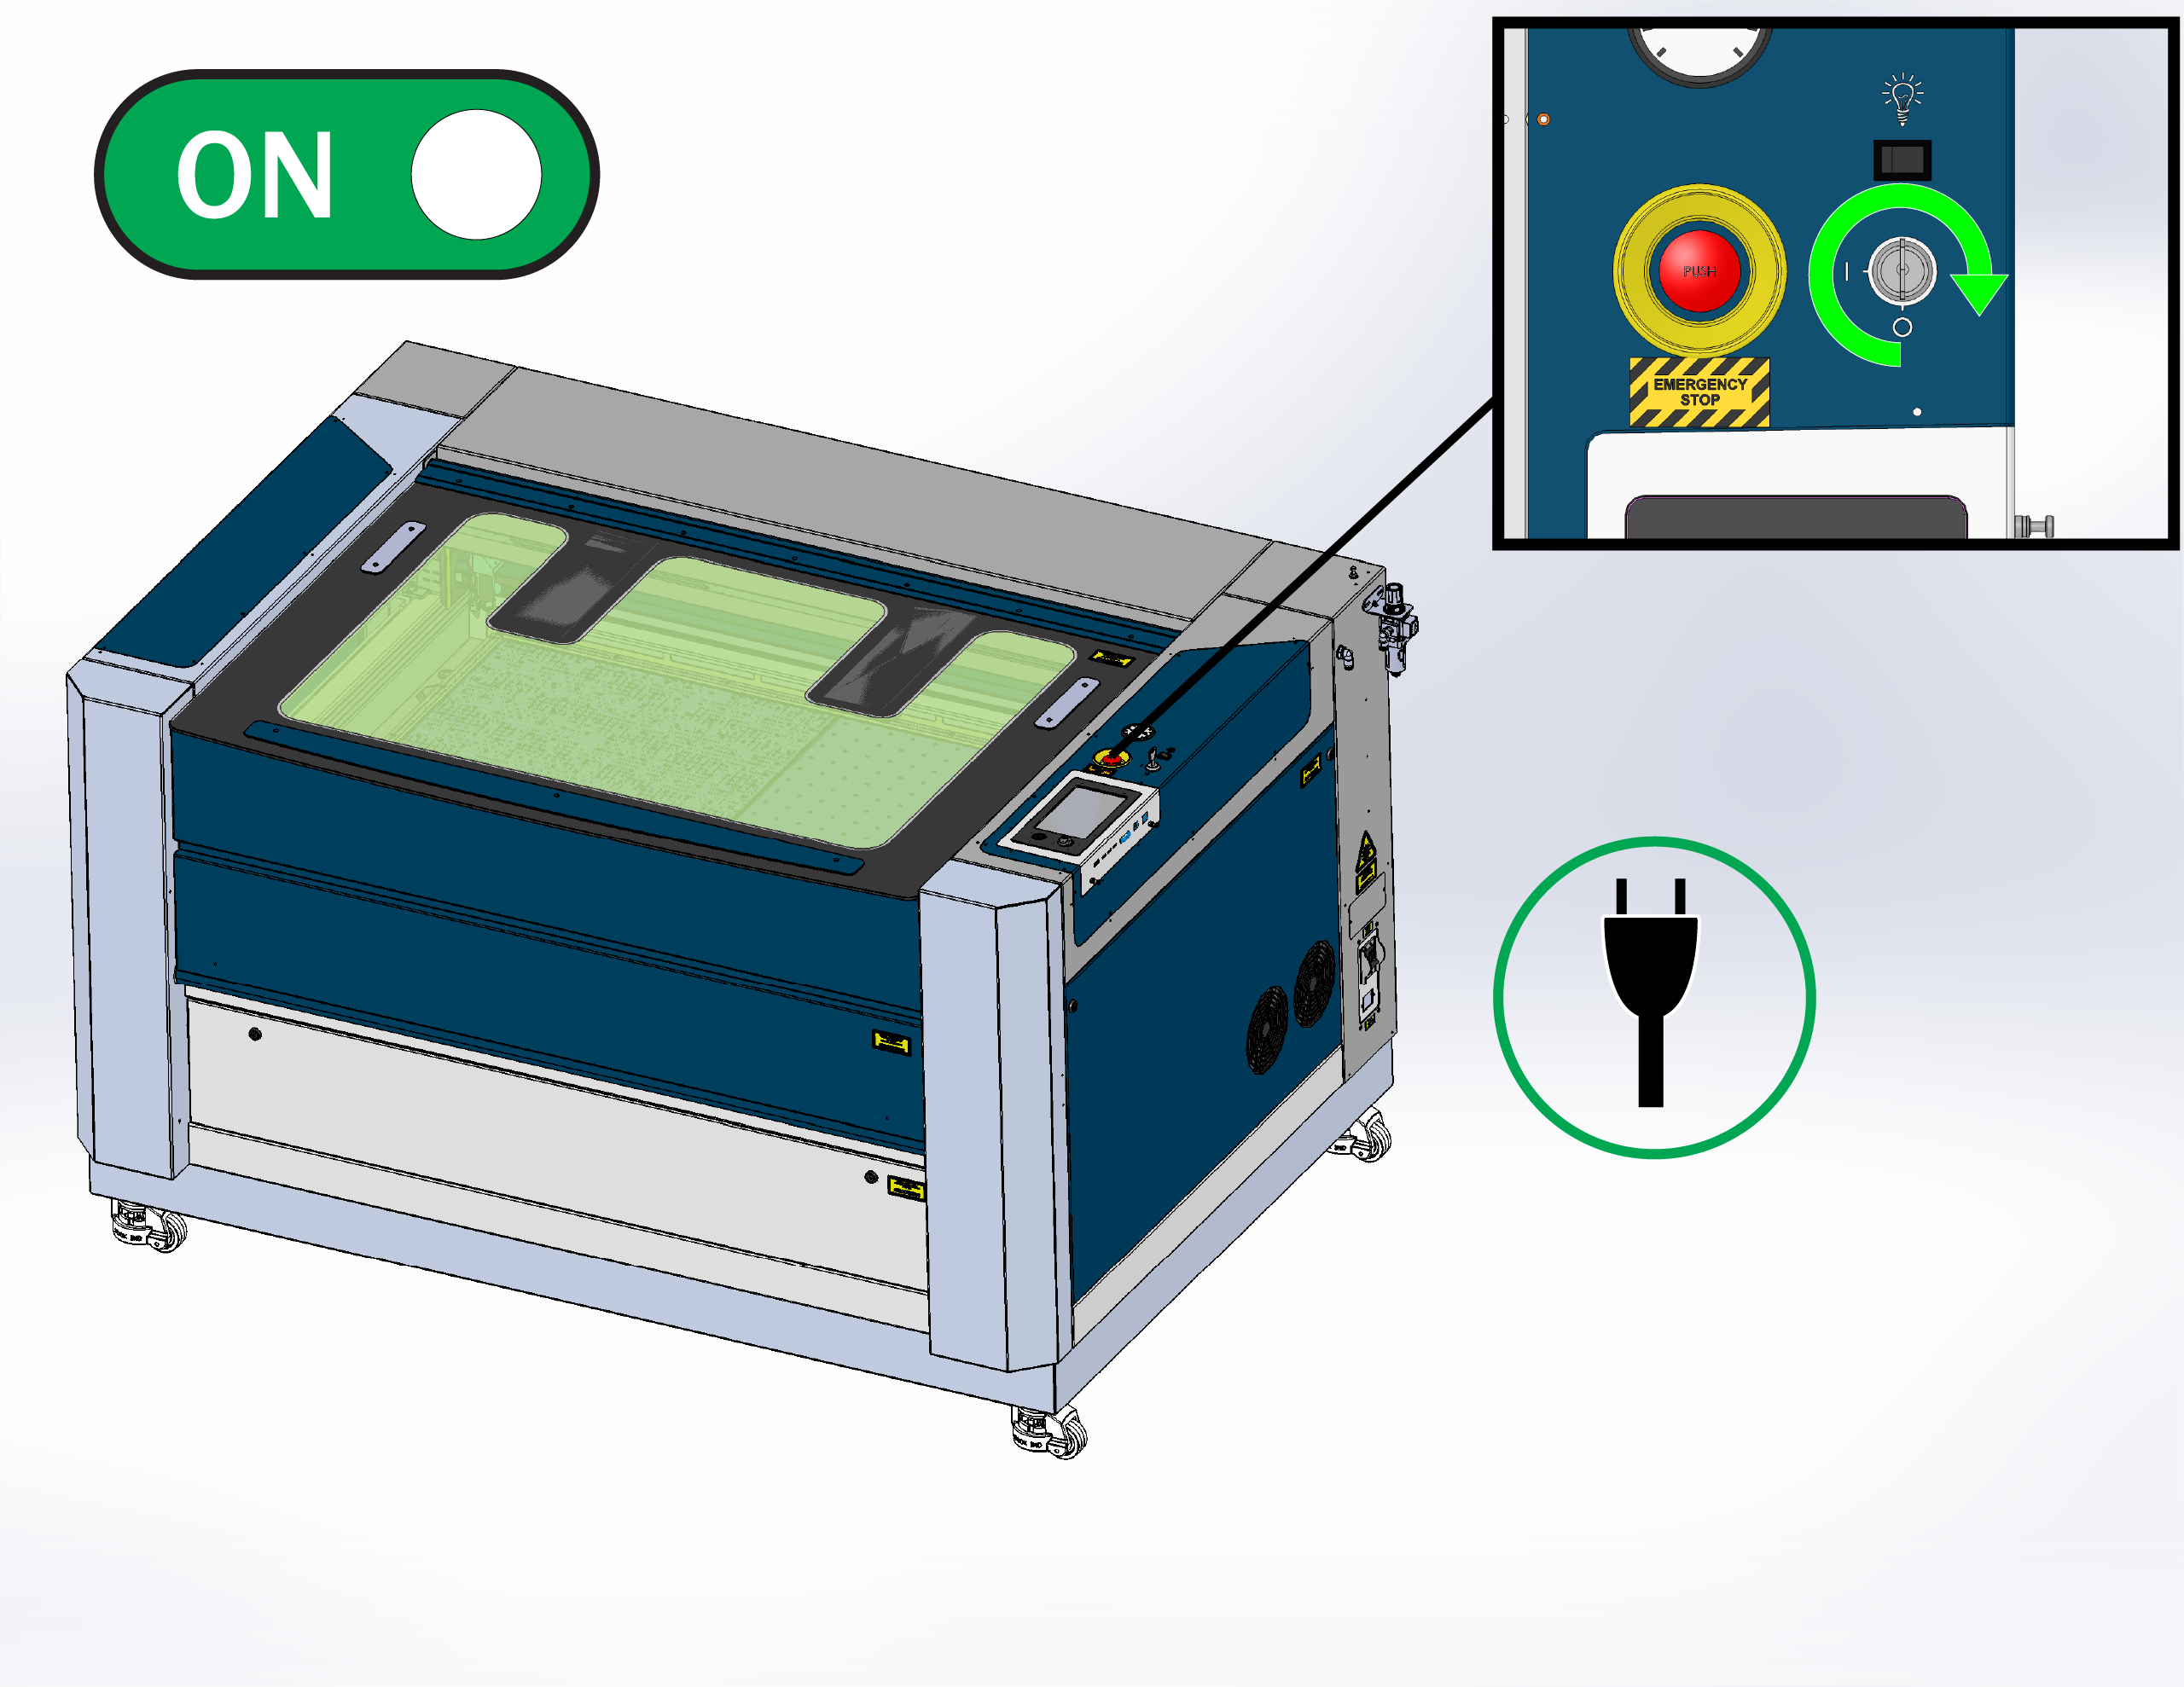
Power OFF the system and disconnect the power cable.
-
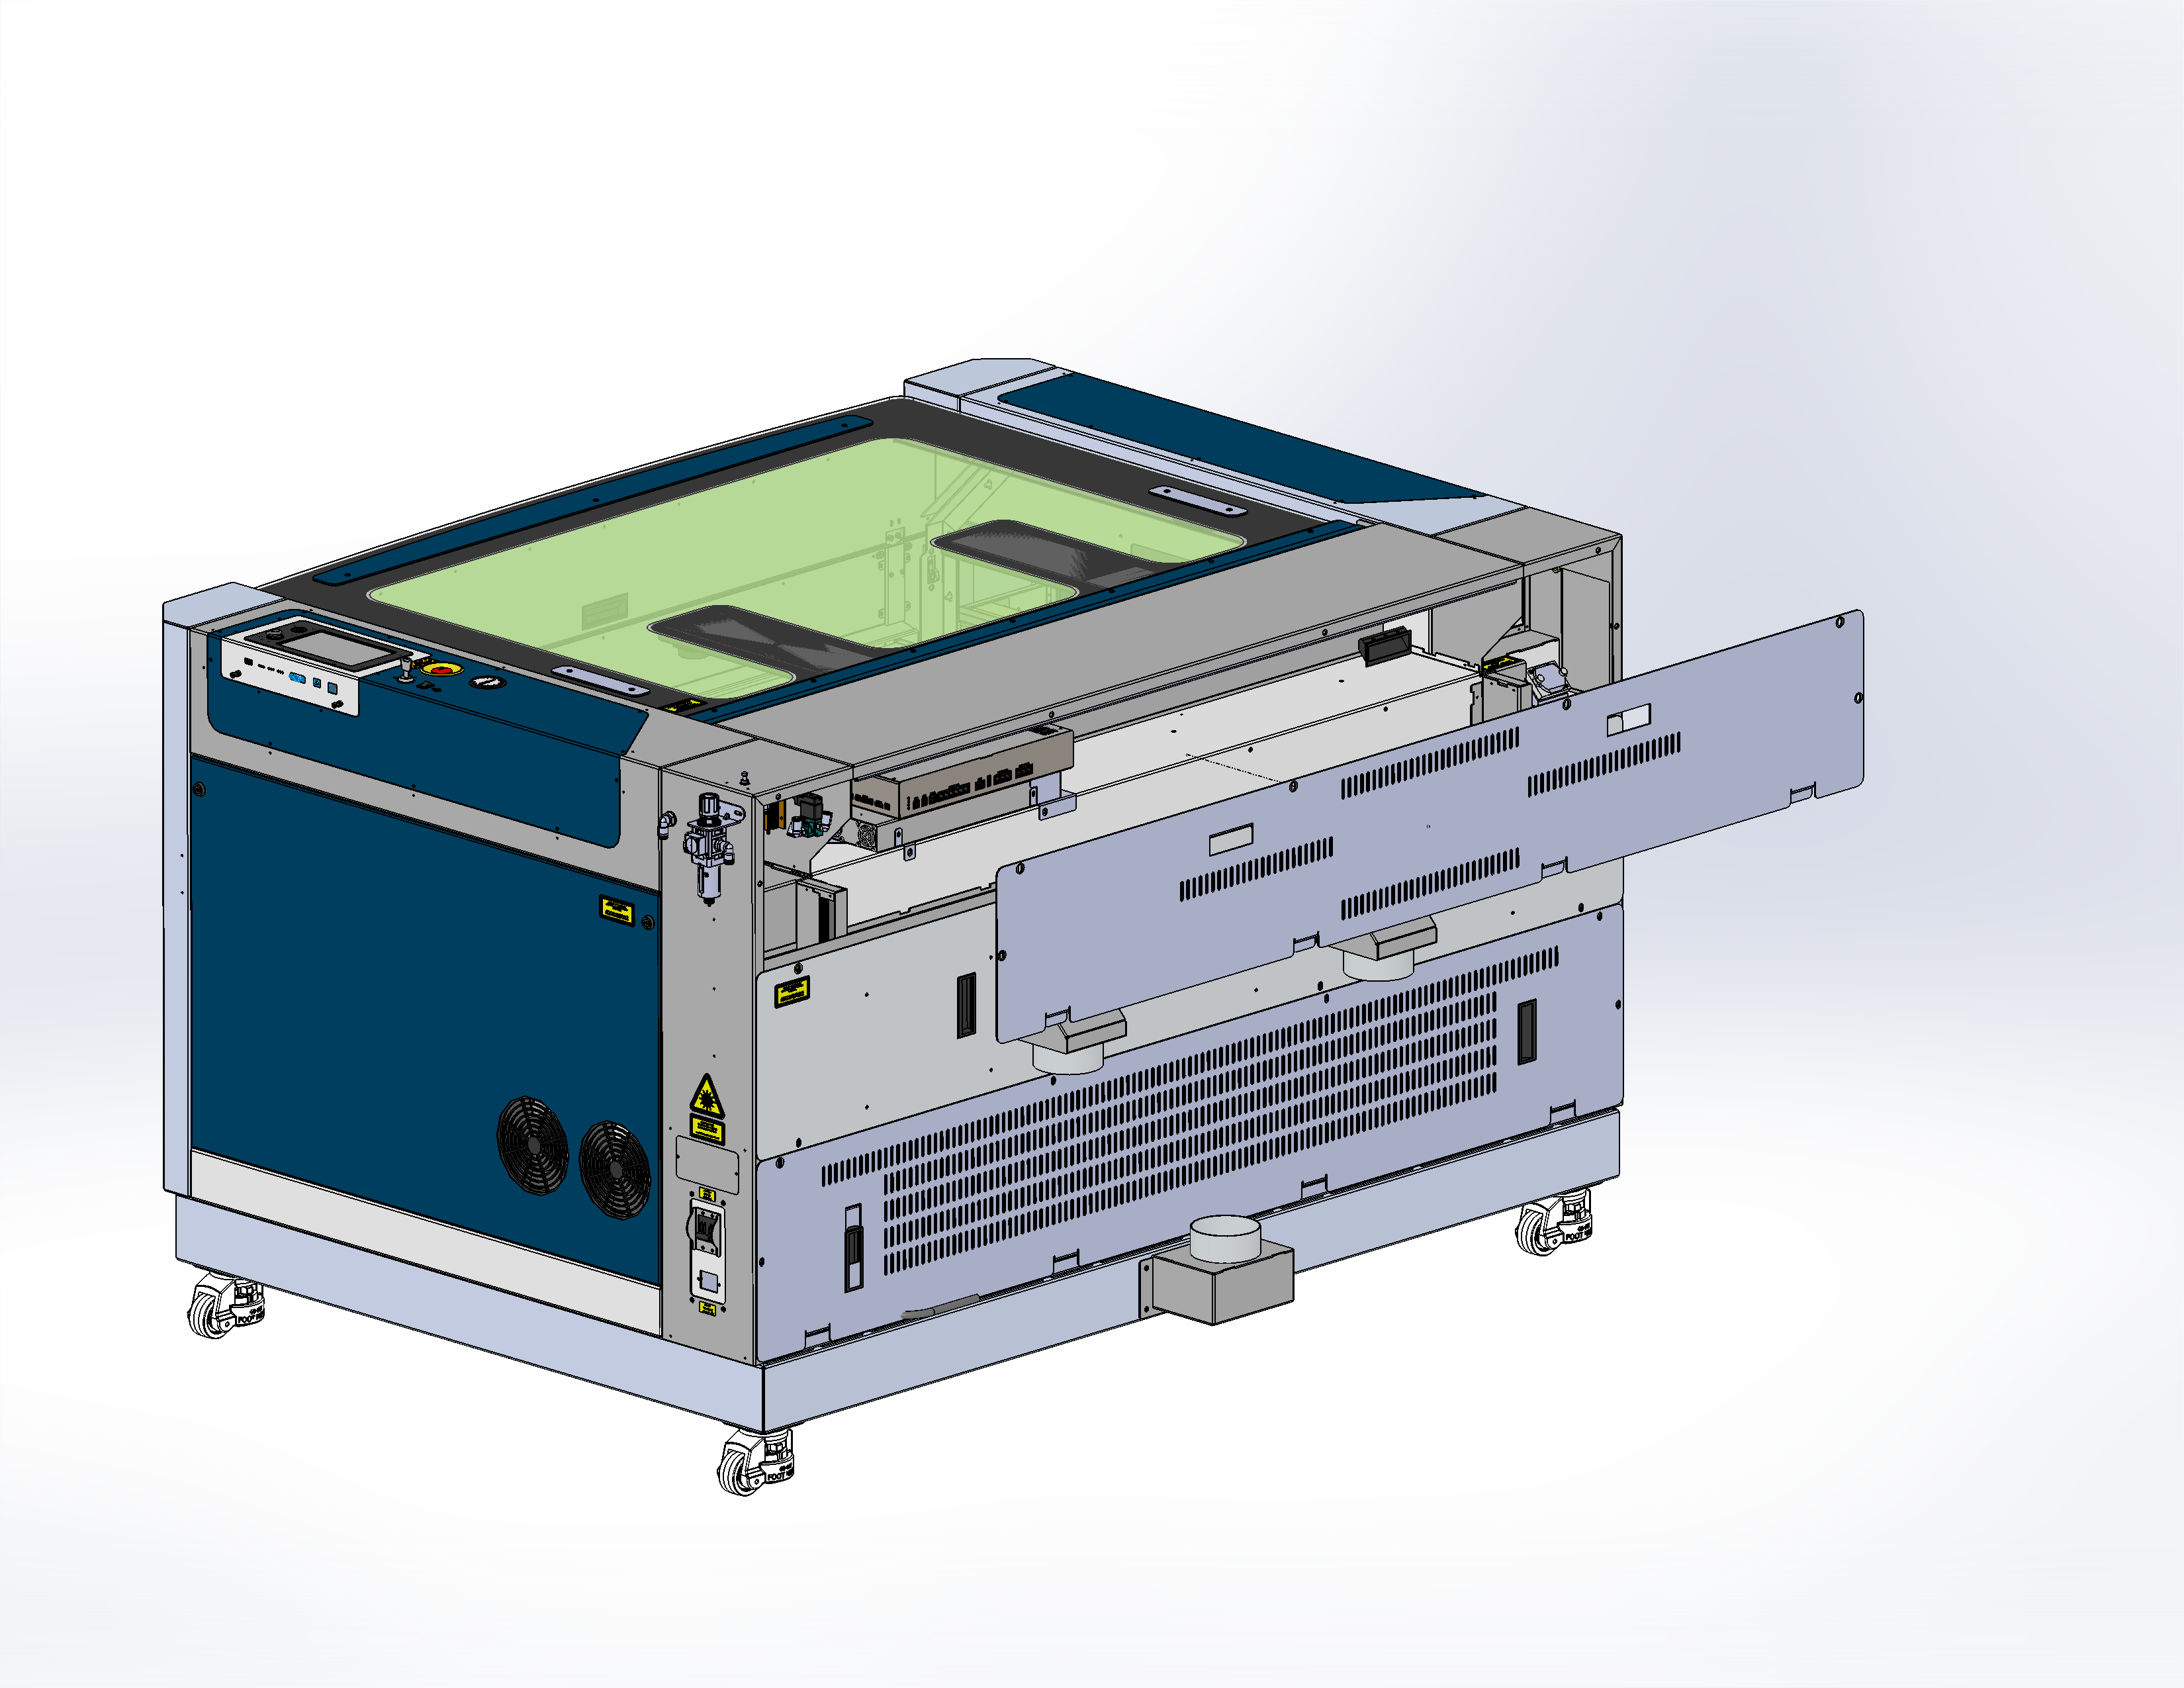
Remove the rear-top panel.
-
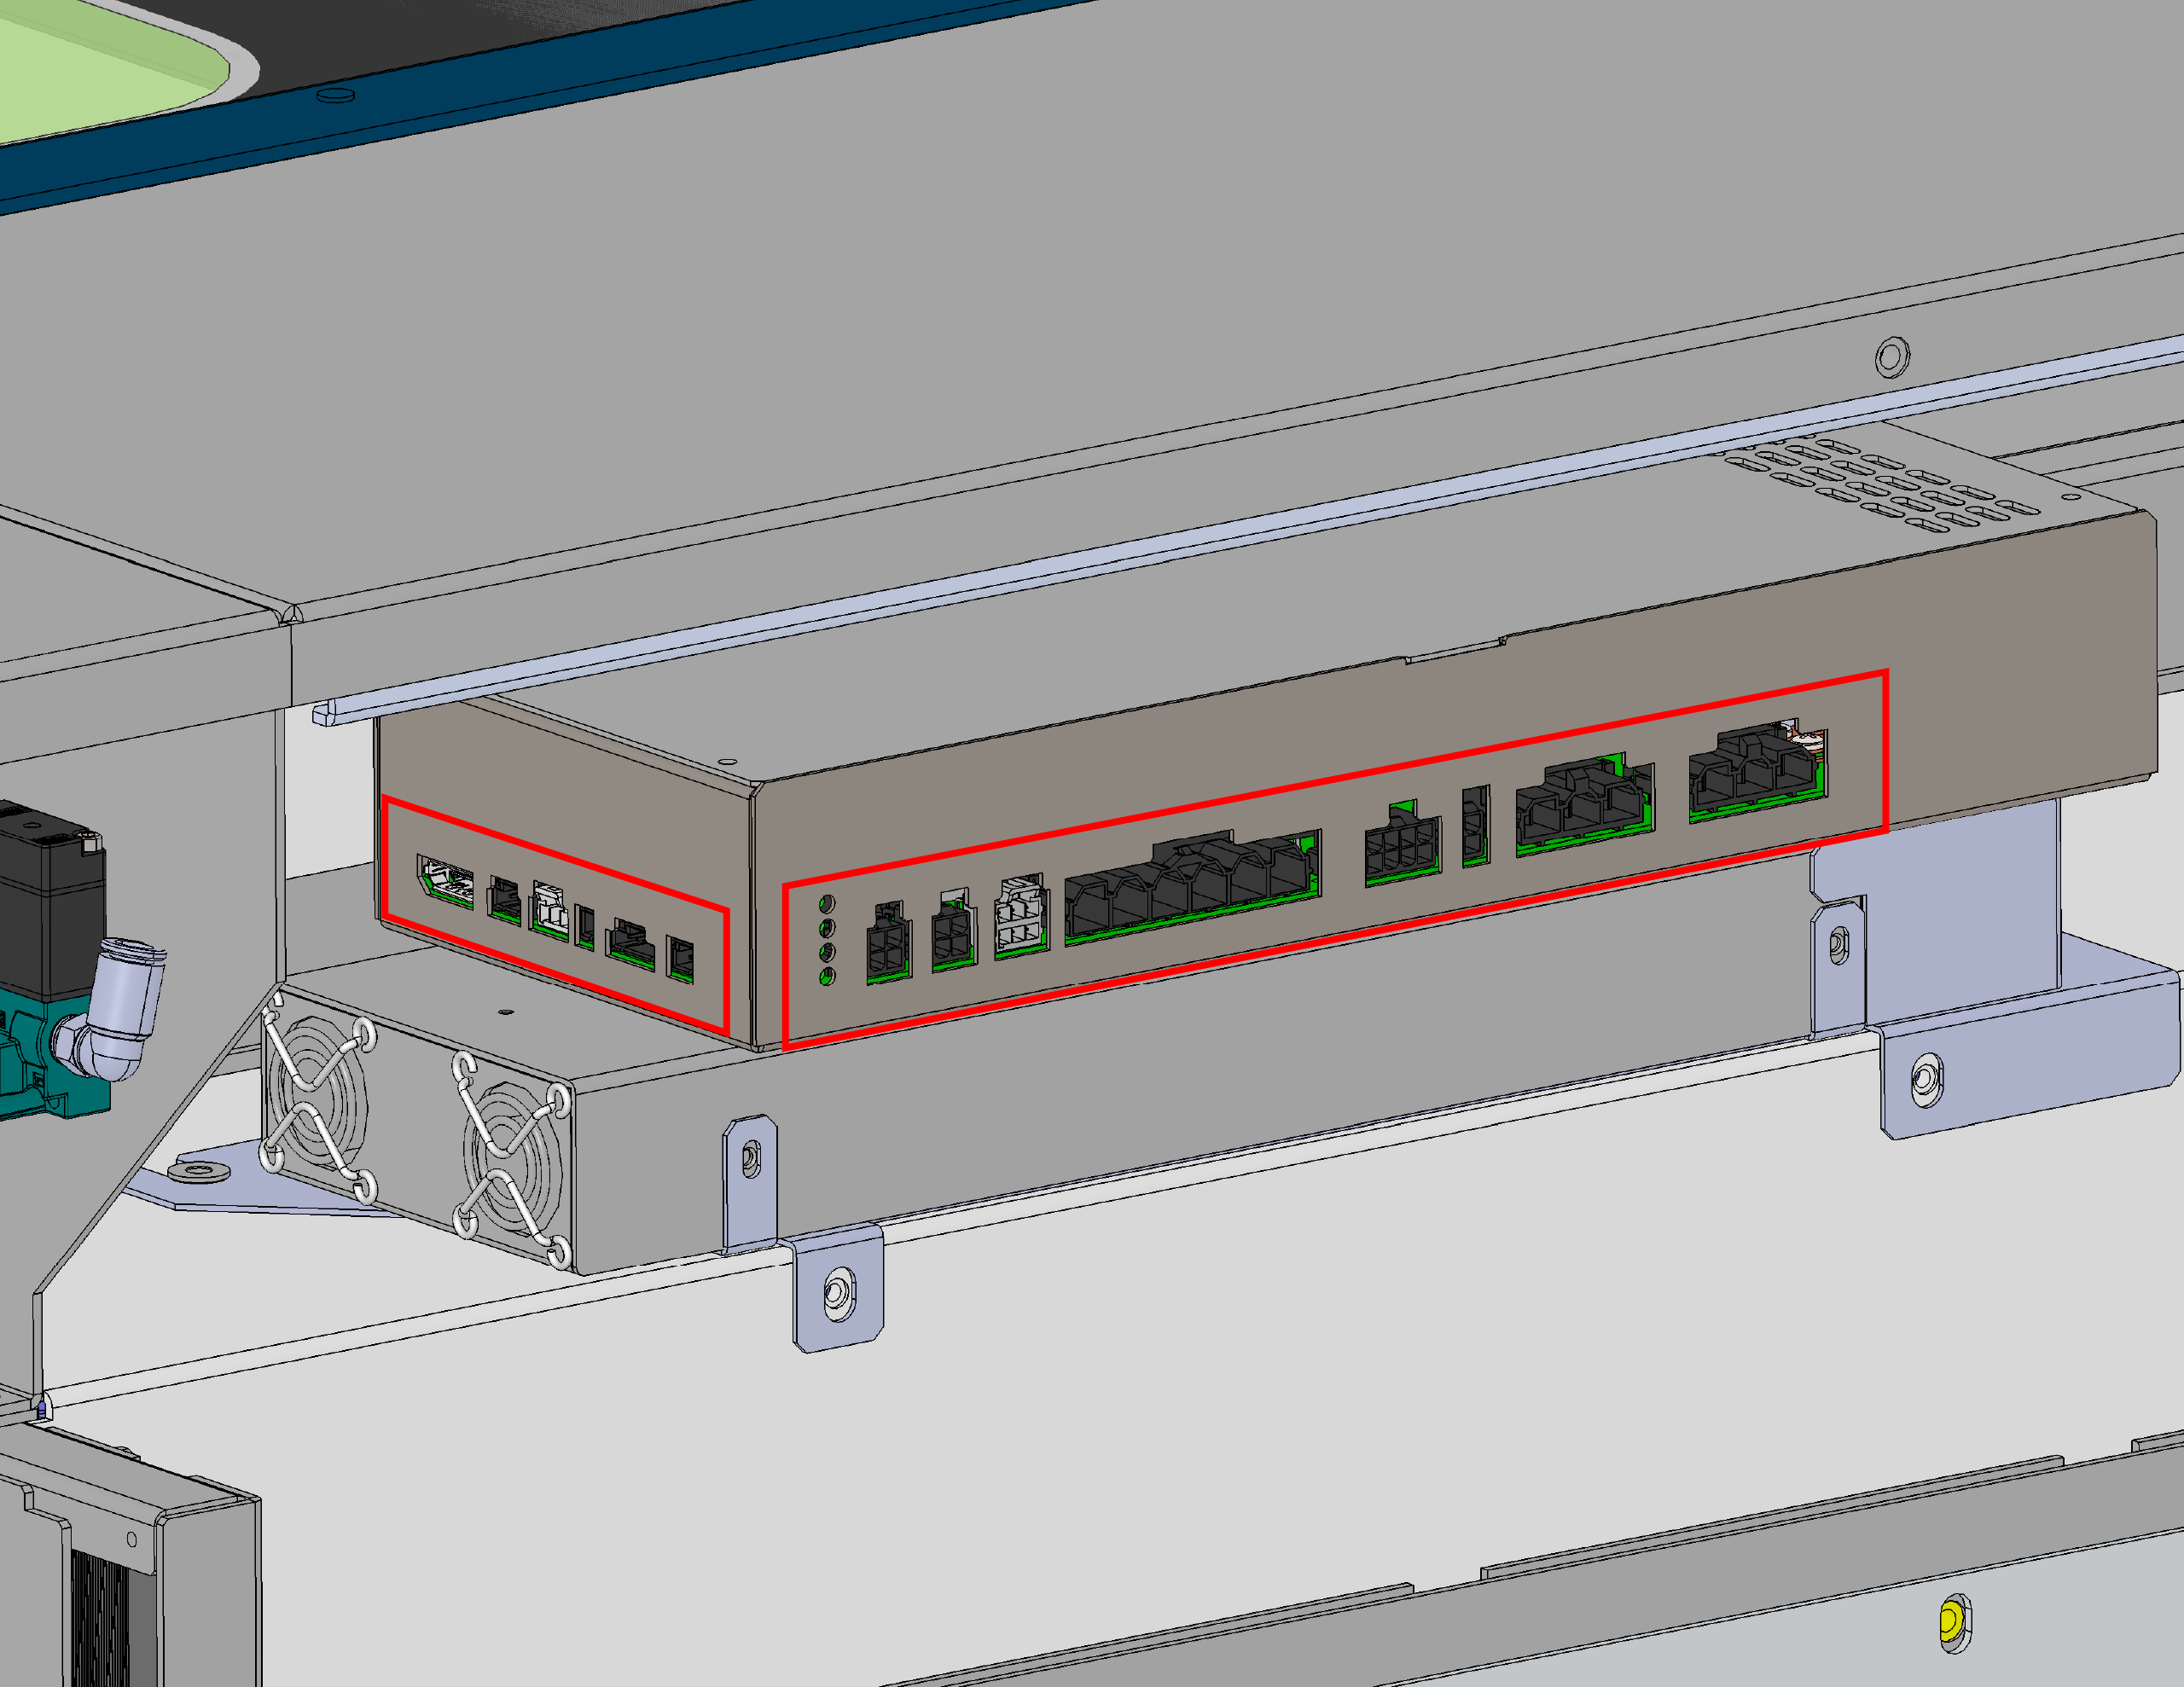
Disconnect all electrical harnesses from the power supply.
Note: Take a photo of the electrical harnessing before disconnecting it to use as a reference during reinstallation.
-
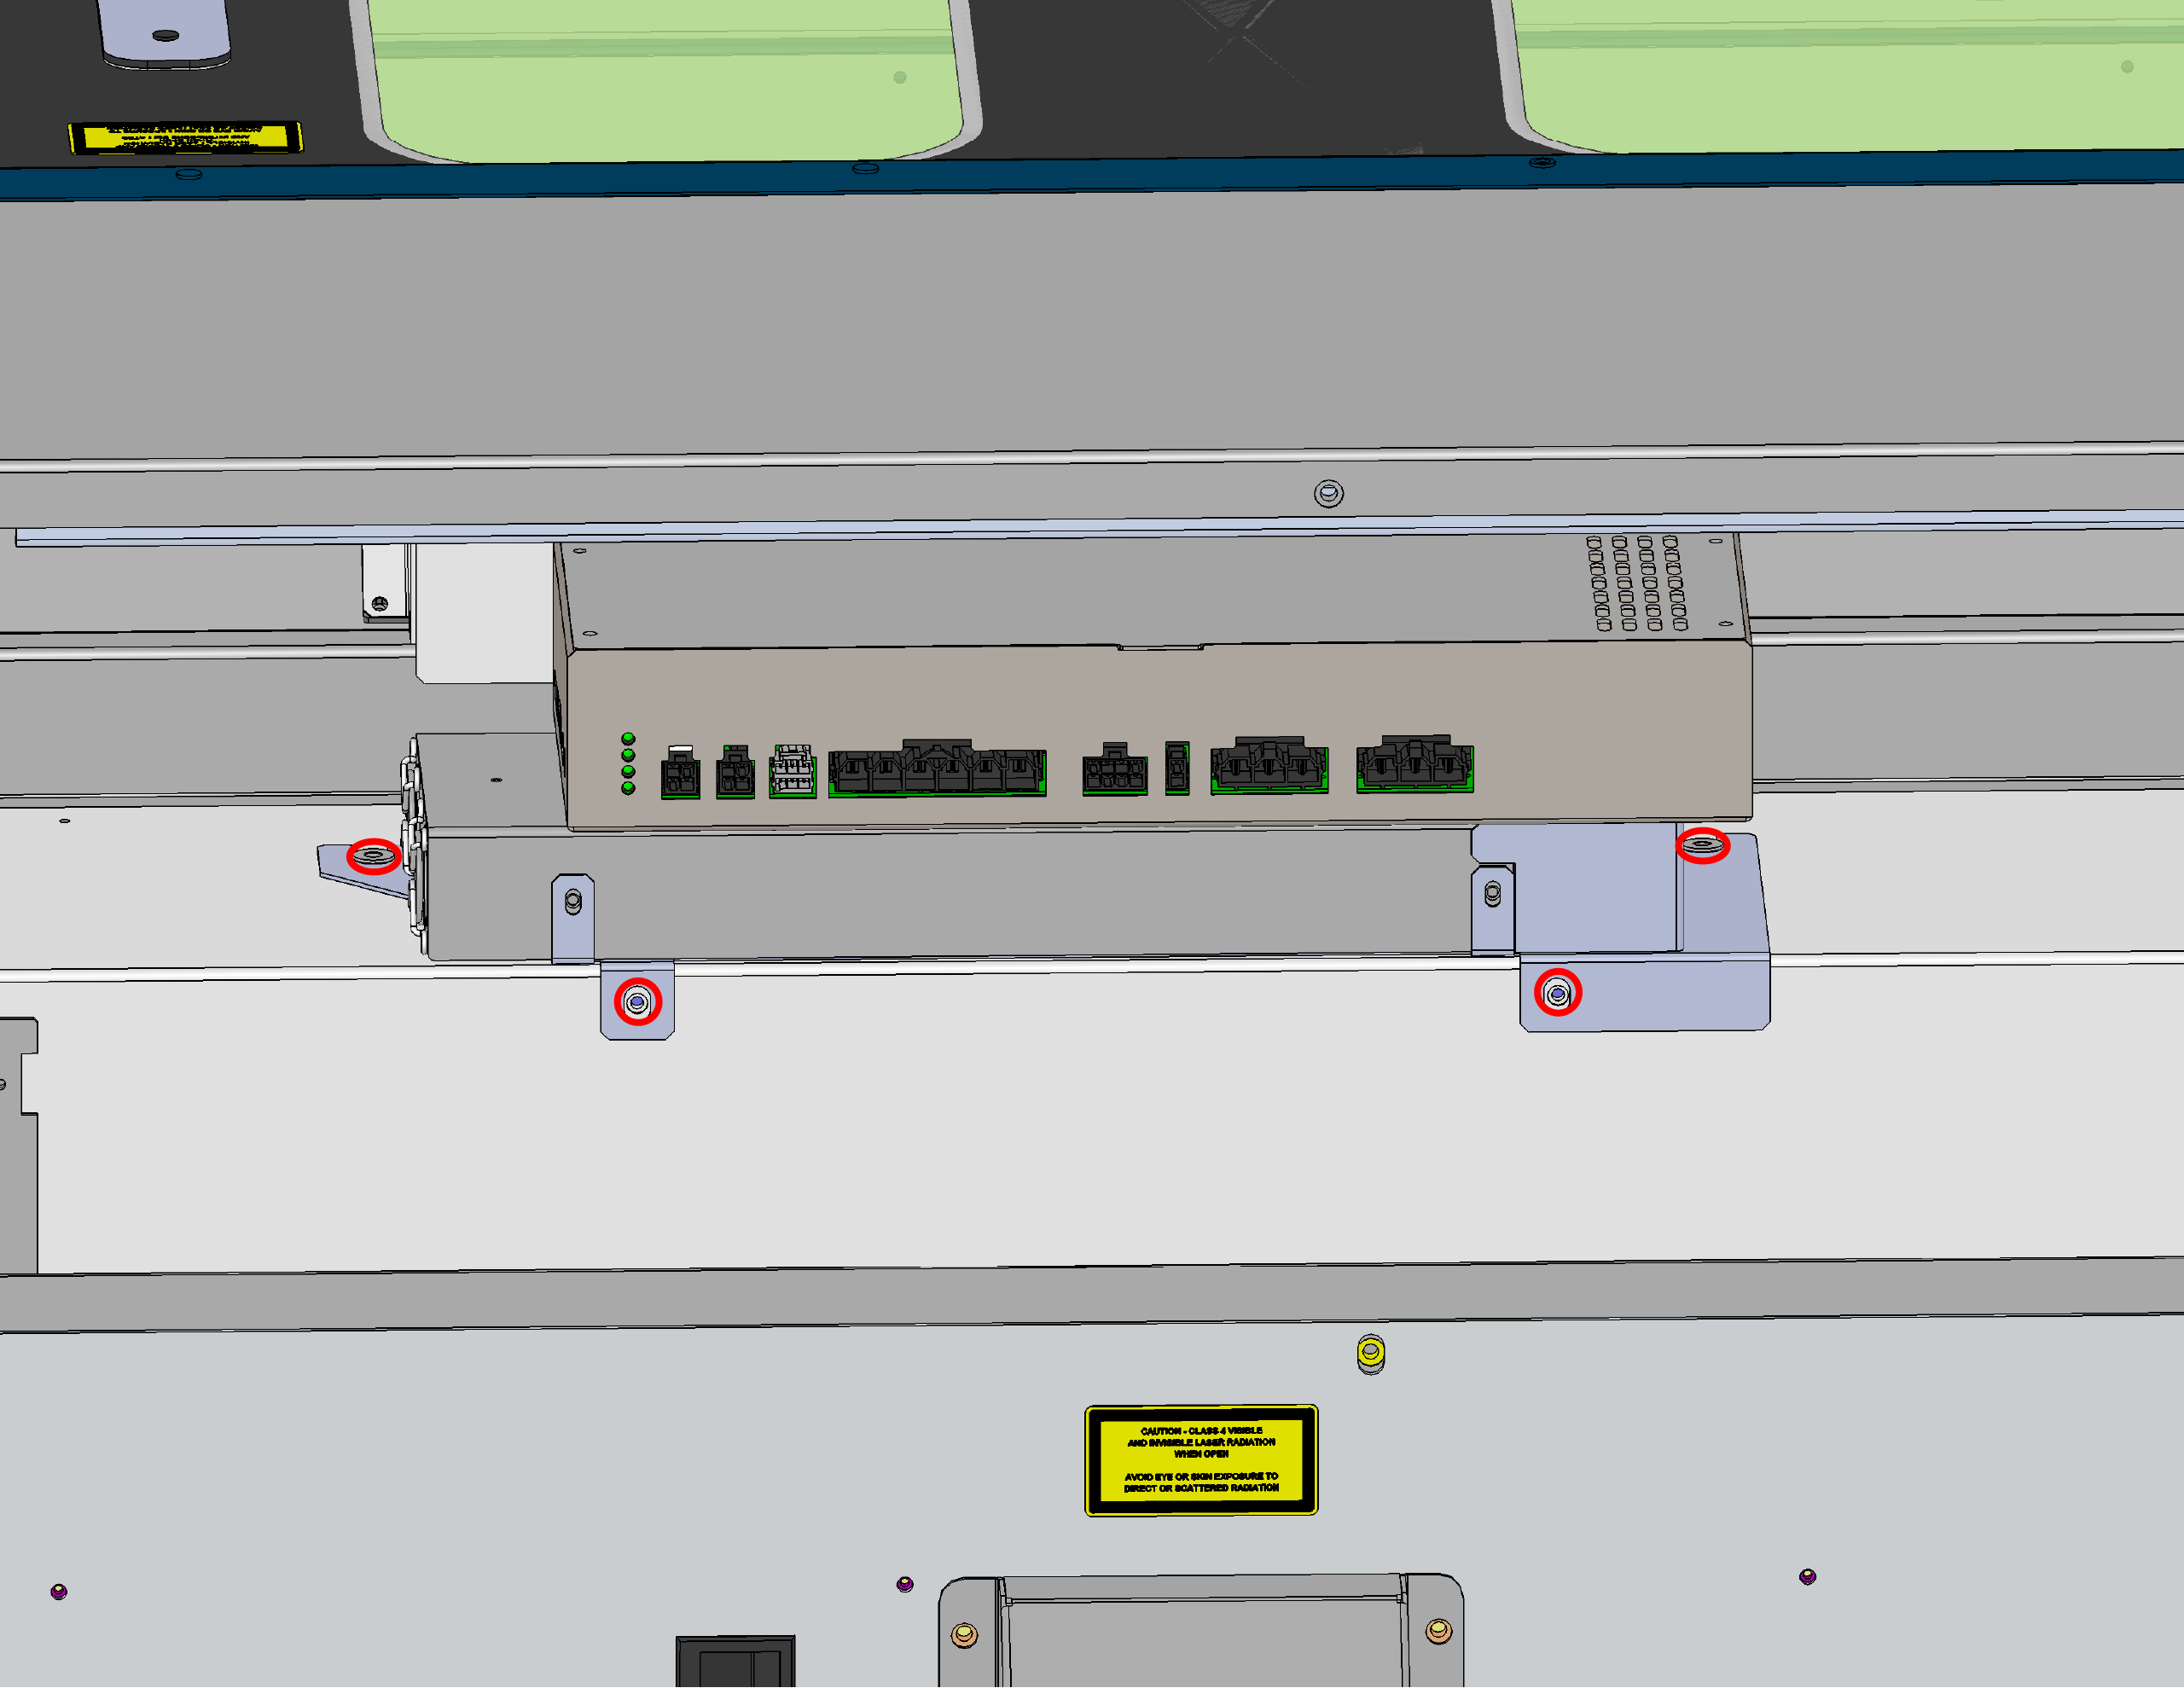
Remove the mounting screws securing the power supply.
-
Carefully remove the power supply from the machine.
Power Supply Installation
-
Insert the replacement power supply into the compartment.
-
Secure the power supply using the mounting screws.
-
Reconnect all electrical harnesses to the replacement power supply.
-
Reinstall the rear-top panel.
-
Reconnect the power cable and power ON the system.
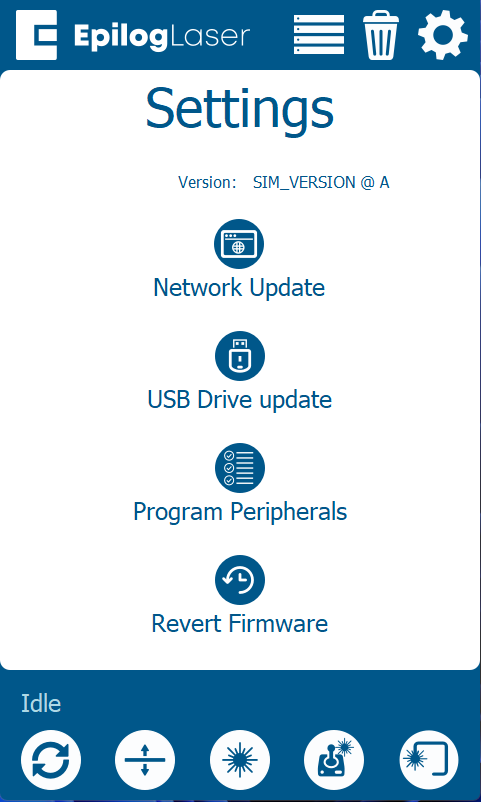
Programming Peripherals
-
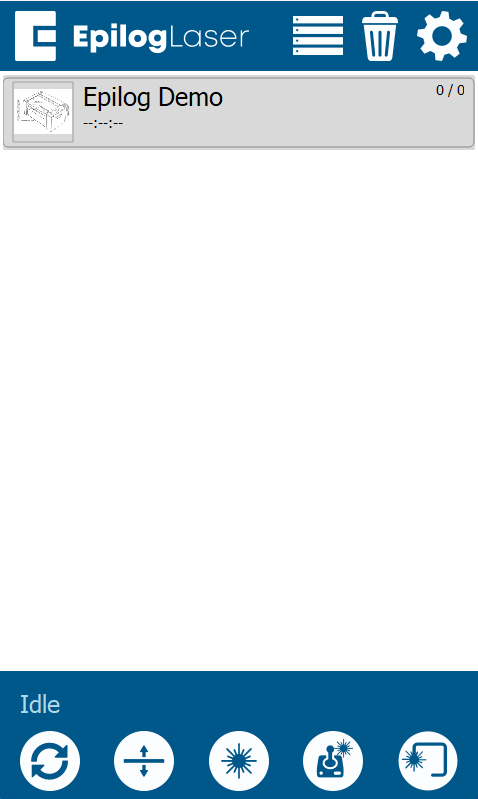
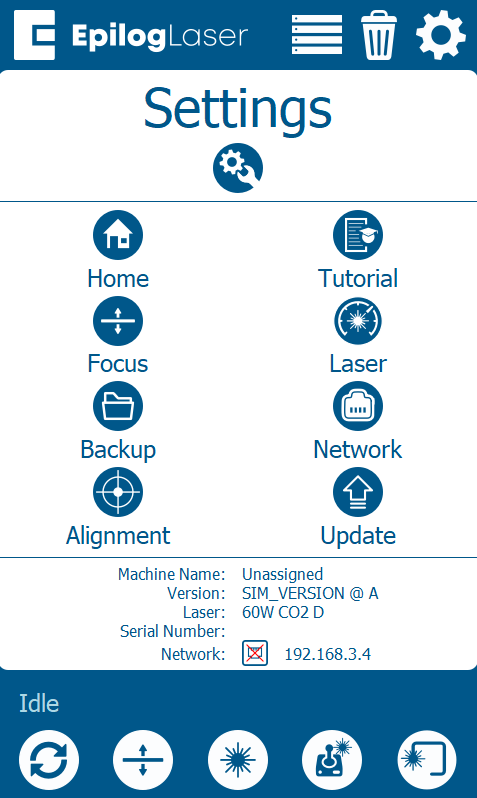
At the display panel, press the gear icon in the upper-right corner to open the Settings menu.
-
Press Update.
-
Press Program Peripherals.
-
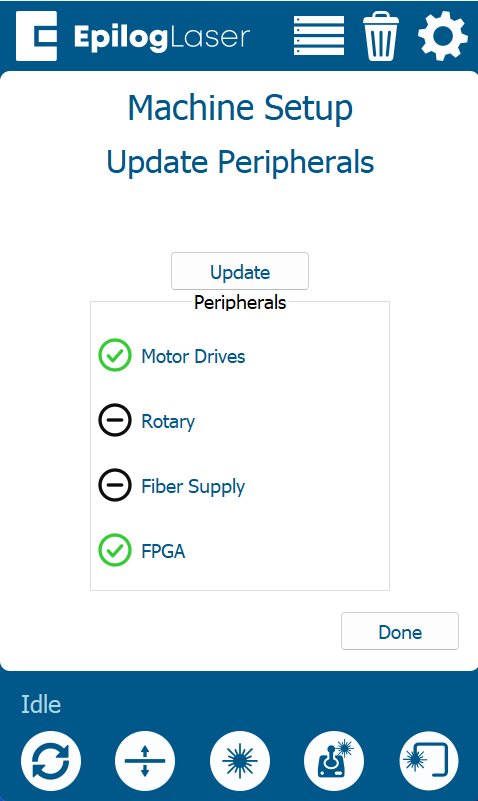
Once in the Peripheral Update menu, select Power Supply and press Update.
-
Allow the engraver to complete the update process.
Warning: Do not power off the engraver during the update. The screen may go dark temporarily—this is normal. Once the update is complete, the system will prompt you to restart the engraver.
-
When prompted, power cycle the engraver to complete the update.