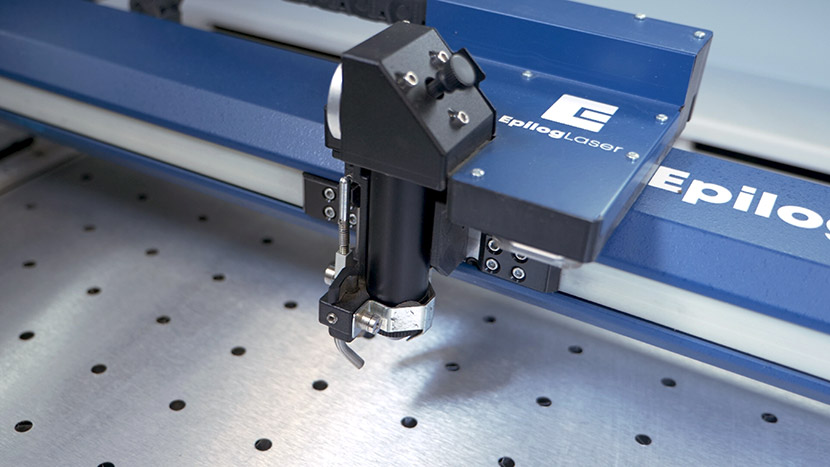
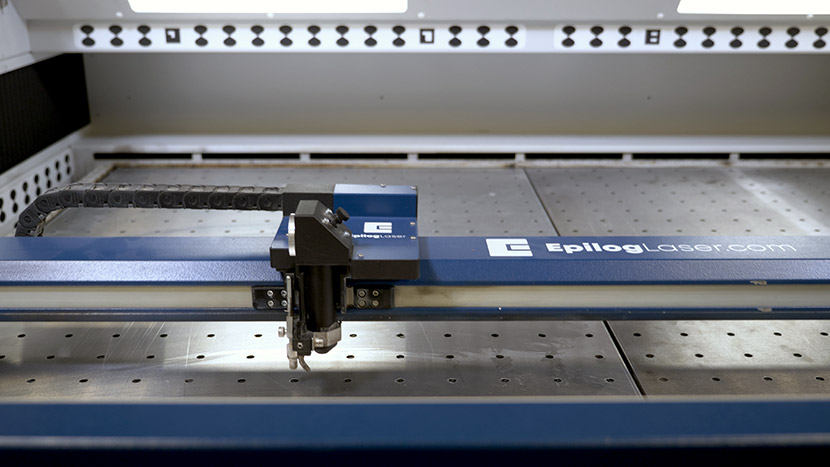
In this lesson we’ll walk you through replacing the lens on the Epilog Fusion Pro laser system.
Whether you are replacing an old lens with a new one or switching from a 2-inch lens to a 4-inch lens, the process is quick and easy.
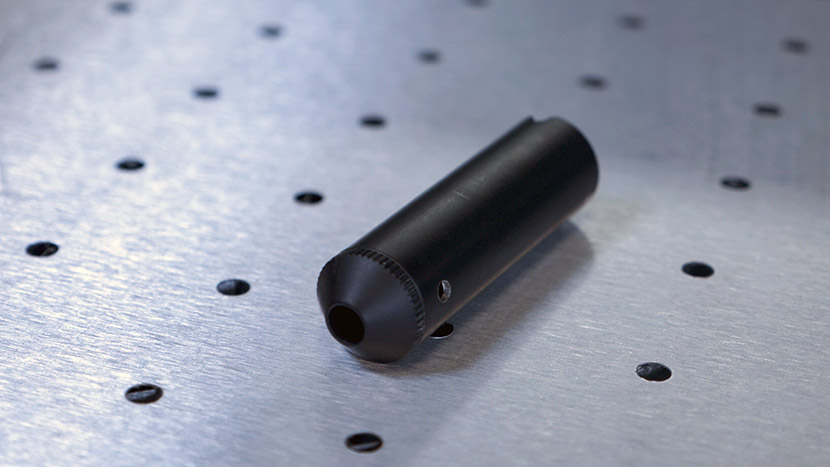
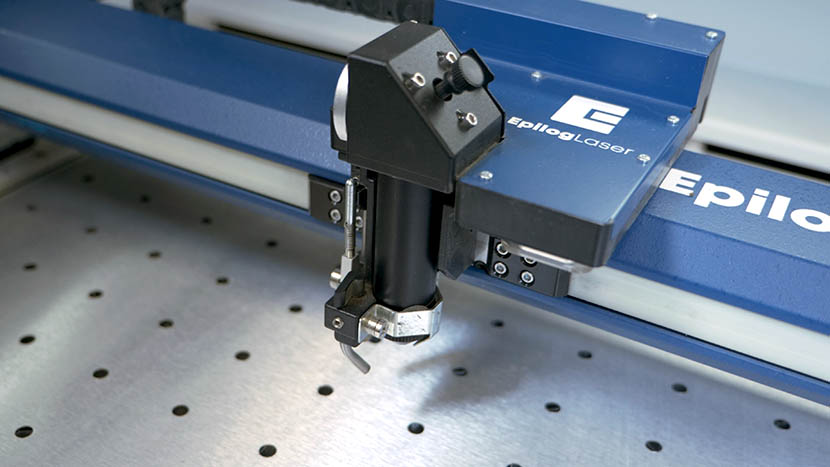
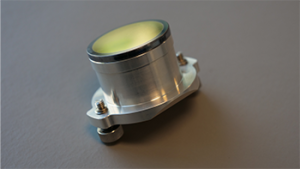
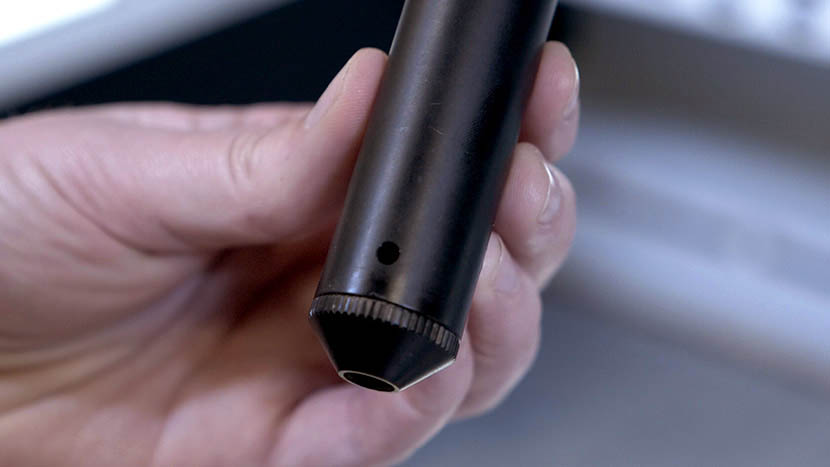
The lens always comes contained within the lens tube, so replacing it is as simple as removing one tube and installing and securing the new tube properly.
Remove the Current Lens
Begin by Jogging the lens assembly closer to the front of the machine. To do this, select the Jog Menu icon, then use the joystick to move the lens assembly.
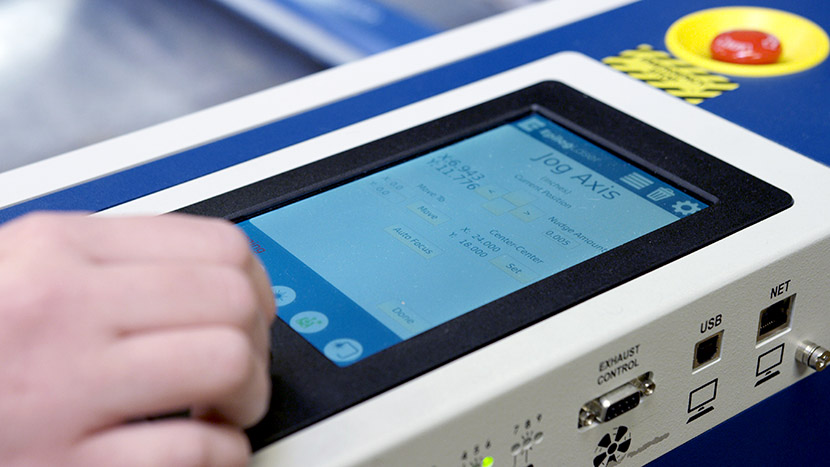
Lower the table a few inches to give you some clearance to work. You can accomplish this by selecting the Focus Menu icon, then pulling the joystick toward the front of the machine to move the table down.
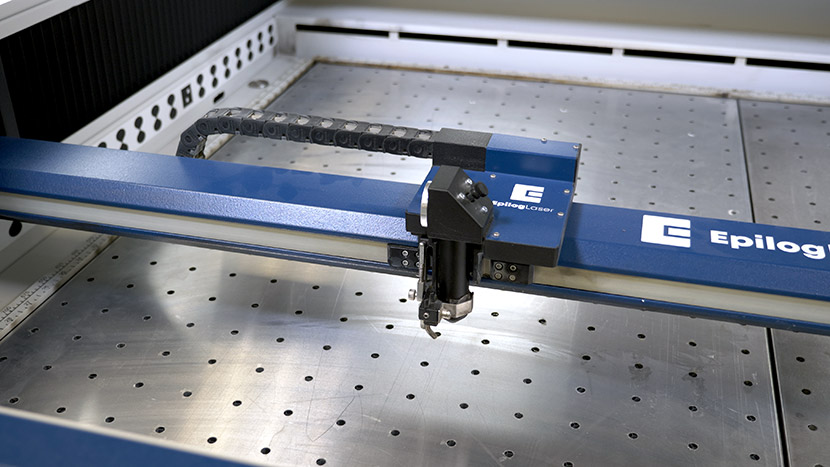
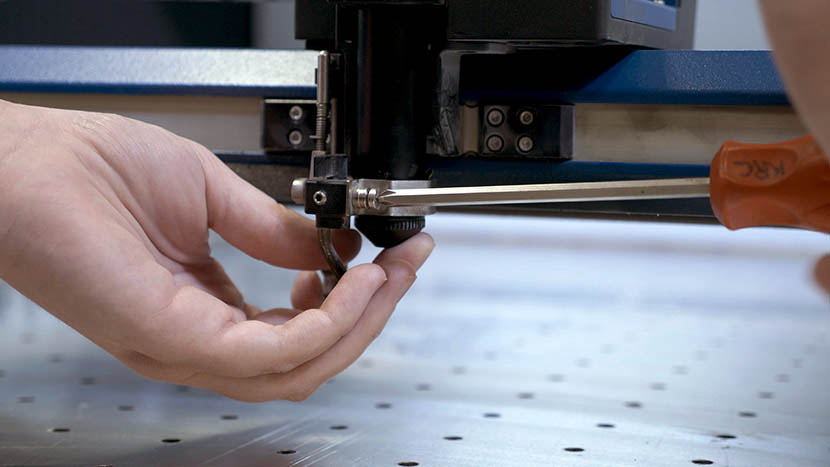
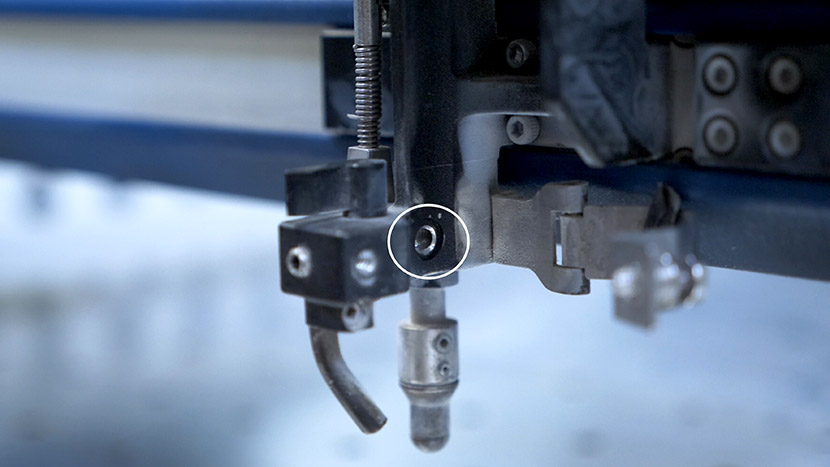
Remove the lens tube from the machine by unscrewing the captive screw on the front lens clamp using a #1 Philips screwdriver.
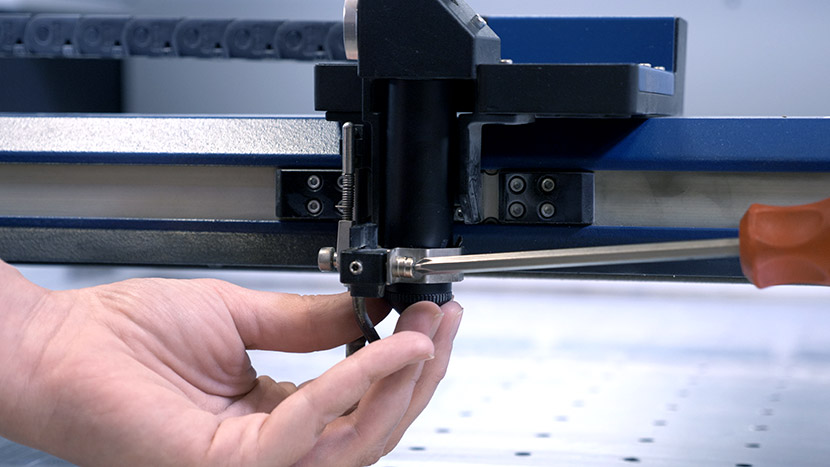
Support the lens tube from the bottom while unscrewing the captive screw, as the tube may come out easily.
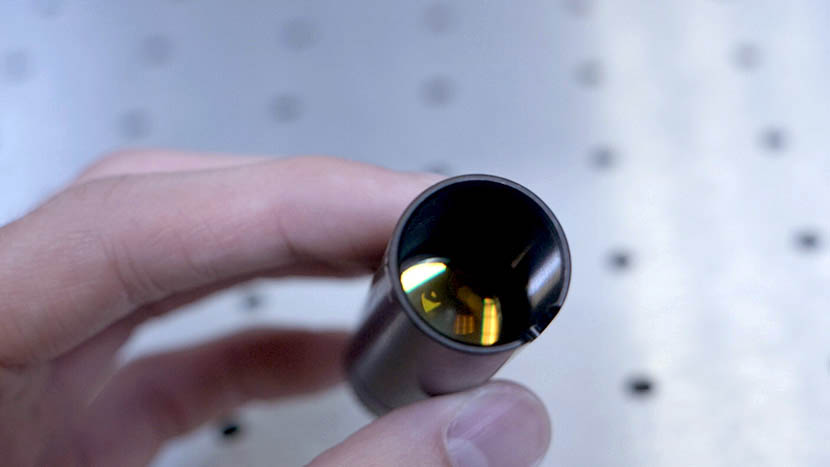
Note: This is a great opportunity to clean your lens(es), either the one you are removing and/or the one you are installing. A clean lens is vital to achieving quality results with a laser, so consider taking a few moments to clean both sides of your lens with a cotton swab and some lens cleaning solution.
Install the New Lens
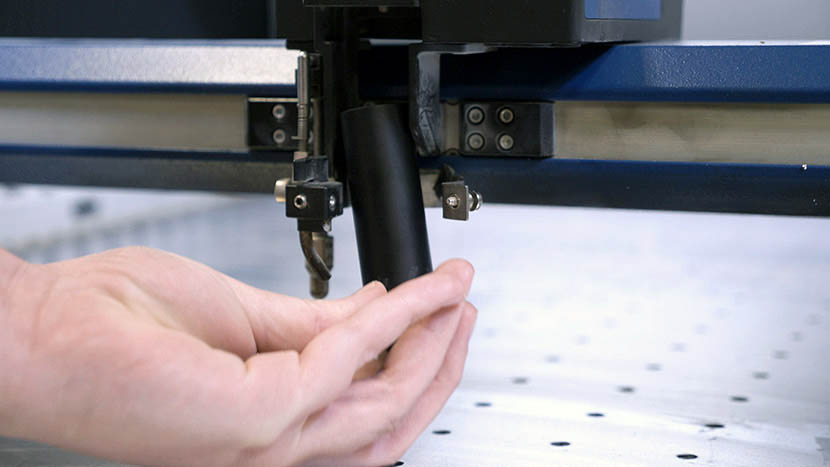
Place the new tube into the assembly, making sure that the hole near the bottom of the tube lines up with the air assist hole on the assembly.

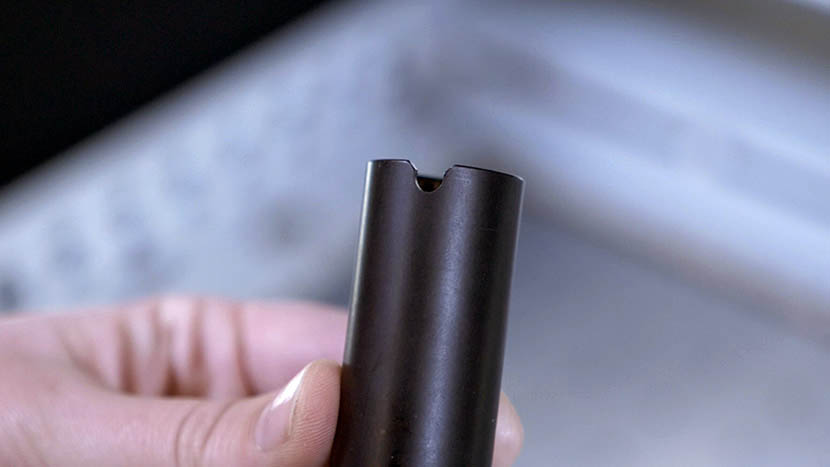
Also make sure the notch at the top of the lens tube lines up with the pin on the inside of the assembly. When the tube is in place it should only shift slightly when twisted side to side.
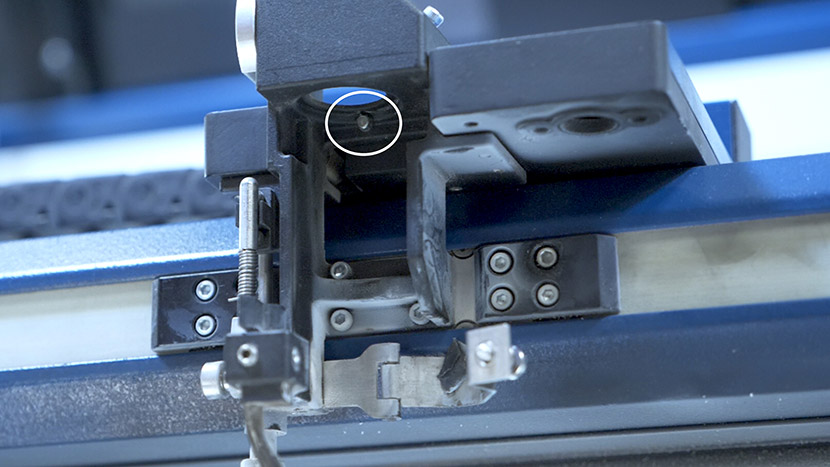
Wrap the clamp back around the new tube and tighten the captive screw.