This procedure outlines the steps necessary to replace the X-axis encoder reader on the Legend EXT machine. The X-axis encoder reader is a crucial component for accurate movement tracking of the lens carriage assembly. Over time, this part may need maintenance or replacement to ensure continued precision and smooth operation of the machine. By following the instructions carefully and using the required tools, you can safely replace the X-axis encoder reader and restore your machine’s performance. Always ensure that the power is off before starting any maintenance tasks to avoid electrical hazards.
Encoder Reader Removal
-
Make sure power is turned off and power cord is unplugged from the
wall outlet. -
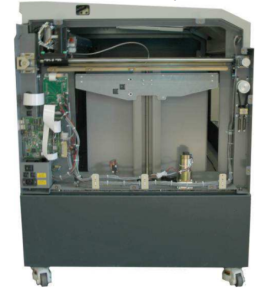
Open up the main door to gain access to the I-beam. The I-beam is
the long horizontal bar with a blue cover over it and has the
Epilog website written on top-right side of it. -
Use a #2 Phillips head screw driver to loosen up the 10 Phillips
head screws, 5 of them are located on the front and 5 are on the back of
the blue cover. These screws do not need to be removed completely
because the bottom of the blue cover is slotted. -
Once the blue cover is removed, locate the X-Axis encoder reader
board. This board travels along with the lens carriage assembly
when you manually slide it with the machine turned off.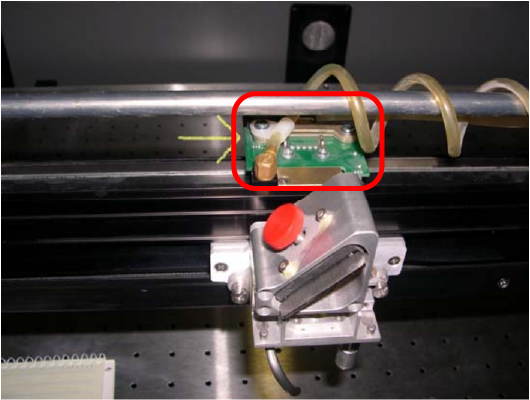
-
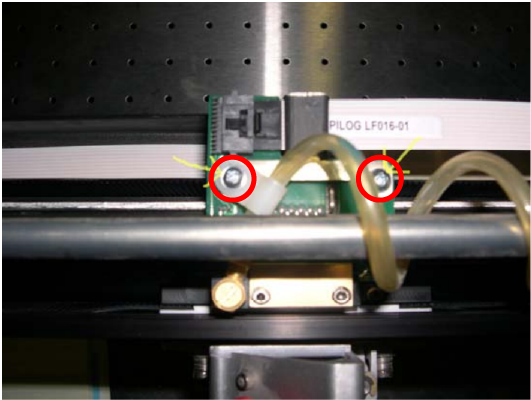
Use a #1 Phillips head screw driver to remove the 2 screws circled in the image below.
-
Once you have the bracket removed, disconnect the white ribbon
cable from the X-Axis encoder reader. This cable does not pull
straight out; you have to push down the plastic latch to release
the lock.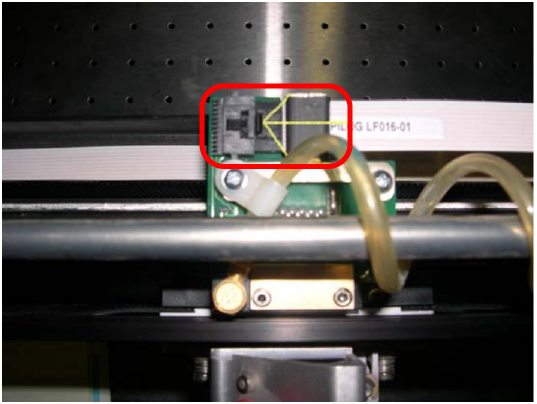
-
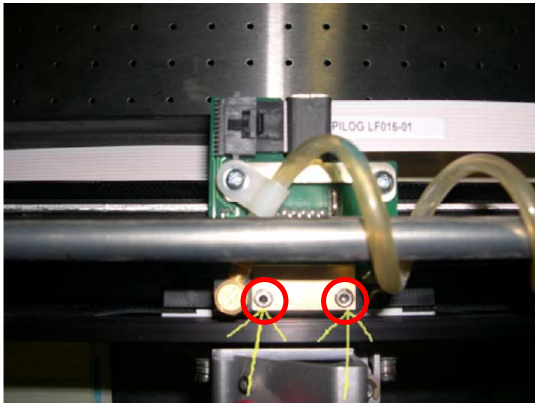
Use a 3/32 Allen wrench to remove the 2 Allen screws circled below.
-
Check that the read head is positioned correctly. The read head is the
brown piece attached on the bottom side of the X-Axis encoder reader. You want the
encoder strip sitting in the middle of the read head. -
To install the new X-Axis encoder reader, simply reverse steps 7
through 2.