In this lesson we’ll walk through replacing the Epilog Mini and Helix Keyboard.
Shut off the laser and remove the power cord from the machine.

Remove Side Panels
Remove the left side panel by loosening the four screws on its main face, as well as the two screws on the back.


Remove the right side panel by loosening the four screws on its main face, as well as the two screws on the back.


Remove Old Keypad
Remove the four outer screws, two on each side of the bezel.


Remove the three screws securing the centers of the two panels on the inside of the bezel.

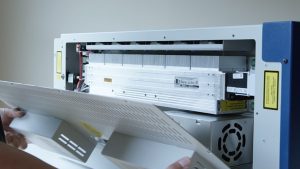
Loosen the two 3/16 inch nuts at the bottom corners of the bottom interior panel. Then remove the bottom panel.


Remove the two screws at the top corners of the top panel. Then remove the top panel.


Loosen the four nuts using a socket wrench, then remove the bezel by sliding it out from under the screws, away from the machine.


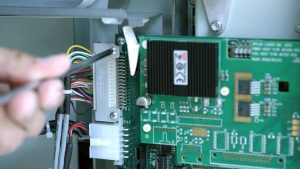
Unplug the flex cable from the keyboard by pinching the harness clip at the base.

Remove the four screws from the PCB and remove the control panel plug. Set the PCB aside.


Peel the keypad off the front of the bezel.

Install New Keypad
Install the new keypad by sliding the connector through the top bezel slot and pressing the keyboard’s adhesive back to the recess in the bezel.


Plug the keypad into the PCB, then insert the PCB’s four screws.


Plug the flex cable into the PCB.

Replace the bezel by sliding it under the front four nuts. Tighten the nuts slightly to hold the bezel in place.


Reinstall four outer screws, making them hand-tight.


Install the top interior panel by loosely inserting the two top screws.

Install the bottom panel by affixing it to the two bottom nuts. Insert the three center screws to secure both panels.


Now ensure the back panels are secure by tightening the three center screws, the two top screws, and the two bottom nuts. Make them hand-tight and take care to not overtighten them.
Reinstall Side Panels
Replace the right side panel, inserting the four screws on the panel’s main face, as well as the two screws on the back.


Replace the left side panel, inserting the four screws on the panel’s main face, as well as the two screws on the back.


Plug the machine in and turn it on.