
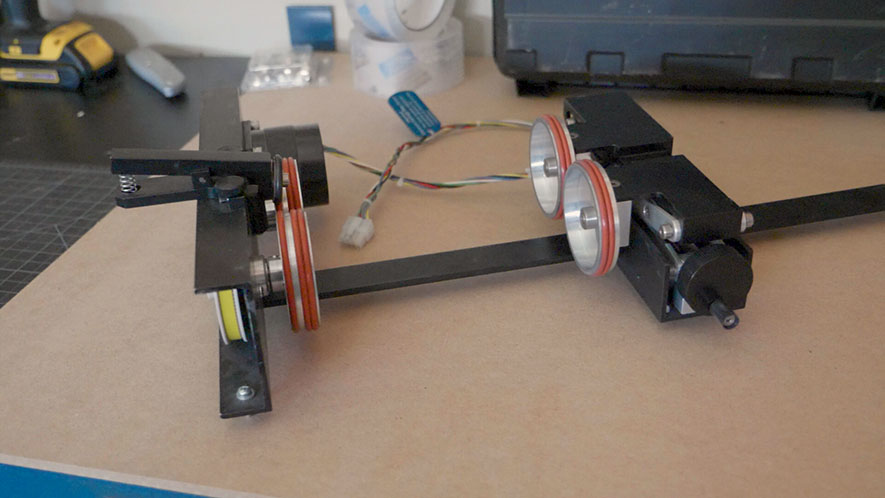
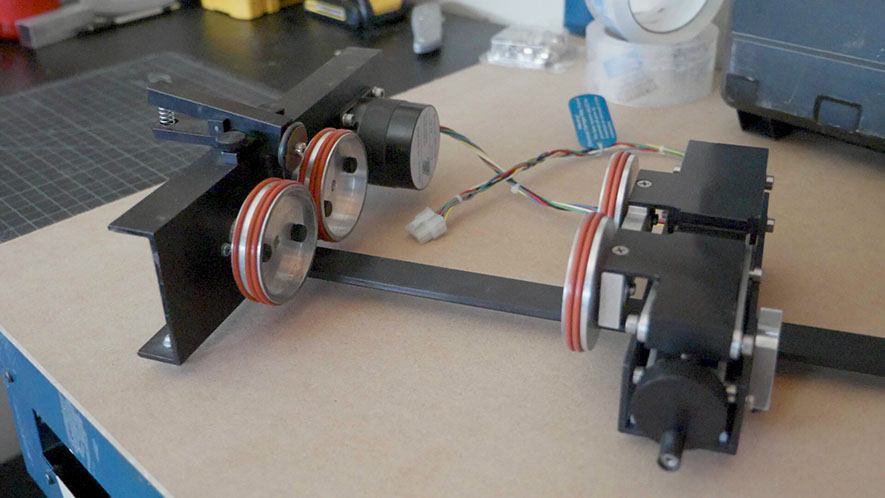
The optional Rim-Drive Rotary Attachment allows you to mark and engrave on cylindrical objects, including glasses, wine bottles, mugs, and much more.
In this lesson, we’ll take a look at how to properly install and uninstall the Rim-Drive Rotary Attachment.
Installing the Rim-Drive Rotary Attachment
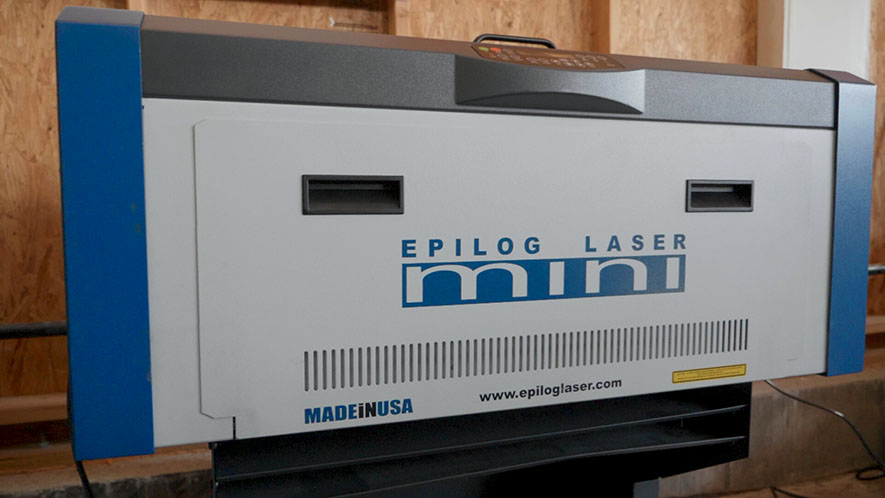
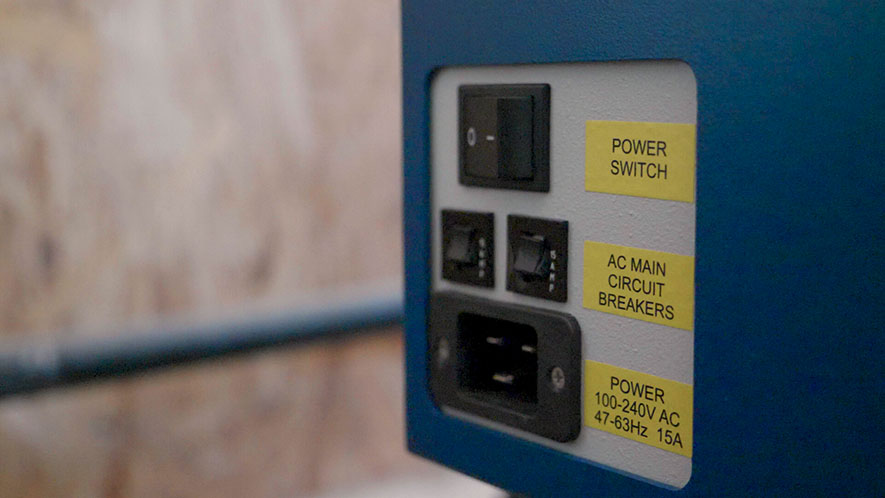
To begin installing the Rim-Drive Rotary Attachment, make sure your machine is plugged in and powered on.
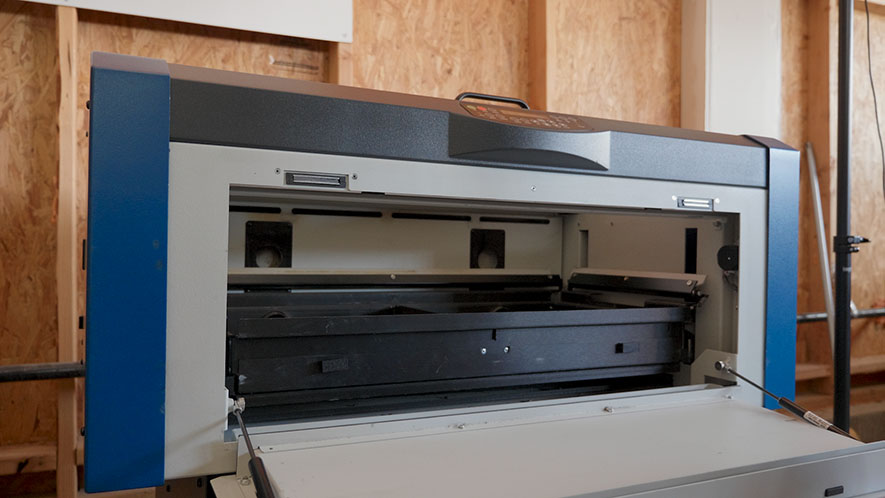
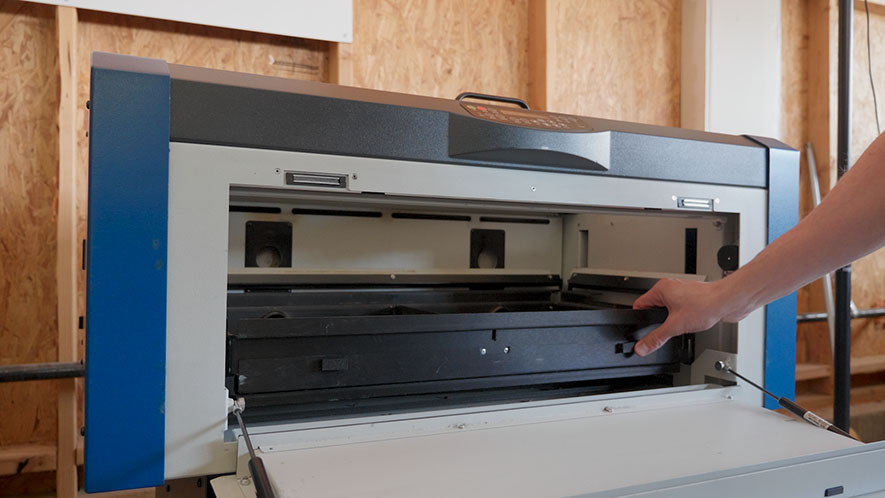
We then suggest opening the front door on your machine you so you can view the vertical position of the machine’s table.
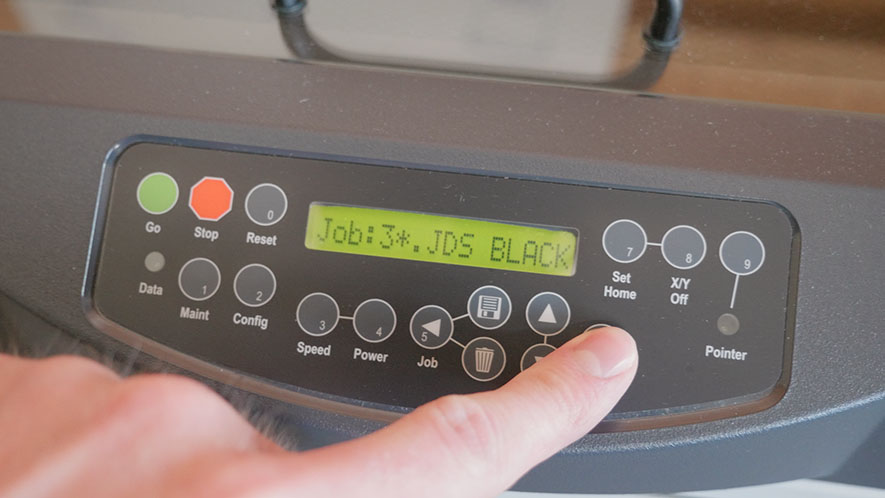
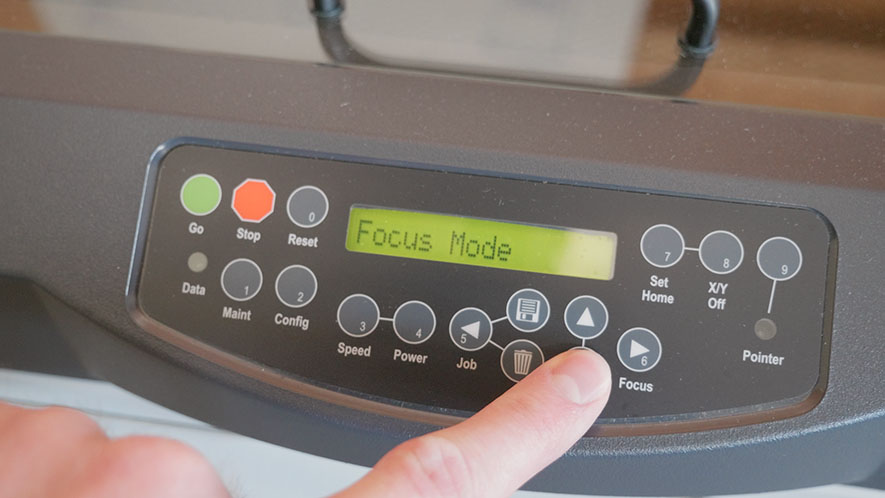
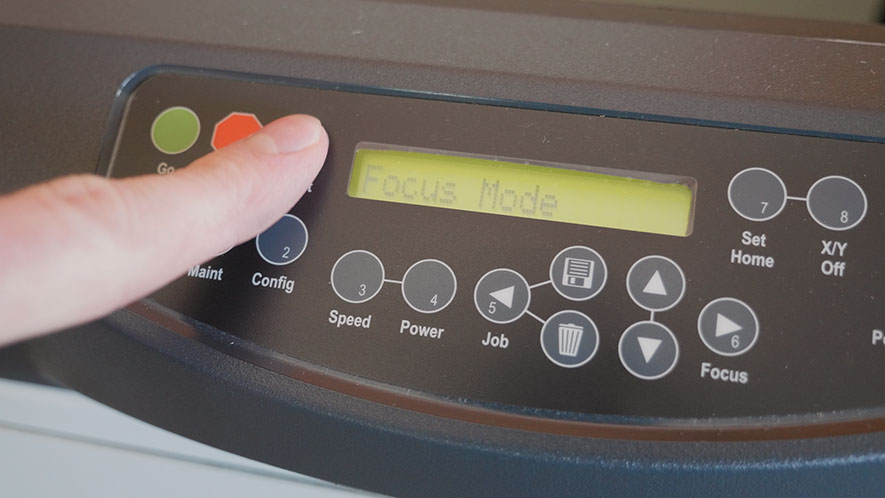
At the control panel, press the Focus button to enter Focus Mode.
Then press down arrow button to lower the table.
Lower the table as low as you can while still being able to access the table’s Crumb Tray.
Press the Reset button to exit Focus Mode.
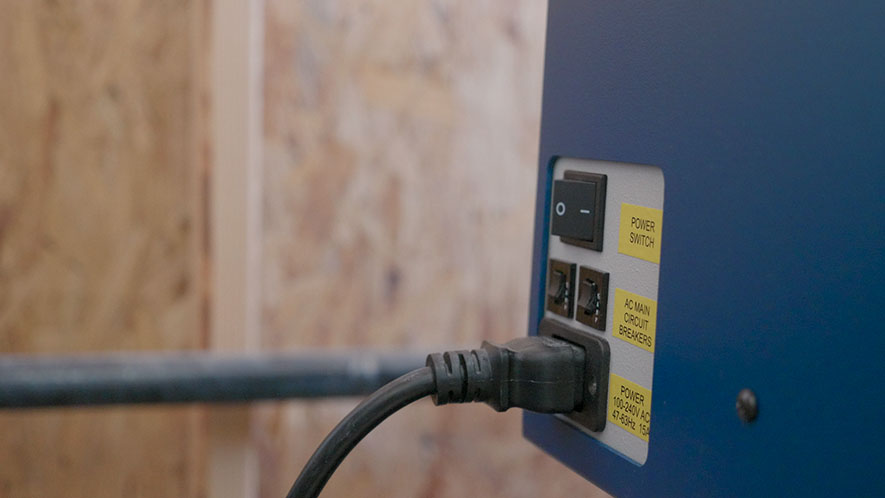
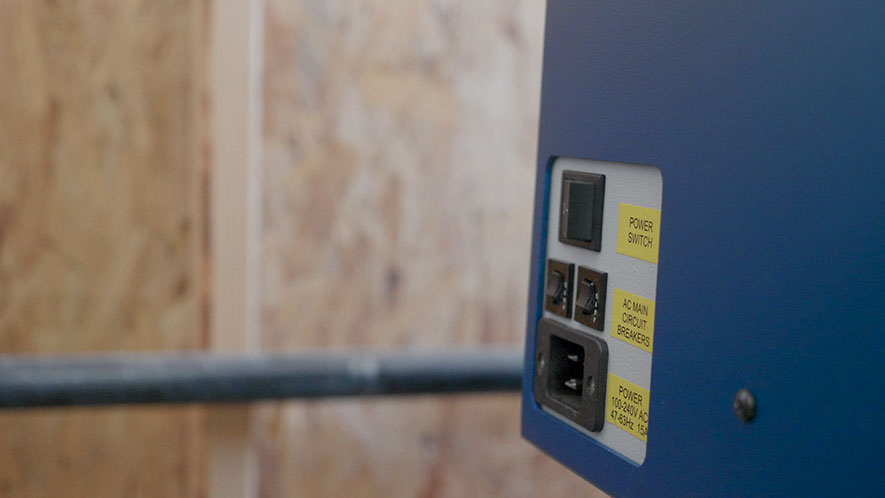
Next, power off the machine and unplug the power cord.

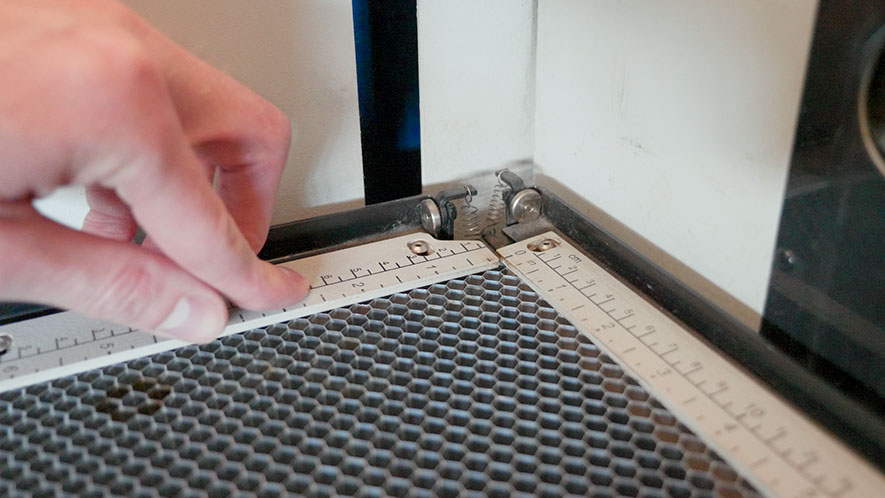
Next, flip up the three rulers securing your Vector Cutting Table or engraving Task Plate.
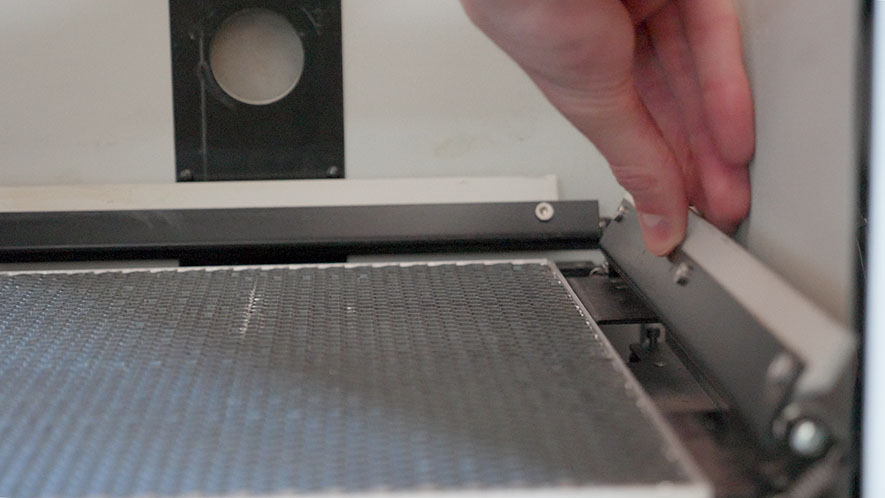
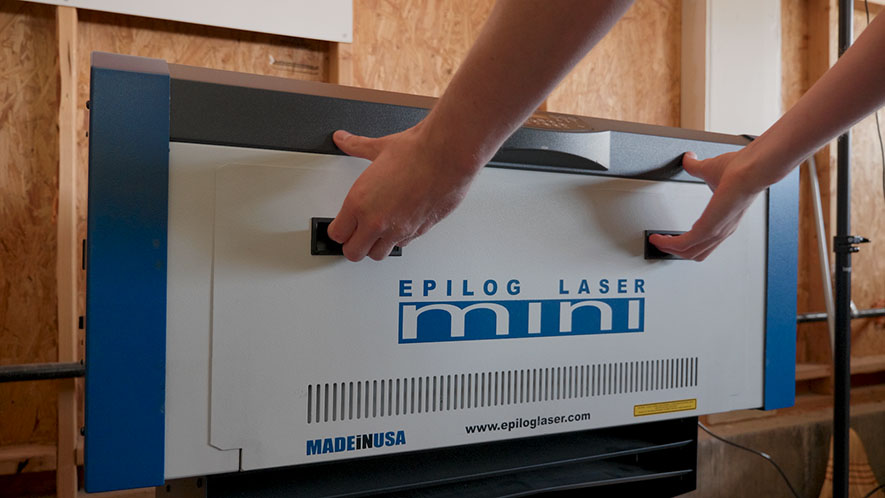
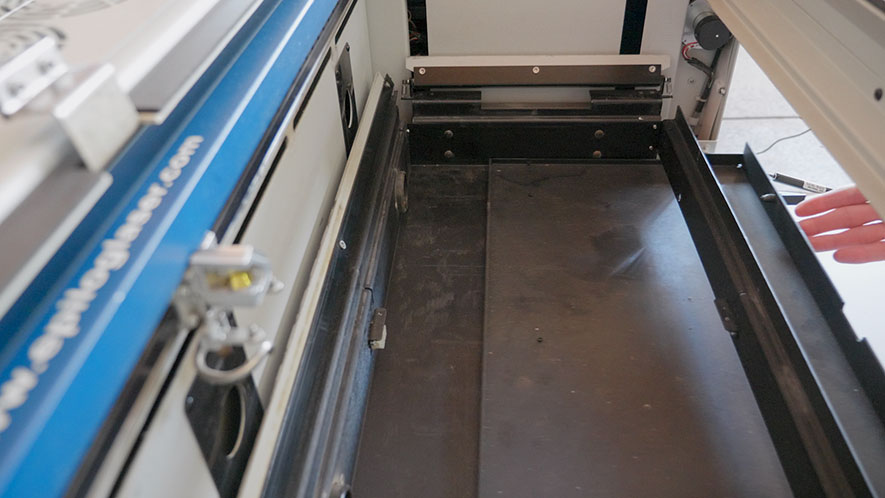
Remove the Vector Cutting Table or engraving Task Plate.
If you didn’t earlier, open the front door on your machine now.
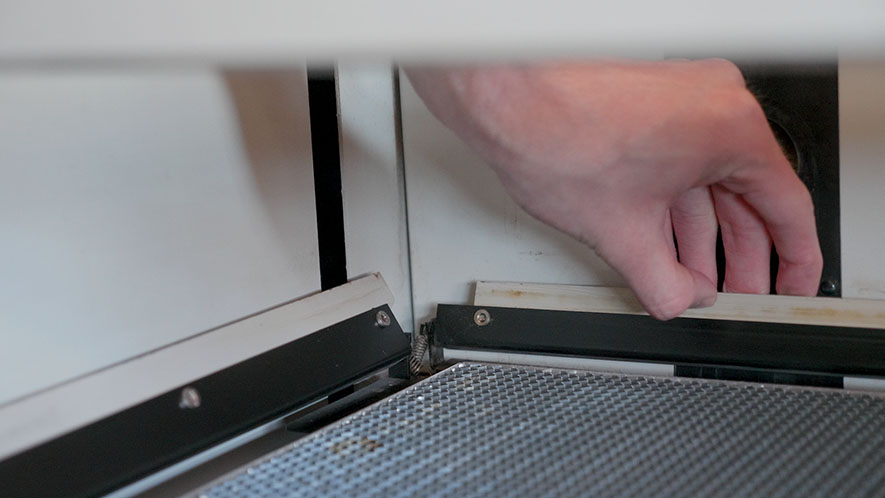
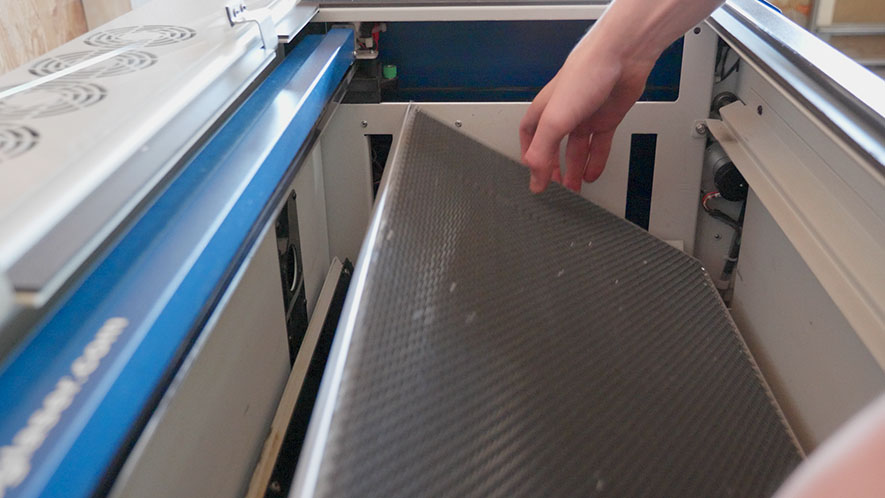
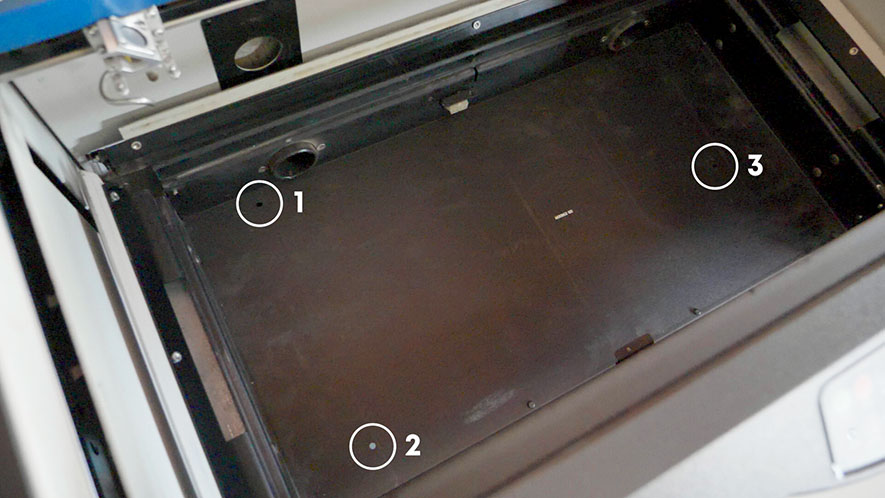
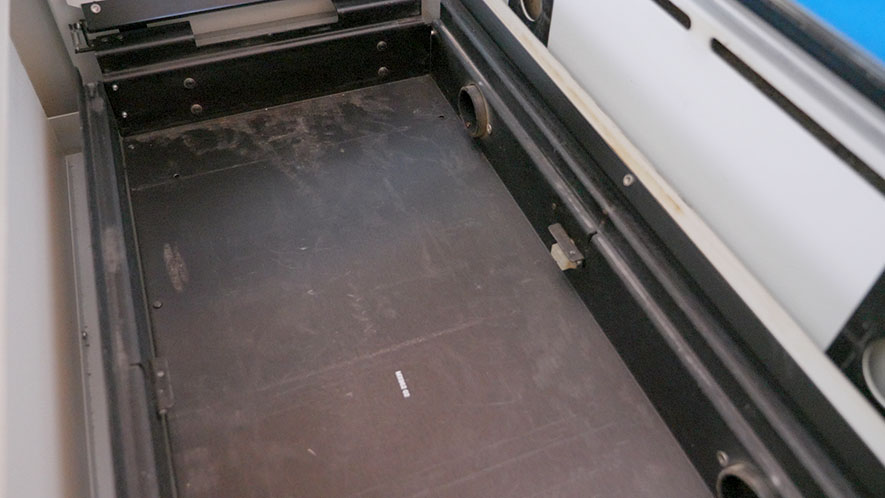
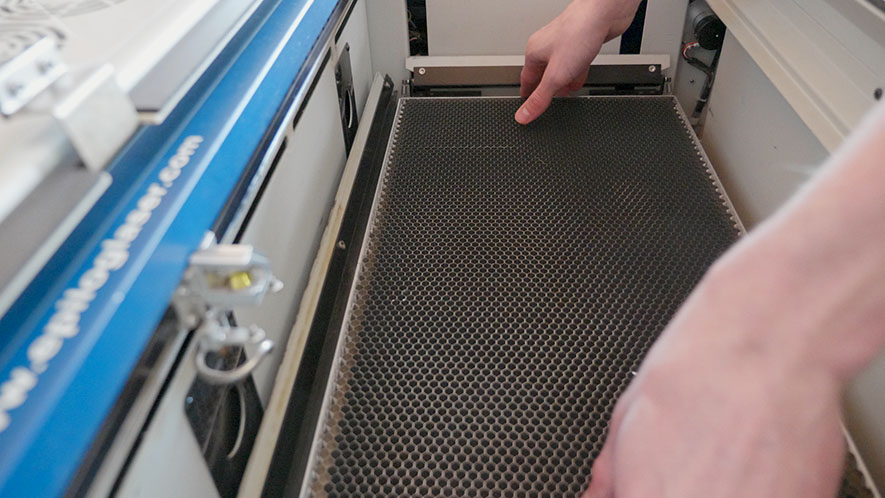
Next, remove the Crumb Tray from the table by first flipping out the two release tabs on the Crumb Tray’s front face, then sliding the Crumb Tray out through the front panel opening.
You can now close the front panel door.
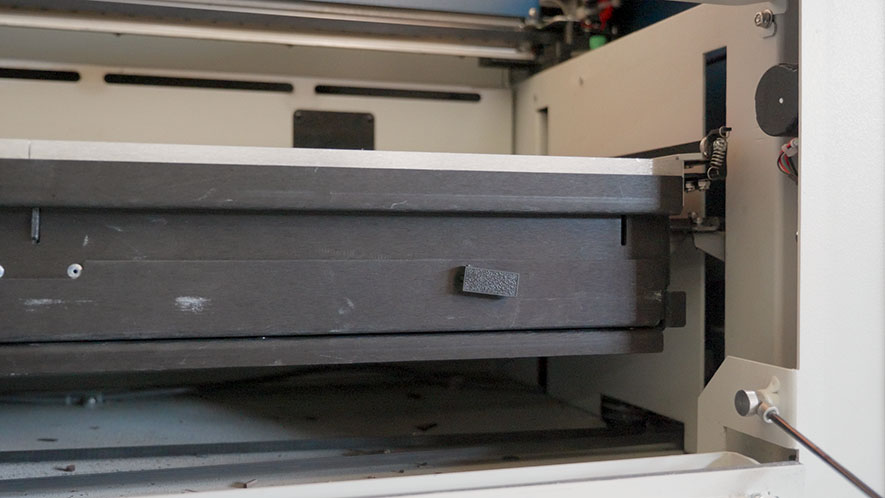
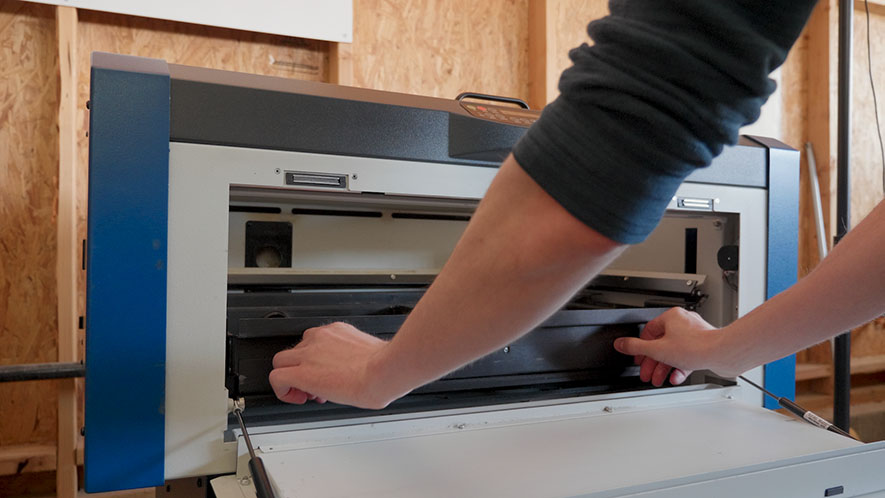
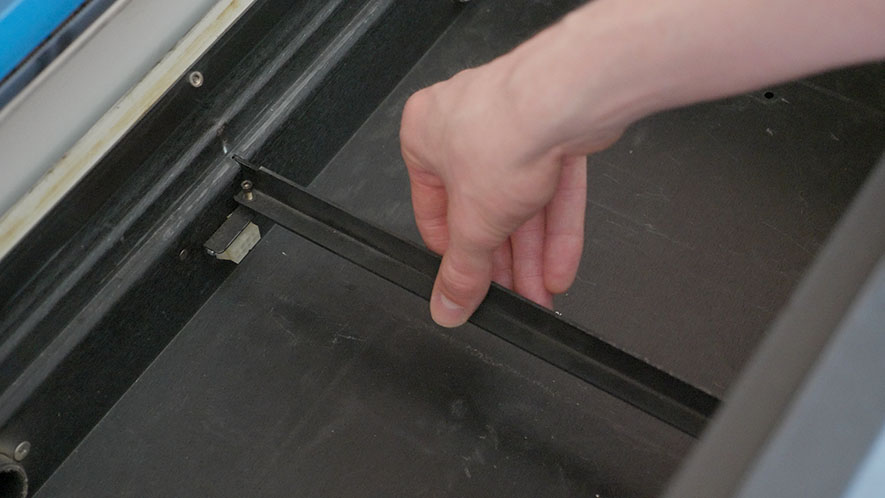
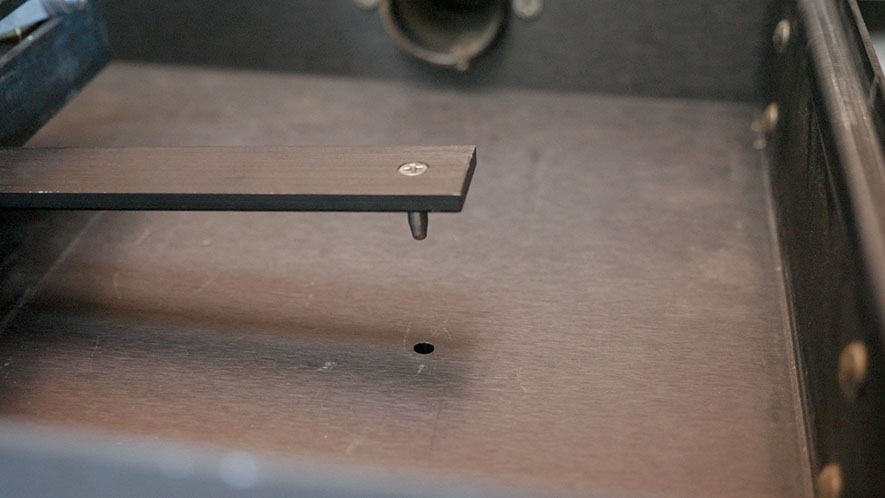
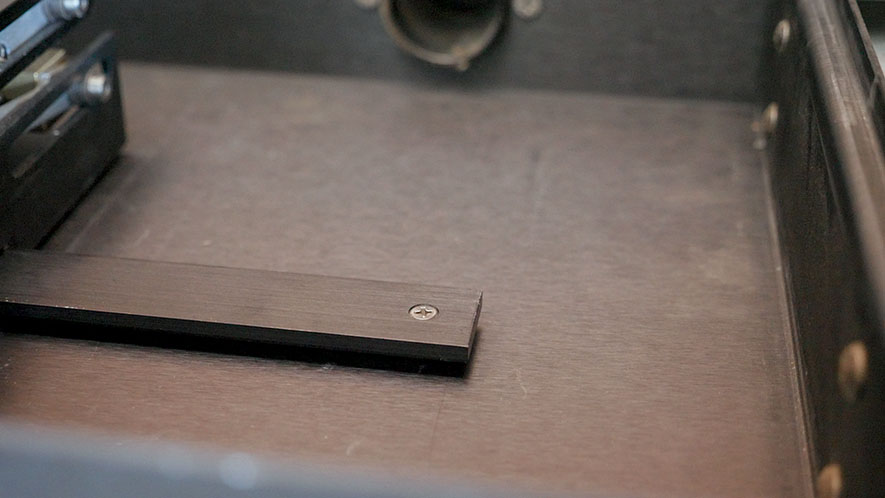
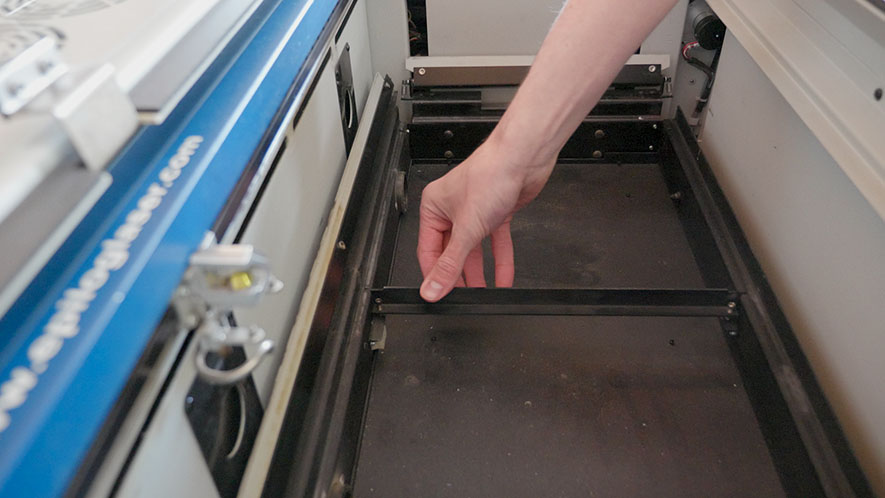
Next, remove the Task Plate levelling and support bar that runs down the center of the table area.
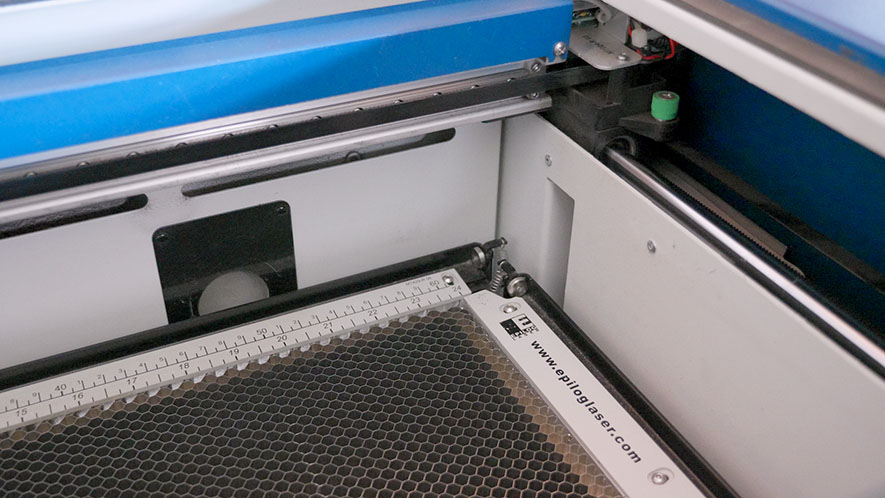
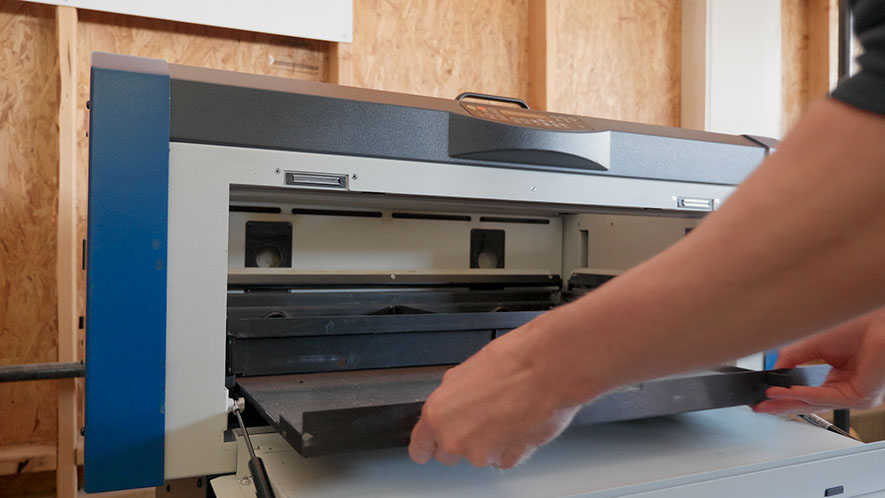
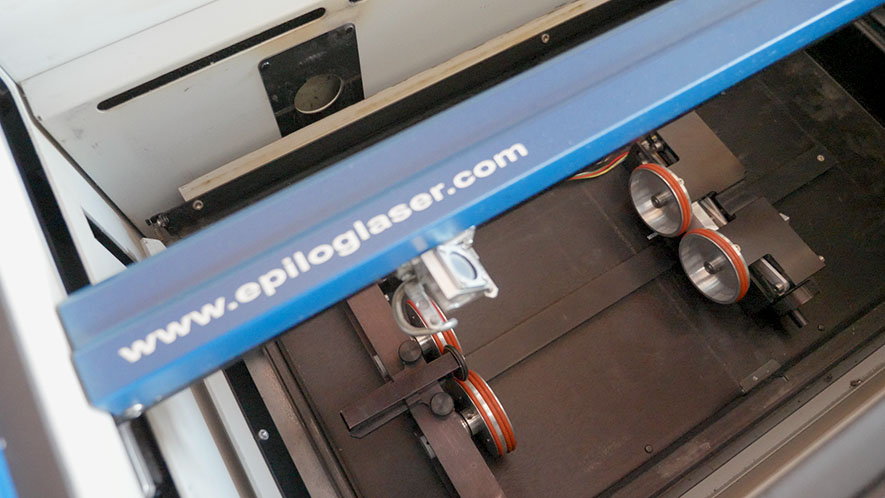
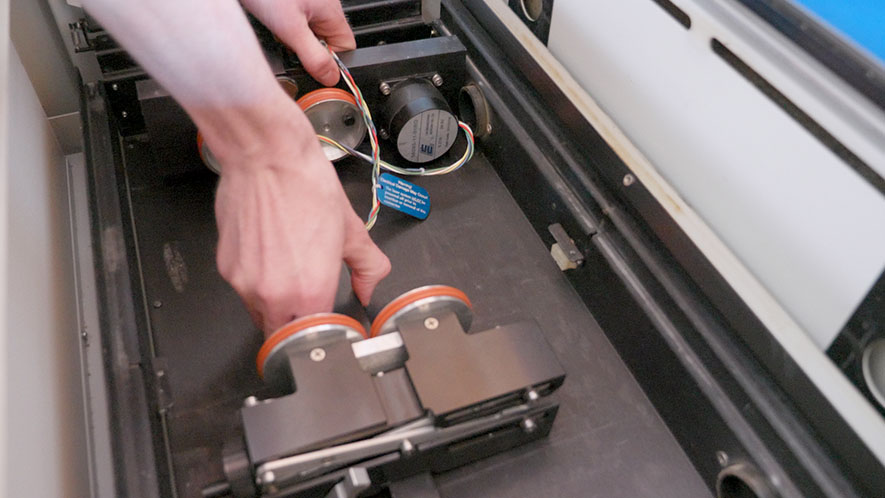
It’s now time to insert the Rim-Drive Rotary Attachment. You’ll notice the Rim-Drive Rotary Attachment has pins on it’s bottom side. These pins line up with holes located on the bottom of the table tray.
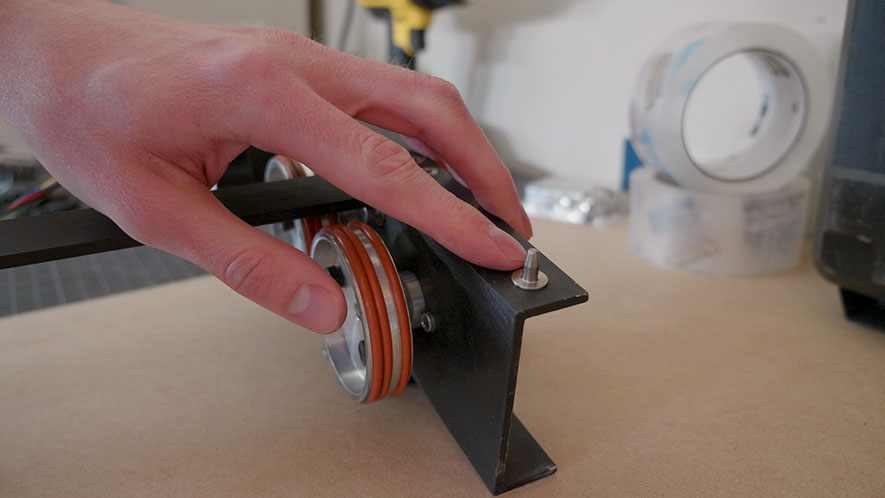
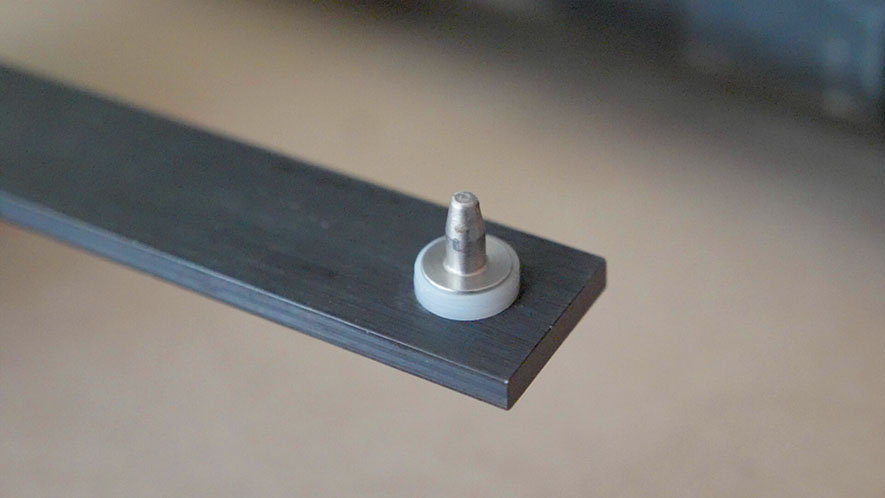
Insert the Rim-Drive Rotary Attachment, lining up the pins on rotary attachment with the holes in the table.
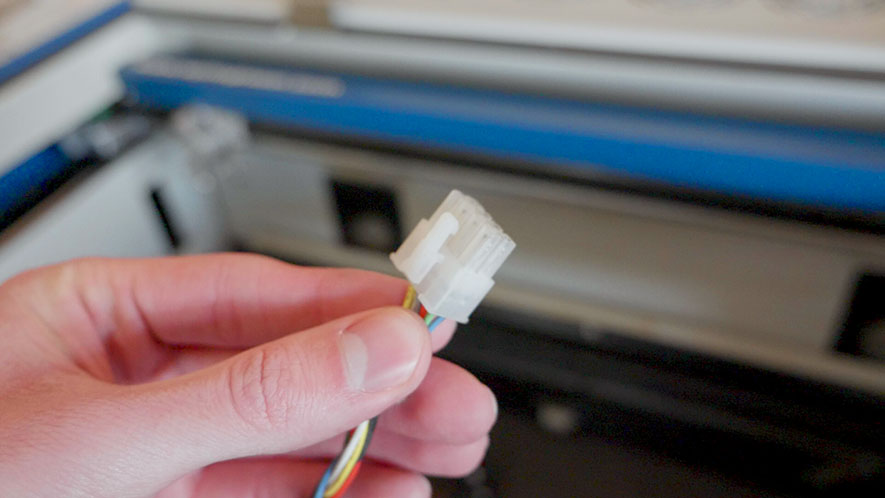
Next, double check that the machine is powered off. THE MACHINE MUST BE POWERED OFF WHEN THE RIM-DRIVE ROTARY ATTACHMENT IS PLUGGED INTO OR UNPLUGGED FROM THE MACHINE.
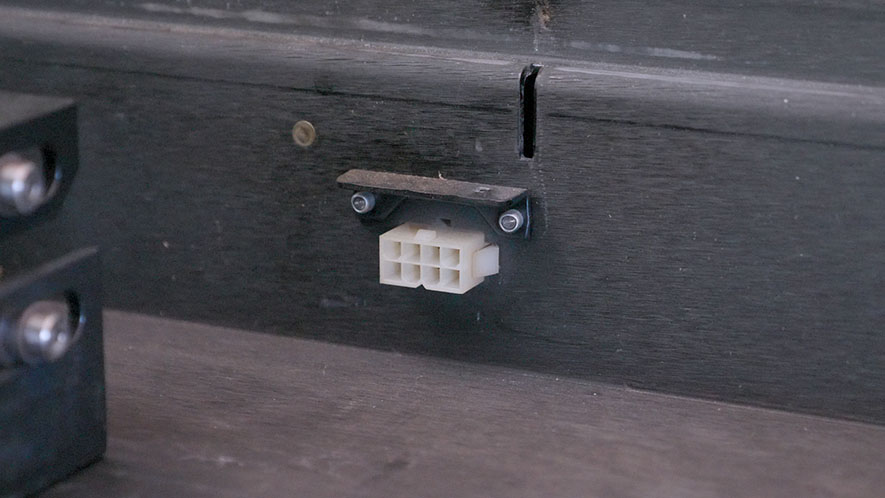
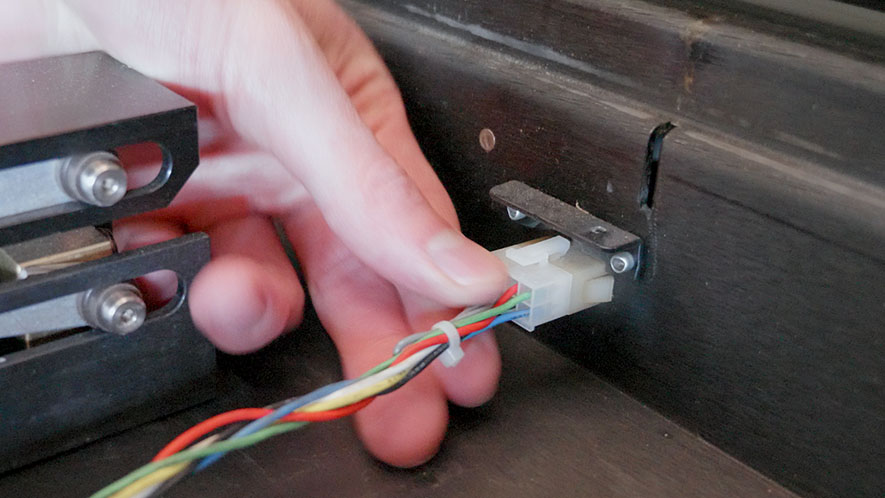
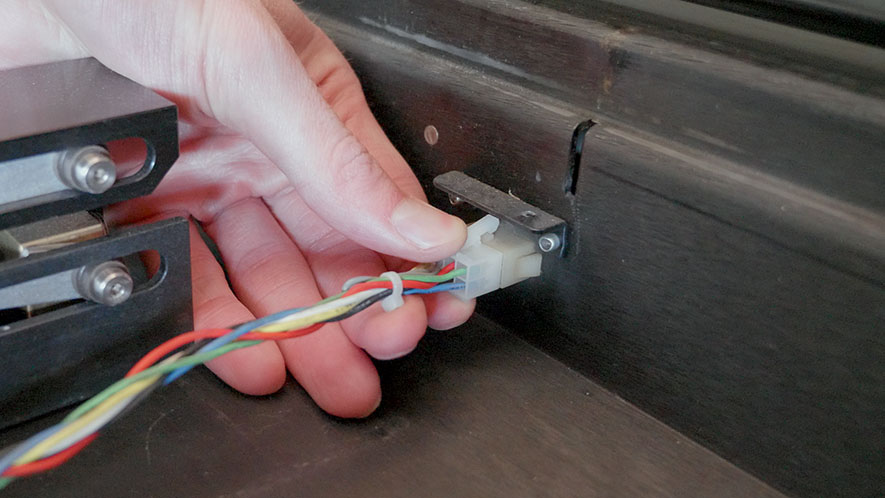
With the machine powered off, plug the Rim-Drive Rotary Attachment’s white connector into the port at the back of the table area. The white connector is a keyed connector and will only insert in one direction.
Now, plug in and power on the machine.

The machine now knows that the Rim-Drive Rotary Attachment is installed and will automatically change its Home Position to a point directly above the center point of the drive wheels of the attachment.

The Rim-Drive Rotary Attachment is now installed and ready for use.
Uninstalling the Rotary Attachment
To uninstall the Rim-Drive Rotary Attachment, begin by powering off and unplugging the machine. THE MACHINE MUST BE POWERED OFF WHEN THE RIM-DRIVE ROTARY ATTACHMENT IS PLUGGED INTO OR UNPLUGGED FROM THE MACHINE.
With the machine powered off, unplug the attachment’s white connector from the back of the table area.
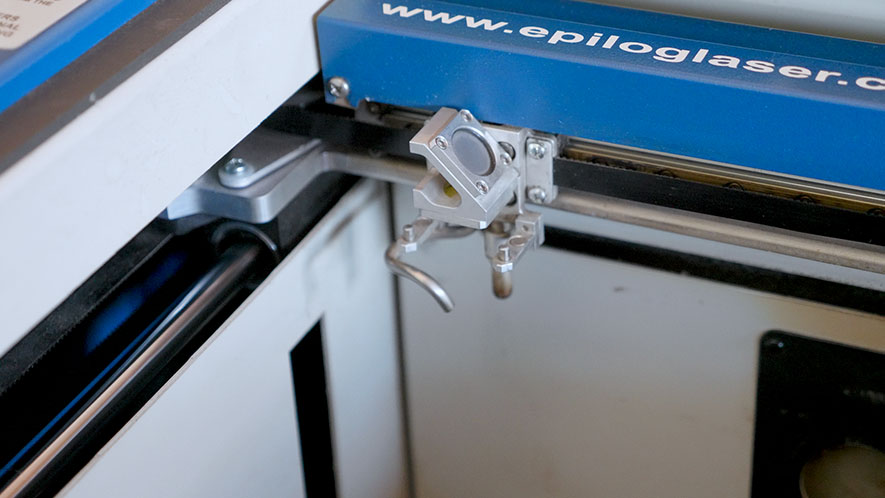
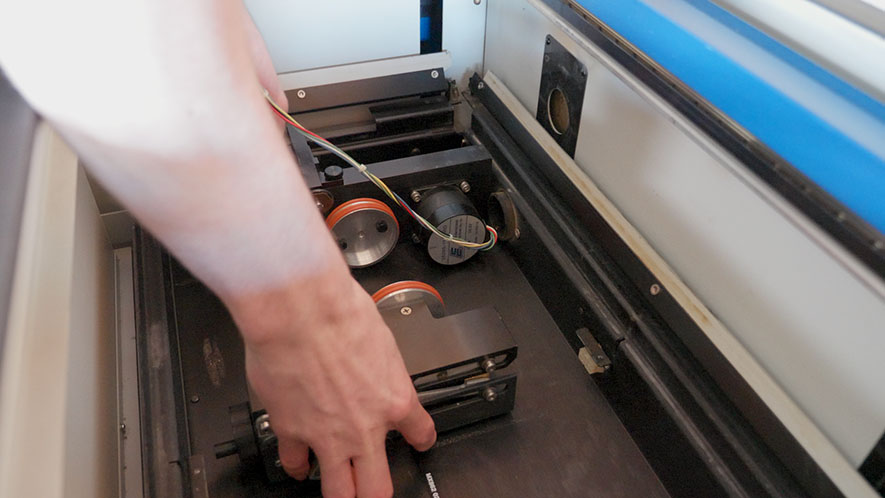
Manually push the horizontal gantry to the back of the machine to provide clearance to remove the rotary attachment.
Remove the Rim-Drive Rotary Attachment from the machine.
Open the front panel door. Then reinsert the Crumb Tray by sliding it back into position and securing the release tabs.
You can then close the front panel door.
Place the Task Plate levelling and support bar back in its position down the center of the table area.
Place your Vector Cutting Table or engraving Task Plate back into the machine.
Lower the rulers around the Vector Cutting Table or engraving Task Plate.
Now, plug in and power on the machine.

The machine now knows the Rim-Drive Rotary Attachment is no longer installed and will automatically change its Home Position back to the back left corner of the machine.
The Rim-Drive Rotary Attachment is no longer installed and your machine is now ready for traditional use.