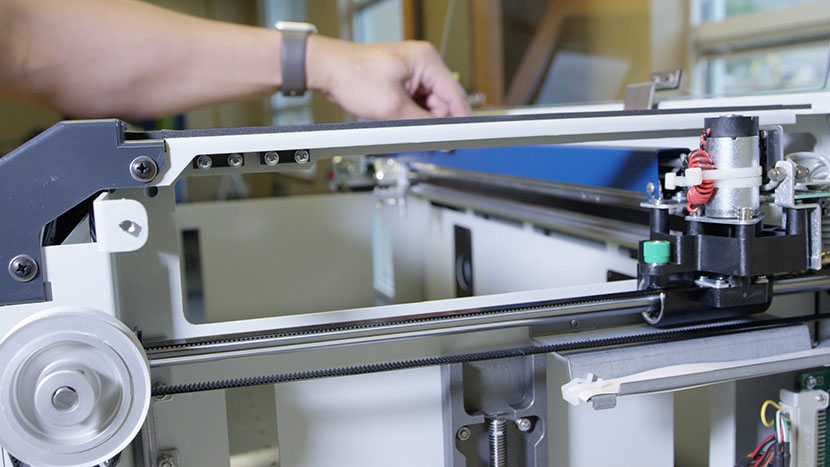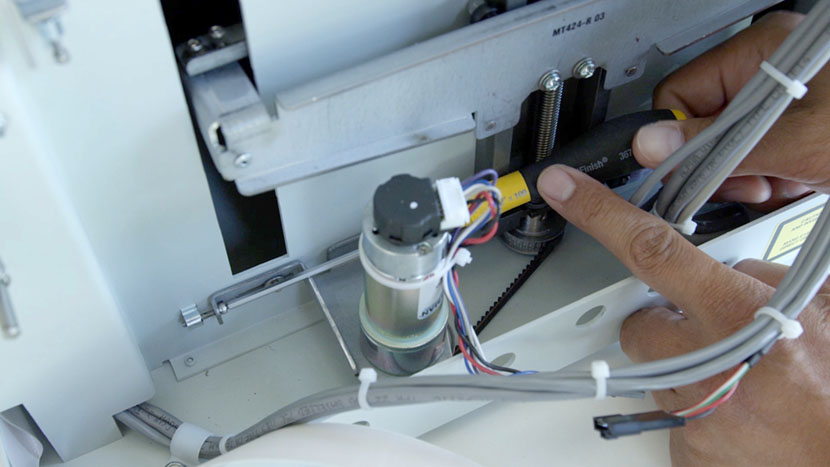
Adjust Table Position Start by turning on the machine and then raise the table all the way to the top. Shut off the laser and remove the power cord from the machine. To manually adjust your laser machine’s vertical table position, pull on the belt located underneath the table to (...)
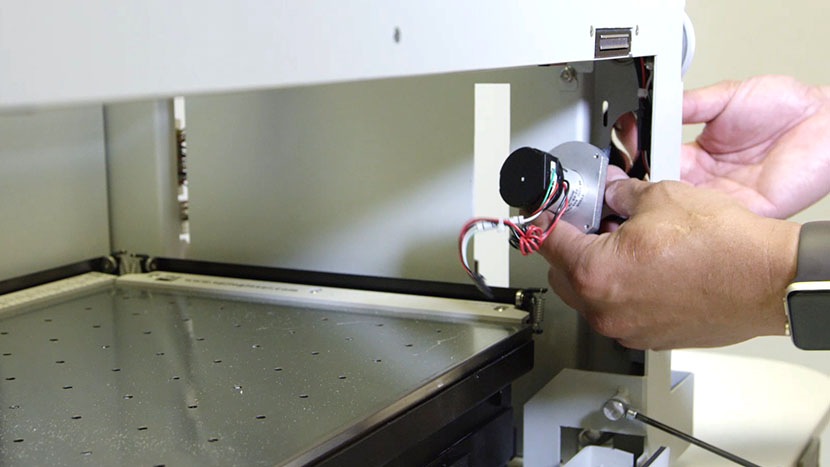
Y-Motor Replacement
Remove Right Panel Remove the right side panel by removing the 6 screws, 4 located on the side of the machine, two located on the back of the machine. Remove Old Y-Motor Open the front access door. Locate the Y-Motor on the right hand-side of the machine. Remove the spring (...)
X-Axis Assembly Replacement
Remove Side Panels Shut off the laser and remove the power cord from the machine. Remove the left side panel by loosening the four screws on its main face, as well as the two screws on the back. Remove the right side panel by loosening the four screws on its (...)
Fix a Power Issue: Replacing the Dual Power Supply
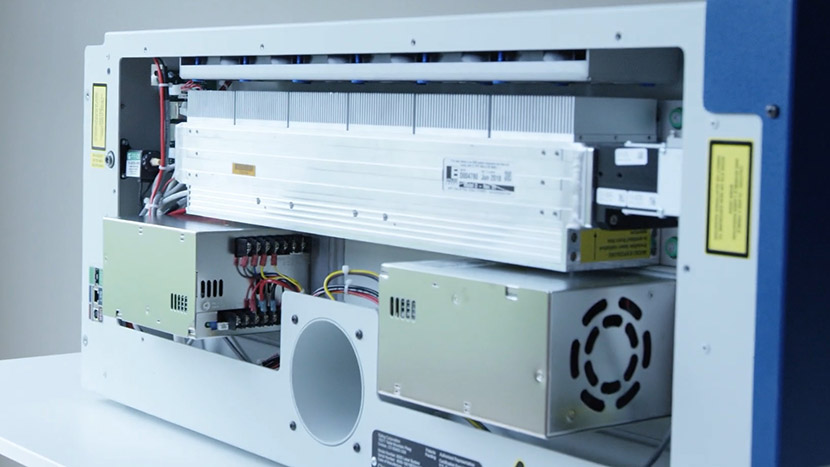
Remove Back Panel Shut off the laser and remove the power cord from the machine. Loosen the 8 screws on the back of the machine and remove the back service panel. Locate the two power supplies. Disconnect Electrical Leads Disconnect four of the electrical leads. Disconnect the two connectors holding (...)
Fix a Power Issue: Replacing the Power Supply
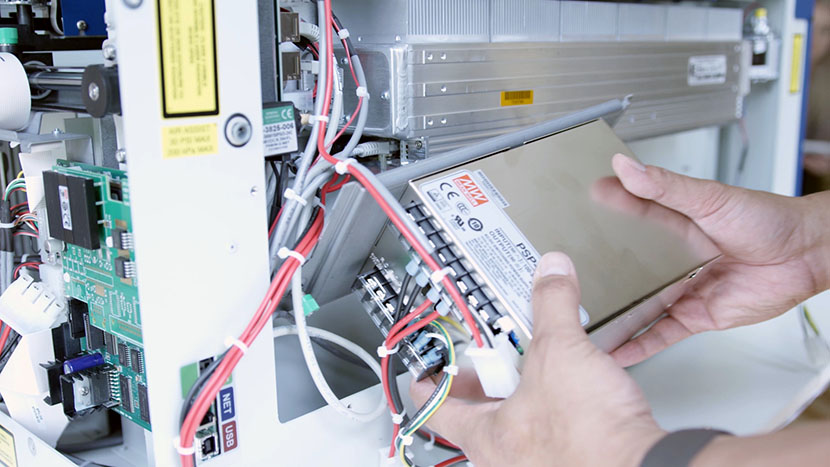
Remove Old Power Supply Shut off the laser and remove the power cord from the machine. Loosen the 8 screws on the back of the machine and remove the back service panel. Locate the power supply on the left hand side of the machine. Disconnect the three electrical leads. With (...)
Replacing the Display / Keypad
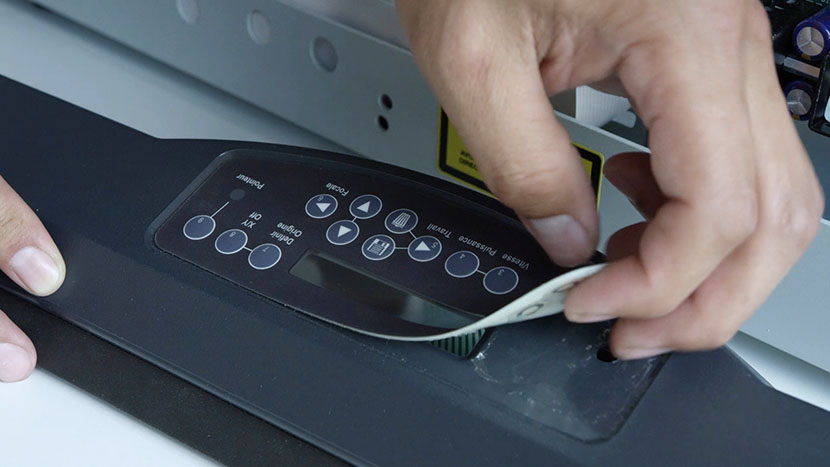
Remove Side Panels Remove the left side panel by loosening the four screws on its main face, as well as the two screws on the back. Remove the right side panel by loosening the four screws on its main face, as well as the two screws on the back. Remove (...)
CO2 Laser Tickle Settings
Introduced in the Epilog Mini and Helix engravers, laser tickle settings allow the user to customize certain CO2 laser characteristics by modifying the radio frequency (RF) signals sent to the laser tube. The role of the RF signal is to excite and energize the gas mixture within the CO2 laser (...)
Optics Replacement – Mini/Helix
This guide provides step-by-step instructions for replacing the carriage, steering, and periscope optics in your laser system. Follow the outlined procedures carefully to ensure proper installation and alignment. Always handle optics with care and refer to the provided alignment links after replacement to maintain optimal performance. Replacing Carriage Optics Move (...)
Extended Cold Start Guide
Lasers that have been inactive for a period of time may not fire right away. There are settings in the machine to help warm the laser before use. Please start with the CO2 Laser Tickle Settings guide first. If the laser has been inactive for an extended period of time, (...)
Checking and Leveling the Table
Estimated time: 15-20 minutes • Skill: Beginner A perfectly level engraving table is essential for accurate focusing and consistent engraving results. This guide will walk you through checking and adjusting the table level on your Epilog Mini or Helix laser system. Checking Table Level Access the table. Power on the (...)
Fan Replacement on the Epilog Mini and Helix Systems
Machine Type: Epilog Mini 18/24 and Helix Tools Needed: #2 Phillips head screwdriver, 6/32 Nut driver Flat head screwdriver or wire cutter Turn engraver off and unplug it from the wall. Face the back of the machine where the exhaust is located. Remove the 8 screws holding the back panel (...)
Cleaning Optics – Mini / Helix
Ensuring your optics are clean will help your laser system perform its best. If smoke, resin, or other contaminants are allowed to accumulate too heavily, they will reduce the available laser power and may cause damage. Dirty optics can also greatly reduce the engraving and cutting quality of your machine (...)