In this lesson we’ll walk through replacing the Epilog Mini and Helix Z-Motor.
Adjust Table Position
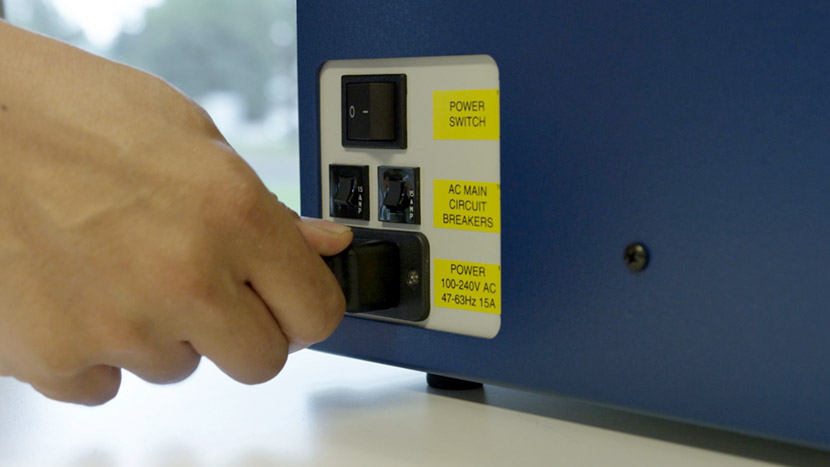
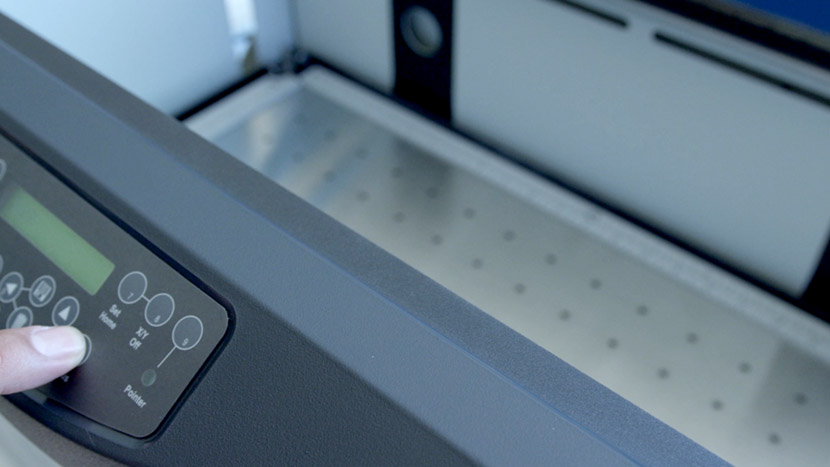
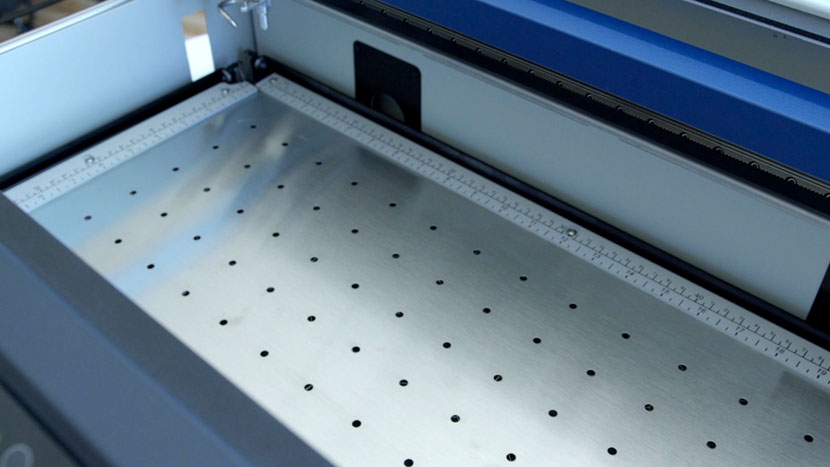
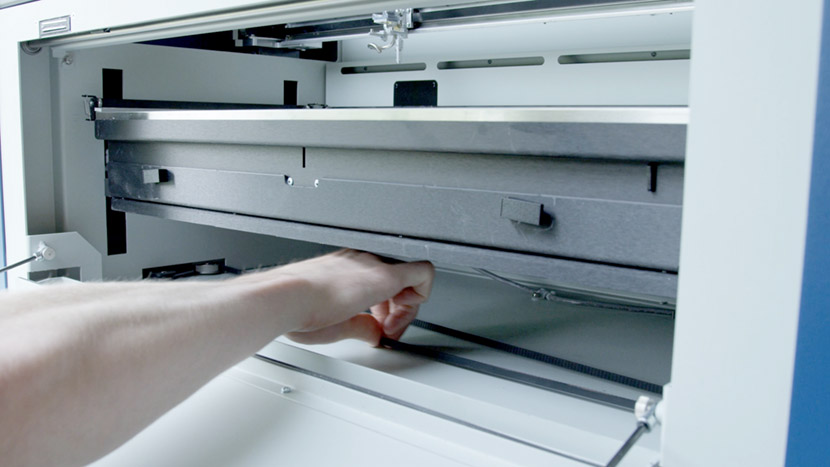
Start by turning on the machine and then raise the table all the way to the top.
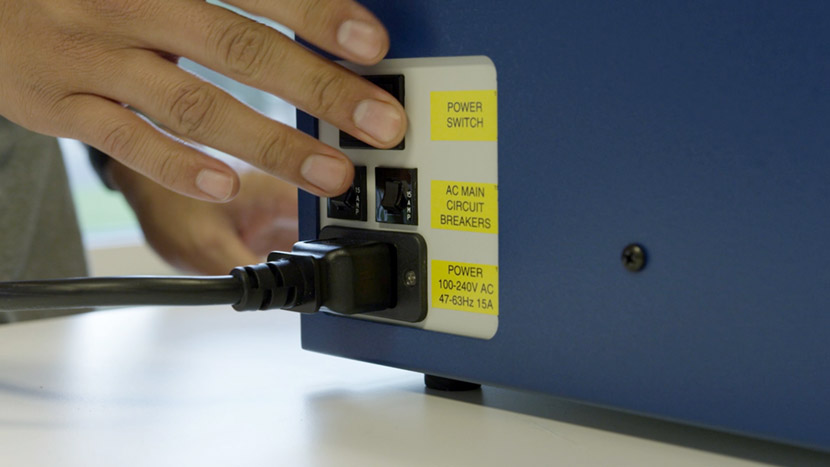
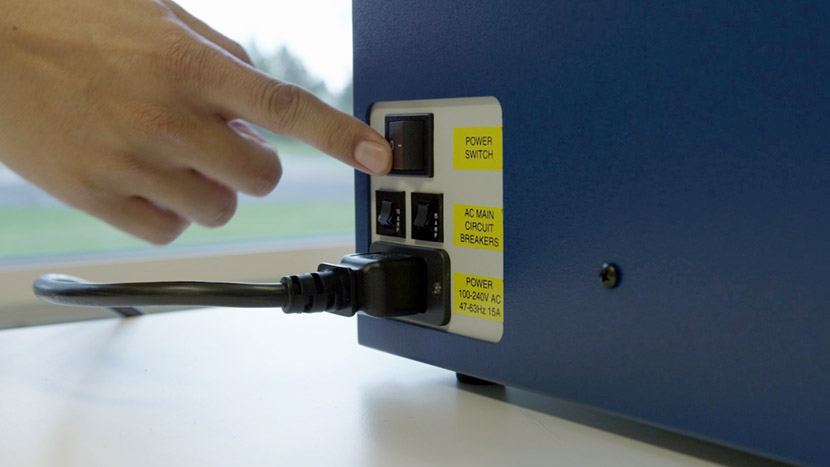
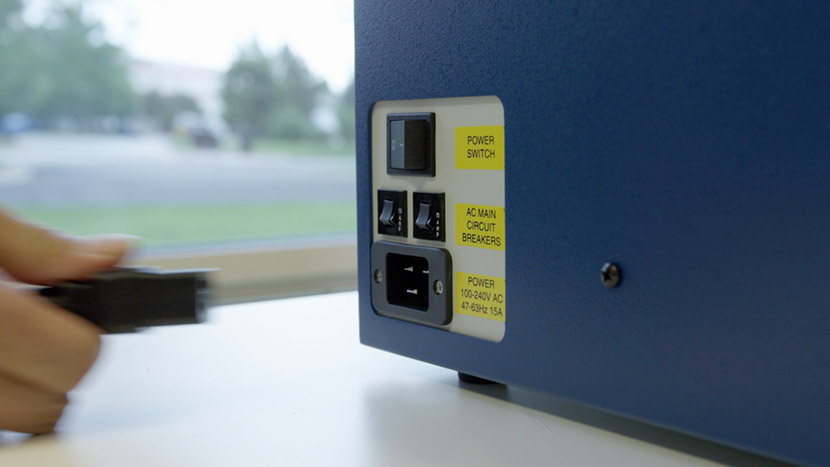
Shut off the laser and remove the power cord from the machine.
To manually adjust your laser machine’s vertical table position, pull on the belt located underneath the table to raise or lower it to the proper height.
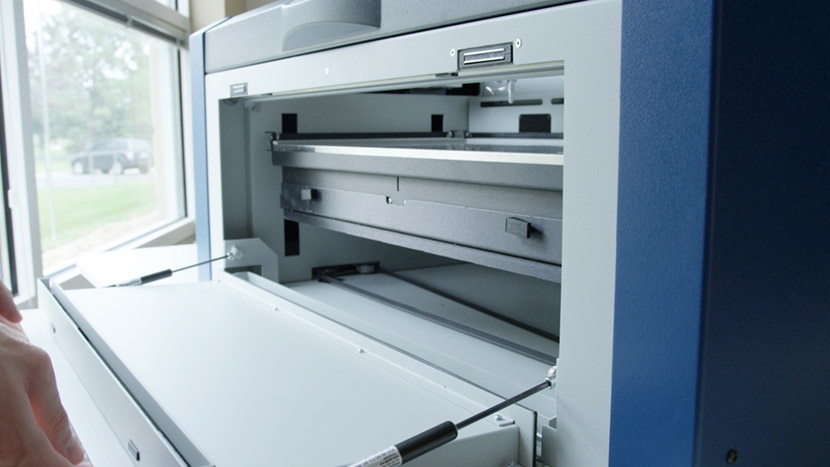
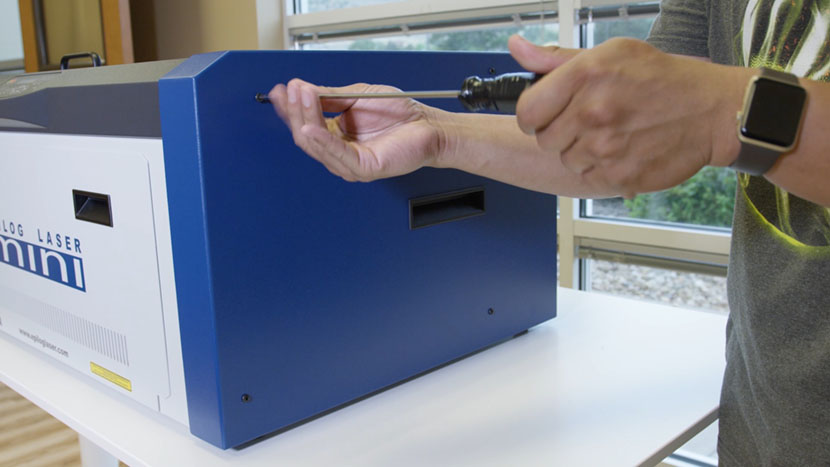
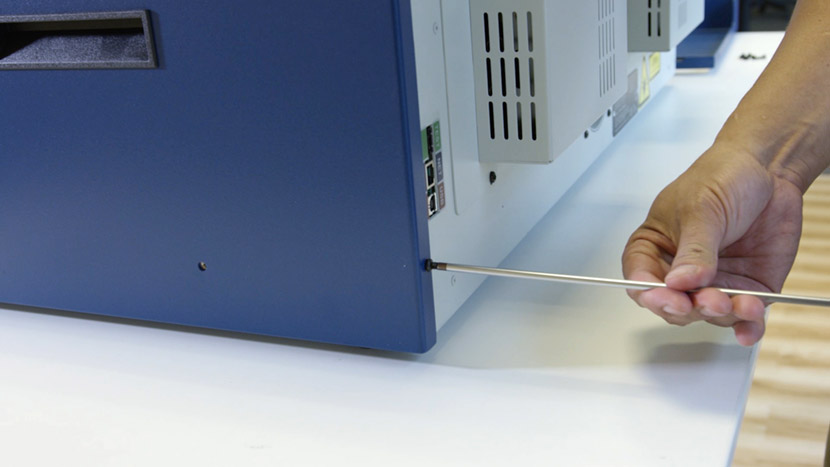
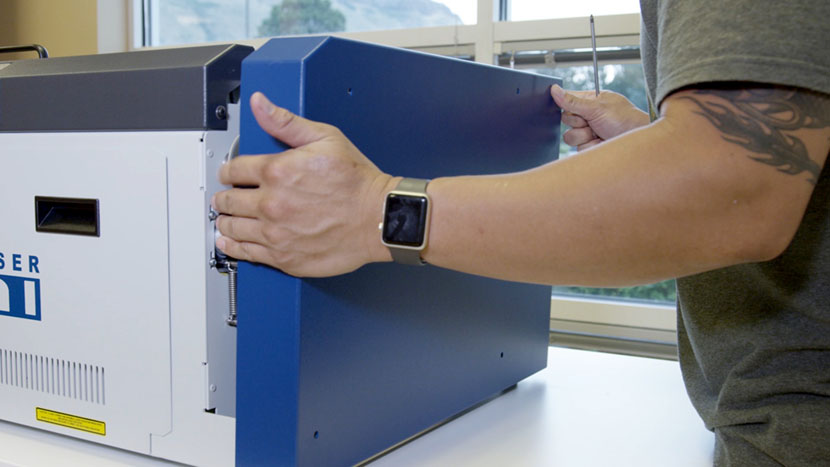
Remove Panel
Remove the right side panel by removing the 6 screws, 4 located on the side of the machine, two located on the back of the machine.
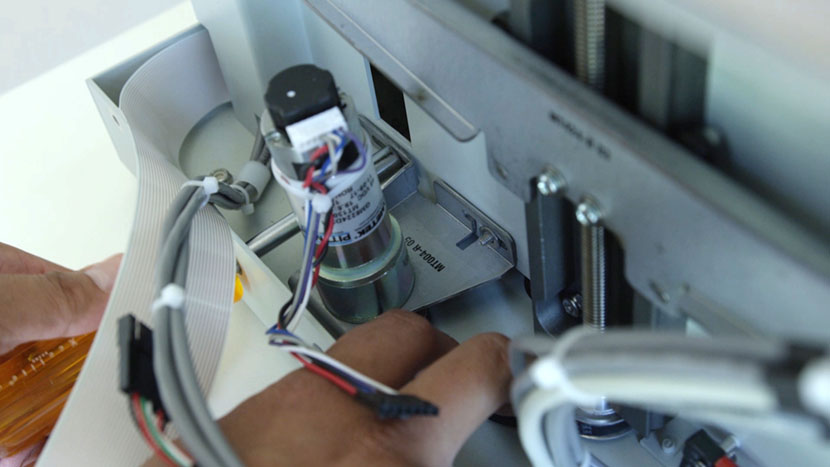
Remove Old Motor
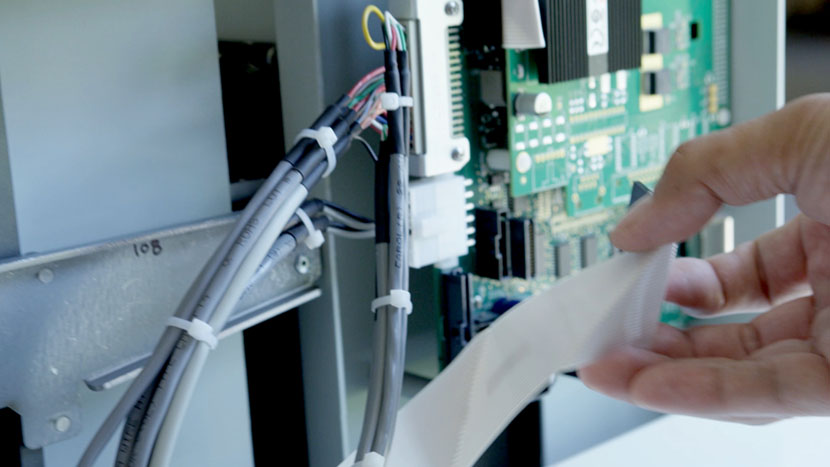
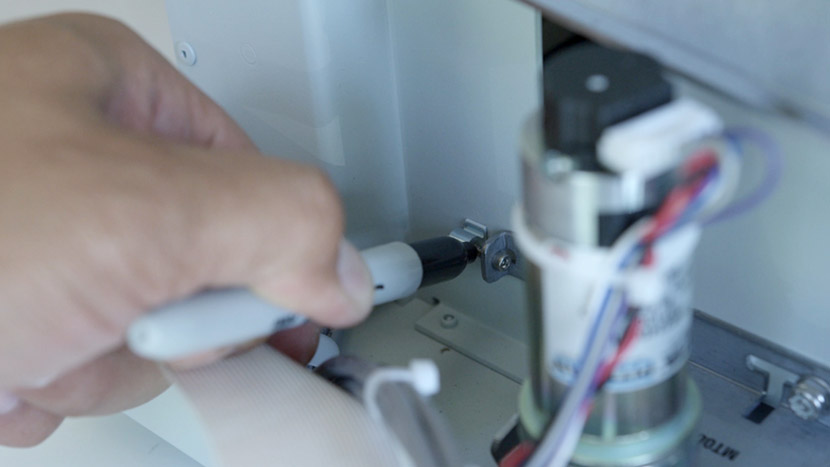
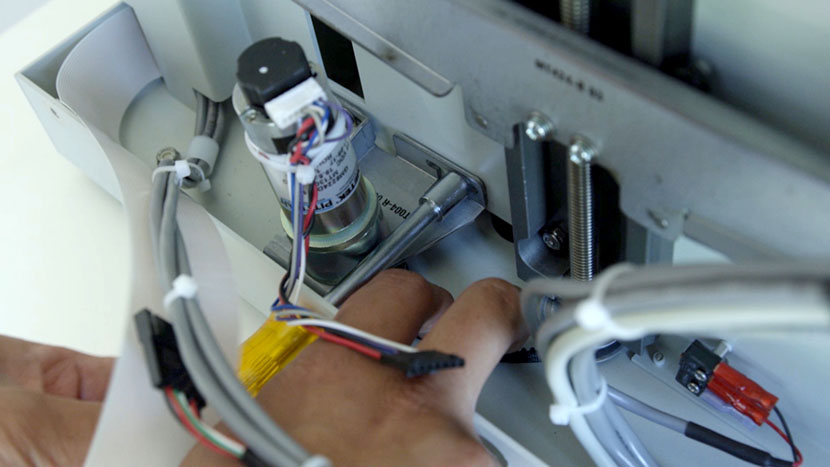
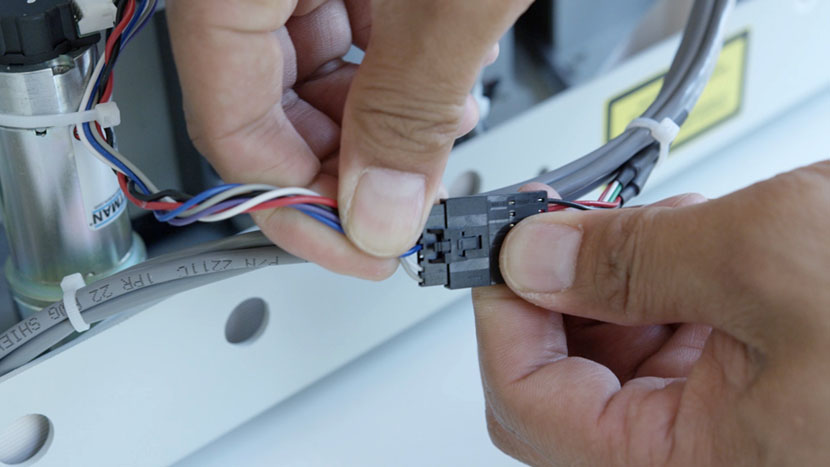
Disconnect the electrical connector.
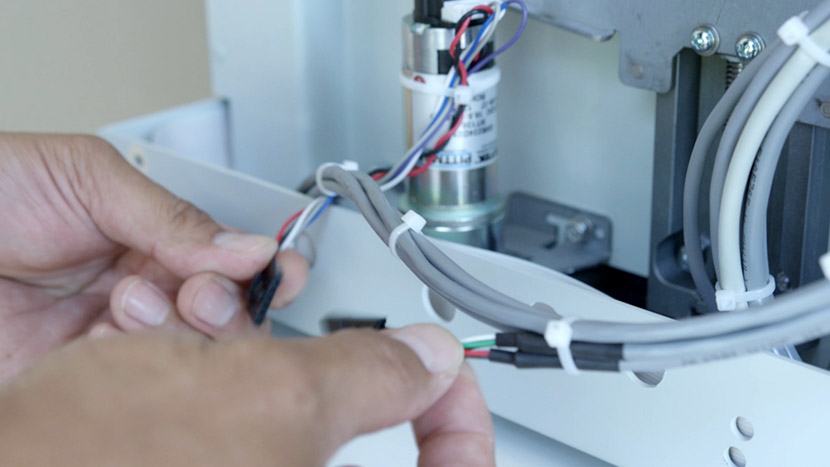
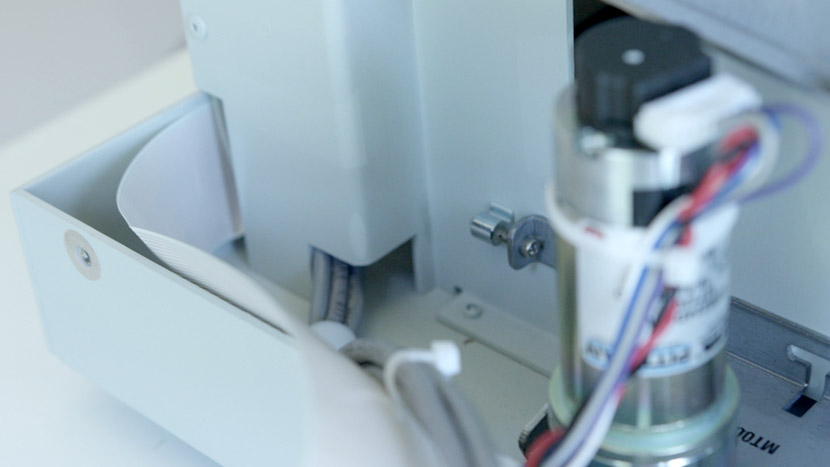
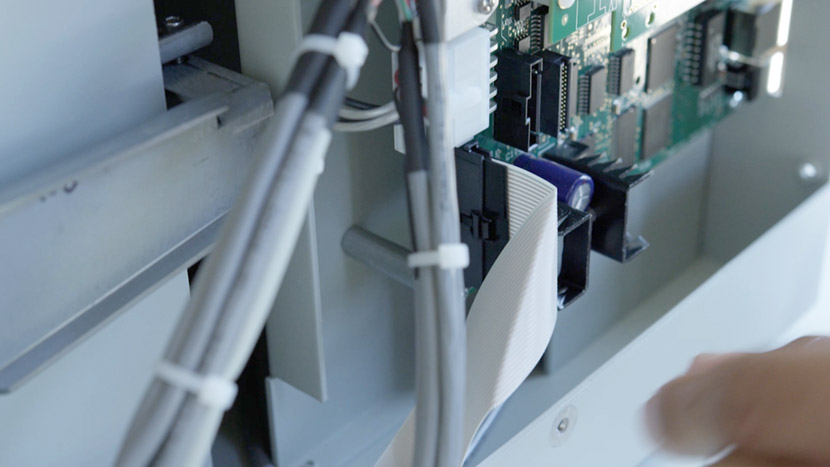
Disconnect the white ribbon cable connected to the control board.
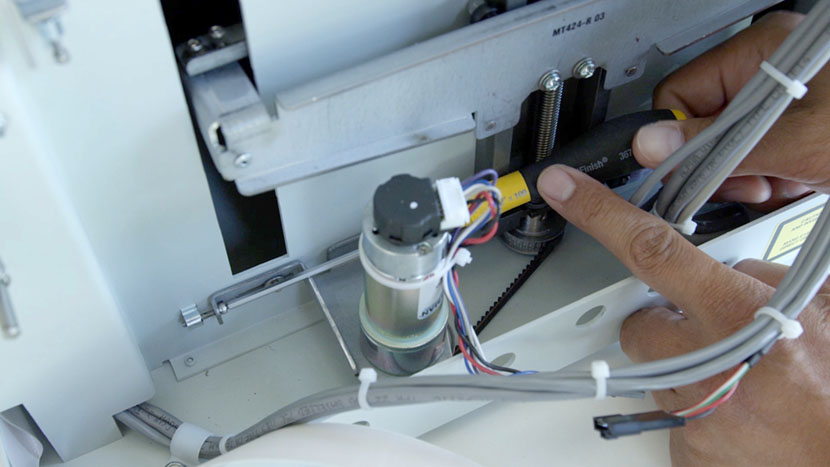
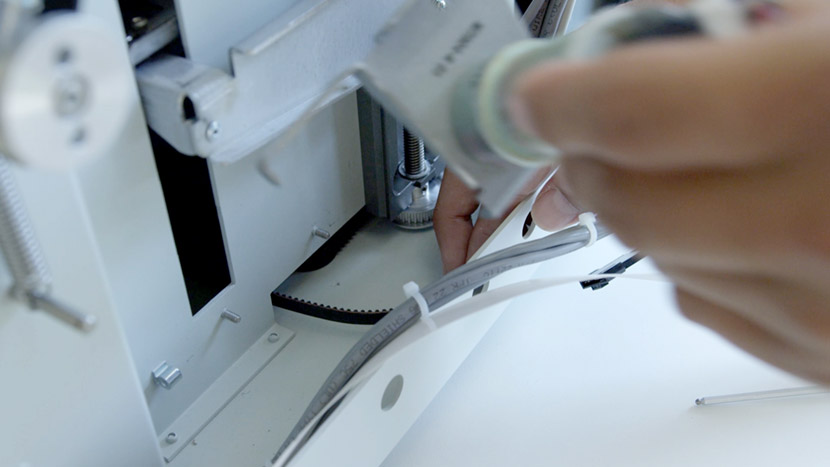
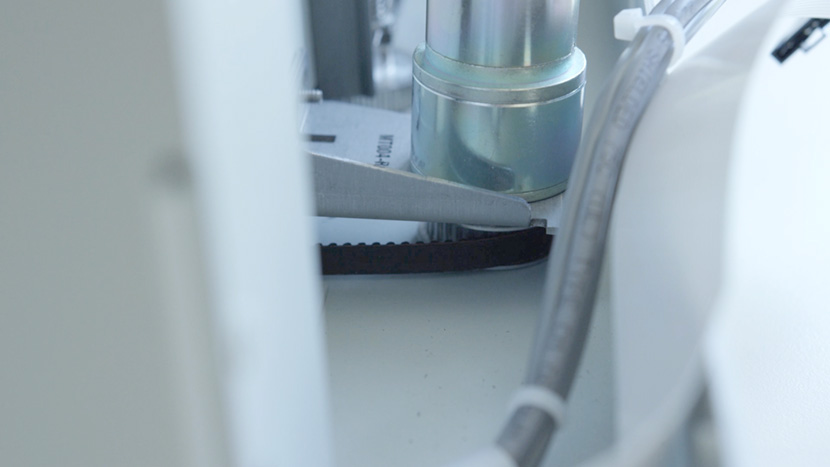
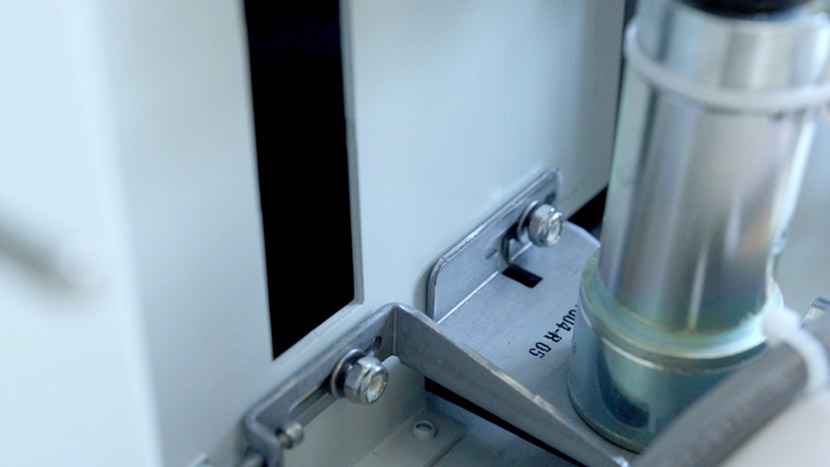
A 3/32 Hexagonal screw controls the tightness of the belt, which needs to be at a certain tightness in order for the motor to work properly.
Therefore, before removing the bracket, use a sharpie marker to color the visible thread between the bracket and the fixed nut. Be sure to color the edge of the thread and the fixed nut.
With a long 5/16 nut driver, unscrew the two nuts on the motor bracket, pulling gently against the z-belt to keep it tight so it doesn’t loosen and come off the other pulley.
Unscrew the 3/32 hexagonal screw.
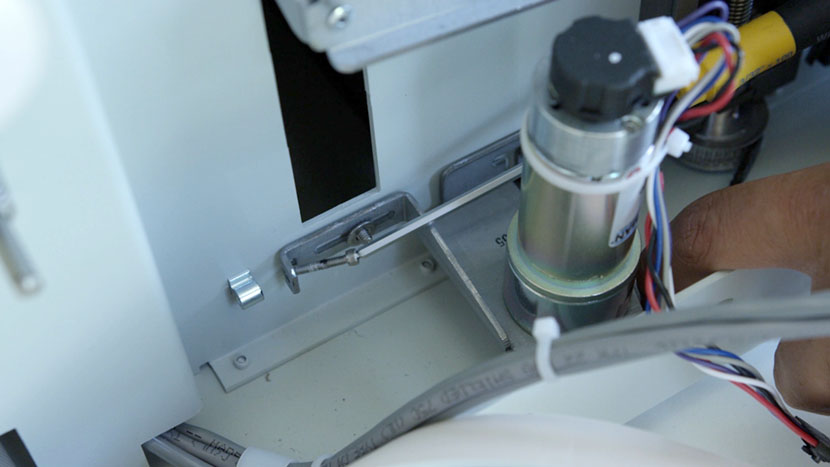
Remove the Z-motor and bracket.
Install New Motor
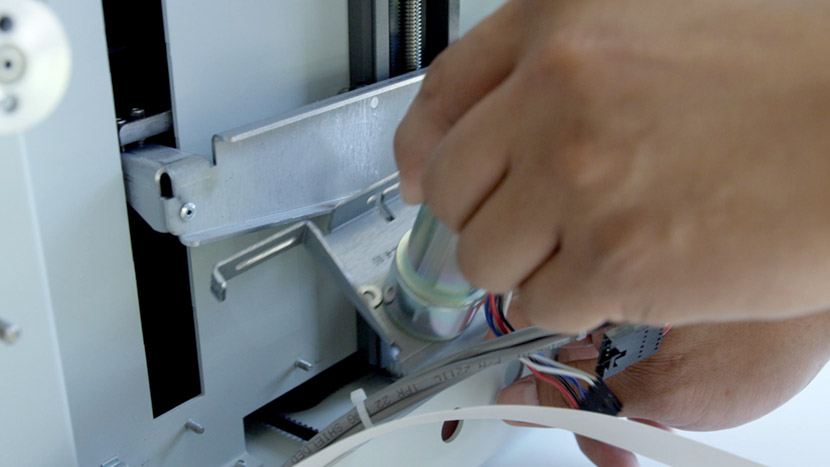
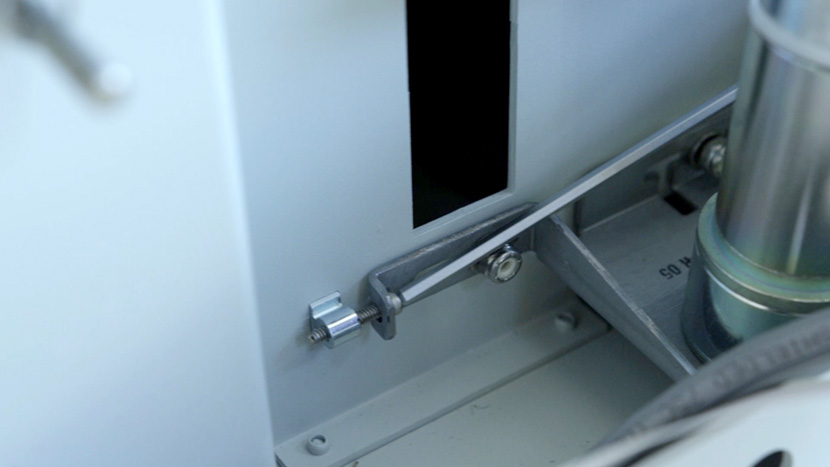
Insert the new z-motor assembly, wrapping the z-belt between the silver pulley and the bracket, and positioning the bracket on the fixed screws.
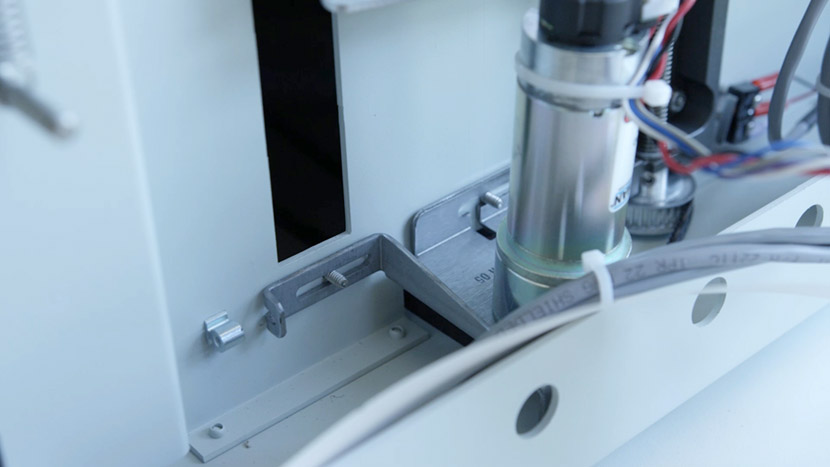
Insert the hexagonal tensioning screw.
Put a washer and nut onto each fixed screw, but do not tighten them.
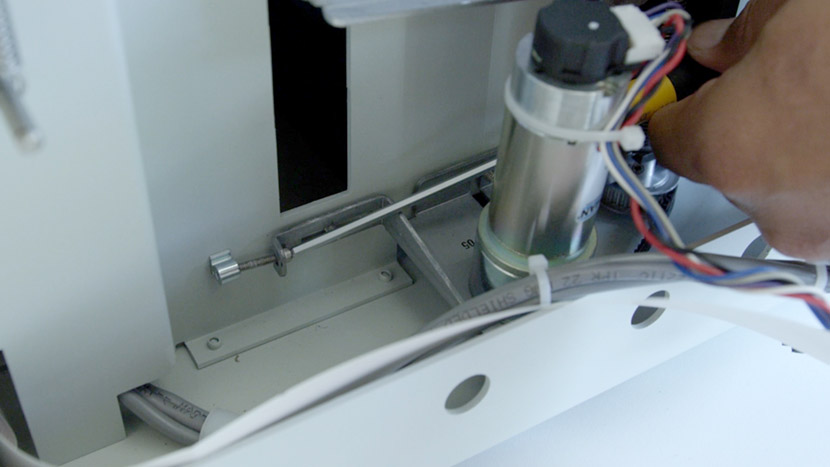
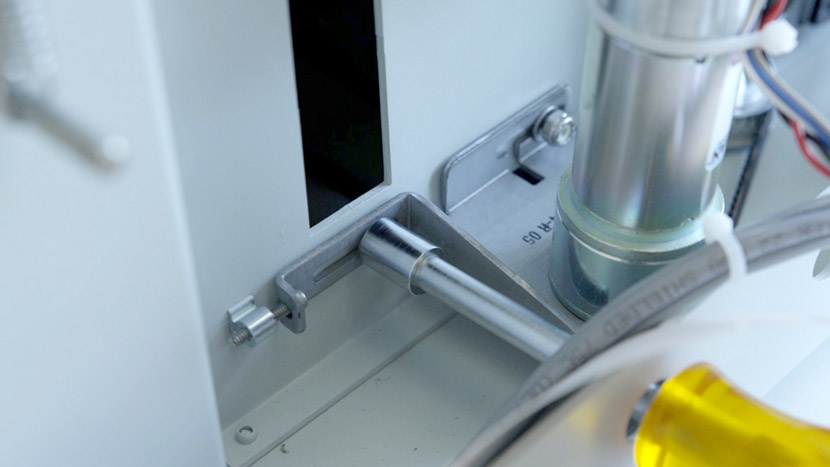
Tighten the hexagonal tensioning screw until the edge of the black mark is at the edge of the fixed nut. The mark should be in the exact same spot as it was before the screw was taken out.
Tighten the nuts on the fixed screws
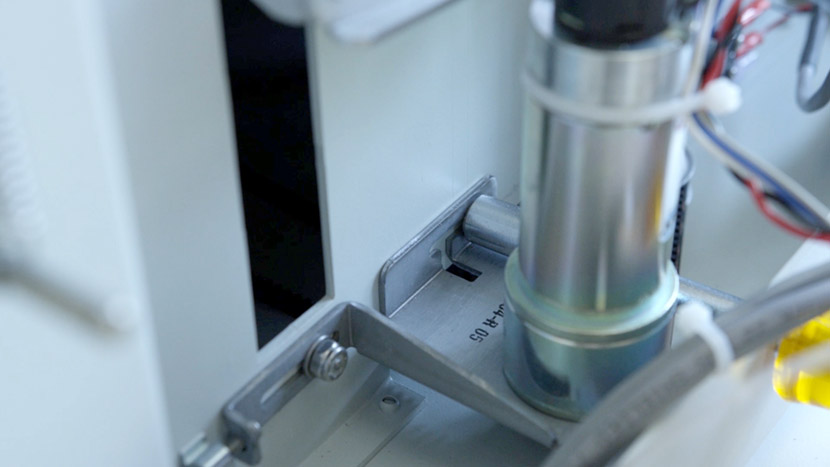
Reconnect the motor lead.
Reconnect the white ribbon cable to the control board.
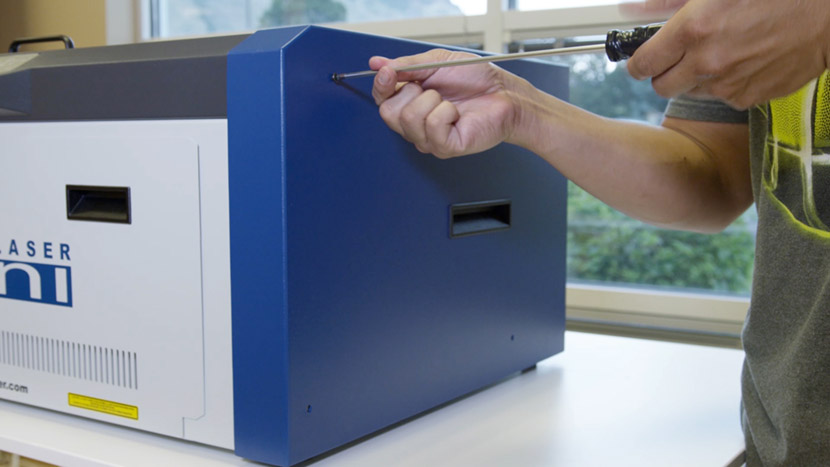
Reinstall Panel
Replace the right side panel, tightening all 6 screws.
Plug the machine in and turn it on.