Procedure
-
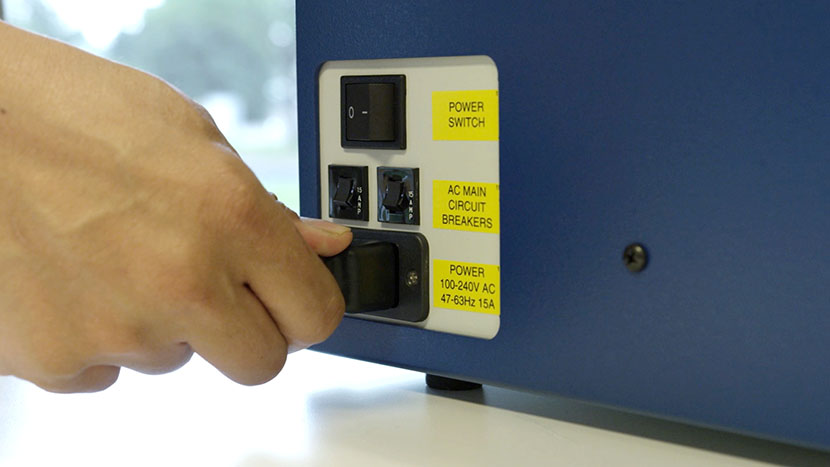
Power down and unplug the machine.
For your safety, completely turn off the laser system and disconnect the power cord from the back of the machine before beginning.
-
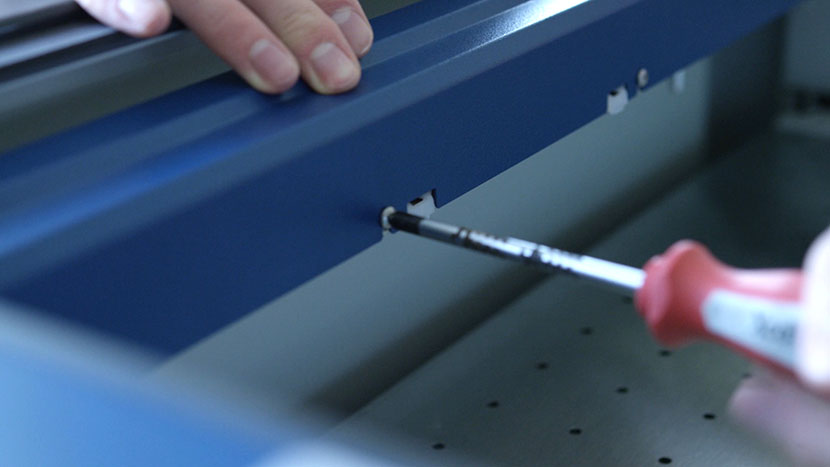
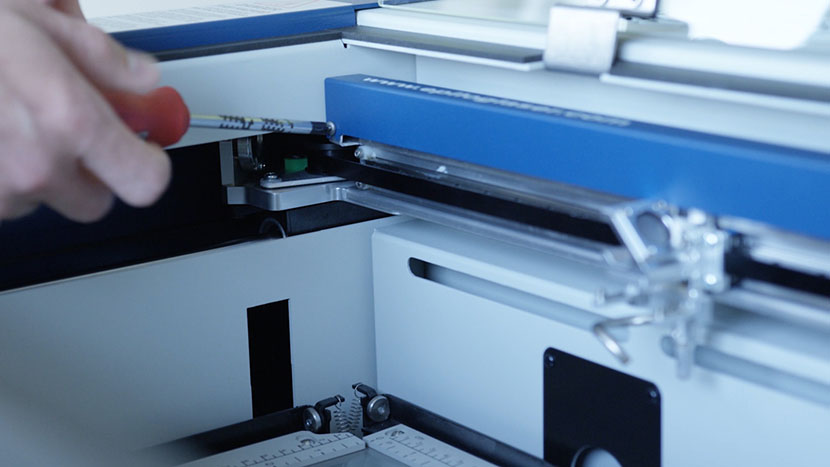
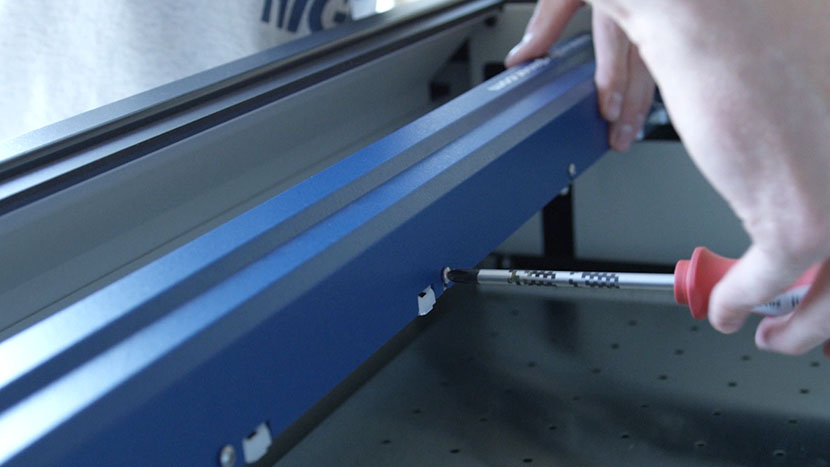
Loosen the assembly cover screws.
Using a Phillips head screwdriver, loosen the seven screws that secure the X-Axis assembly cover. There are five screws on the back and two on the front. It is not necessary to completely remove the screws.
-
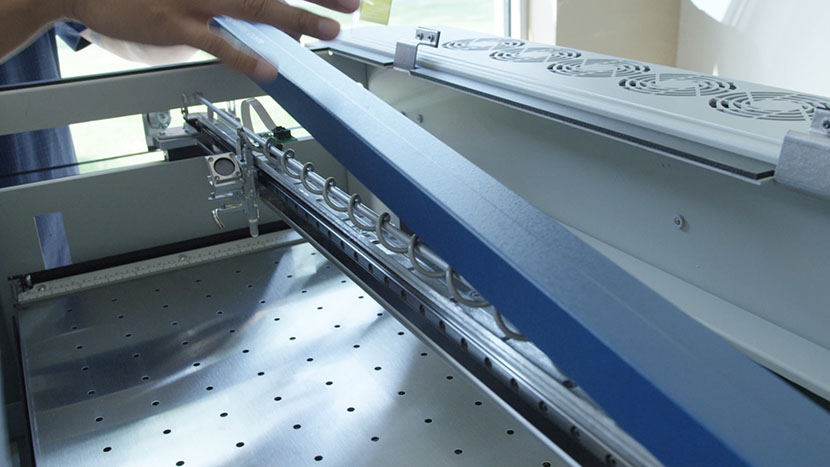
Remove the assembly cover.
Once all seven screws are loose, lift the metal cover off the X-Axis assembly and set it aside.
-
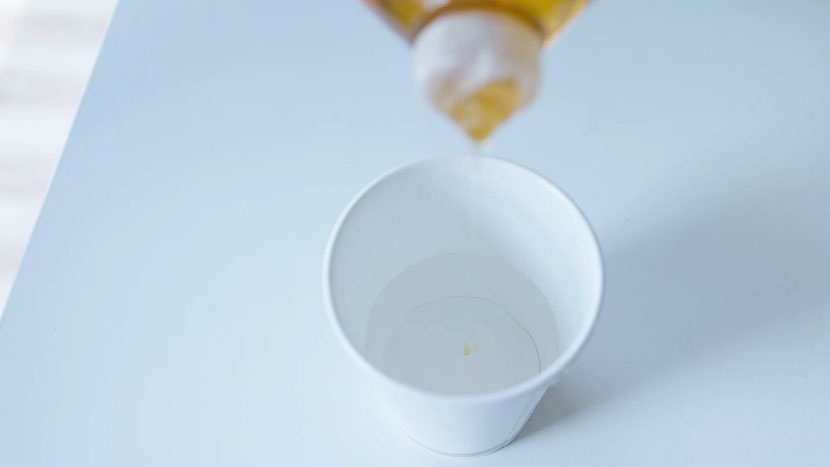
Prepare the cleaning solution.
In a small cup, mix a few drops of mild dish soap with approximately 1/4 cup of distilled water.
-
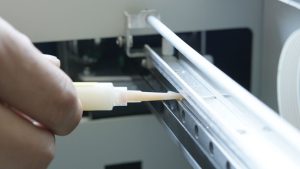
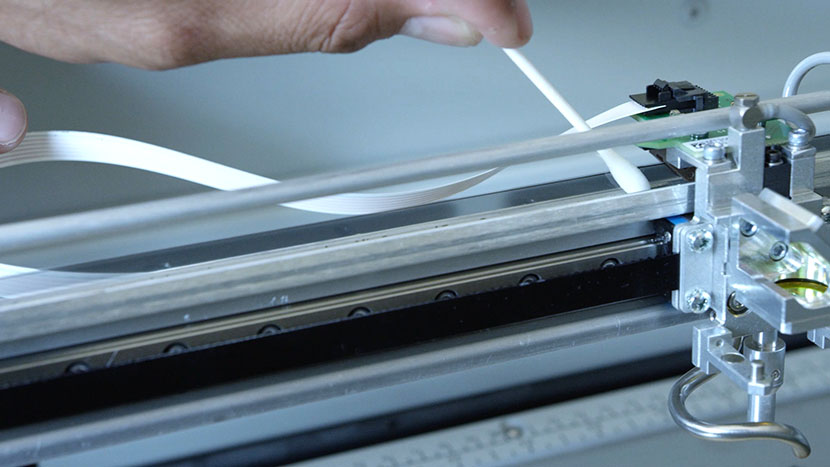
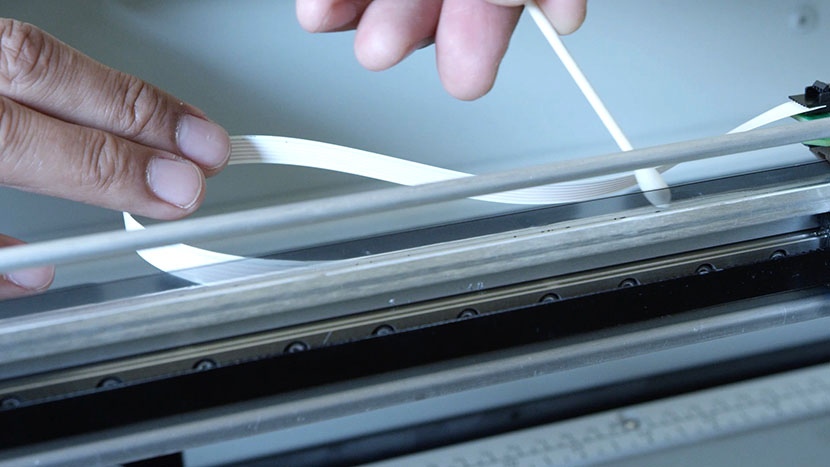
Clean the encoder strip.
The encoder strip is the transparent or tinted plastic film that runs the length of the assembly. Move the lens carriage to one side. Dip a cotton swab in the soapy water and gently wipe the front, back, and top edge of the exposed strip. Then, move the lens carriage to the other side and clean the remaining portion.
-
Dry the encoder strip.
Using a new, dry cotton swab, go back over the entire strip to remove any remaining moisture or residue. This prevents water spots from interfering with the sensor.
-
Reinstall the assembly cover.
Place the cover back onto the X-Axis assembly, aligning it with the loosened screws. Tighten all seven screws, starting with the two in the front and then finishing with the five in the back.
-
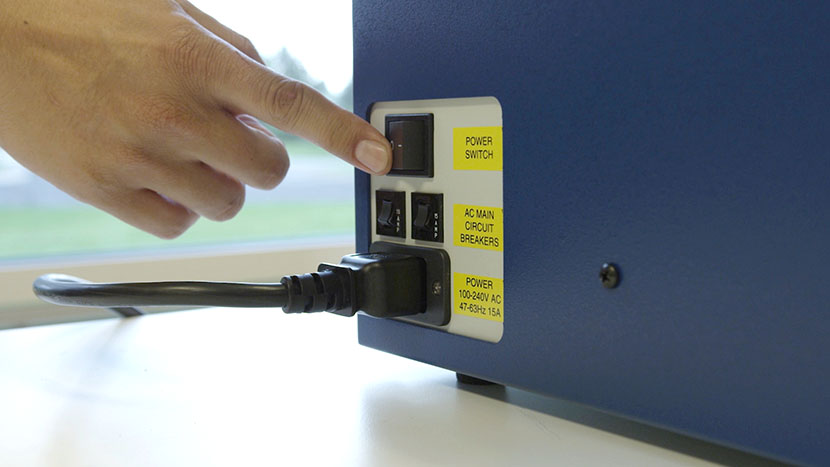
Power up and test.
Plug the power cord back into the machine and turn it on. Your engraving quality should now be restored. The frequency of this cleaning depends on the materials you process, so inspect the strip periodically.