Welcome to your second project on your Zing laser! For Project 2 you’ll need the glass square coaster included with the Training Site materials you received with your Epilog laser system.
In this tutorial, we’ll walk you through setting up a project for engraving on glass. We’ve added a few new techniques to this tutorial, but if you’ve already completed Project 1, most of this tutorial will be familiar.
Setting Up Your Page
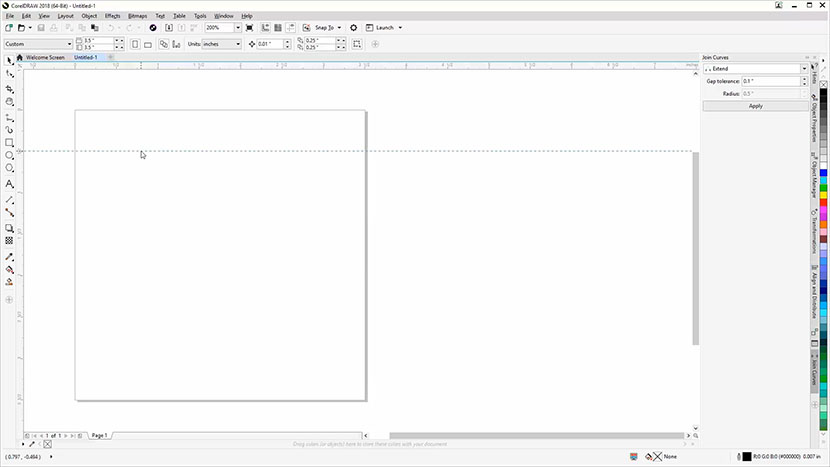
We’ll start by creating a new file in CorelDRAW.
Click on the Get Started option on your Welcome screen, then click the New Document button. You can also use the shortcut keys, Ctrl + N, for opening a new document.
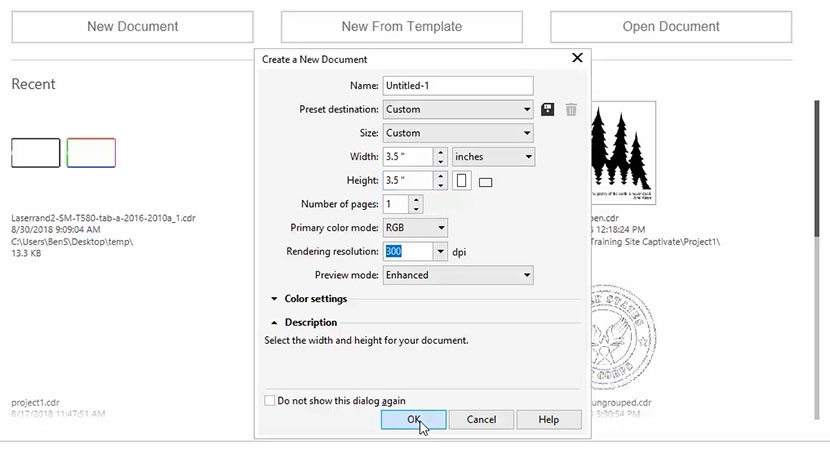
Now enter your page size. Enter 3.5” for the page width and 3.5” for the page height, then click OK.
Adding Guides
The glass coaster you received with your laser system includes four rubber feet on the bottom of the coaster ½” in from each side.
For this example, we are going to engrave of the bottom of the coaster, so we want to make sure we don’t engrave on the rubber feet.
To prevent from engraving on the coaster feet, we’ll set up a few guidelines to represent the bounds of our engraving area within our page.
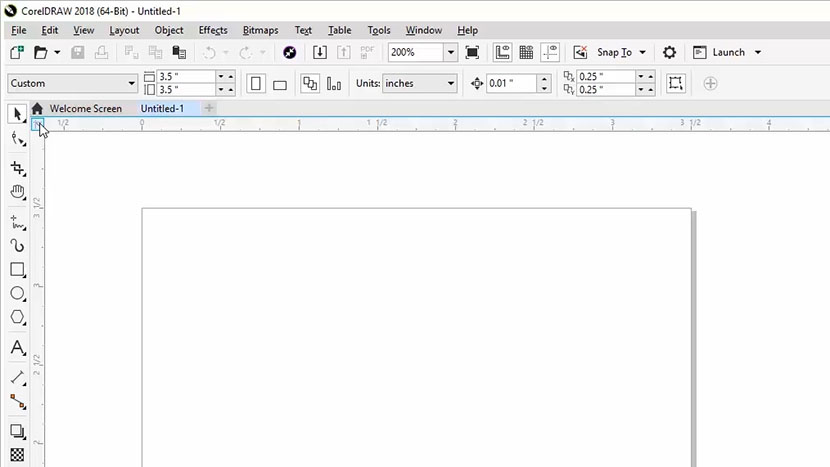
Before we get started, we need to confirm that the top left corner of our page is set to the origin for both of the ruler bars. Look at your Horizontal and Vertical rulers to determine if the top left corner of your page is set to 0 for the Horizontal Ruler and 0 for the Vertical Ruler. If they are you’re all set. If not, locate the Origin Point tool at the top left corner of your work area.
Then click and drag to the top left corner of your page to set the new Origin point.
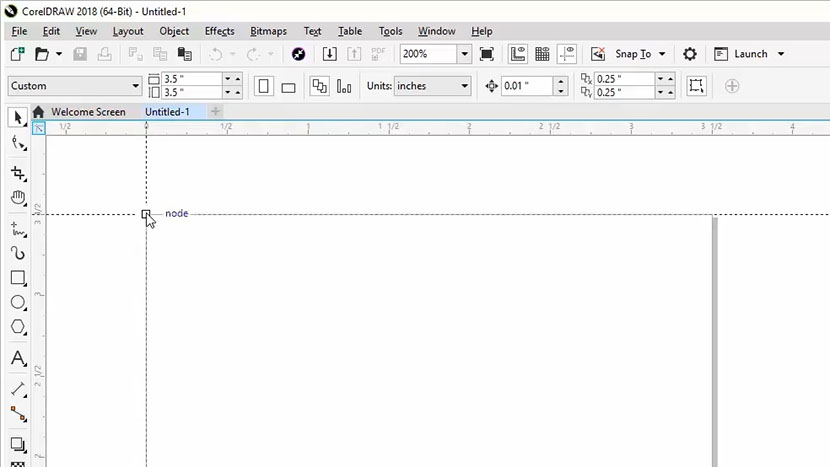
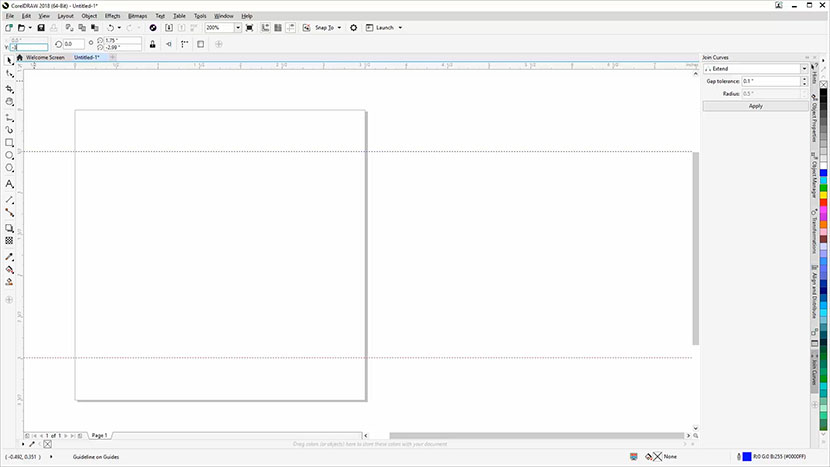
To create our guidelines, we’ll start by creating two horizontal guides for the top and bottom boundaries.
Click on the ruler at the top of the page and drag one guide down to -1/2 inch and another to -3 inches.

You may find it easier to click and drag the guides to the approximate location, then type in the specific Y Object Position values for each of the guidelines in the Properties bar located at the top of the screen.

Next, we’ll create two vertical guides for our left and right boundaries.
Click on the ruler at the left side of the page and drag one guideline across to 1/2” and another to 3”.
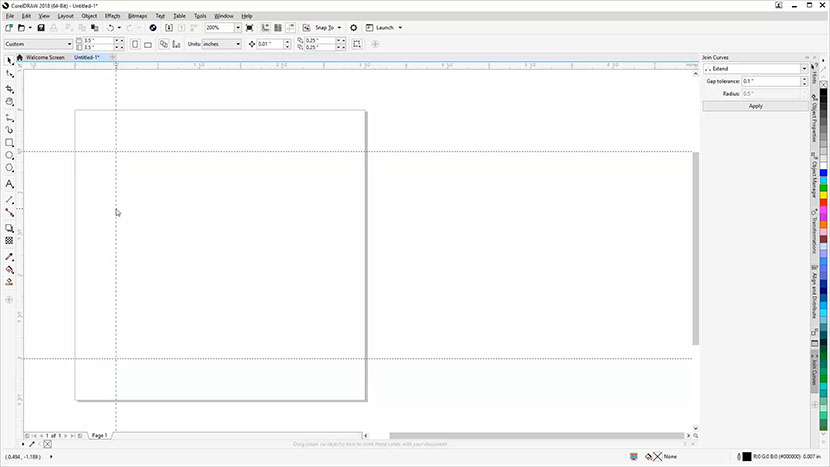

Again, you may find it easier to drag the guidelines to the approximate locations, then key in the 1/2” value for the first guide and the 3” value for the second guide in the X Object Position box in the Properties bar.

Importing a Graphic
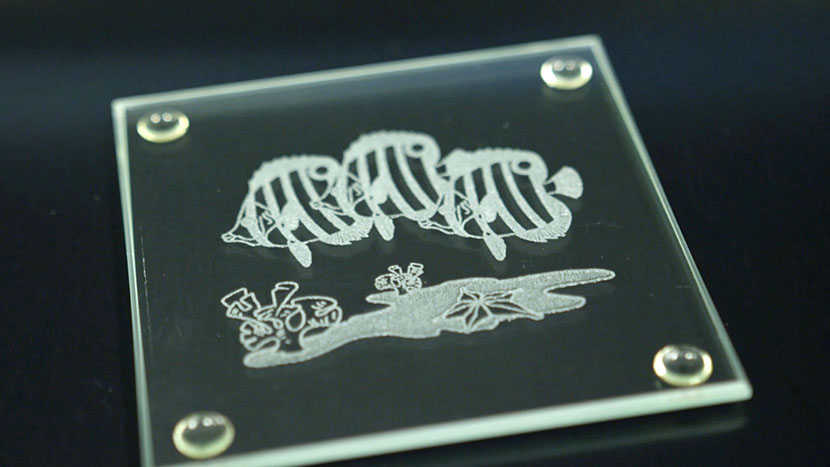
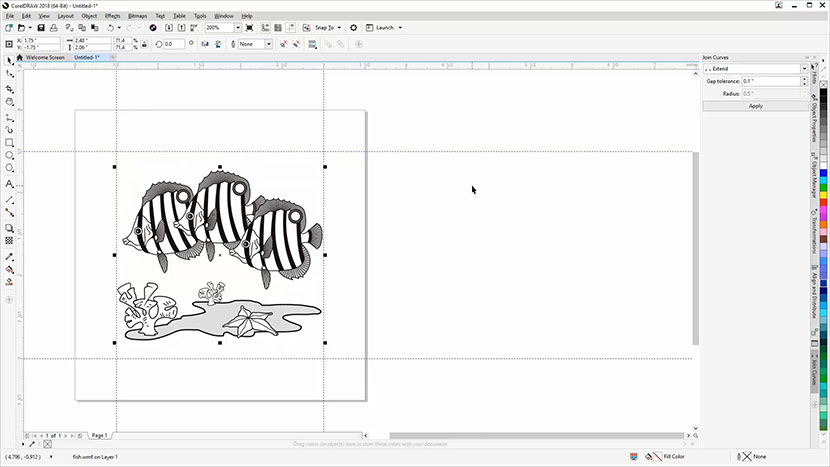
Now we’re going to import a graphic and center it to the page. Here we’ll use a fish graphic (fish.wmf ) for this example, but you can use any graphic you prefer.
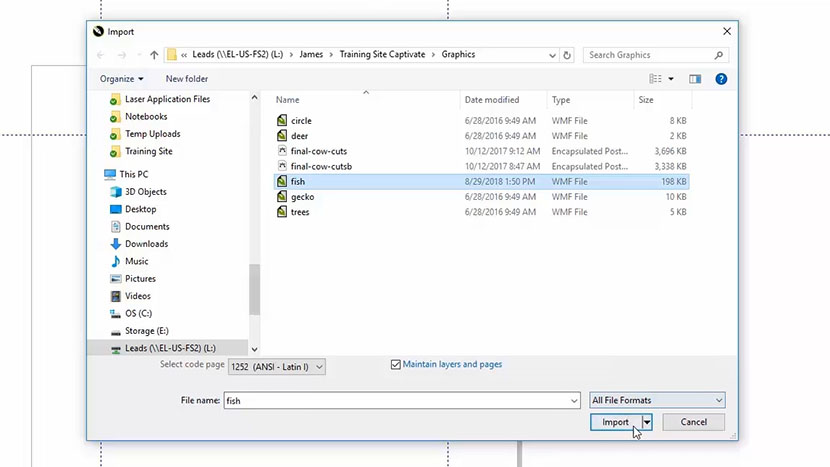
Start by clicking File at the top of the screen, then select Import from the drop-down menu.
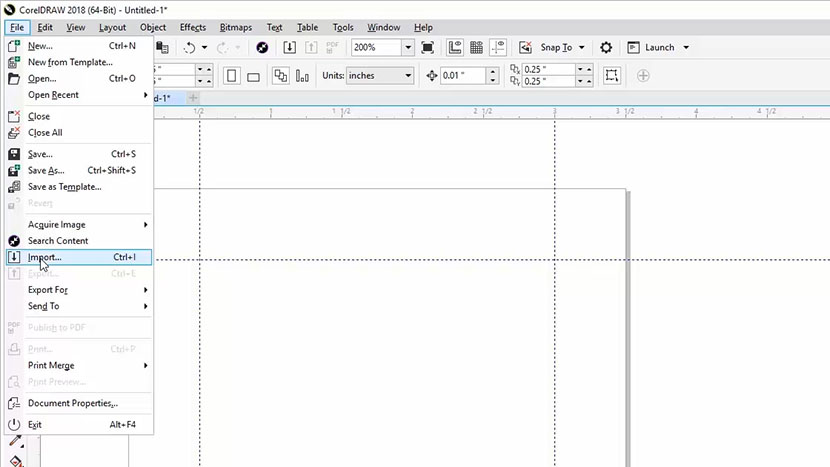
Navigate to the file you’d like to Import, then select the file and click the Import button.
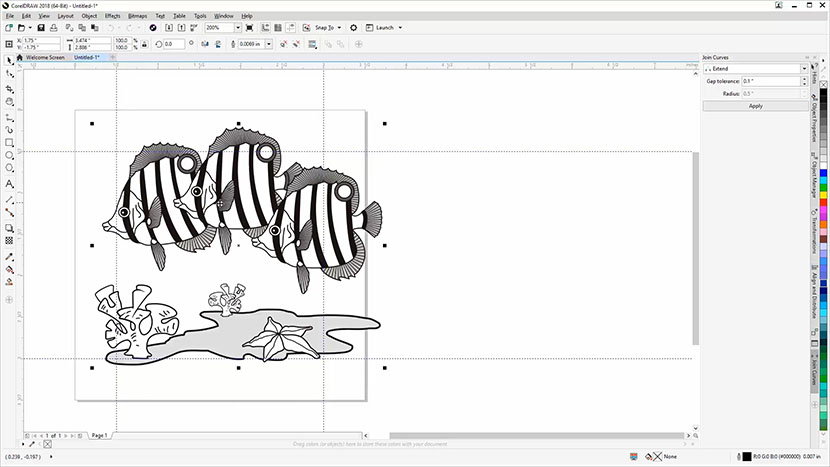
Now, click anywhere on the page to place the graphic.
Centering
Next, we’ll center the image to the page.
Make sure the object is still selected, then click Object from the drop-down menu at the top of the screen, then Align and Distribute, then Center to Page.
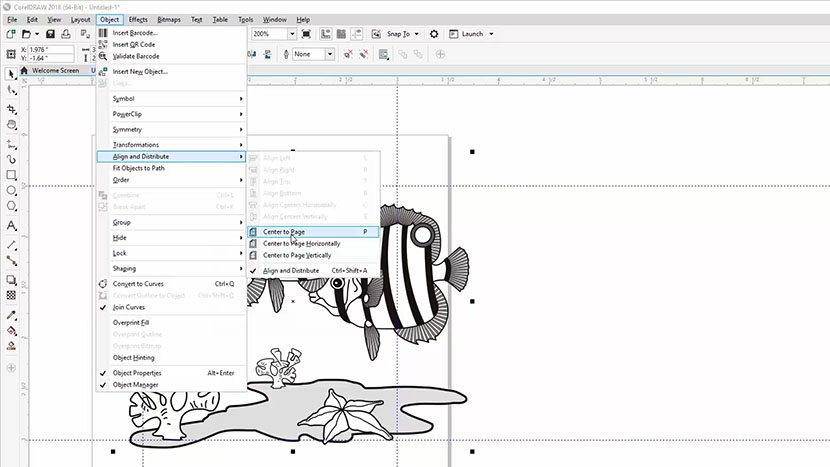
You can also use the shortcut option of pressing the letter P on your keyboard to center the image to the page.
Resizing
Now we need to resize the fish image to fit inside our boundary guidelines.
To resize the graphic, we’ll click and drag on the top right resizing handle to resize the image and make it smaller.
By clicking on the top-right sizing handle, then holding the Shift key and dragging toward the center of the image, we can keep the proportions of the image the same as we make it smaller.
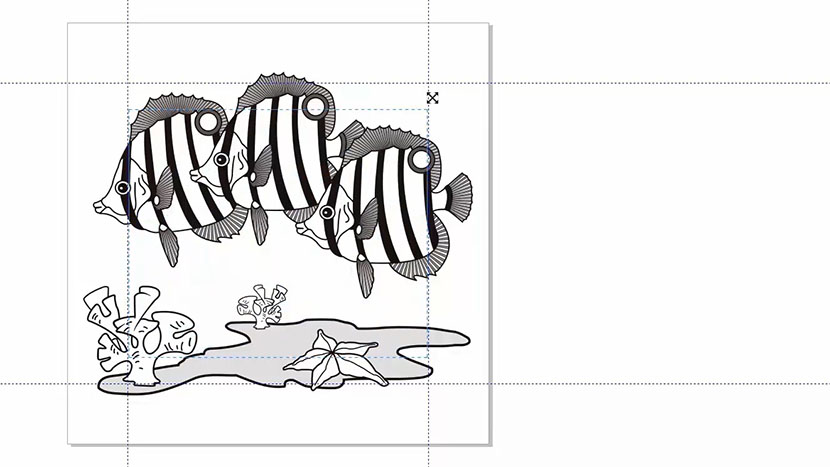
Drag the sizing handle until the right or left side of the fish graphic aligns with a vertical guideline.
Mirroring for Backside Engraving
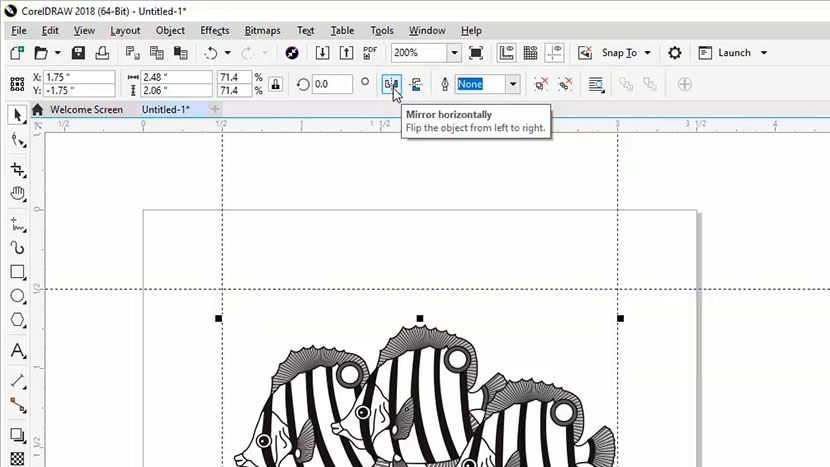
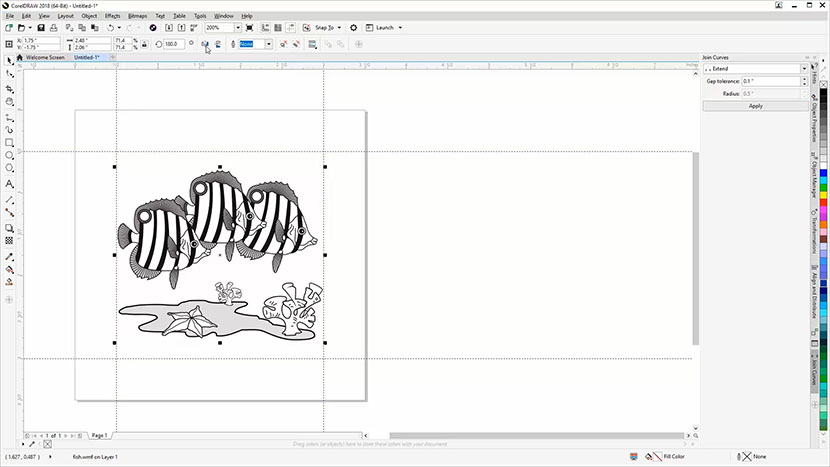
As a final step before printing our graphic to the laser, we want to mirror the graphic for engraving on the bottom side of the glass coaster. Engraving the back of glass will give you the best result when viewed through the other side, and doing so will help protect your engraving from wear and tear.
For backside engraving on glass, it’s important to mirror your graphic. If there is text in your graphics, you want the text to read forward instead of backward once viewed from the top or other side of the piece.
To mirror the graphic, select the graphic with the Pick Tool, then click on the Mirror Horizontally button in the Properties bar at the top of the screen.
Printing to the Laser
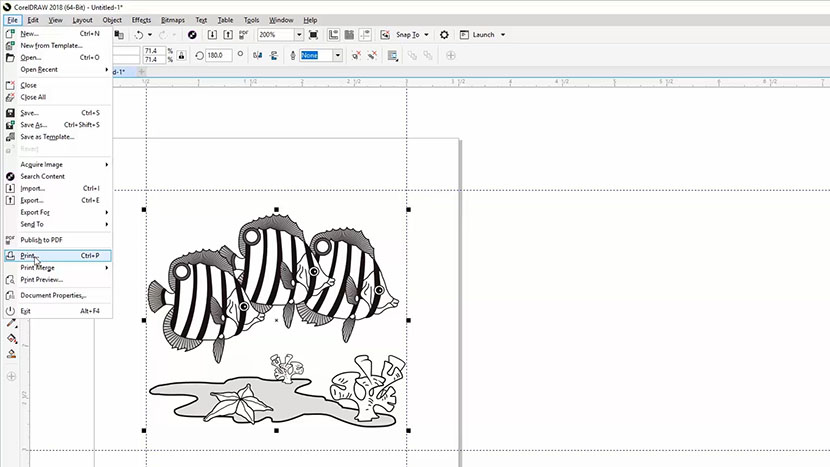
Next, we’ll print the file to the laser.
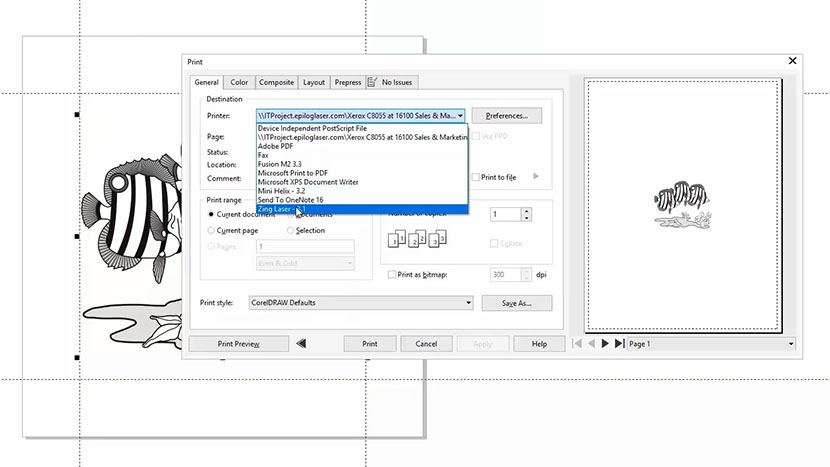
Select File, then Print from the dropdown menu, or press Ctrl + P on your keyboard.
Select your laser from the printer options, then click the Preferences button.
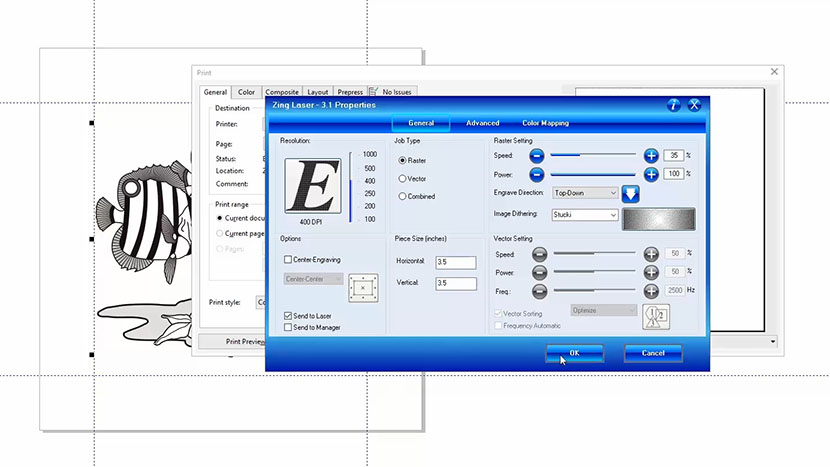
In the Laser Dashboard:
-
- Set your Resolution to 400 dpi (When engraving glass we don’t need to use a high resolution to get a good engraving.)
-
- Select Raster from the Job Type options (We only need Raster since we’ll only be engraving this file.)
-
- Set the Speed to 35% and Power to 100% (Refer to your laser manual for the suggested speed, power, and frequency settings for etching glass with your wattage of laser.)
-
- Select Stucki as the Image Dithering pattern. (Since we are engraving this at a lower resolution, this will randomize the dot pattern in the graphics and give us a higher-quality frosted look to our engraving.)
-
- Set the piece size to match your page size. Set the horizontal and vertical size to 3.5 inches.
-
- Make sure Send to Laser is checked.
-
- Uncheck Send to Manager
Then click the OK button.
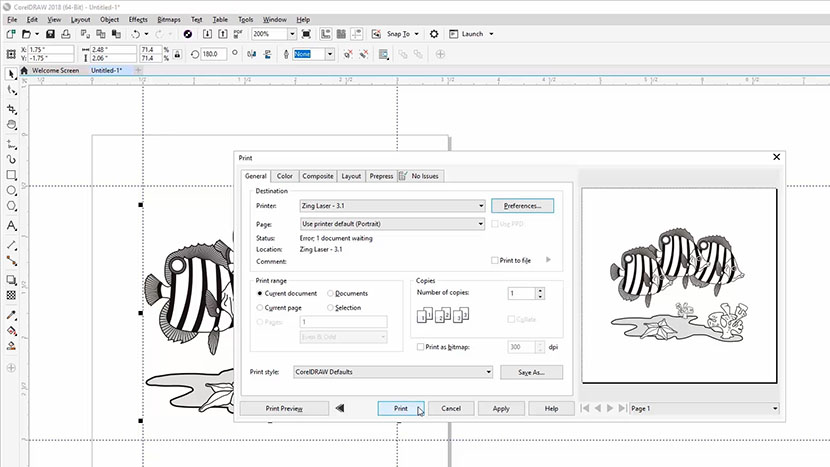
The print preview should now look like your Corel file.
Finally, click Print to send the job to the laser!
At the Laser
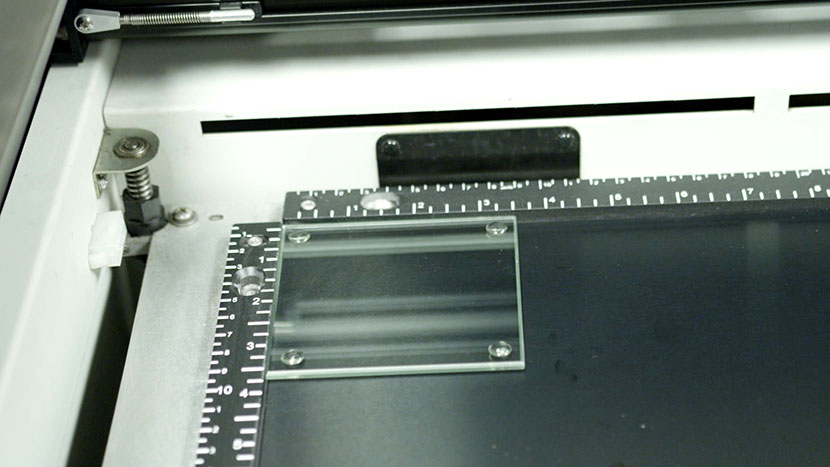
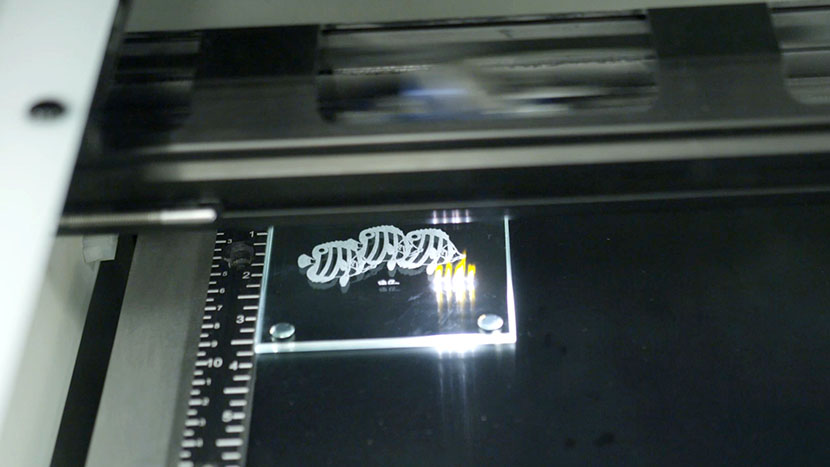
At the laser, we’ll place the 3.5” glass coaster into the top left corner of the work area.
Then press the Focus button on the keypad to bring the manual focus gauge out over the work area.
Next, slide the focus gauge to the right over your material and pop it out of its holder to swing freely.
Then press the Up Arrow on the keypad to move the table up and bring the material into focus.

Swing the focus gauge back into its holder, then slide it back to the left.
Now we’re ready to start the job. Press the Go button on the keypad to begin your glass engraving job.
And then you’re done!