Table of Contents
- Introduction
- Safety
- Getting Started
- Setting Up Your Laser System
- Unpacking the Fusion Ascent
- Choose Where to Locate the System
- Connecting the Exhaust
- Connecting Electrical Power
- Connecting the Laser to Your Computer
- Power on the Laser
- Set the IP Address
- Install the Software Suite & Set Up Your Laser
- Sign Up for Driver Updates and Register Your System
- Control Panel
- System Features
- Machine Maintenance
- Specifications
- Technical Support
- Warranty
- Material Settings
- Calibration
Calibrating the Auto Focus
Running the Focus Calibration Wizard
The Focus Calibration Wizard allows the laser system to automatically determine the optimal focal height for the installed lens. This process engraves a test pattern on anodized aluminum and identifies the focus position that produces the brightest mark. Running the calibration ensures accurate engraving and cutting performance.

- Open the Settings Menu by clicking the Gear icon in the upper-right corner of the display.
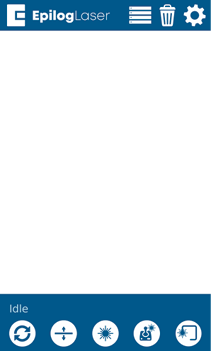
- Select the Focus menu.
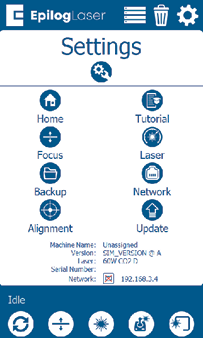
- Select the Lens Aperture. If prompted by the calibration wizard, select the lens aperture used by your machine. If the wizard does not ask for this information, you may skip this step.
- Choose CO2 Focus to begin the focus calibration wizard.
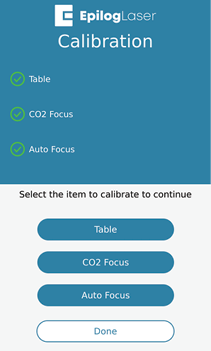
- Start the Calibration Wizard. Click Proceed to continue.
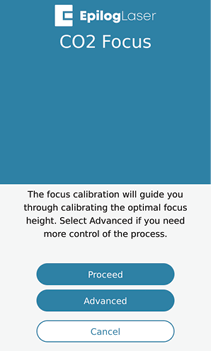
- Select Standard to run the automated focus calibration.
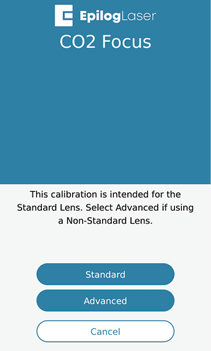 Note: Use the standard focal height lens. Accessory lenses such as the 4’’ lens require the Advanced Workflow.
 - Insert Calibration Material. Insert a piece of anodized aluminum into the machine and press Trace.
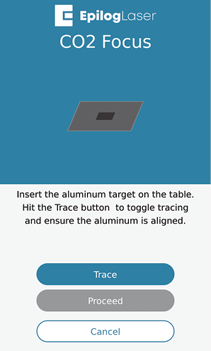 Note: Use 0.025’’ thick anodized aluminum.
 - Align the Material. Ensure the material is positioned directly under the traced outline, then click Proceed.
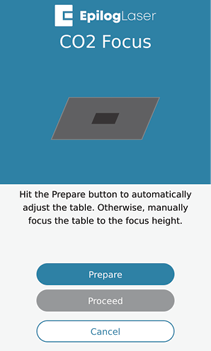
- Press Prepare, then click Proceed.
- Click Proceed to begin the engraving job.
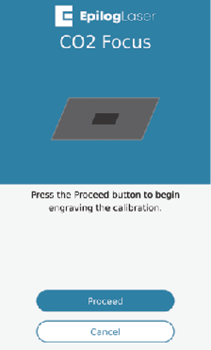
- Allow the laser to complete the calibration engraving.
- Select the Brightest Mark. Find the number corresponding to the brightest engraving mark on the test pattern and enter it on the display.
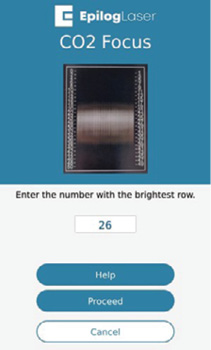
- The focus calibration process is now complete.
Advanced Workflow
The Advanced Workflow is intended for users who cannot complete the standard calibration process, are using an accessory lens such as a 4-inch lens, or prefer a manual calibration method. This option provides greater control over the calibration process by allowing manual adjustment of focus settings and engraving parameters.
During the advanced calibration procedure, you will select custom speed and power settings, enter the material thickness, and place your test material in the machine. The laser will engrave a 2×2 pattern while you manually raise and lower the engraving table. By adjusting the focus height during the job, you can identify the position that produces the brightest engraving mark. This method allows fine-tuning of the focal point and is especially useful when calibrating non-standard lenses.