Inhoudsopgave
- Inleiding
- Veiligheid
- Aan de slag
- Setting Up Your Laser System
- Unpacking the Fusion Ascent
- Choose Where to Locate the System
- Connecting the Exhaust
- Connecting Electrical Power
- Connecting the Laser to Your Computer
- Power on the Laser
- Set the IP Address
- Install the Software Suite & Set Up Your Laser
- Sign Up for Driver Updates and Register Your System
- Configuratiescherm
- System Features
- Machine Maintenance
- Specifications
- Technical Support
- Warranty
- Materiaal instellingen
- Calibration
Carriage Camera Calibration
The following procedure must be performed first for all Fusion Ascent machines. Turn on the engraver, and let it complete the startup process.
- On the display, press the gear icon to enter the Settings Menu.
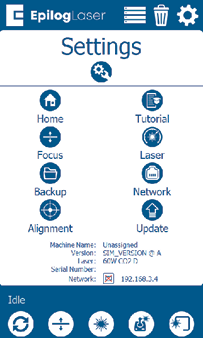
- Long Press the “Settings” text for 2-3 seconds to enter the Advanced Settings Menu.
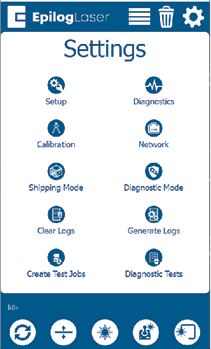
- Click on “Calibration” followed by “Calibrate Cameras” to enter the Camera Calibration menu. If using 1.1.2.8 or older, just tap “Calibrate Cameras”.
- Leg een stuk geanodiseerd aluminium van 200 mm x 125 mm in de linkerbovenhoek van de tafel.
- Sluit de bovenste deur van de graveermachine.
- Druk op OK om de kalibratie van de camera te starten. De graveermachine verplaatst dan de tafel naar de juiste brandpuntshoogte voor kalibratie.
- De graveur zet een patroon op het geanodiseerde aluminium dat de camera op de wagen bekijkt om te kijken of alles goed is. Als het klaar is, zie je een bericht dat het gelukt is.
- Volg de instructies op het scherm om door te gaan naar het kalibreren van de camera boven je hoofd.