Inhoudsopgave
- Inleiding
- Veiligheid
- Aan de slag
- Setting Up Your Laser System
- Unpacking the Fusion Ascent
- Choose Where to Locate the System
- Connecting the Exhaust
- Connecting Electrical Power
- Connecting the Laser to Your Computer
- Power on the Laser
- Set the IP Address
- Install the Software Suite & Set Up Your Laser
- Sign Up for Driver Updates and Register Your System
- Configuratiescherm
- System Features
- Machine Maintenance
- Specifications
- Technical Support
- Warranty
- Materiaal instellingen
- Calibration
Calibrating the Auto Focus
De wizard voor focuskalibratie uitvoeren
Met de Focus Calibration Wizard kan het lasersysteem automatisch de optimale focushoogte voor de geïnstalleerde lens bepalen. Tijdens dit proces wordt een testpatroon op geanodiseerd aluminium gegraveerd en wordt de focuspositie bepaald die de helderste markering oplevert. Door de kalibratie uit te voeren, zorg je voor nauwkeurige graveer- en snijprestaties.

- Open the Settings Menu by clicking the Gear icon in the upper-right corner of the display.
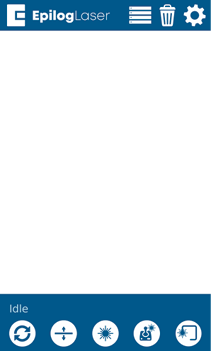
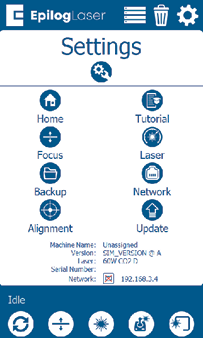
- Select the Focus menu.
- Select the Lens Aperture. If prompted by the calibration wizard, select the lens aperture used by your machine. If the wizard does not ask for this information, you may skip this step.
- Choose CO2 Focus to begin the focus calibration wizard.
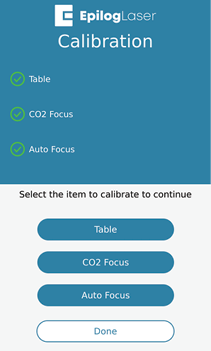
- Start the Calibration Wizard. Click Proceed to continue.
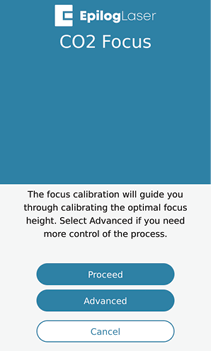
- Select Standard to run the automated focus calibration.
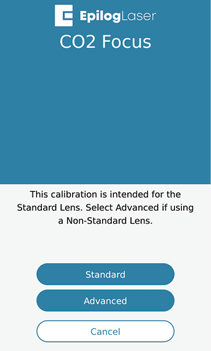 Note: Use the standard focal height lens. Accessory lenses such as the 4’’ lens require the Advanced Workflow.
 - Insert Calibration Material. Insert a piece of anodized aluminum into the machine and press Trace.
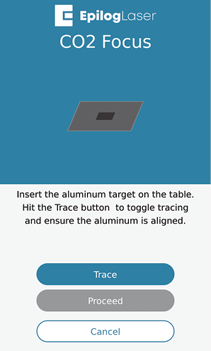 Note: Use 0.025’’ thick anodized aluminum.
 - Align the Material. Ensure the material is positioned directly under the traced outline, then click Proceed.
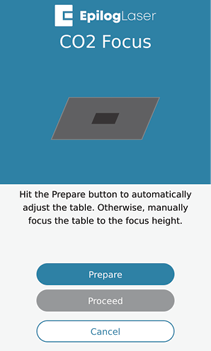
- Press Prepare, then click Proceed.
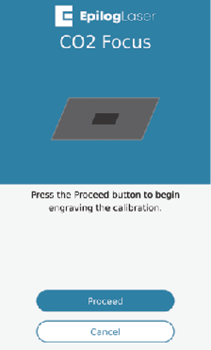
- Click Proceed to begin the engraving job.
- Laat de laser de kalibratiegrafiek afmaken.
- Select the Brightest Mark. Find the number corresponding to the brightest engraving mark on the test pattern and enter it on the display.
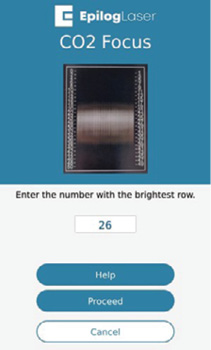
- Het kalibratieproces is nu voltooid.
Geavanceerde workflow
De geavanceerde workflow is bedoeld voor gebruikers die het standaardkalibratieproces niet kunnen voltooien, een extra lens gebruiken, zoals een 4-inch lens, of de voorkeur geven aan een handmatige kalibratiemethode. Deze optie biedt meer controle over het kalibratieproces doordat je de scherpstelinstellingen en graveerparameters handmatig kunt aanpassen.
Tijdens de geavanceerde kalibratieprocedure stel je aangepaste snelheids- en vermogensinstellingen in, voer je de materiaaldikte in en plaats je je testmateriaal in de machine. De laser graveert een patroon van 2×2 terwijl je de graveertafel handmatig omhoog en omlaag beweegt. Door de focushoogte tijdens de bewerking aan te passen, kun je de positie bepalen die de helderste gravure oplevert. Deze methode maakt het mogelijk om het brandpunt nauwkeurig af te stellen en is vooral handig bij het kalibreren van niet-standaardlenzen.