
Introduction
This guide outlines the steps to replace the right-side door lift belt. The left-side replacement procedure is identical. Please follow all safety protocols before beginning.
Door Belt Removal
- Turn off engraver
- Disconnect from power

-
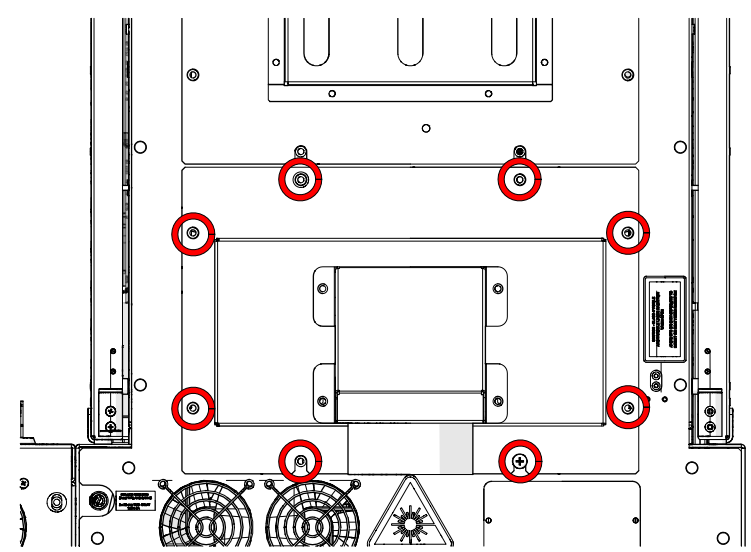
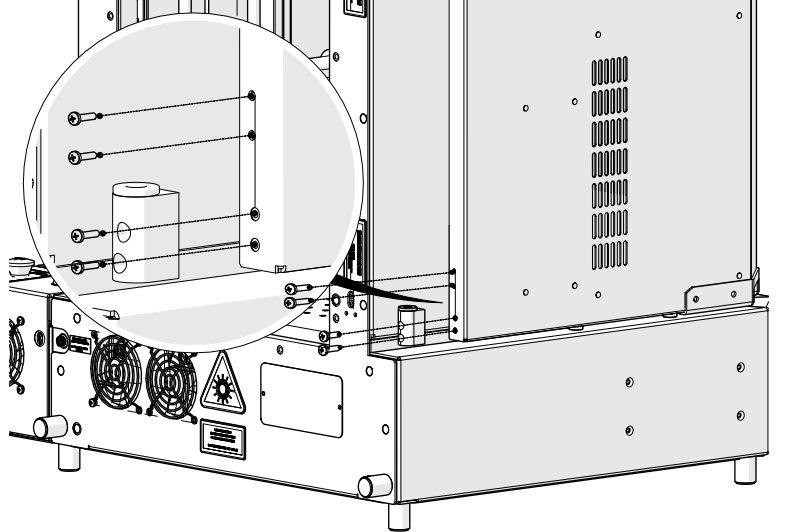
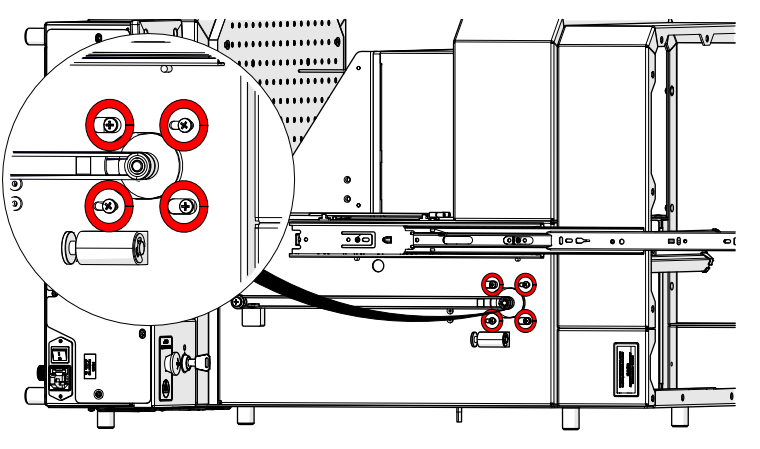
Loosen and remove screws
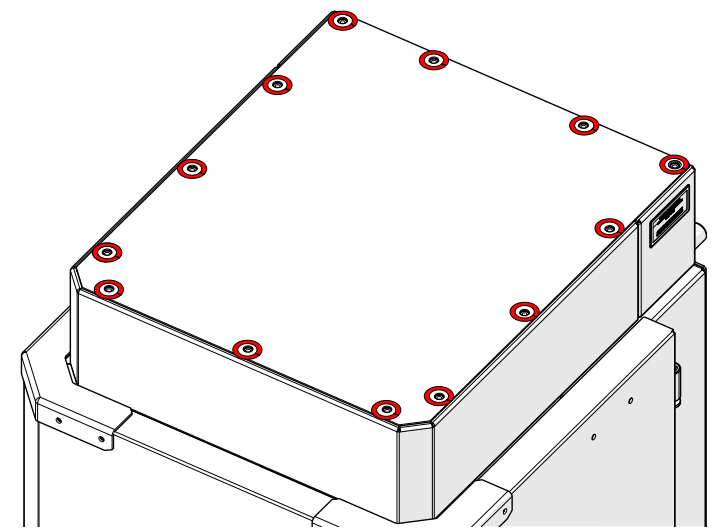
-
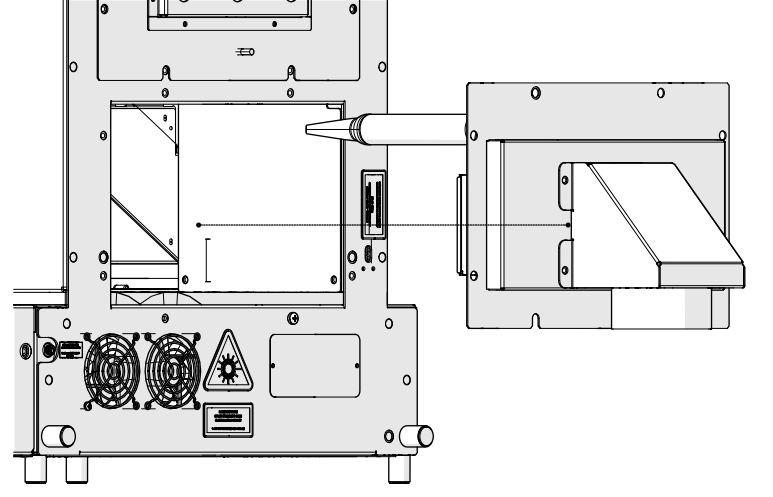
Remove panel
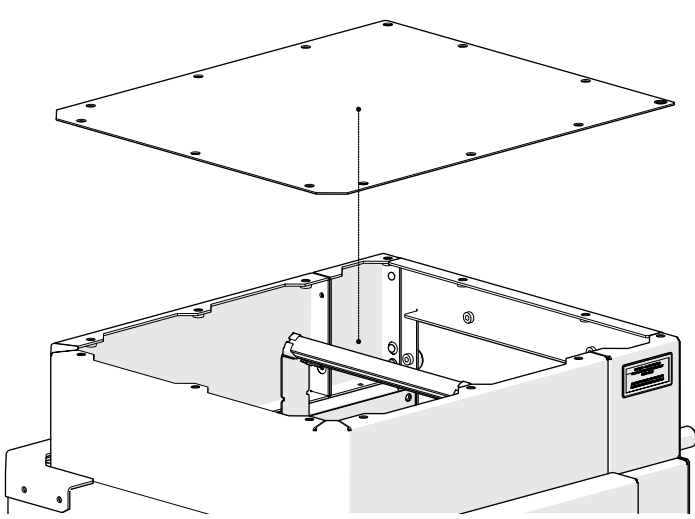
-
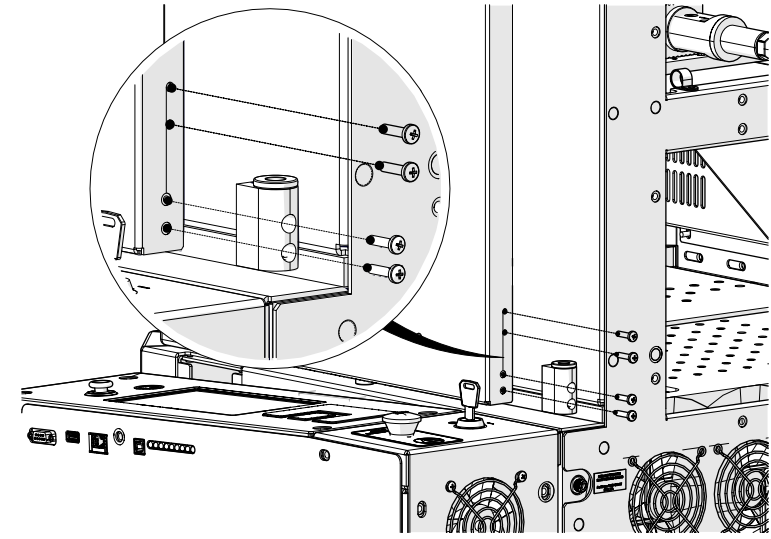
Loosen and remove

-
Remove panel
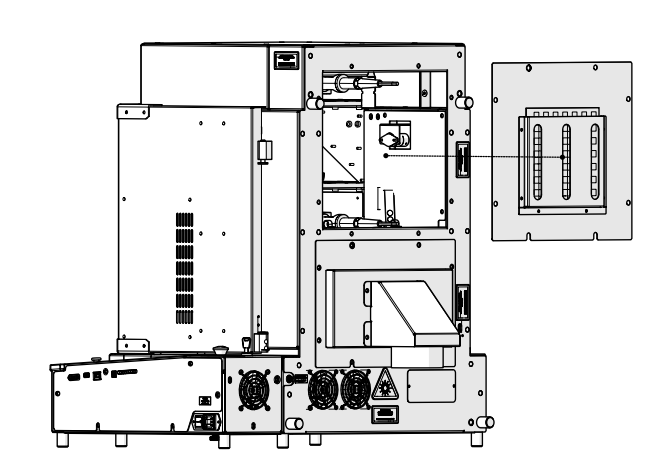
-
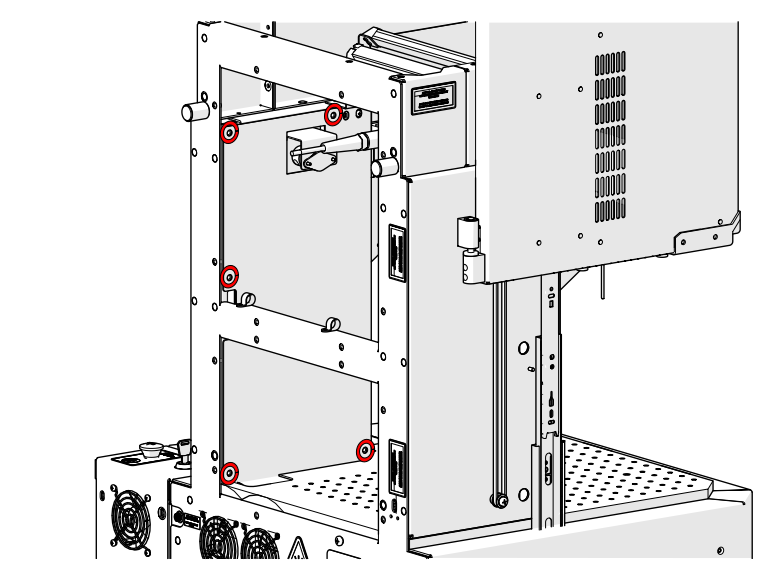
Loosen and remove
-
Remove panel
-
Loosen and remove
-
Remove panel
-
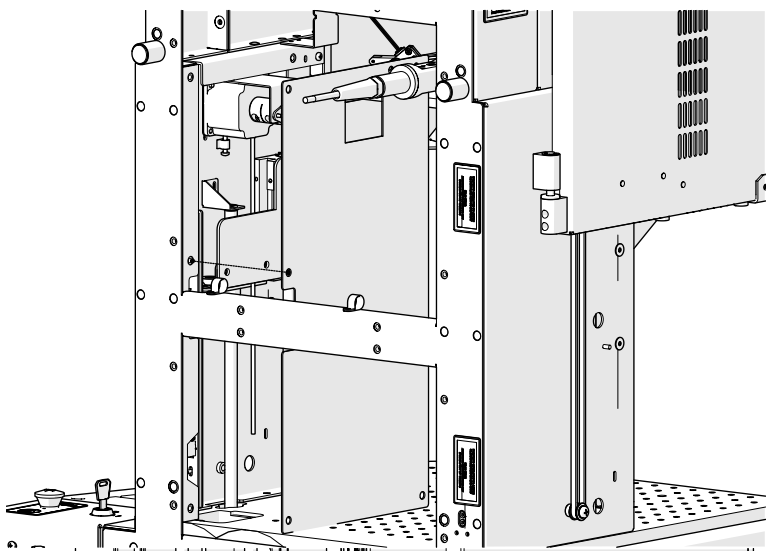
Loosen and remove
-
Loosen and remove
-
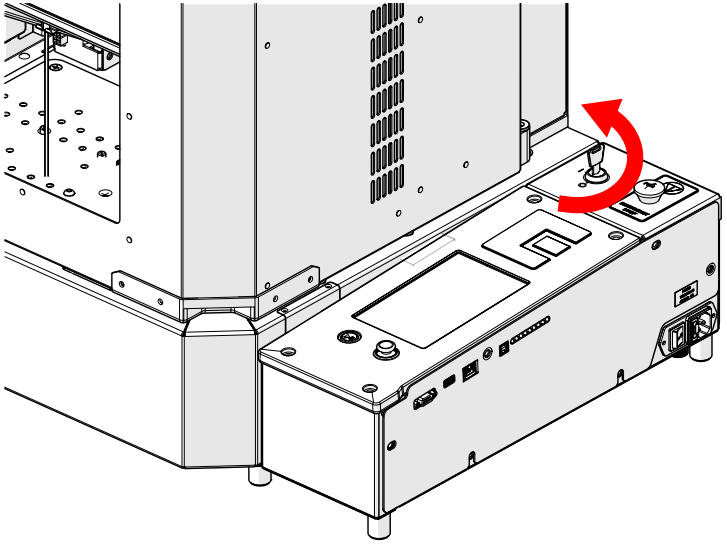
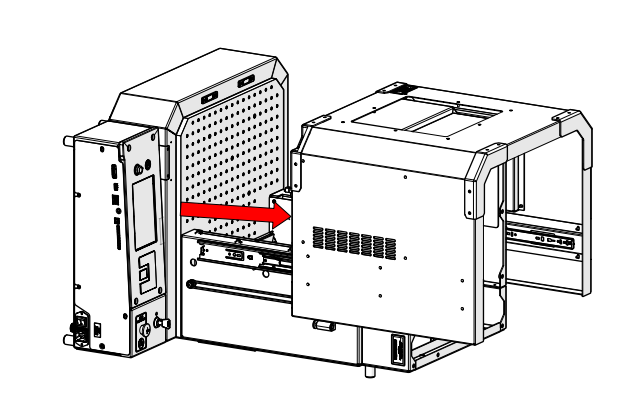
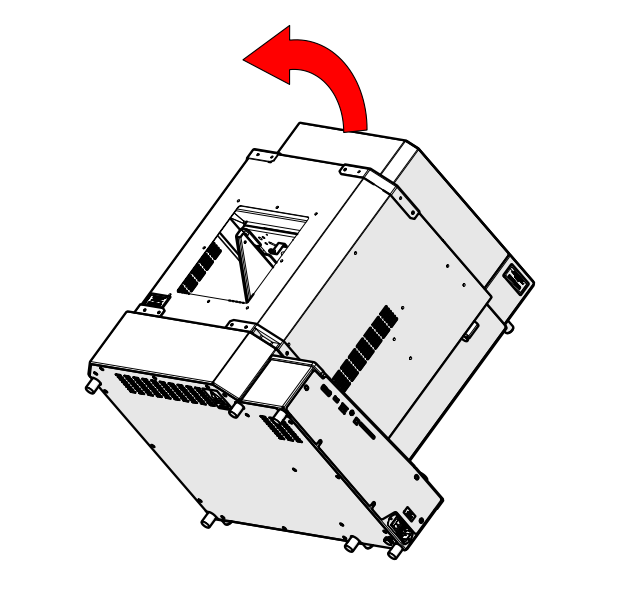
Tilt engraver
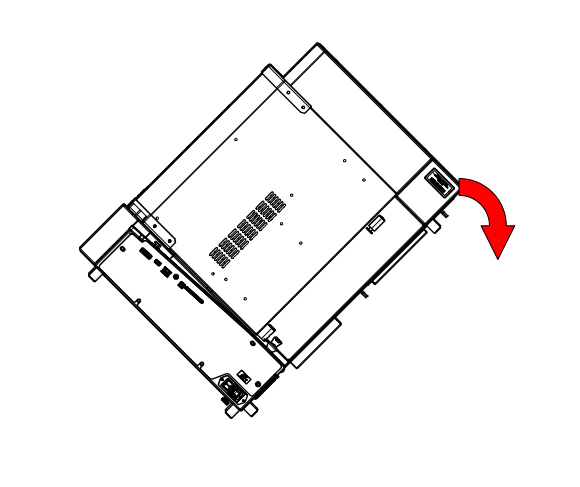
-
Lay engraver on its back
-
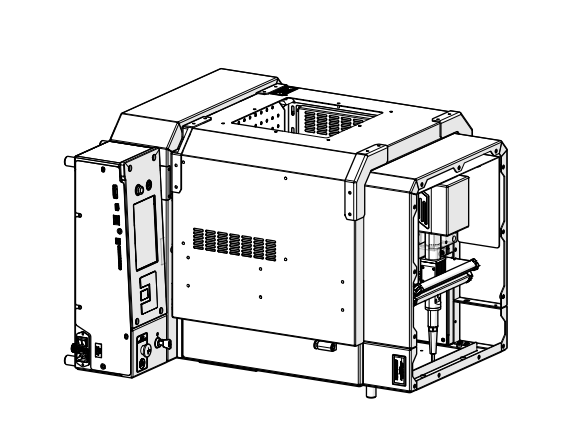
Open the door
-
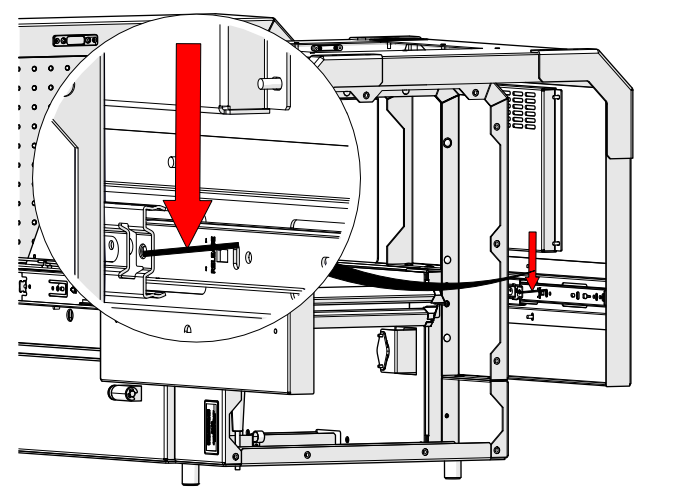
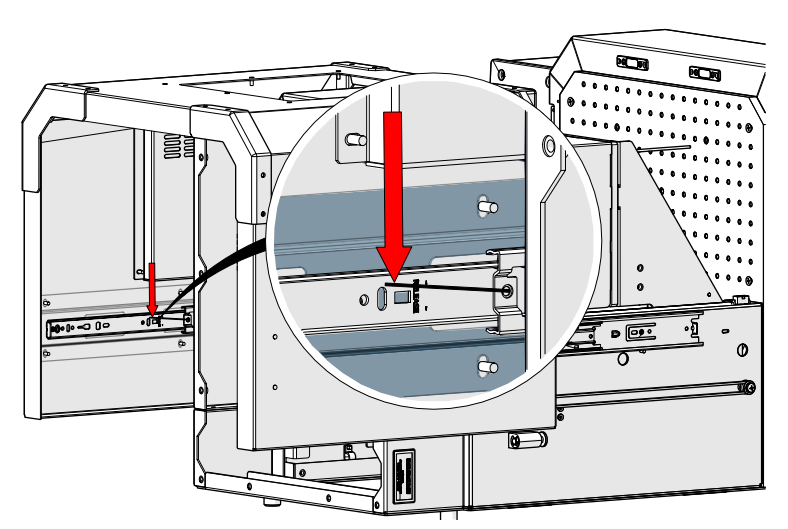
Depress slide lever
-
Depress slide lever
-
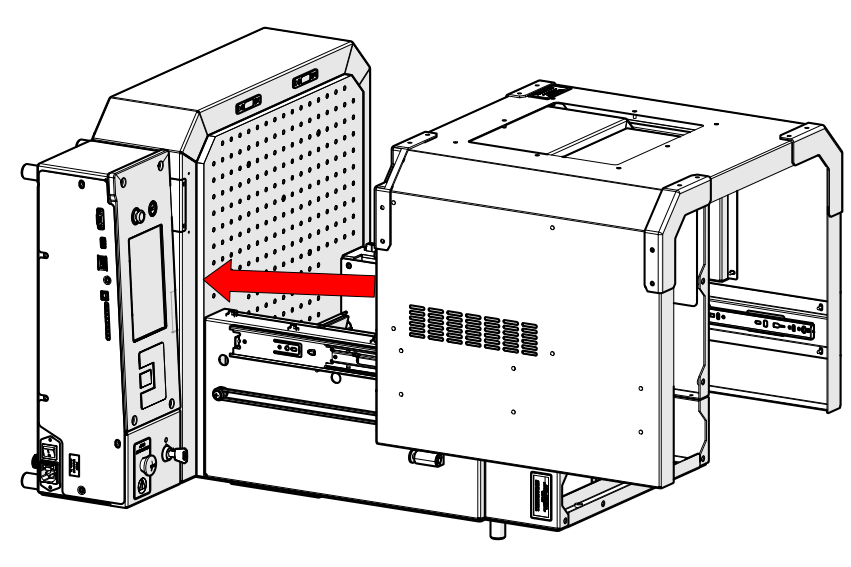
Remove the door
-
Loosen, but do not remove
-
Loosen, but do not remove
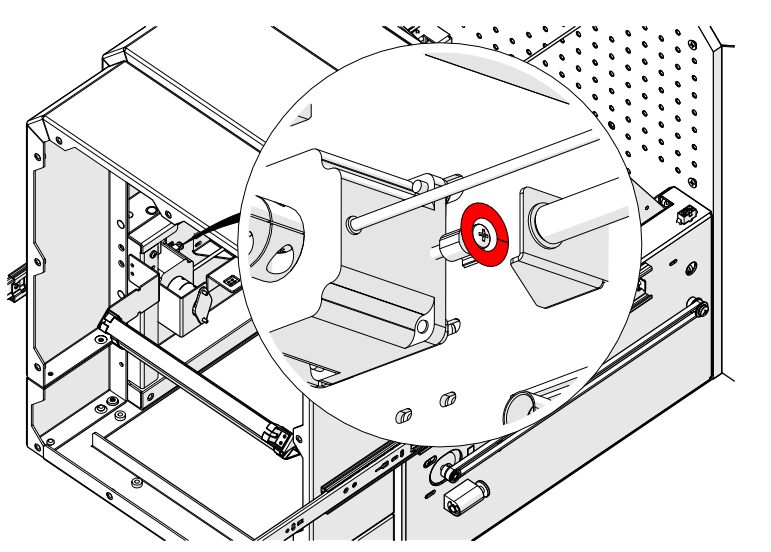
-
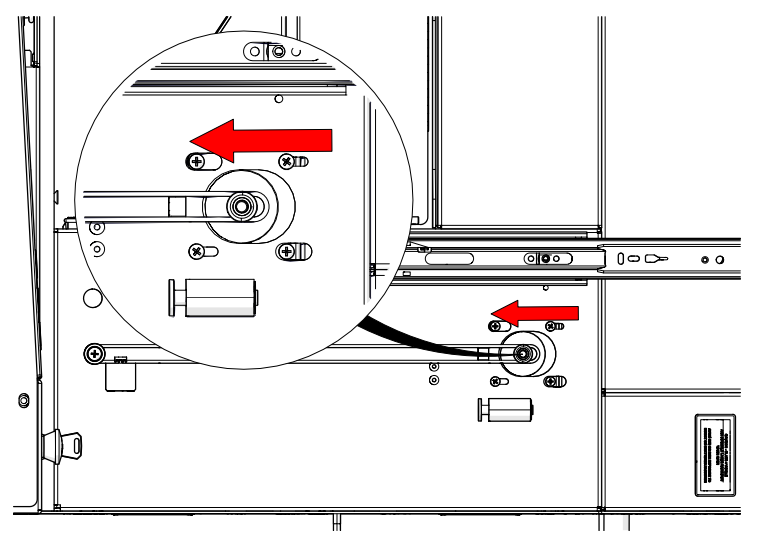
Slide motor to relieve tension
-
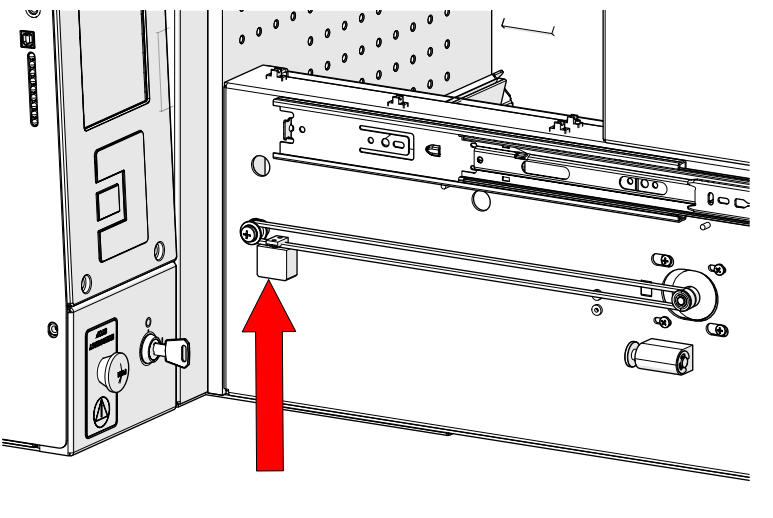
Remove old belt
-
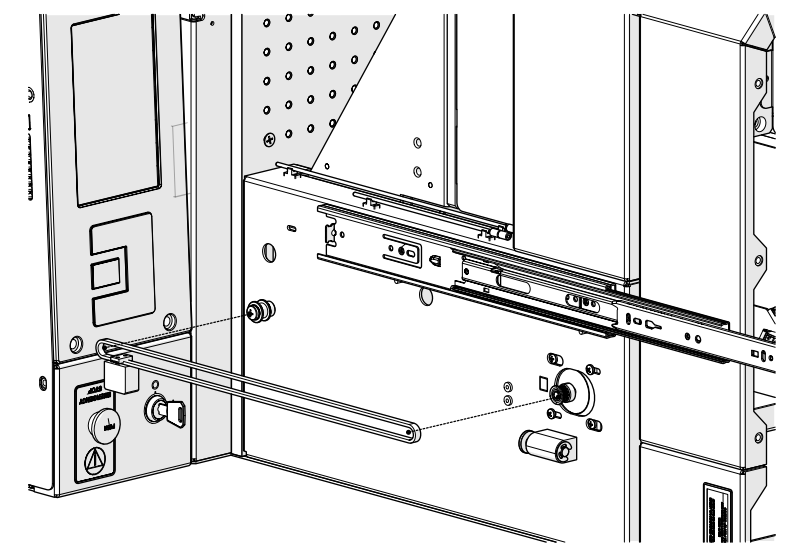
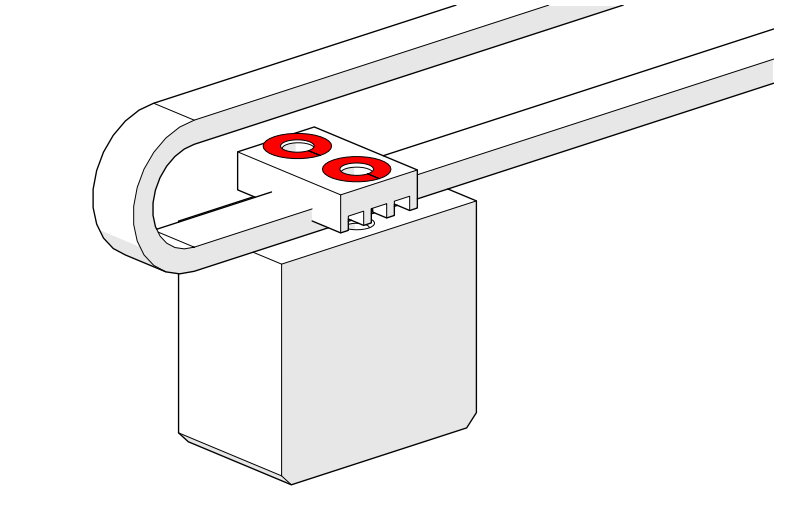
Remove belt clamp
Door Belt Installation
- Install new belt clamp
- Install new belt
-
Tension the motor and tighten mounting screws
- Tighten
- Position belt block at bottom of travel
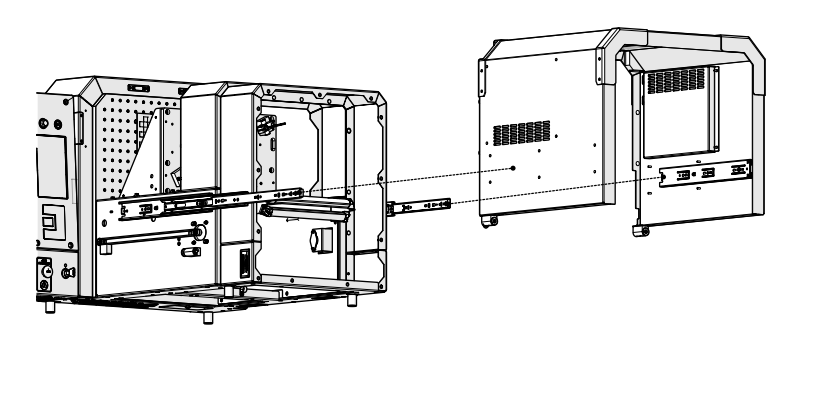
- Place door back onto engraver
-
Ensure door is seated correctly on slides
- Close the door

- Return engraver to upright position
Reassembly
- Install and tighten screws
- Install and tighten screws
- Install panel
- Install and tighten
- Install panel
- Install and tighten
- Install panel
- Install and tighten
- Install panel
- Install and tighten
- Reconnect engraver to power

Was this helpful?
Thanks for your feedback!
