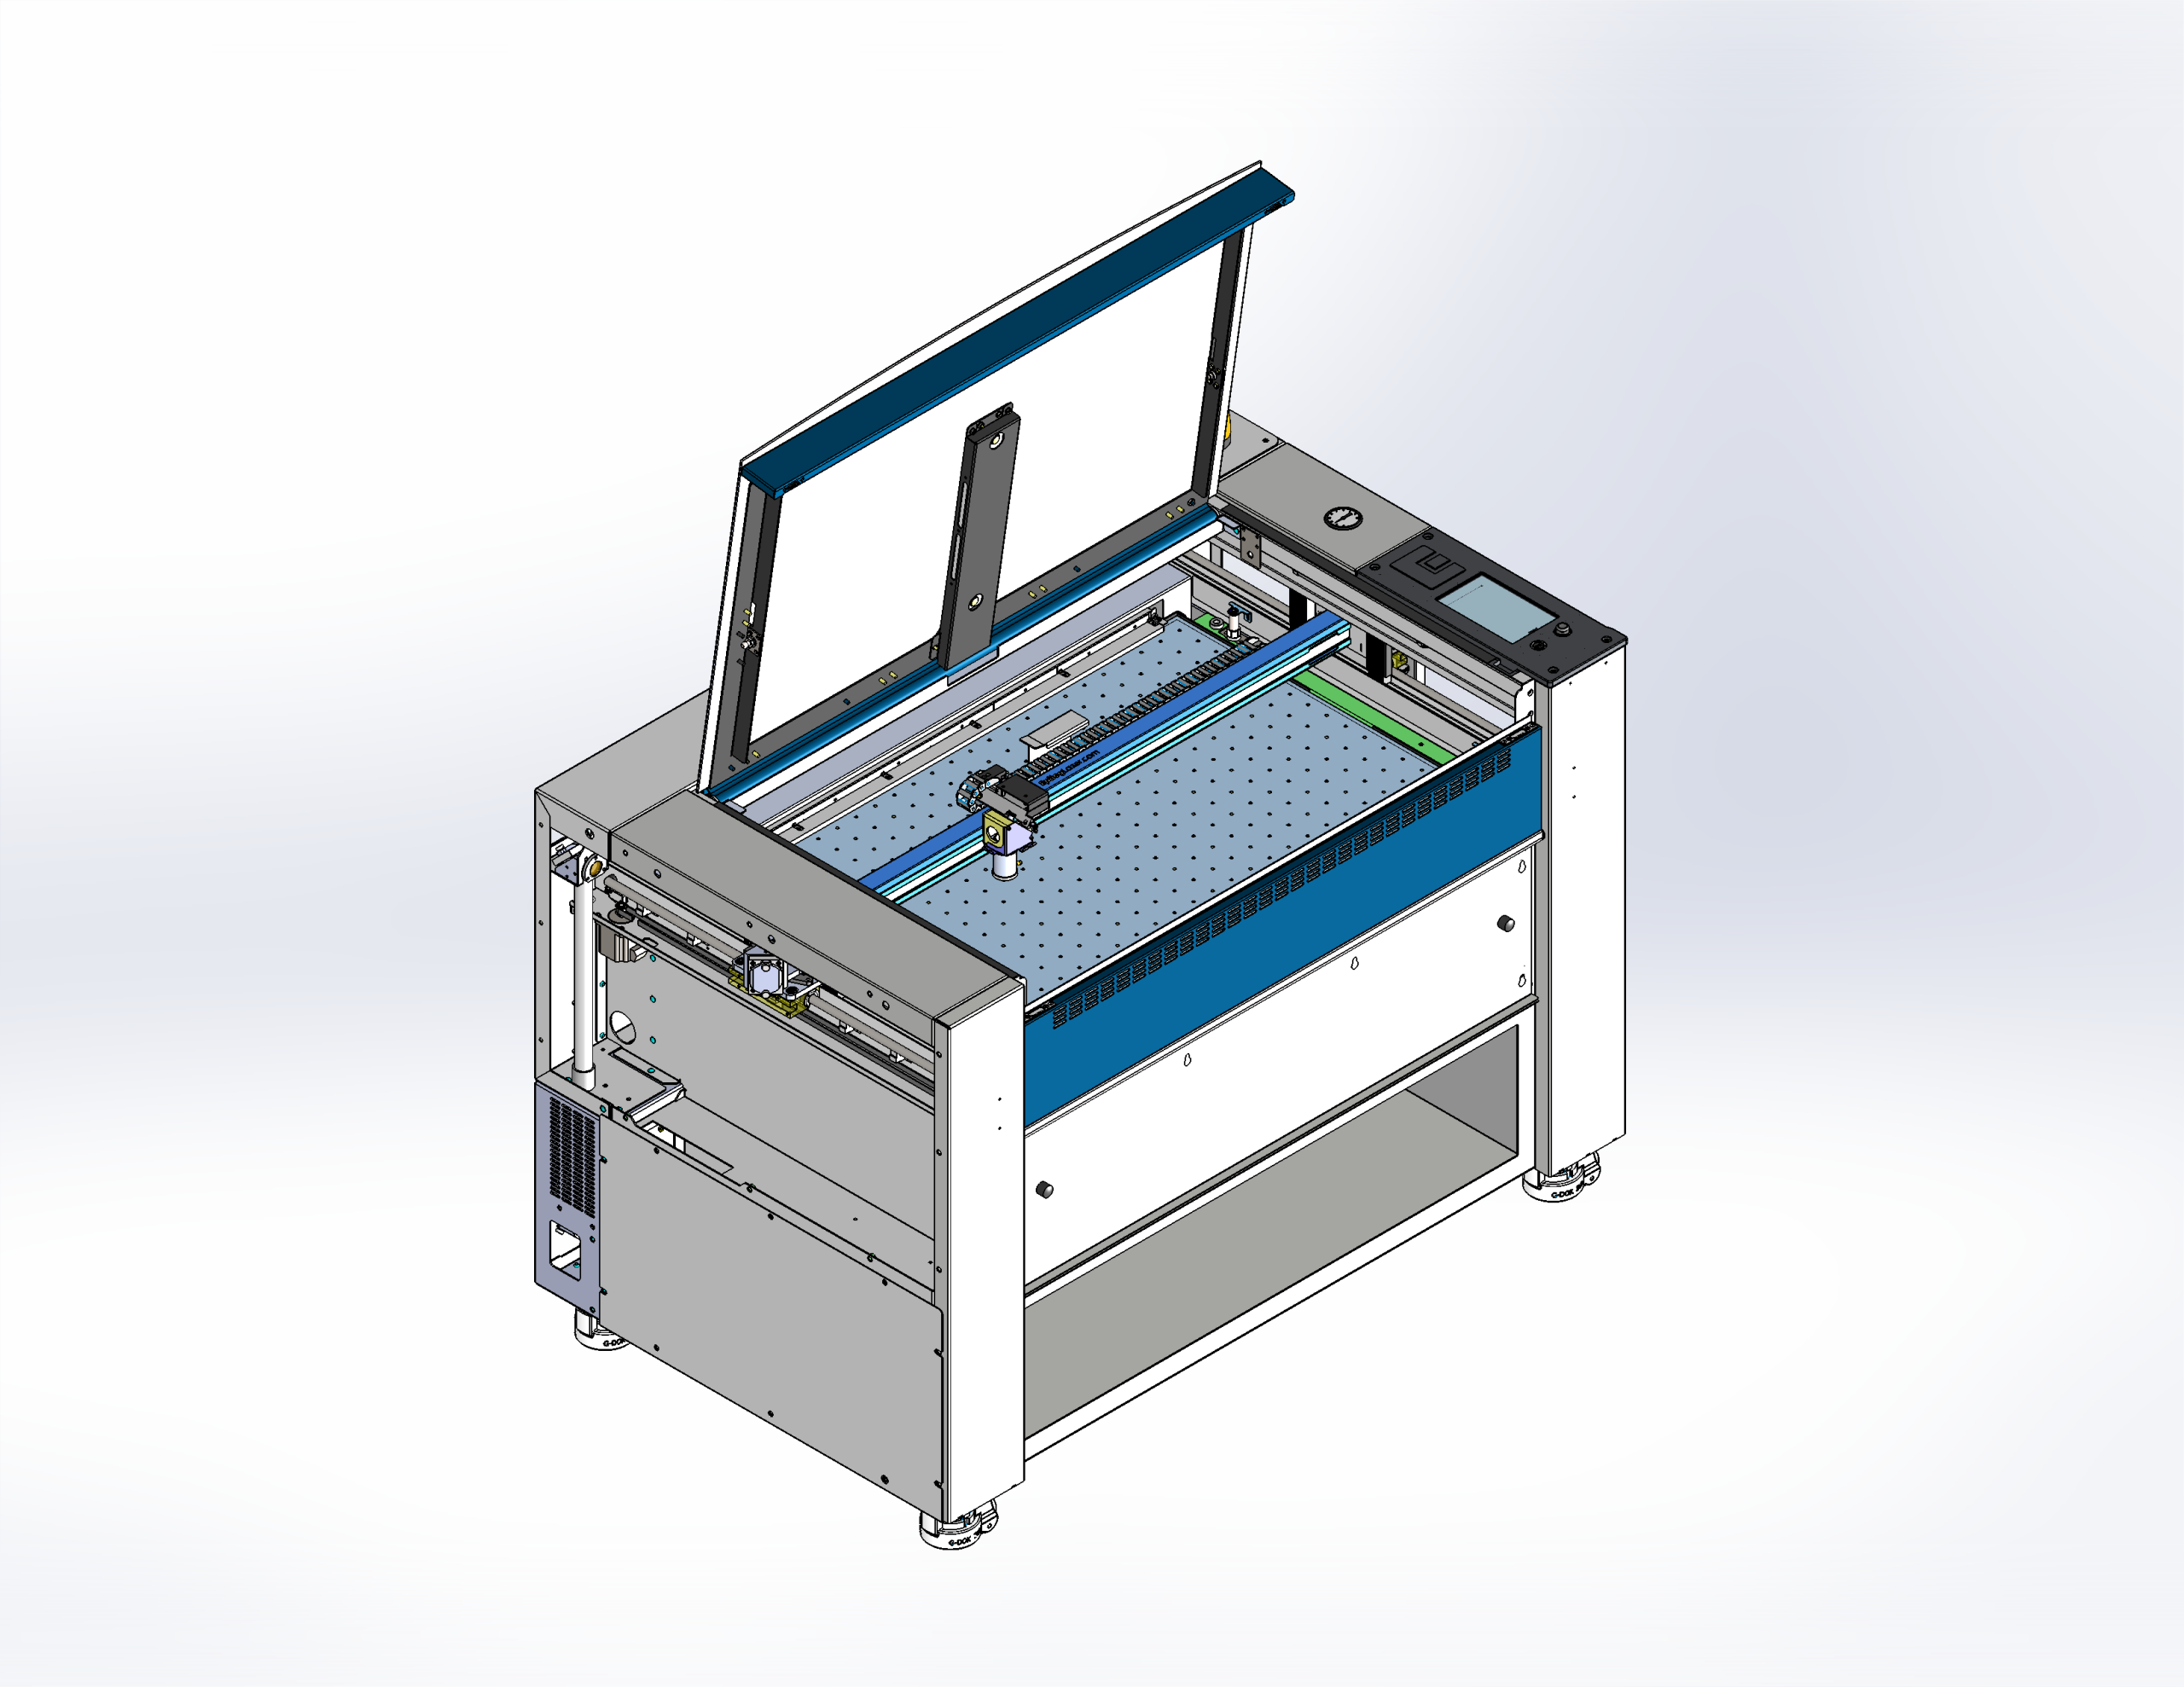
The Fusion Pro laser system includes four (4) mirrors in total. Mirrors 1, 2, and 3 are mounted using mirror holders and feature thermal compound between the mirror and holder to ensure proper heat transfer. This compound may need to be replaced if the mirrors are removed and reinstalled multiple times. Replacement mirrors for positions 1 through 3 come with thermal compound pre-applied. Mirror 4 is held in place with a thumbscrew and does not require thermal compound. This document outlines the procedure for replacing all four mirrors on the Fusion Pro Large Aperture machine.
Mirror Locations
Replacing Mirrors 1-3
-
Remove left side panel.
-
Remove mirror 1 access panel.
-
Remove mirror 2 access panel.
-
Loosen the two screws on the back of the mirror holder, and pull to remove mirror.
-
Remove the mirror from its holder.
Note: Mirrors 1-3 have thermal compound between the mirror and mirror holder. Applying pressure to the side of the mirror may help with removal.
-
Clean the remaining thermal compound off of the mirror holder.
-
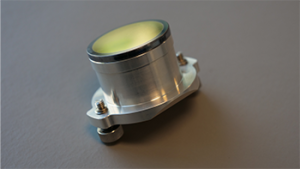
Remove the plastic back from the replacement mirror.
-
Press the mirror firmly onto the mirror holder with the reflective side facing out.
Note: The mirror should sit flush against the mirror holder with no excess thermal compound showing. You can also rotate the mirror and holder to help spread the thermal compound evenly.
-
Insert the mirror holder into the mirror housing and tighten the two captive screws.
Replacing Mirror 4 (Carriage Mirror) and Lens
-
Remove the clear air assist tubing from lens tube.
-
Loosen thumb screw on mirror cover.
-
Flip cover up, and tighten thumb screw.
-
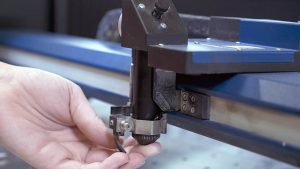
Loosen thumb screw on top of lens assembly and remove mirror.
-
Using the focus tool, loosen lens screw, and remove lens
-
Insert the replacement lens, and tighten lens screw.
-
Insert replacement mirror, and tighten thumb screw.
-
Loosen the thumb screw on mirror cover, close mirror cover, and tighten.
-
Attach air assist tubing.