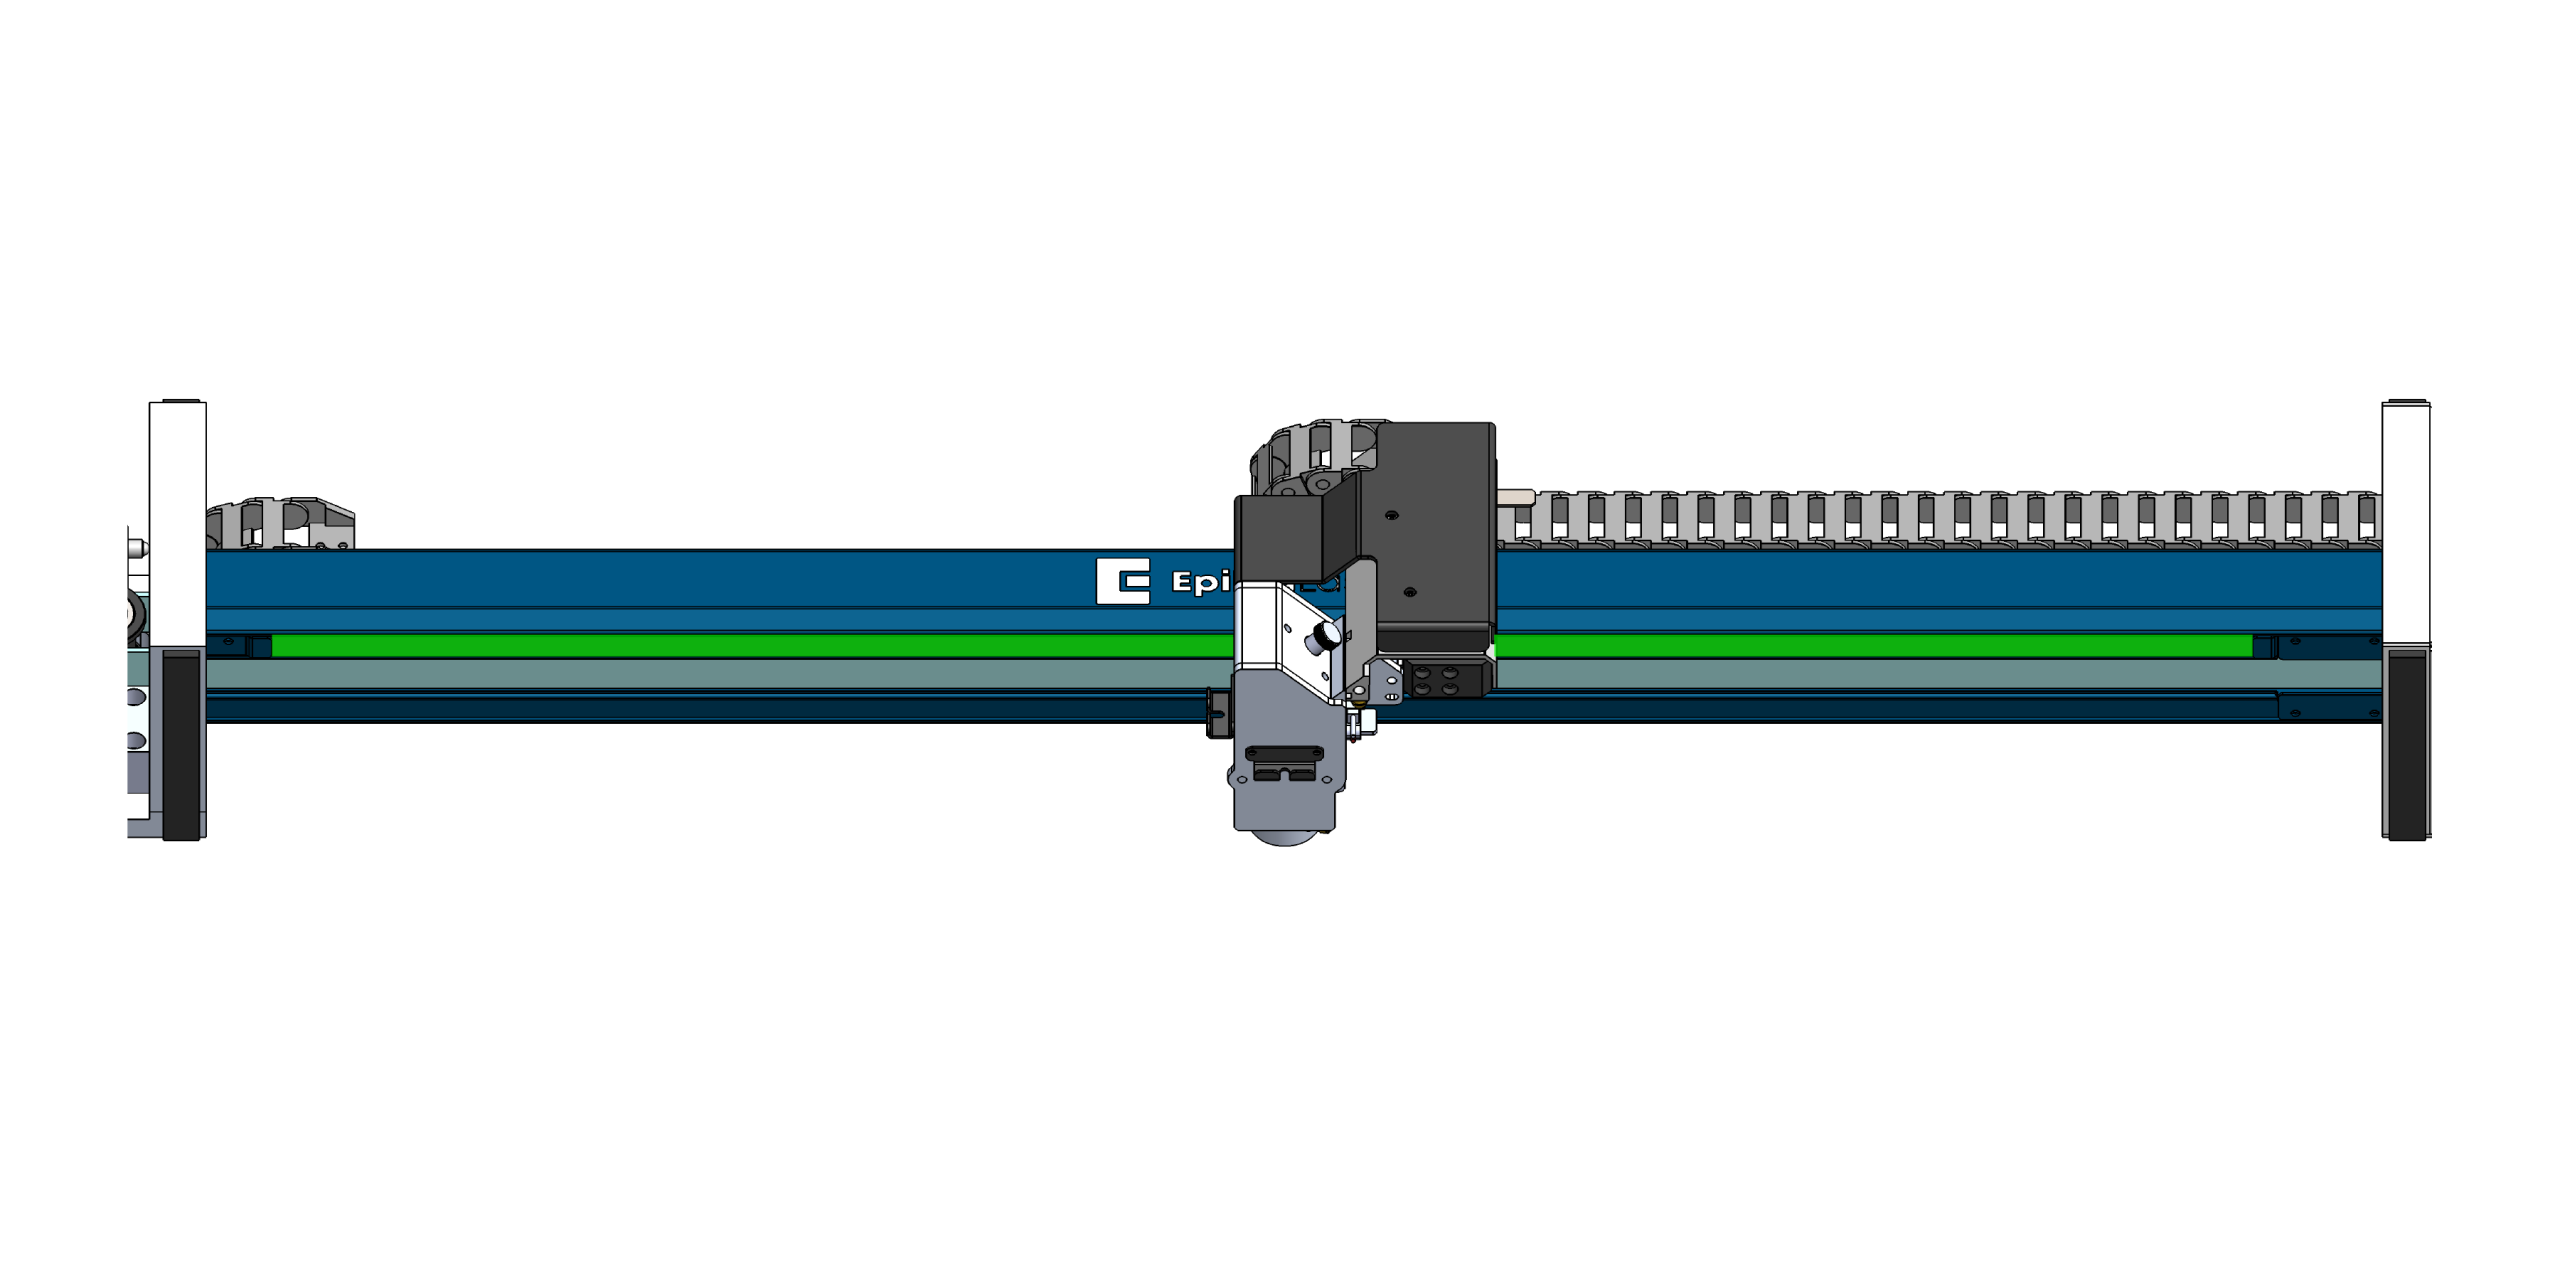
The encoder strip is a magnetic positioning strip mounted along the X-Axis rail. It allows the laser system to accurately track the carriage position during operation. Because the strip is magnetic, it is important to avoid exposing it to strong magnets or tools that could damage or interfere with the encoded pattern.
Periodically wipe the encoder strip down with isopropyl alcohol. The encoder strip is highlighted in green below. The magnetic strip isn’t sensitive to dirt and debris in the same way that an optical encoder would be. If the strip becomes damaged or worn, it should be replaced following the procedure below.
Important: Do not place magnets or magnetized tools near the encoder strip. Doing so may damage the magnetic encoding and cause positioning errors.
Removing the Encoder Strip
-
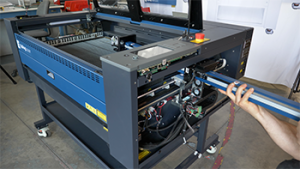
Power OFF
Power down the machine before beginning any maintenance.
-
Remove the End Clamps
Remove the encoder strip end clamps from both ends of the rail. Set the hardware aside for reinstallation later.
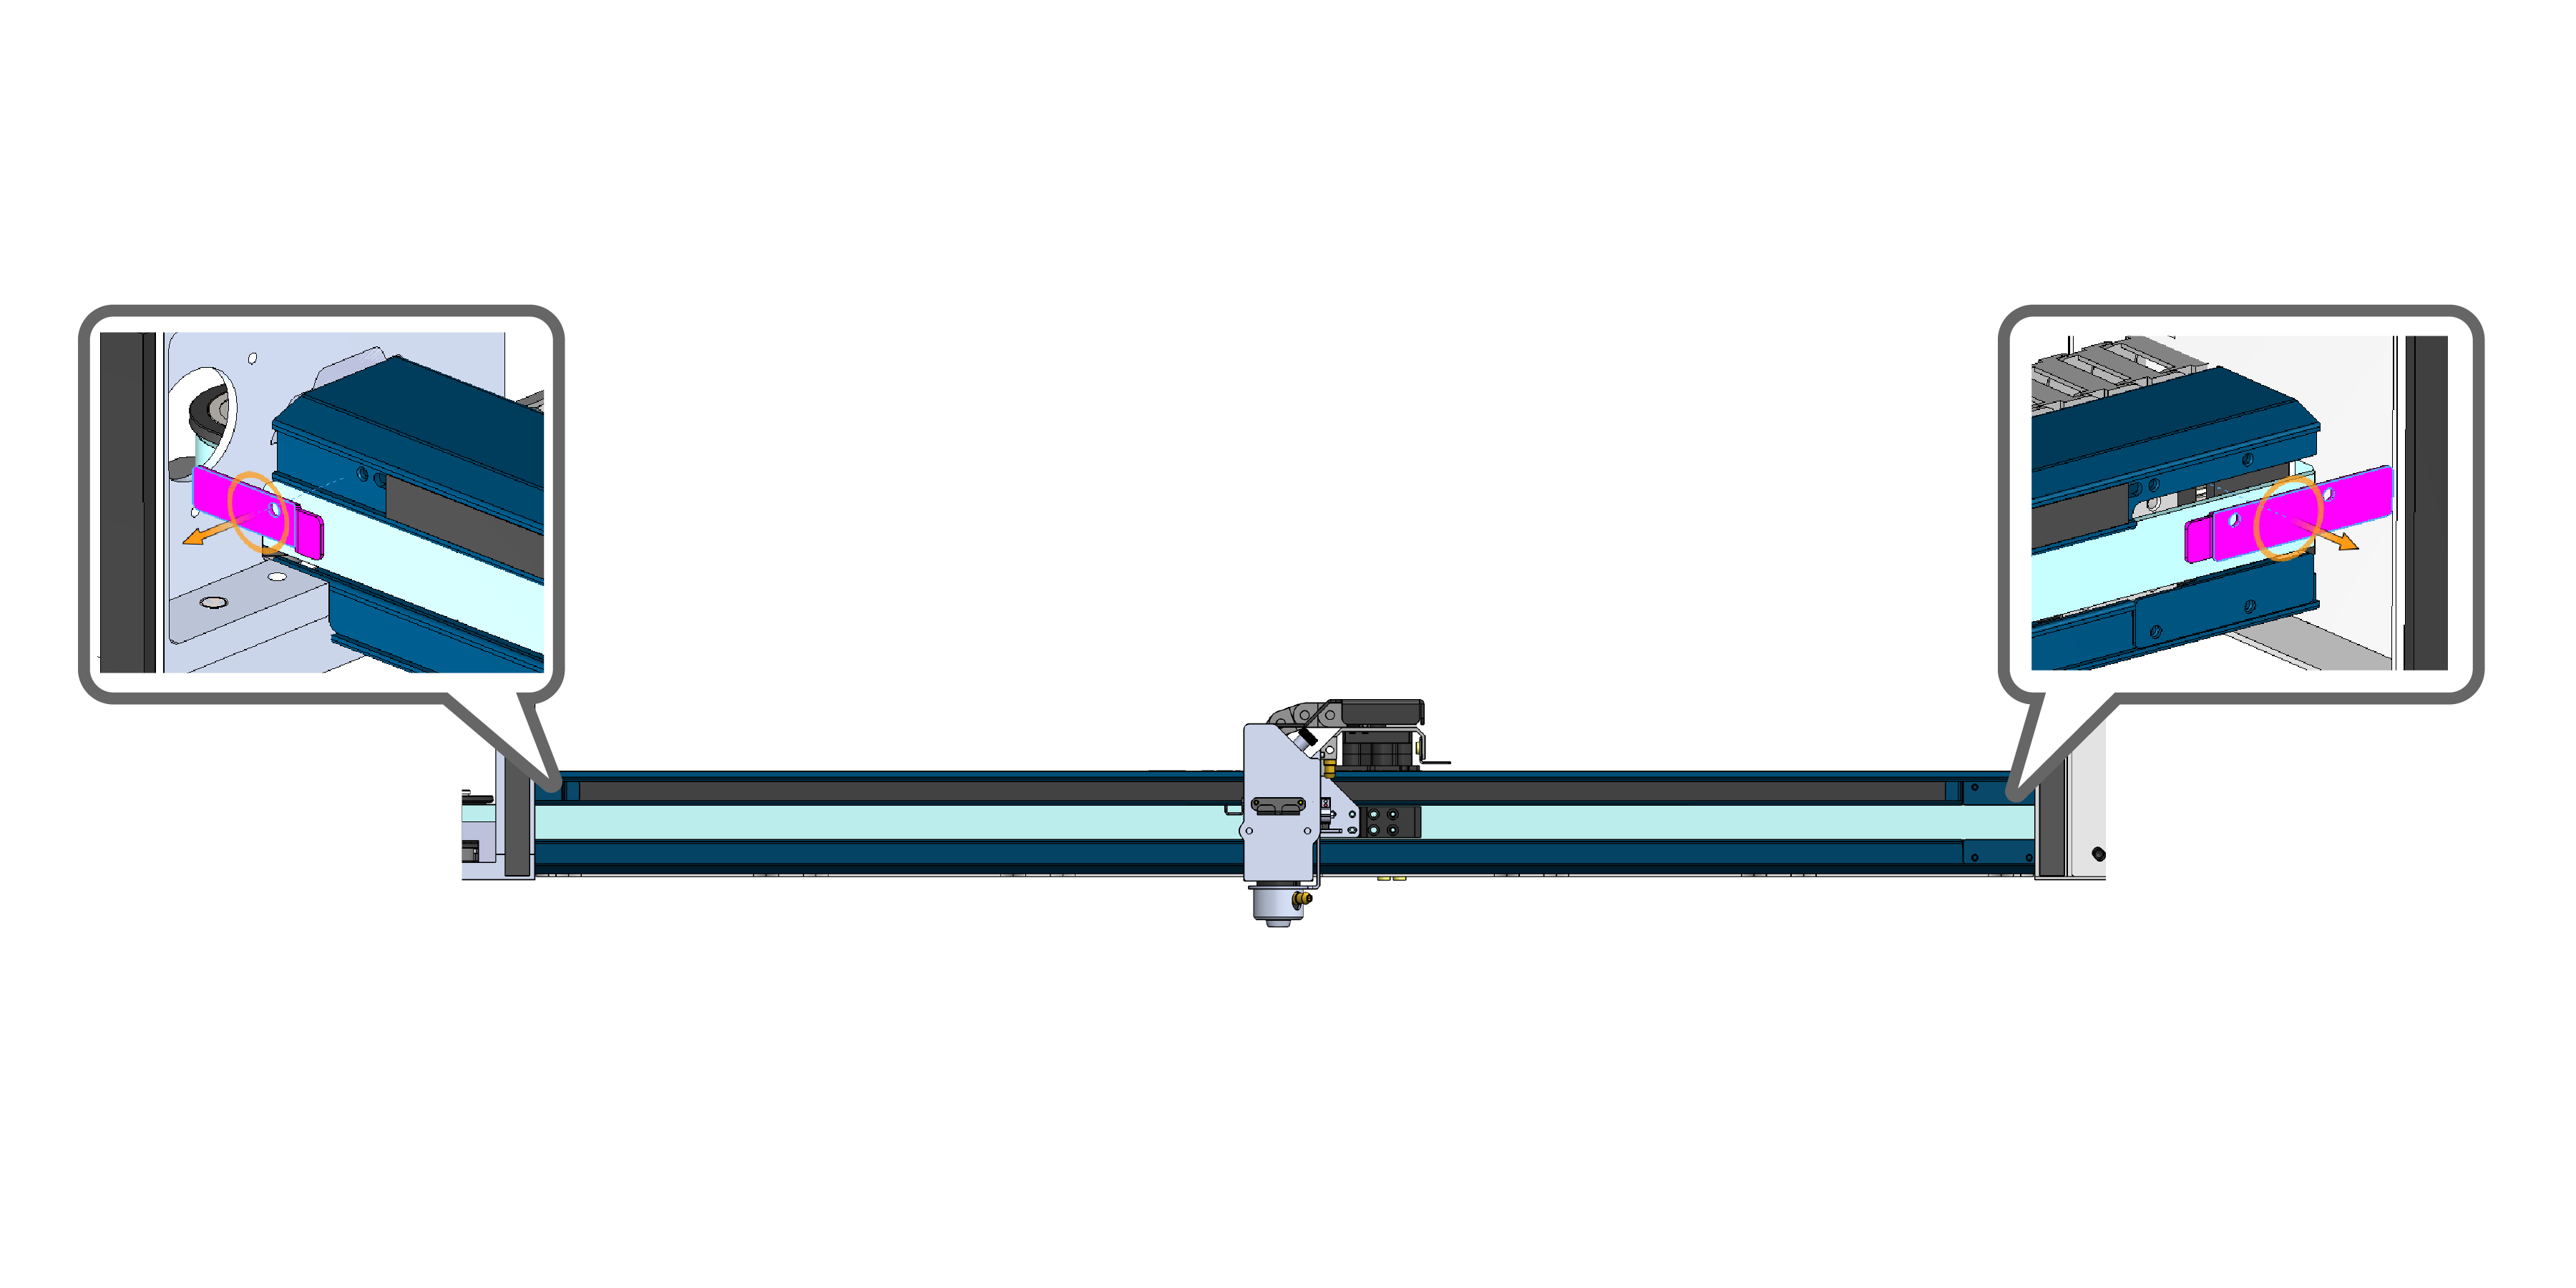
Figure 2: Remove the encoder strip end clamps from both ends of the rail. -
Mark the Encoder Position
Make a small alignment mark on one end of the rail where the encoder ends. This mark will help ensure the replacement encoder strip is installed in the correct position.
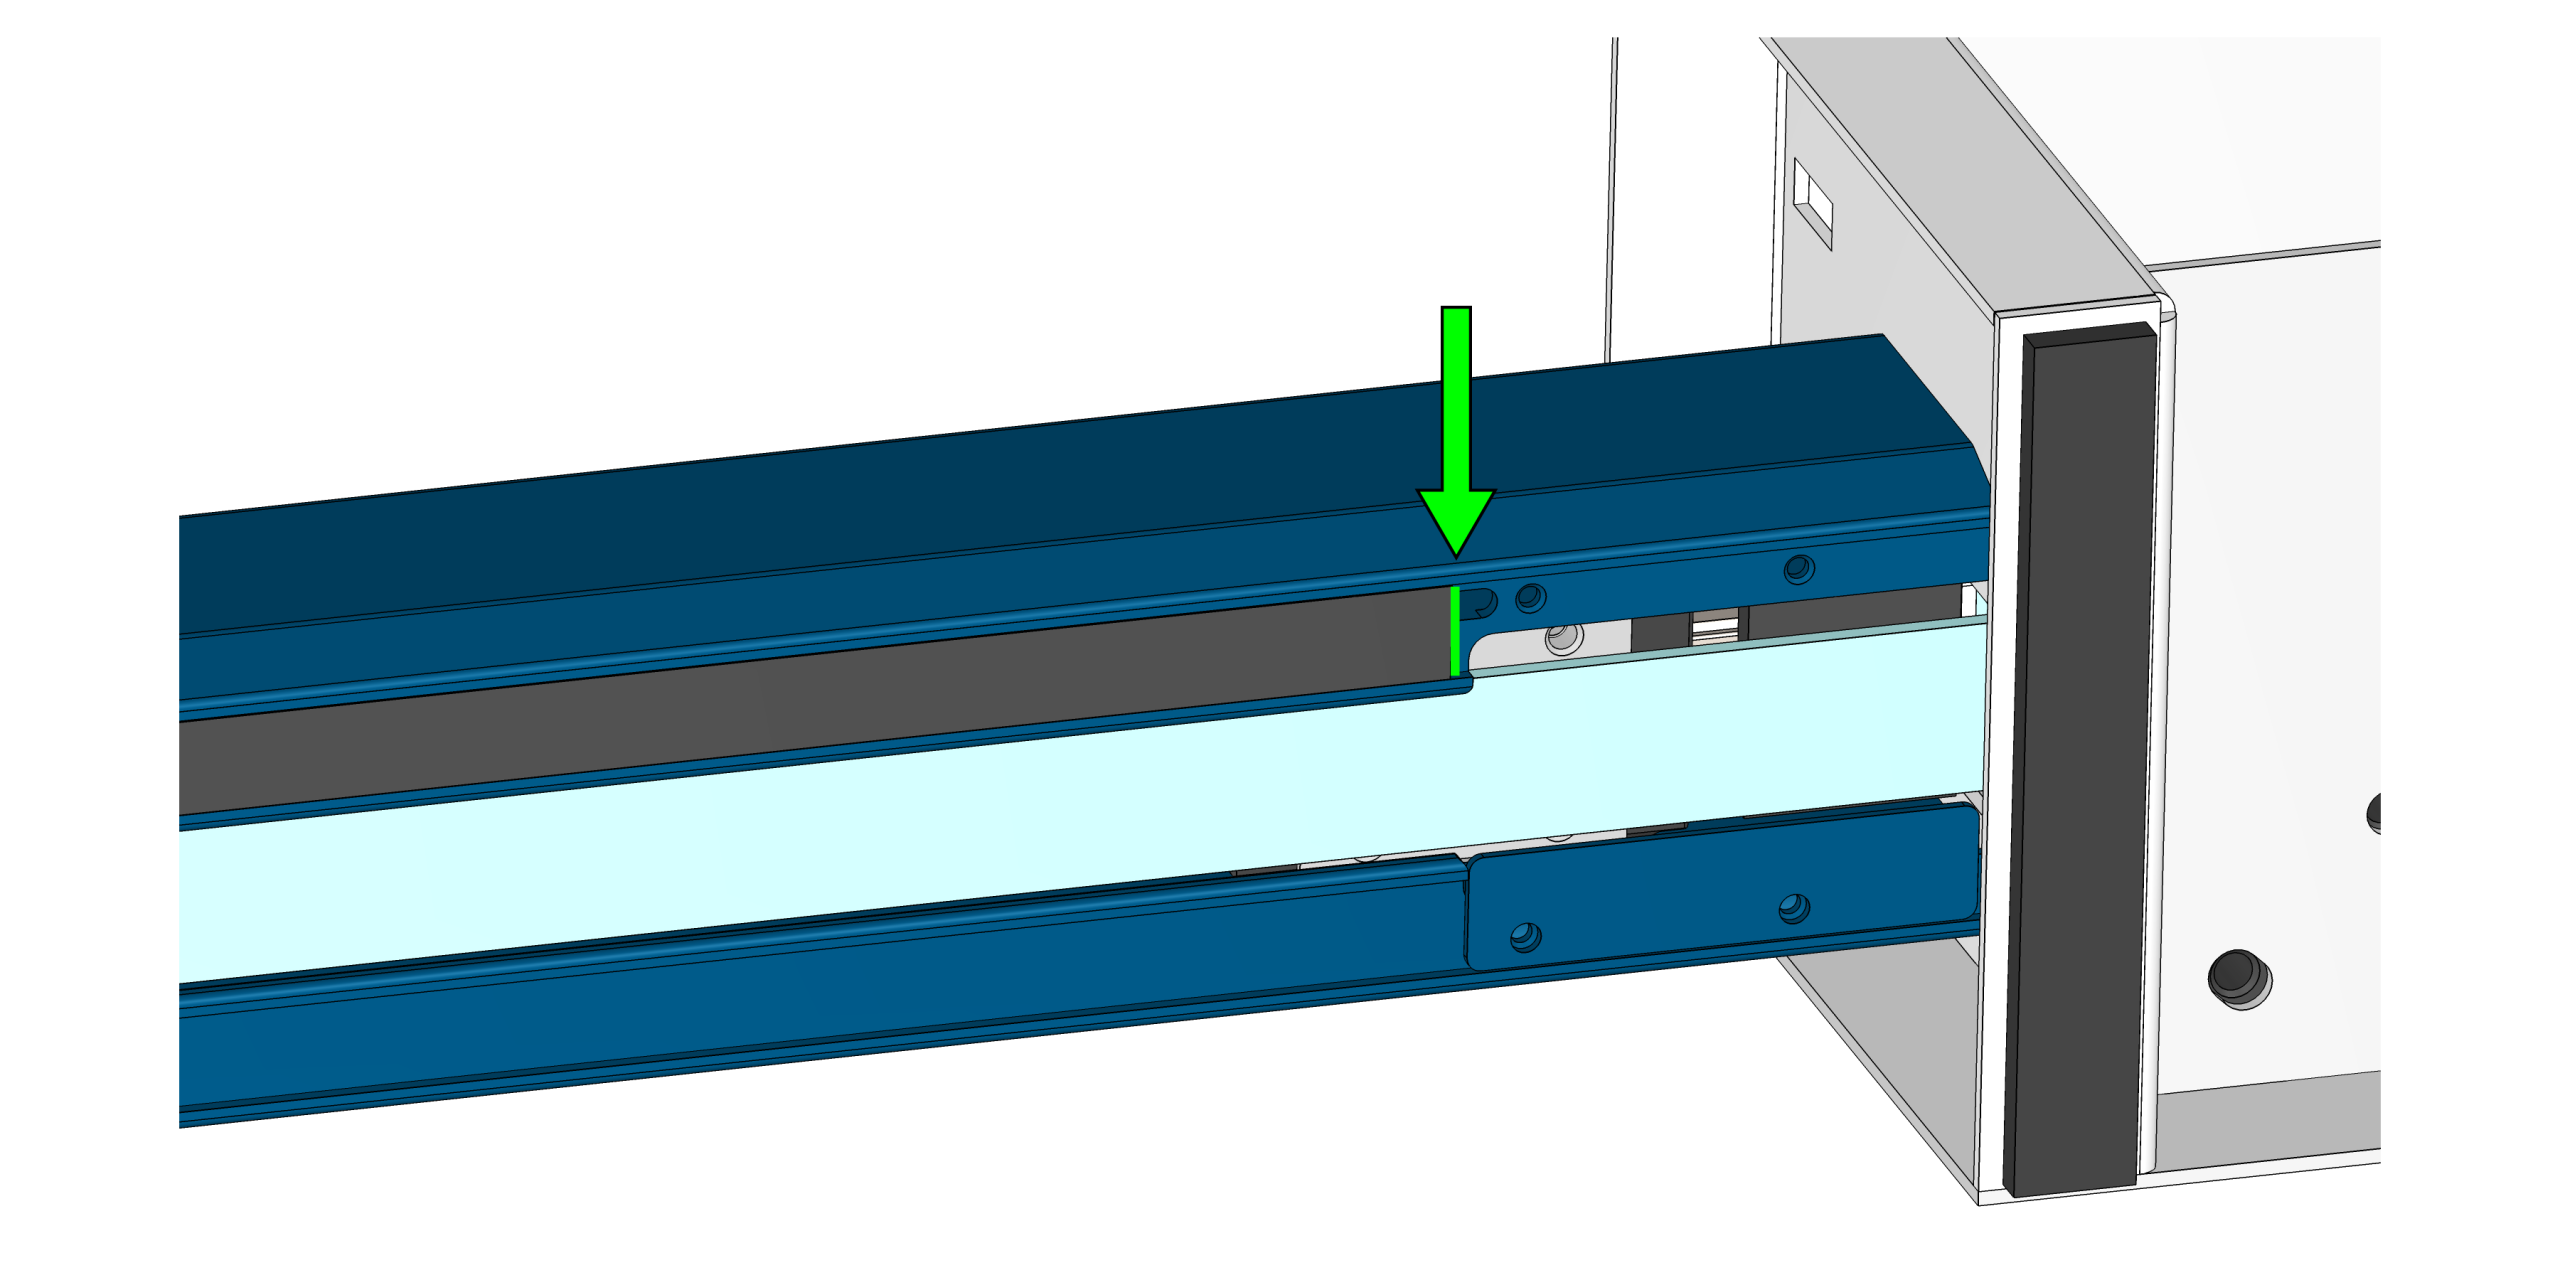
Figure 3: Make a small alignment mark to reference during installation. -
Move Carriage
Position the carriage to one side of the rail.
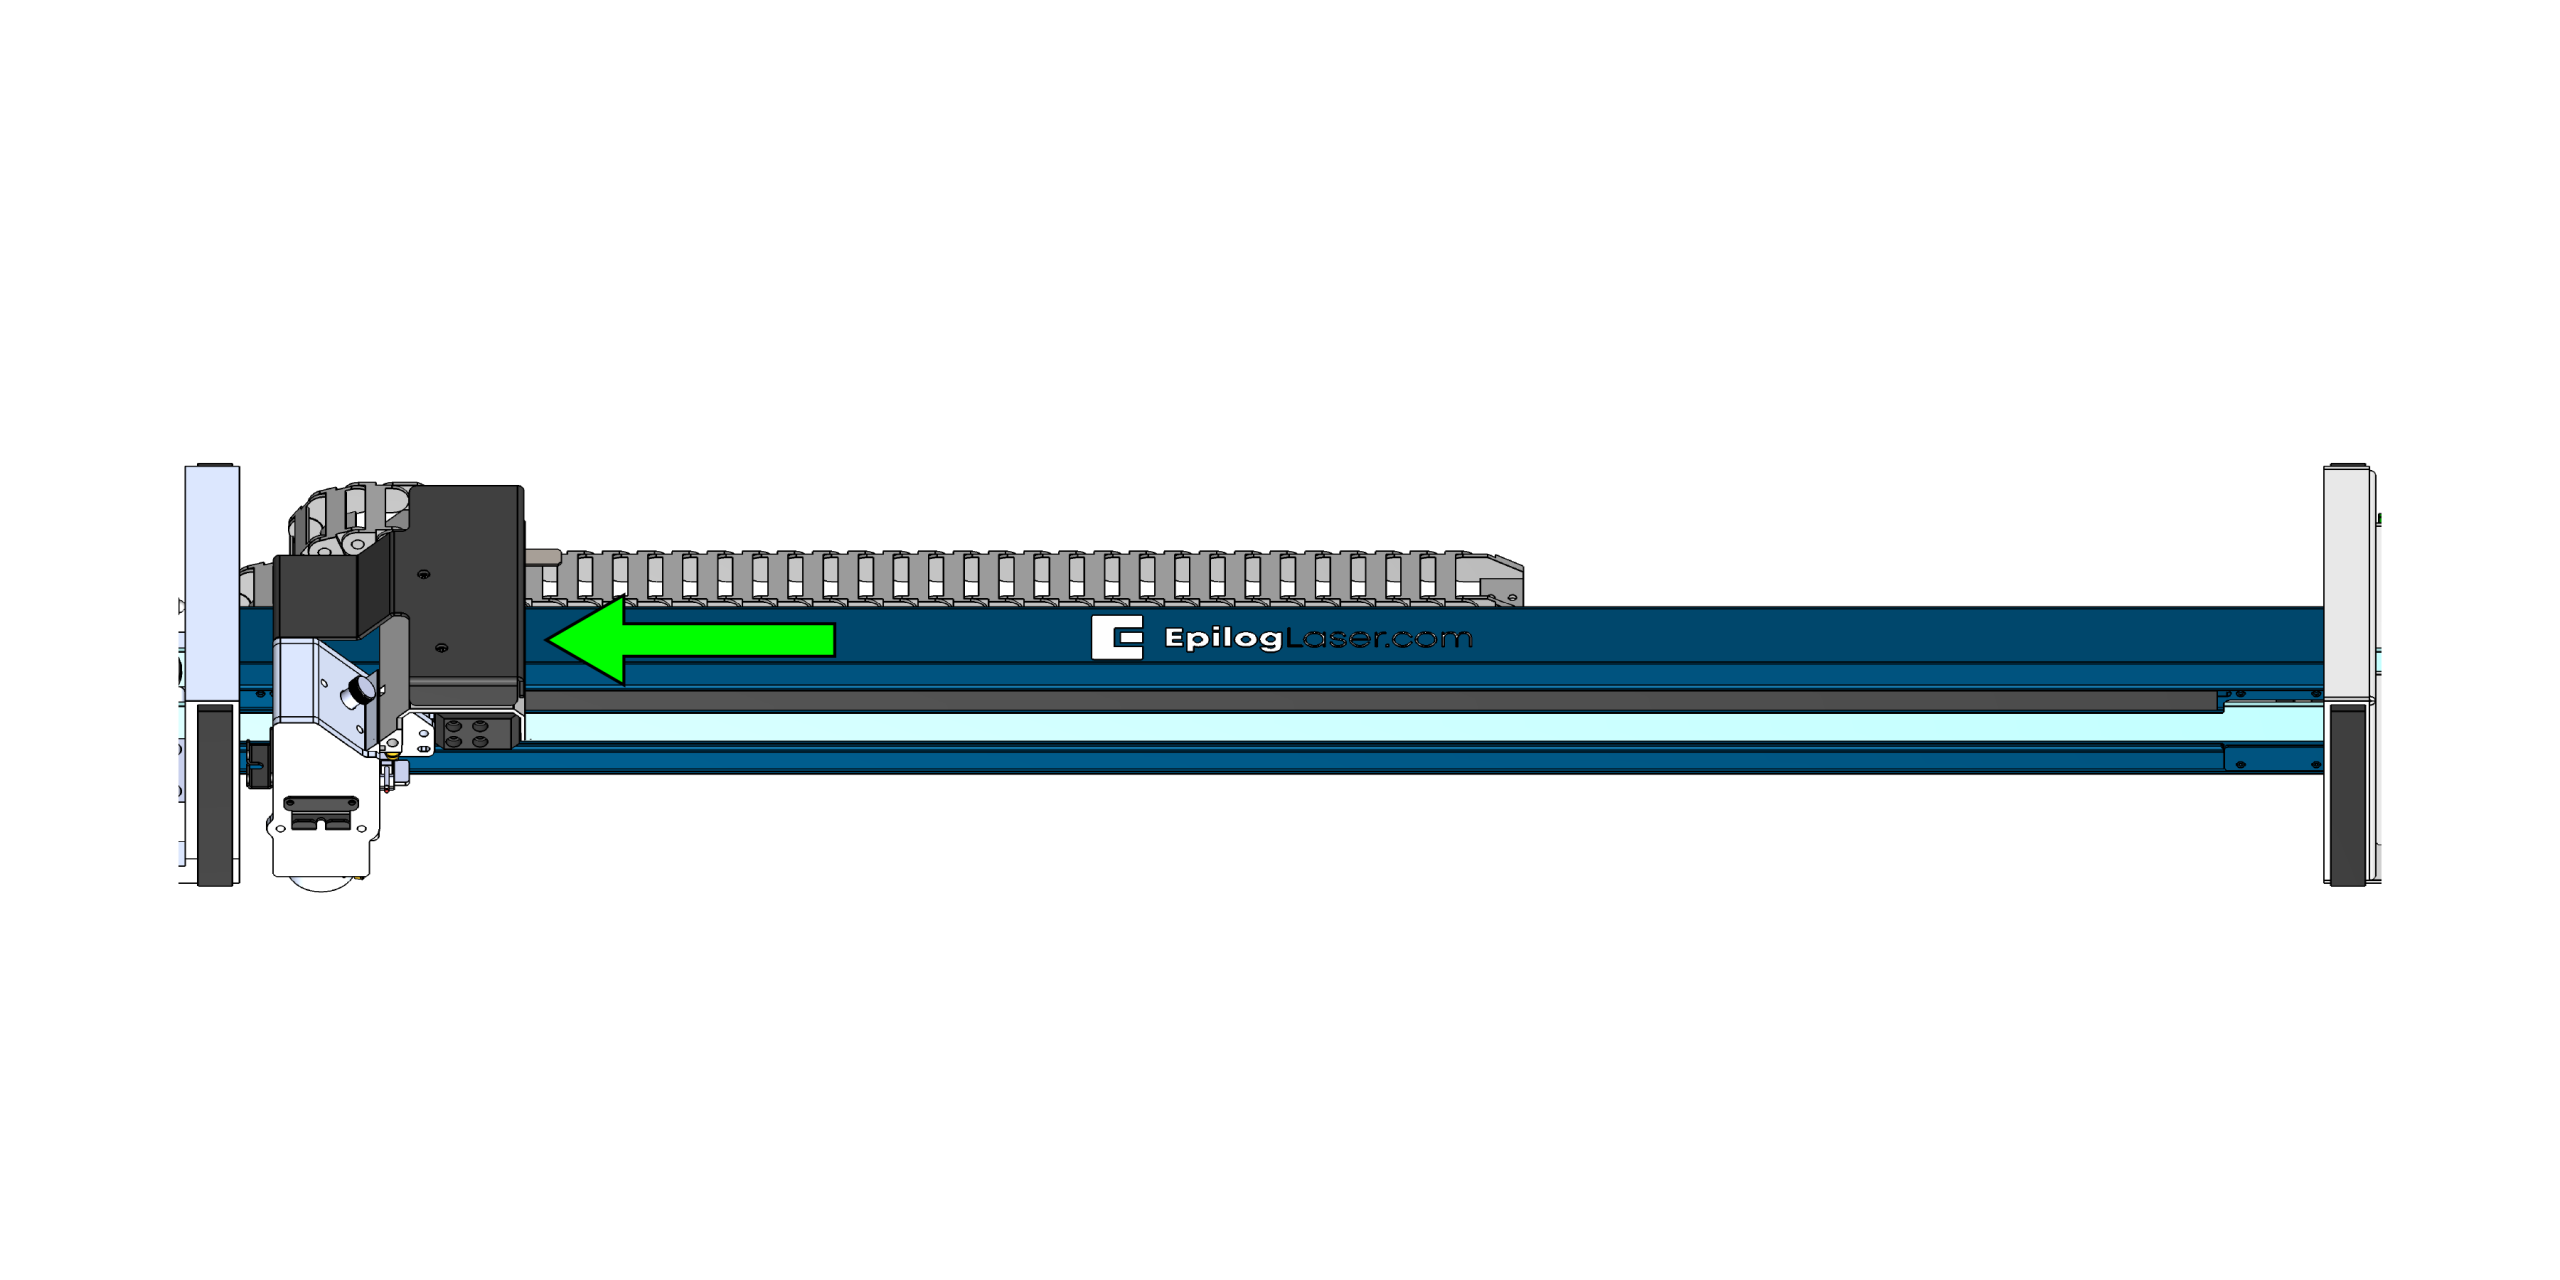
Figure 4:Position the carriage to one side of the rail. -
Pry Up the Encoder Strip
Gently pry up one end of the encoder strip from the rail slot.
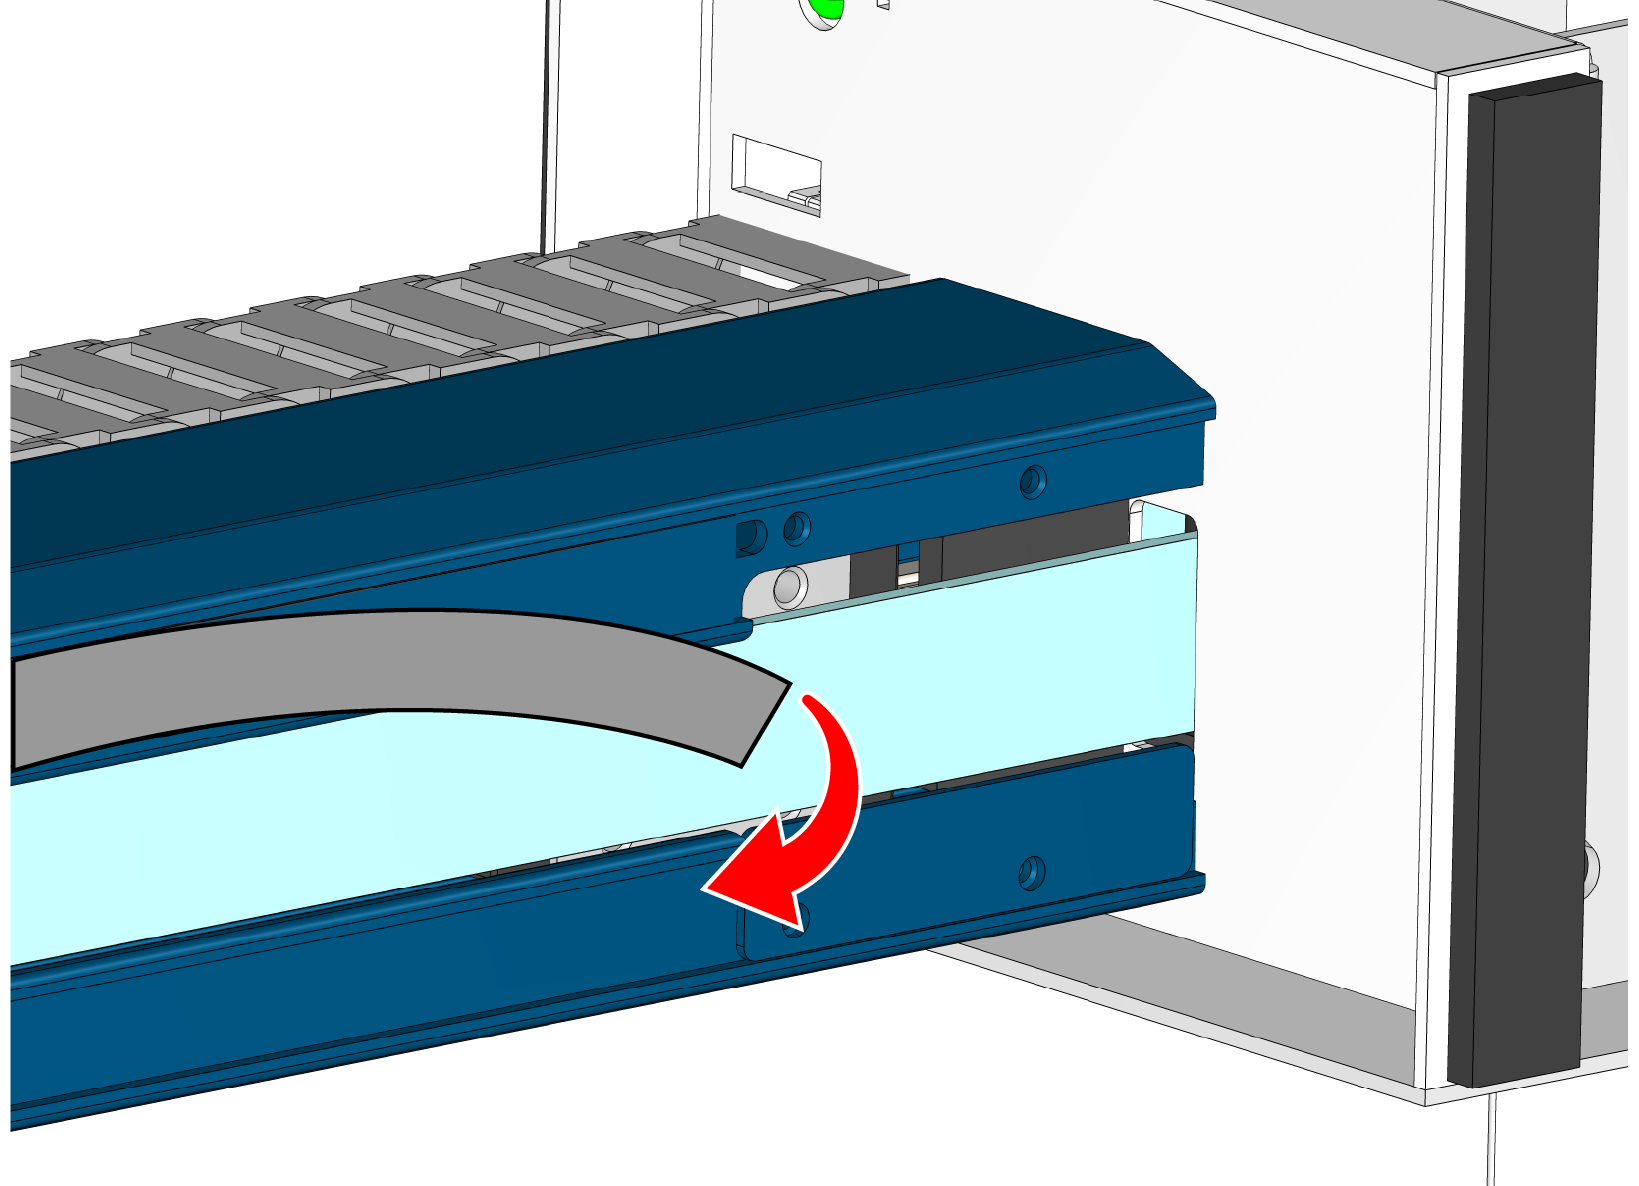
Figure 5:Carefully lift one end of the encoder strip. -
Peel and Cut the Strip
Carefully peel back approximately half of the encoder strip and cut it in half with scissors or snips.
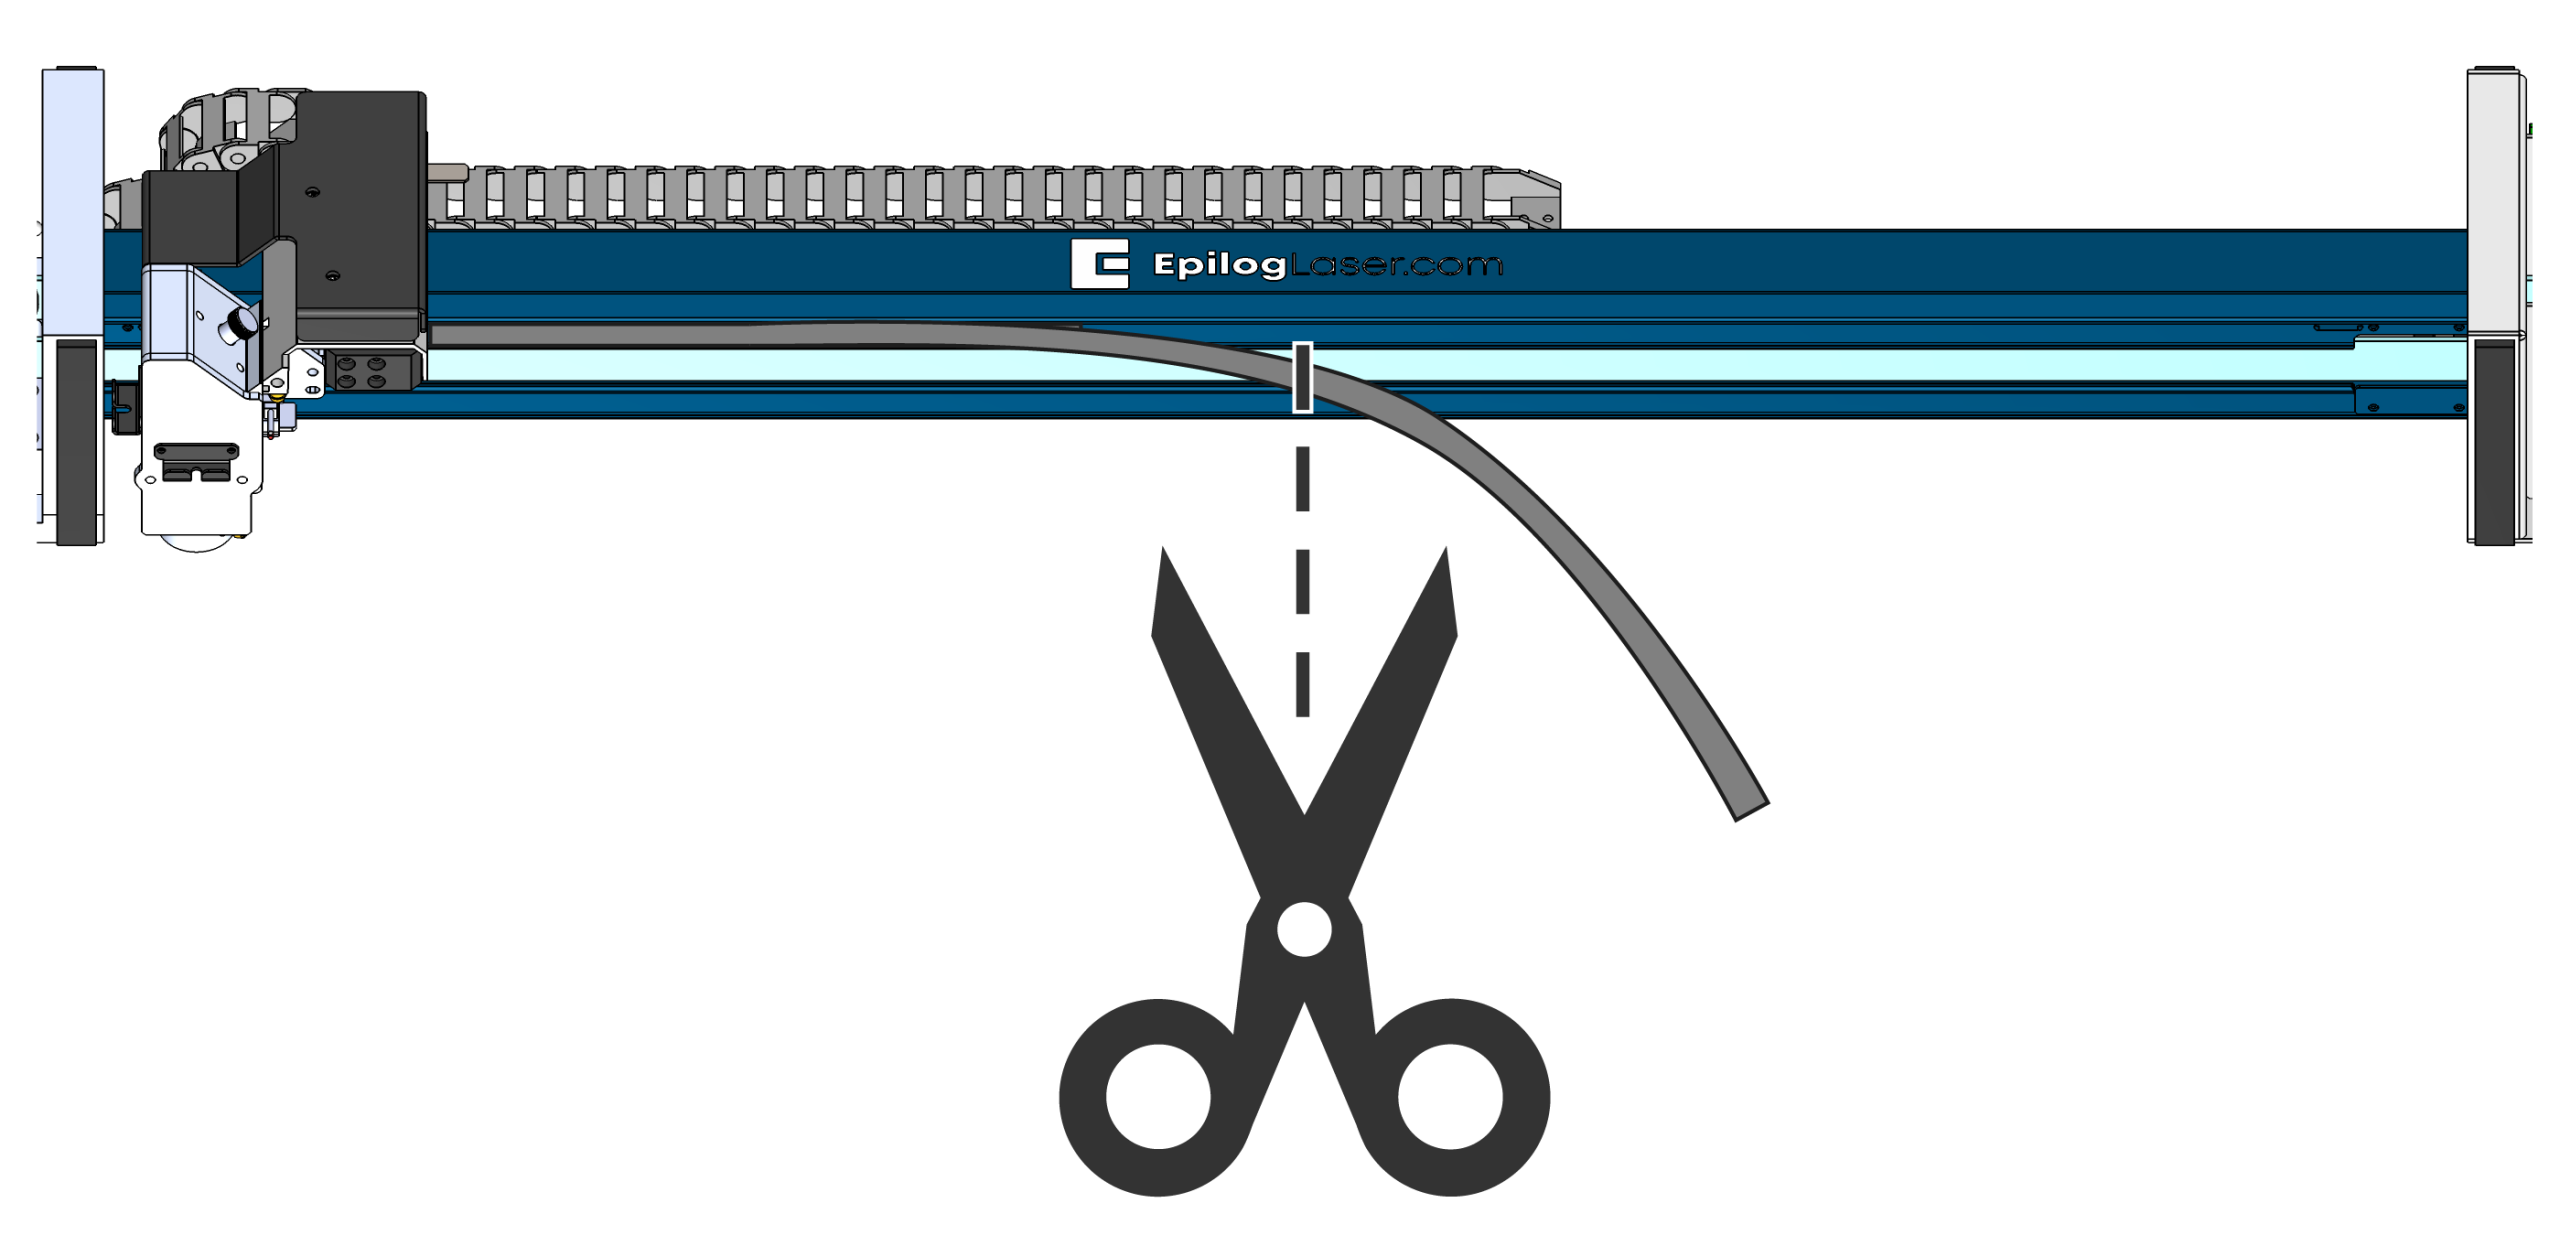
Figure 6:Peel the encoder strip away from the rail and cut it in half. -
Move the Carriage and Peel the Remaining Strip
Move the carriage to the opposite side of the rail to expose the remaining portion of the encoder strip and peel it off.
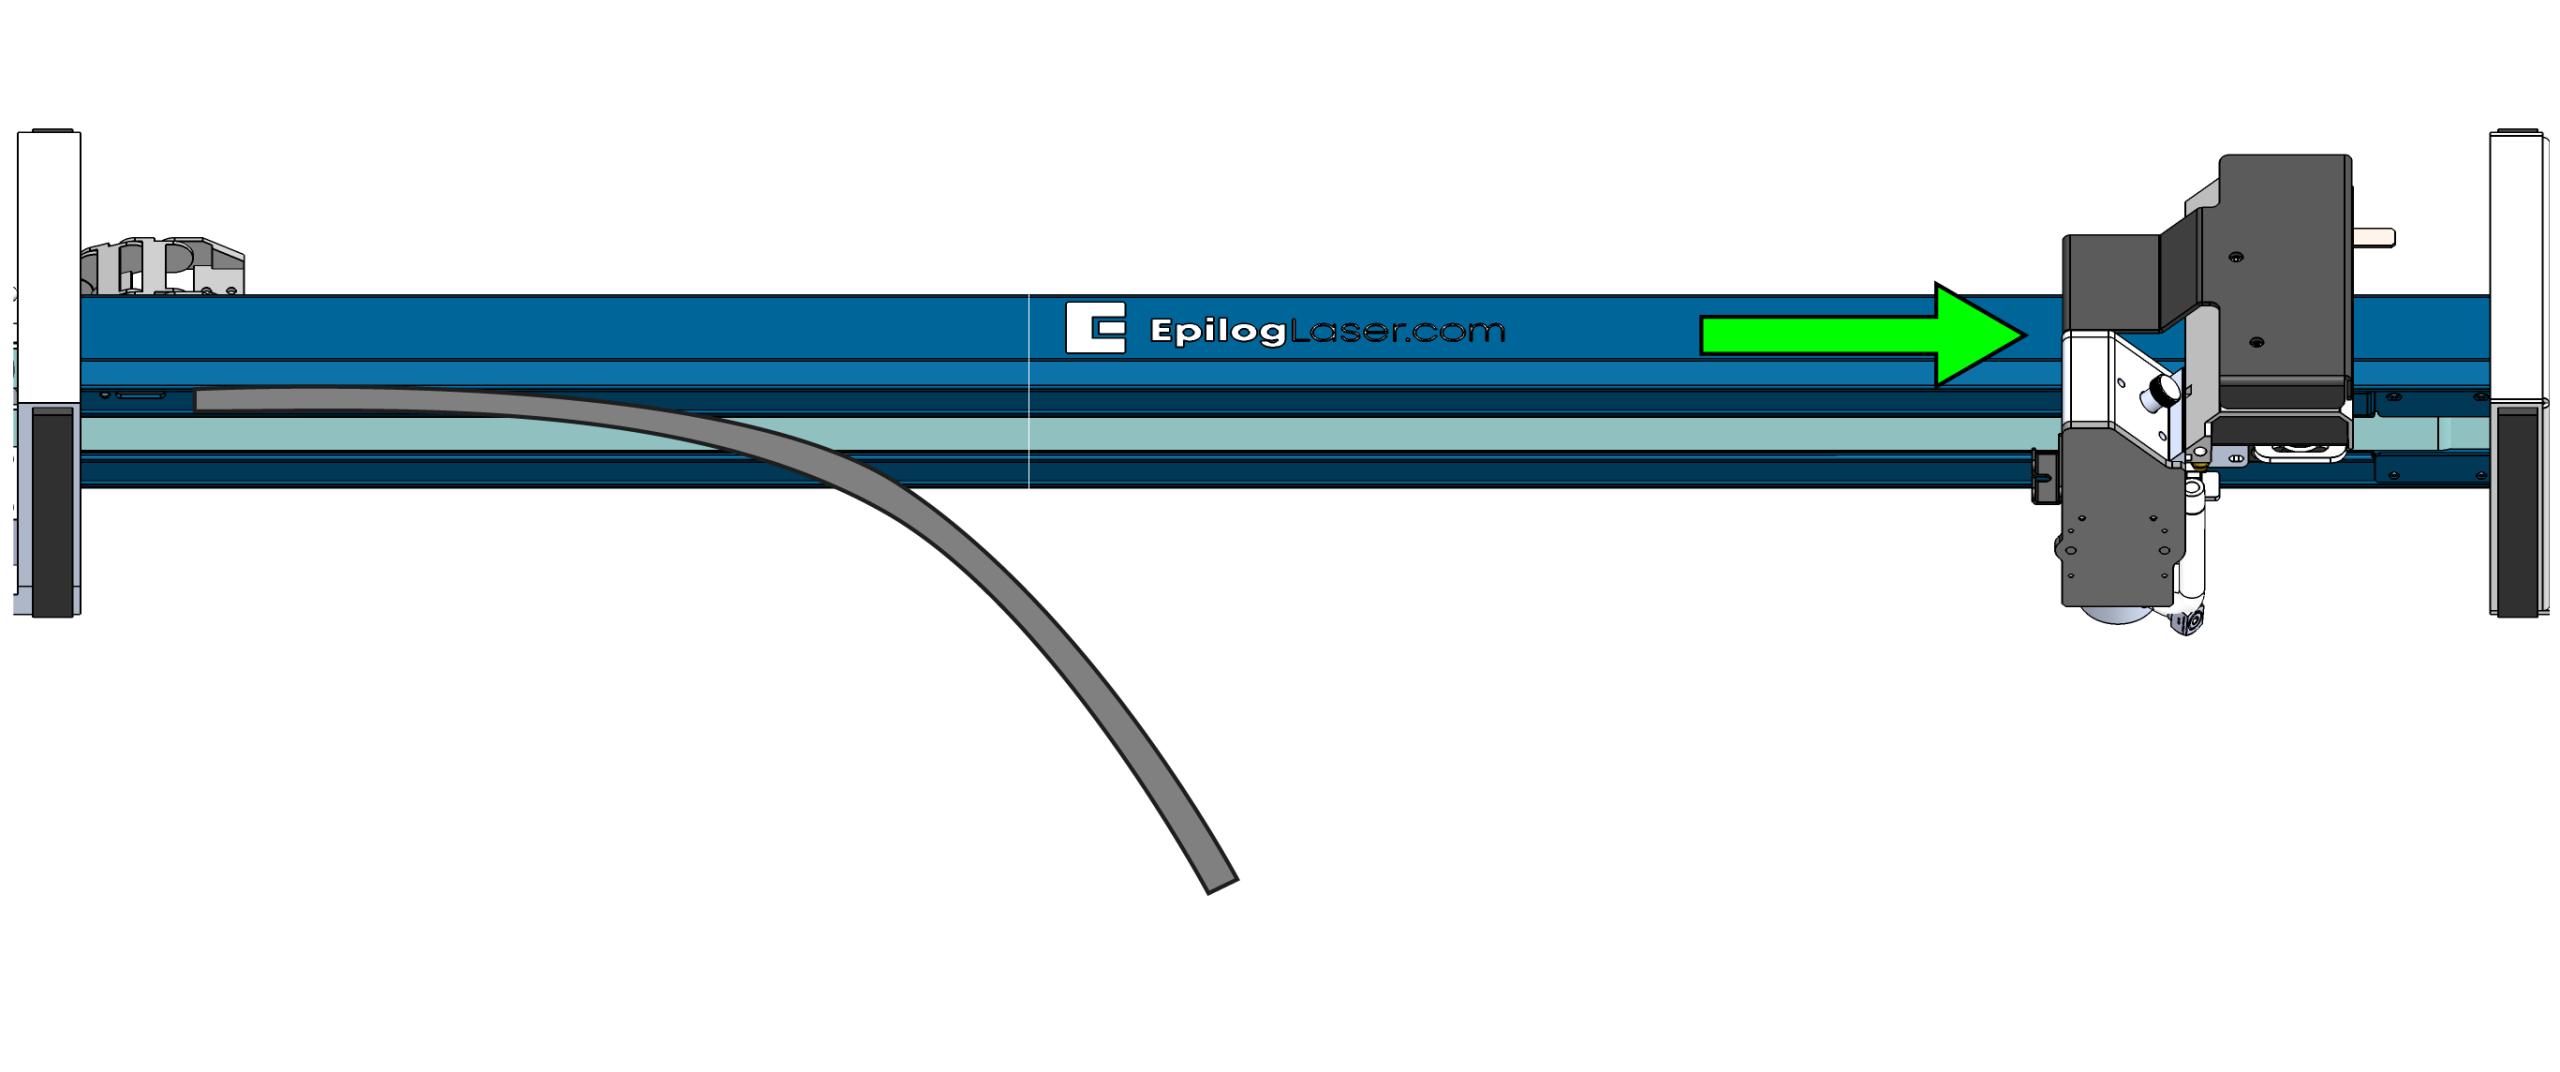
Figure 7:Peel the remaining encoder strip away from the rail.
Installing the Replacement Encoder Strip
-
Position the Encoder Strip
Place the replacement encoder strip into the rail slot and align it with the mark made earlier.
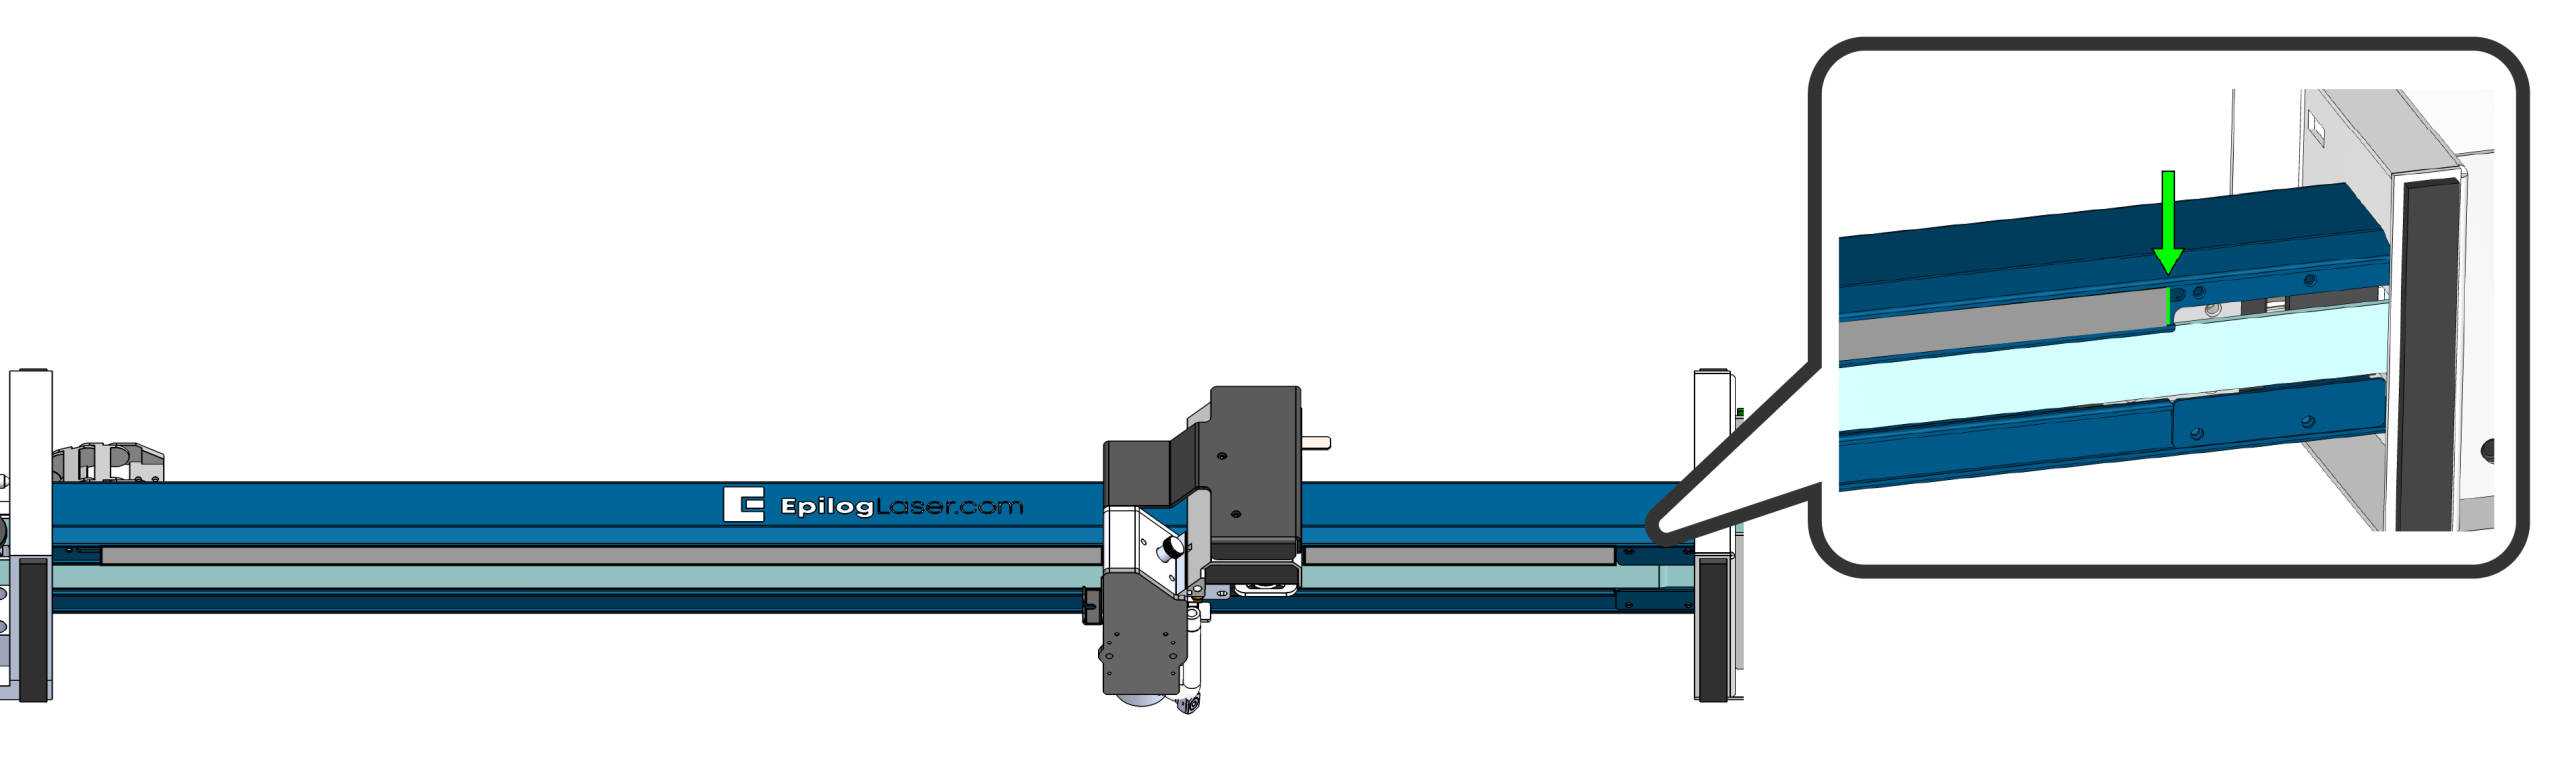
Figure 8:Align the replacement encoder strip with the reference mark. -
Secure the Center
Use a small piece of tape to hold the encoder strip in place at the center of the rail.
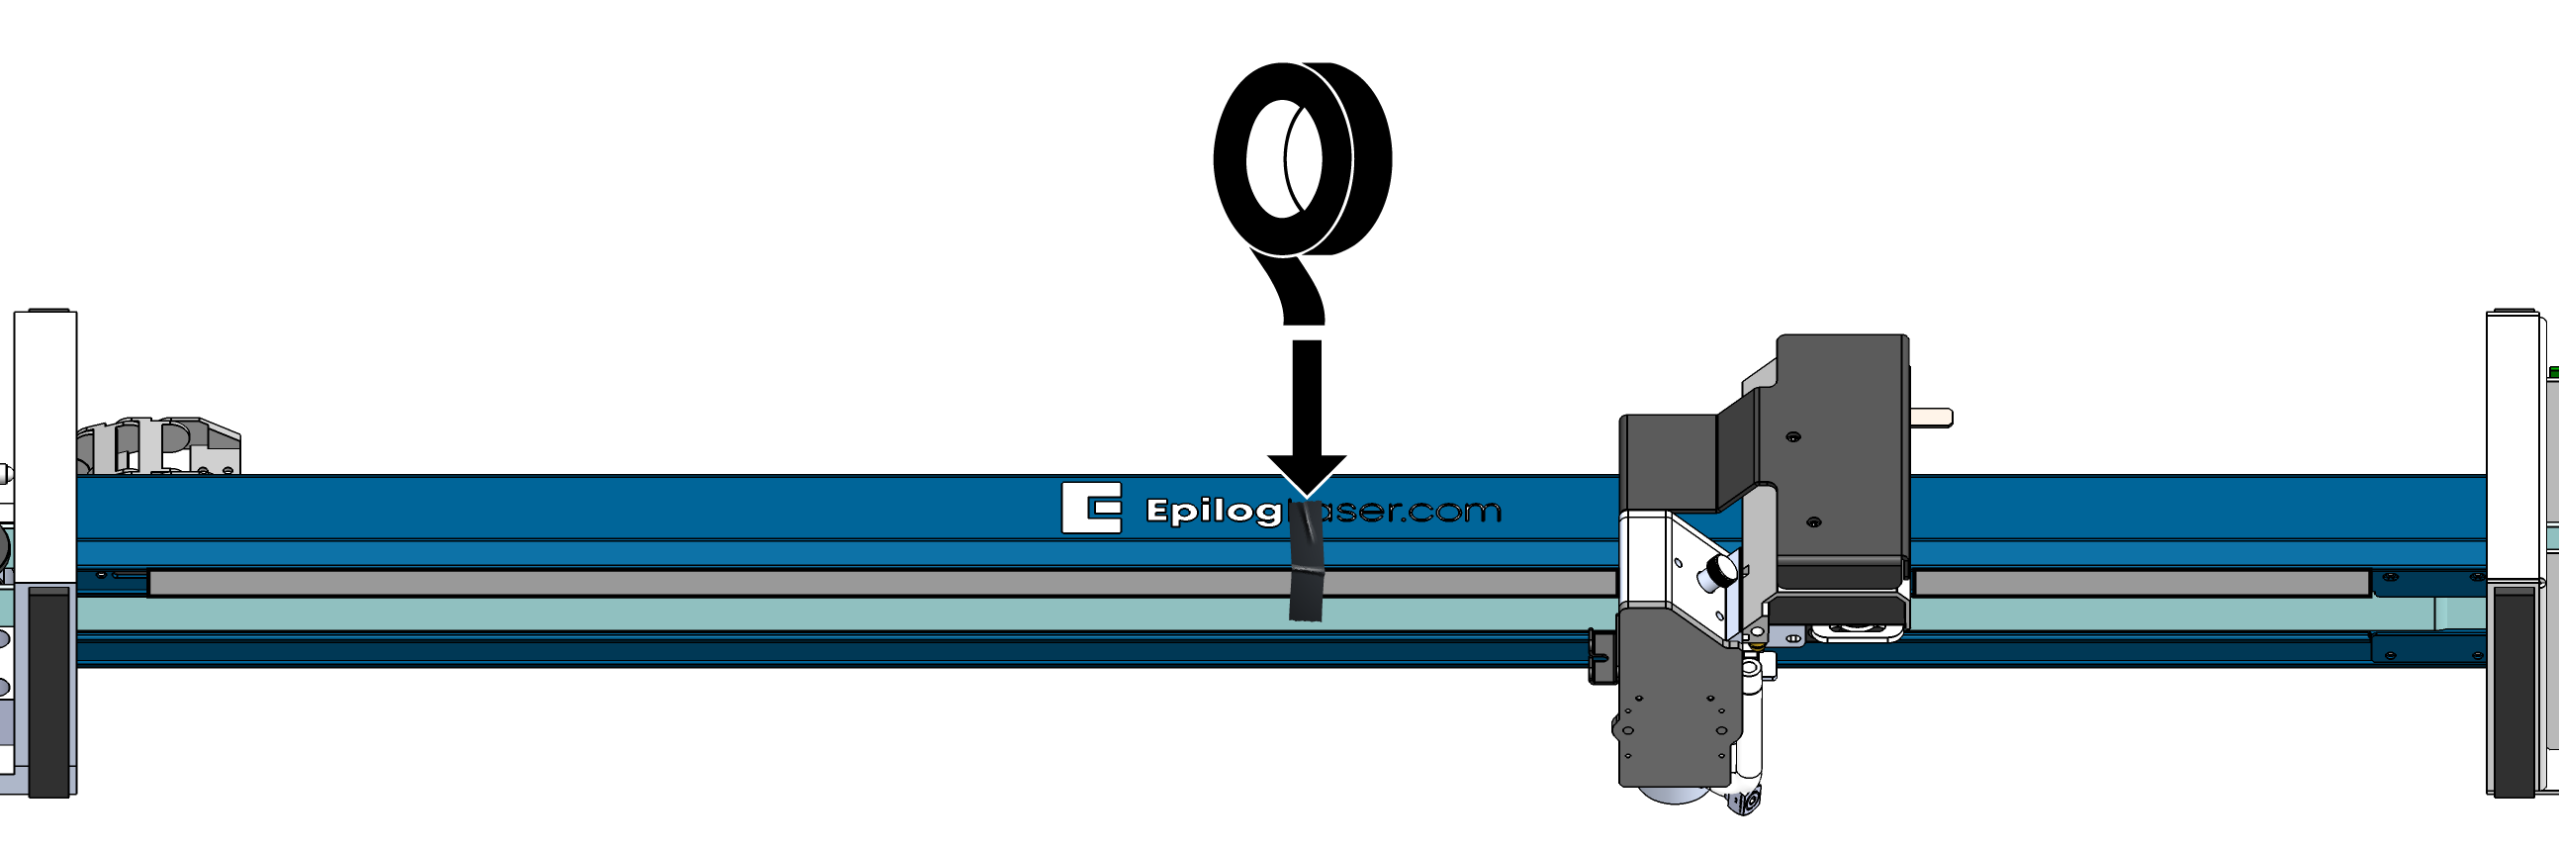
Figure 9:Use tape to hold the strip in position during installation. -
Install the First Half
Peel the adhesive backer off approximately half of the encoder strip. Press the strip firmly into the slot to secure it.
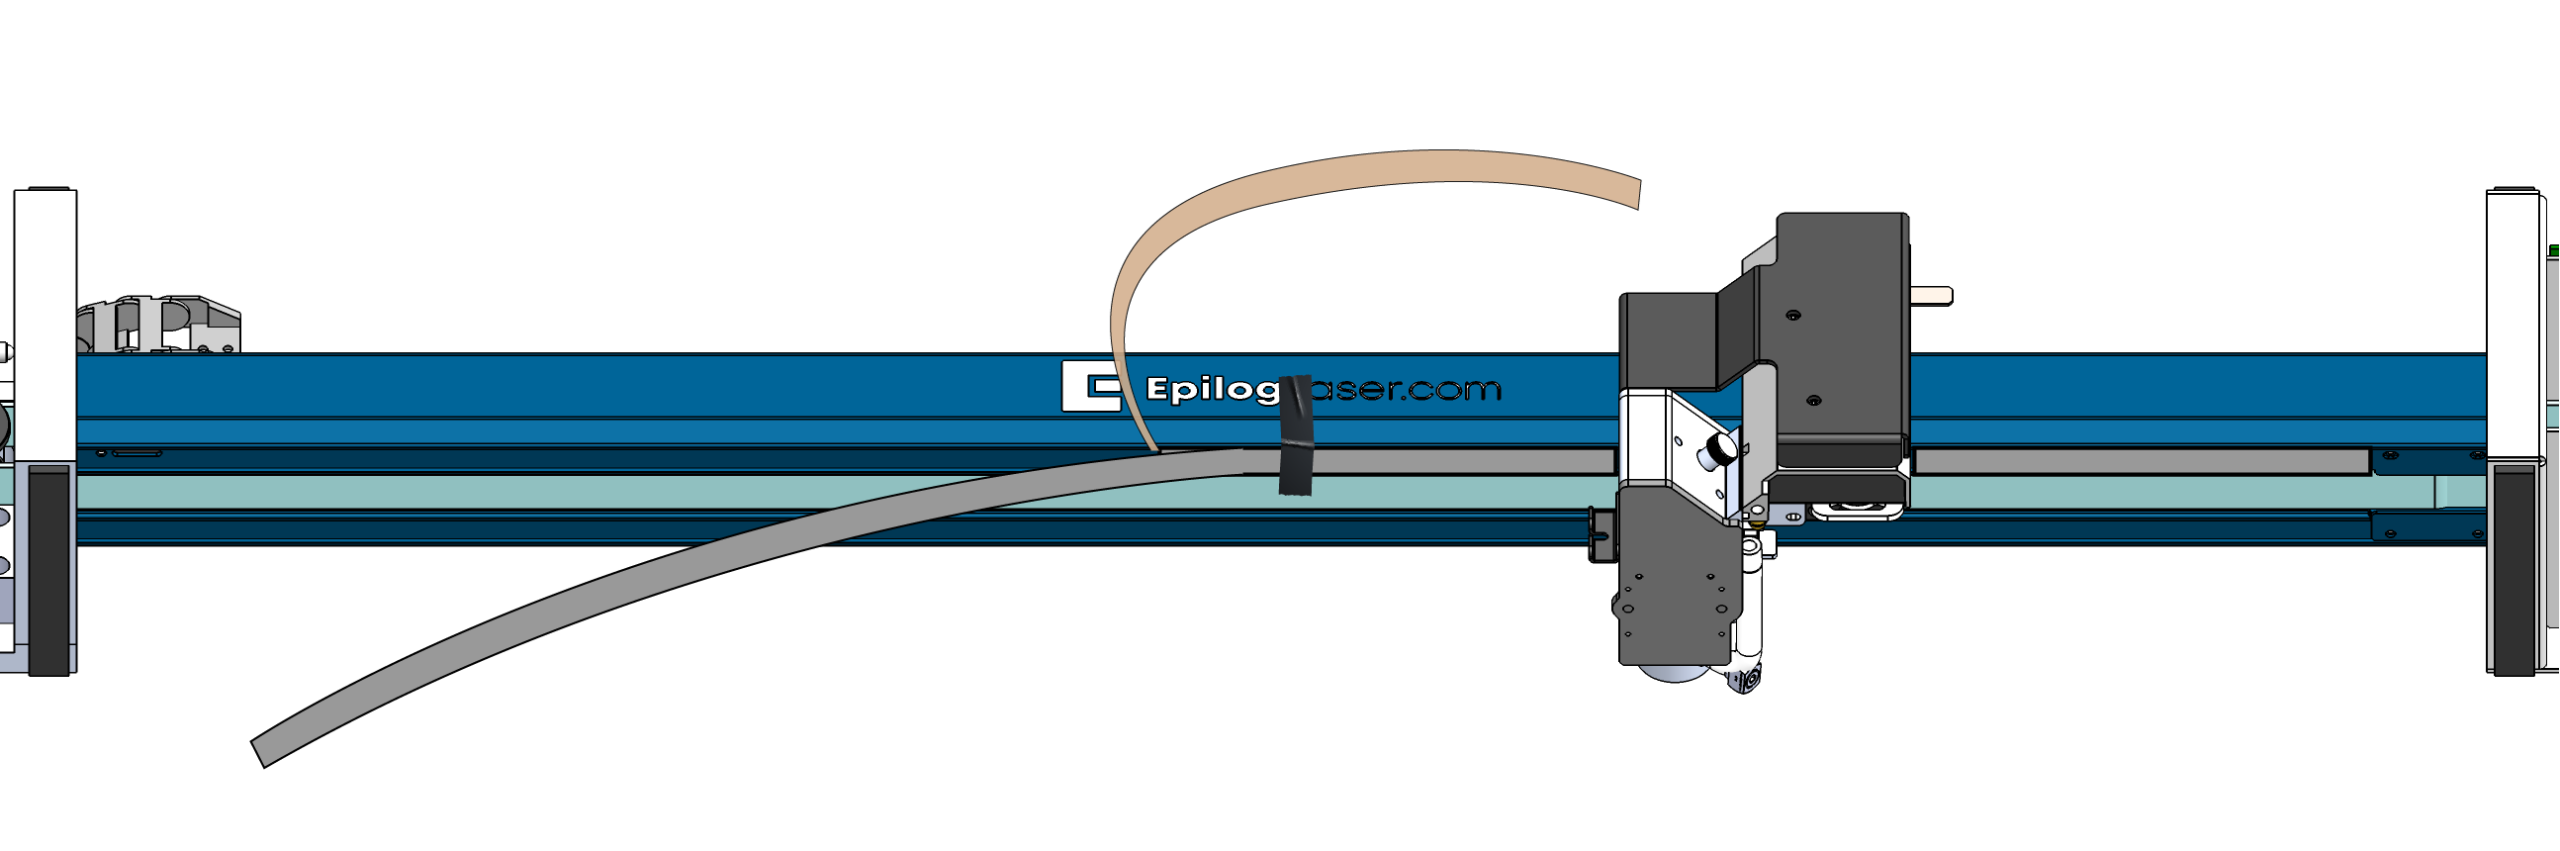
Figure 10:Remove half of the adhesive backer and press the strip firmly into place. -
Move the Carriage and Install the Second Half
Move the carriage to the opposite side of the rail to expose the remaining portion of the encoder, peel the backer, and install the second half.
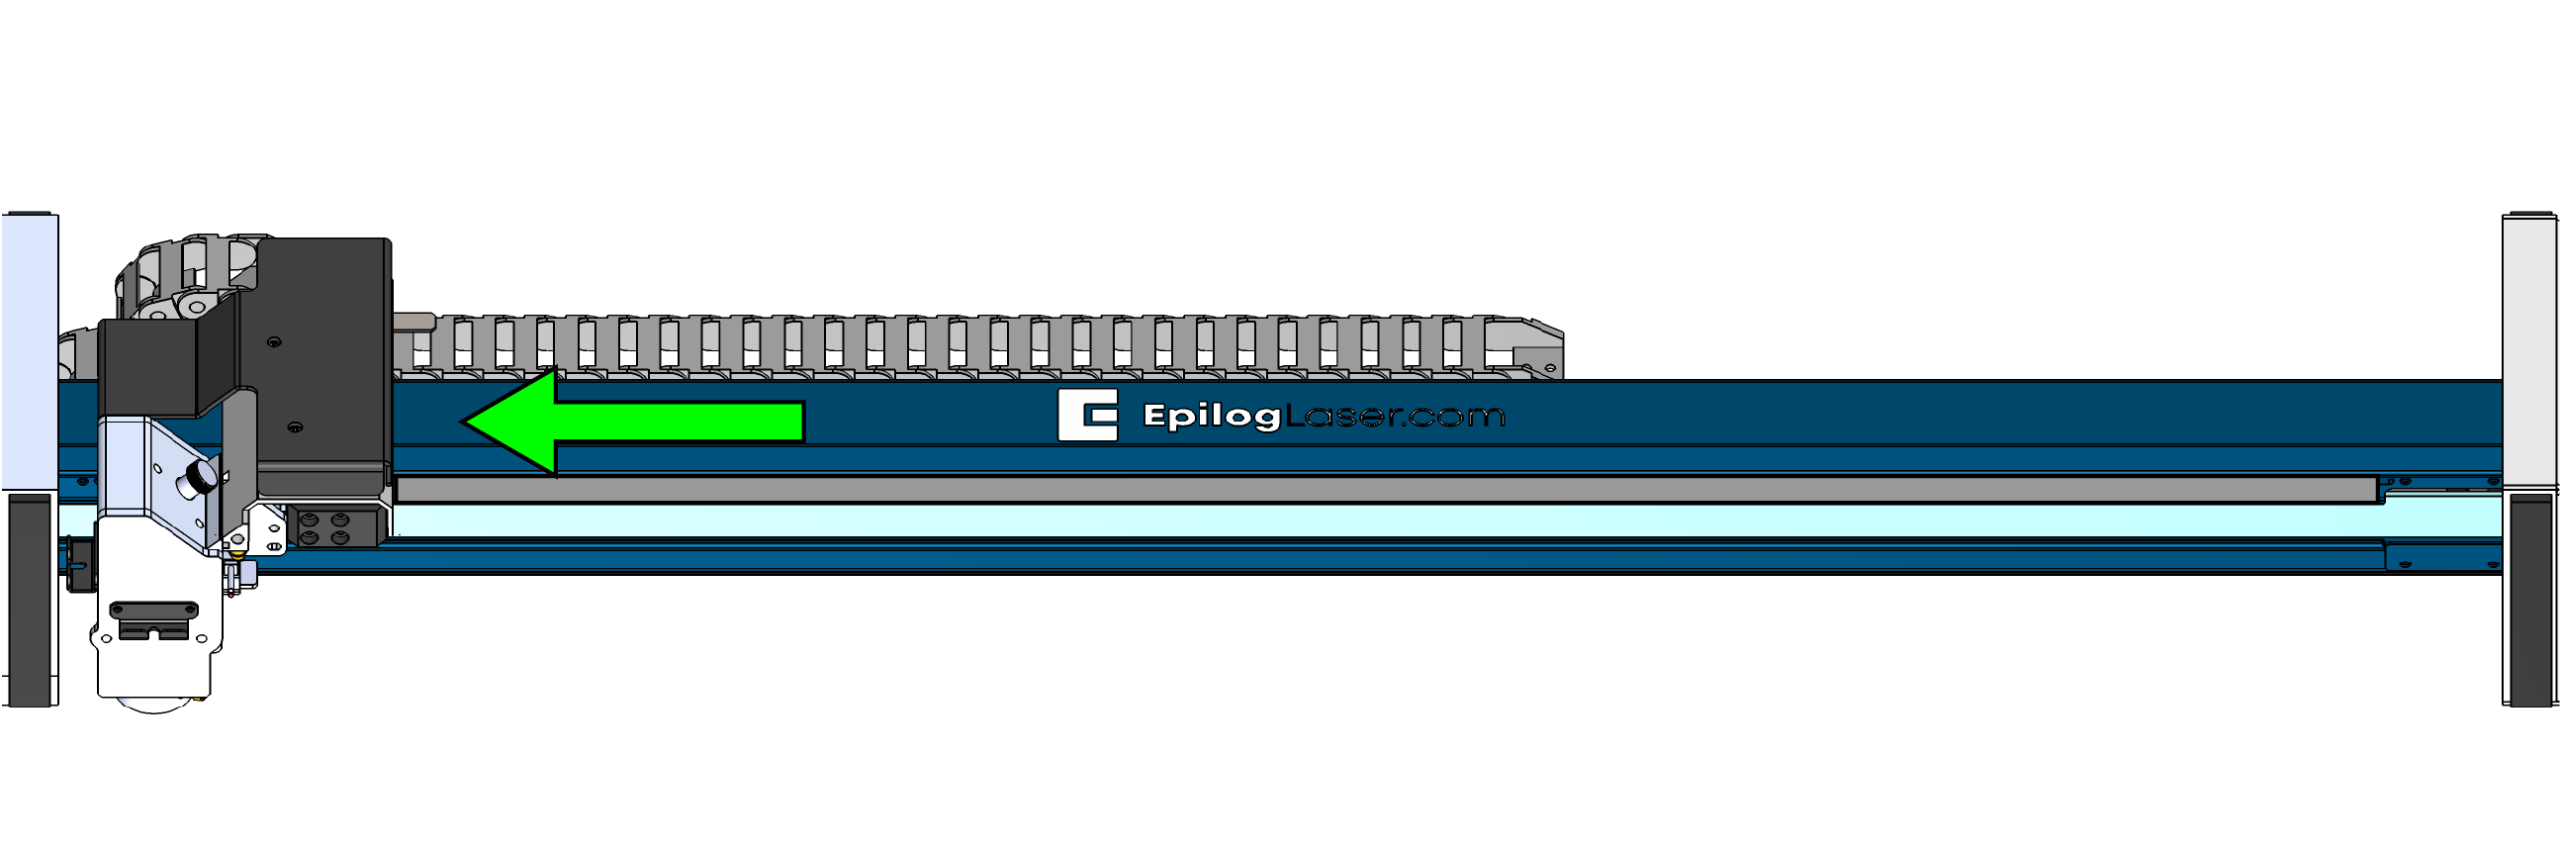
Figure 11:Move the carriage to expose the remaining section of the strip. -
Reinstall the End Clamps
Reinstall the encoder strip end clamps removed earlier to secure the strip in place.
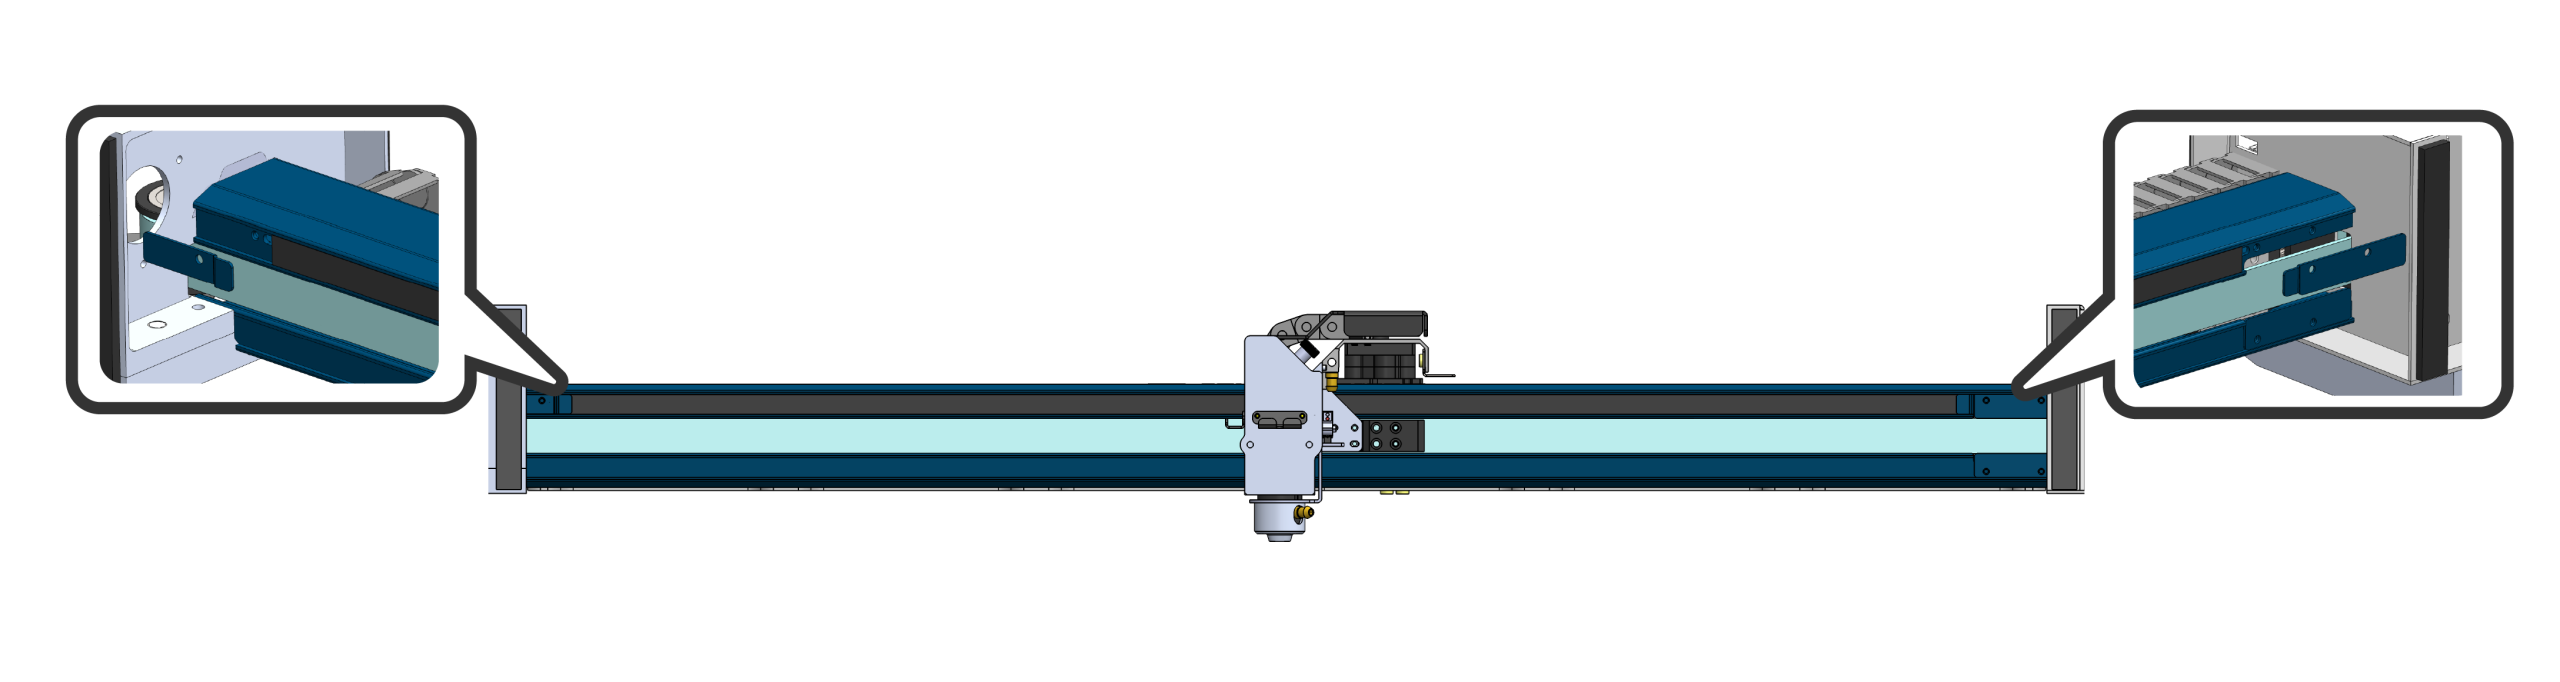
Figure 12:Reinstall the end clamps to secure the encoder strip.